How to Draw a Shower Head (Easy Step by Step)
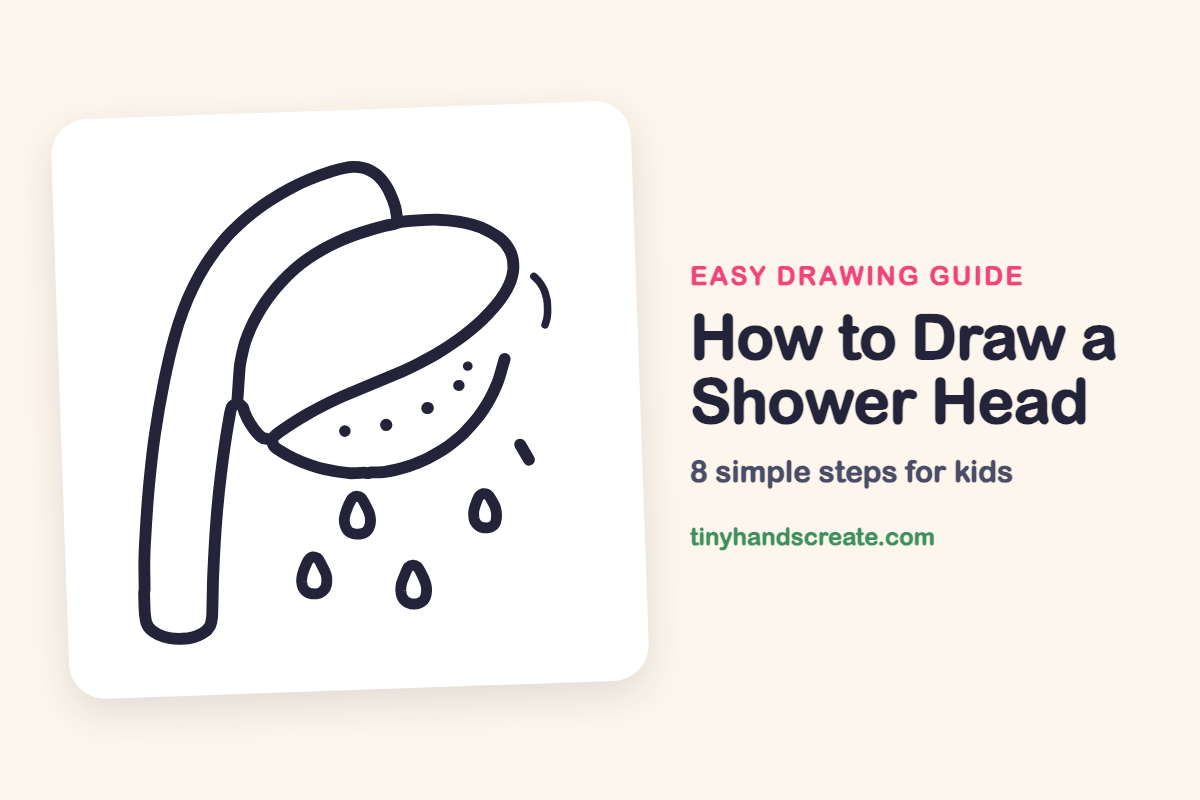
A shower head is a fun thing to draw because it turns a bathroom object into a splashy picture. It is built from a rounded head, a long bendy handle, a smile-shaped curve on the bottom, and a few raindrops. If you can draw a curved line and a teardrop, you can do this one.
- Easy
- 10 minutes
- 8 steps
You need: paper, a pencil, an eraser, and crayons or markers for coloring.
Start drawing


In this article (7 sections)
How to draw a shower head step by step
How to Draw a Shower Head · tinyhandscreate.com
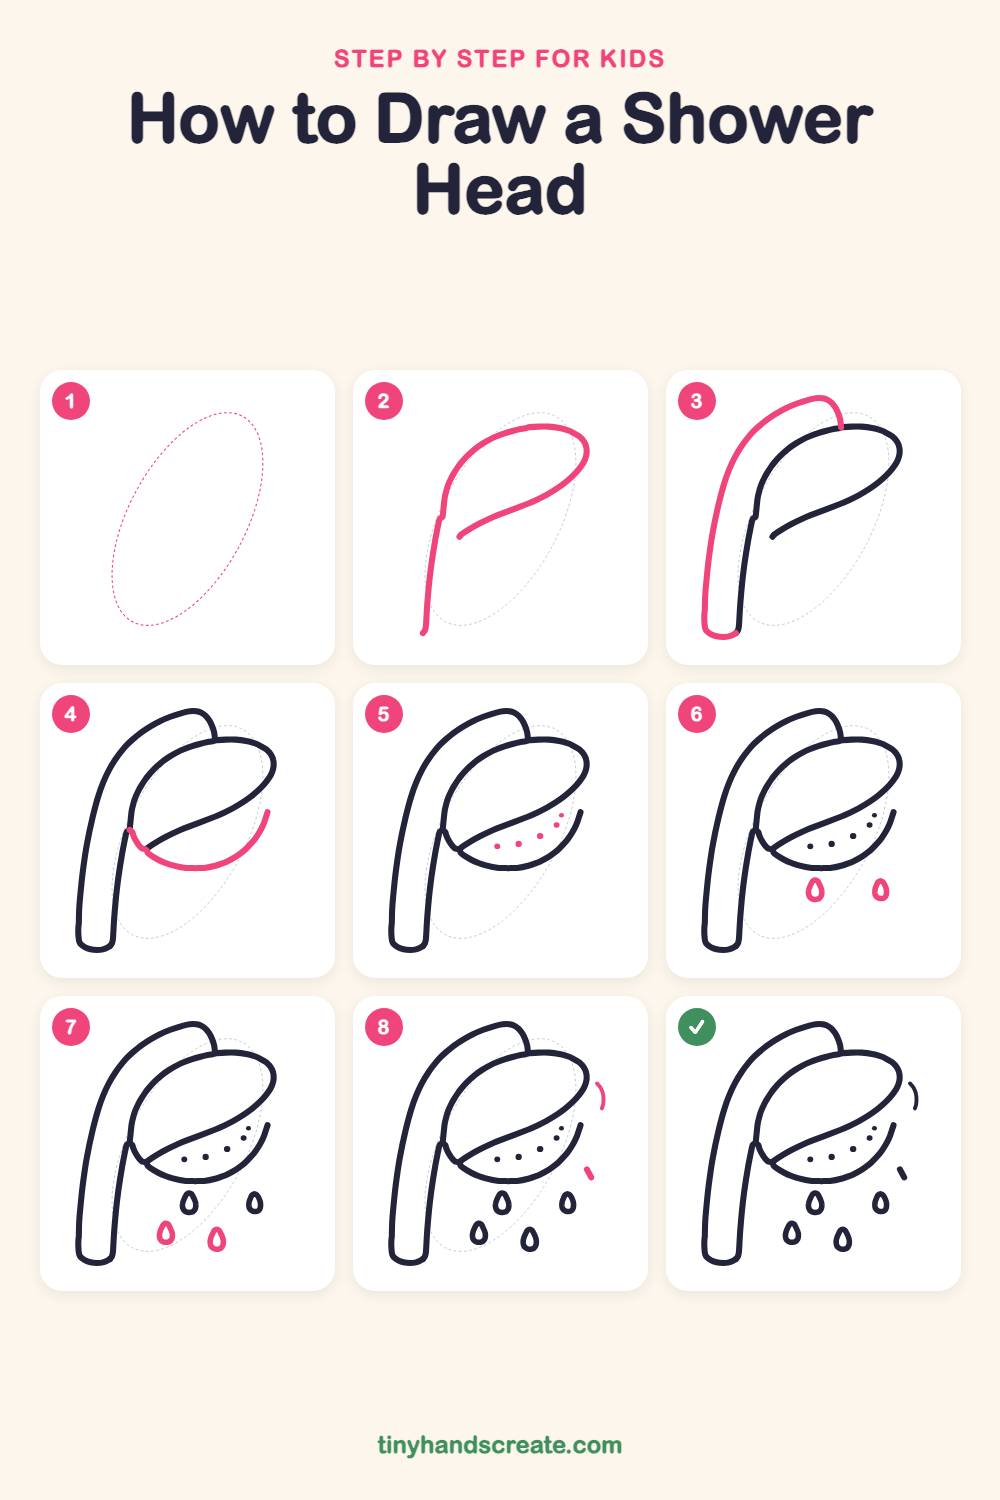
Step 1: Guide shapes
Lightly sketch this oval. It only shows where the big parts go, so press softly. You will erase it at the end.
Step 2: Head top and handle edge
Draw a long curved line for the top of the shower head. Start low on the left, curve up and over the top, round the right end, and sweep back toward the middle. Then draw a long gentle line from the left side going straight down for the edge of the handle.
Step 3: The curved handle
Draw a second long curve starting at the top of the head. Sweep it out to the left and down to the bottom, then close it with a rounded end so the handle looks like a fat bendy tube.
Step 4: The bottom curve
Under the head, draw a smile-shaped curve that starts at the left edge and swings across the bottom, then up to the right. This makes the face where the water comes out.
Step 5: The spray holes
Inside the smile shape, draw a row of little dots that curve along the line, getting smaller toward the right. Press your pencil down and lift it for each one.
Step 6: Top water drops
Under the head, draw two raindrops. Make each one like a tiny pointy hat on top of a round bottom, with a small drop shape inside.
Step 7: Lower water drops
Add two more drops lower down, one on the left and one in the middle. Make them the same shape as the others, but let them sit at different heights so the water looks like it is falling.
Step 8: Splash marks
On the right side, draw a short curved line next to the head and a small slanted dash lower down. These little marks show the water spraying out.
All done!
Erase the guide shapes, go over your lines, then color it in.
Finished your shower head? Keep the pencils out and learn how to draw a rocket or how to draw a shooting star next.
Tips for drawing a shower head
- The handle is the trickiest part. Draw each side as one smooth sweep from top to bottom instead of stopping and starting.
- Start the handle at the top of the head so the two shapes join neatly.
- Make each raindrop with a pointy top and a round bottom. Draw the small drop inside last so it stays centered.
Free shower head coloring page
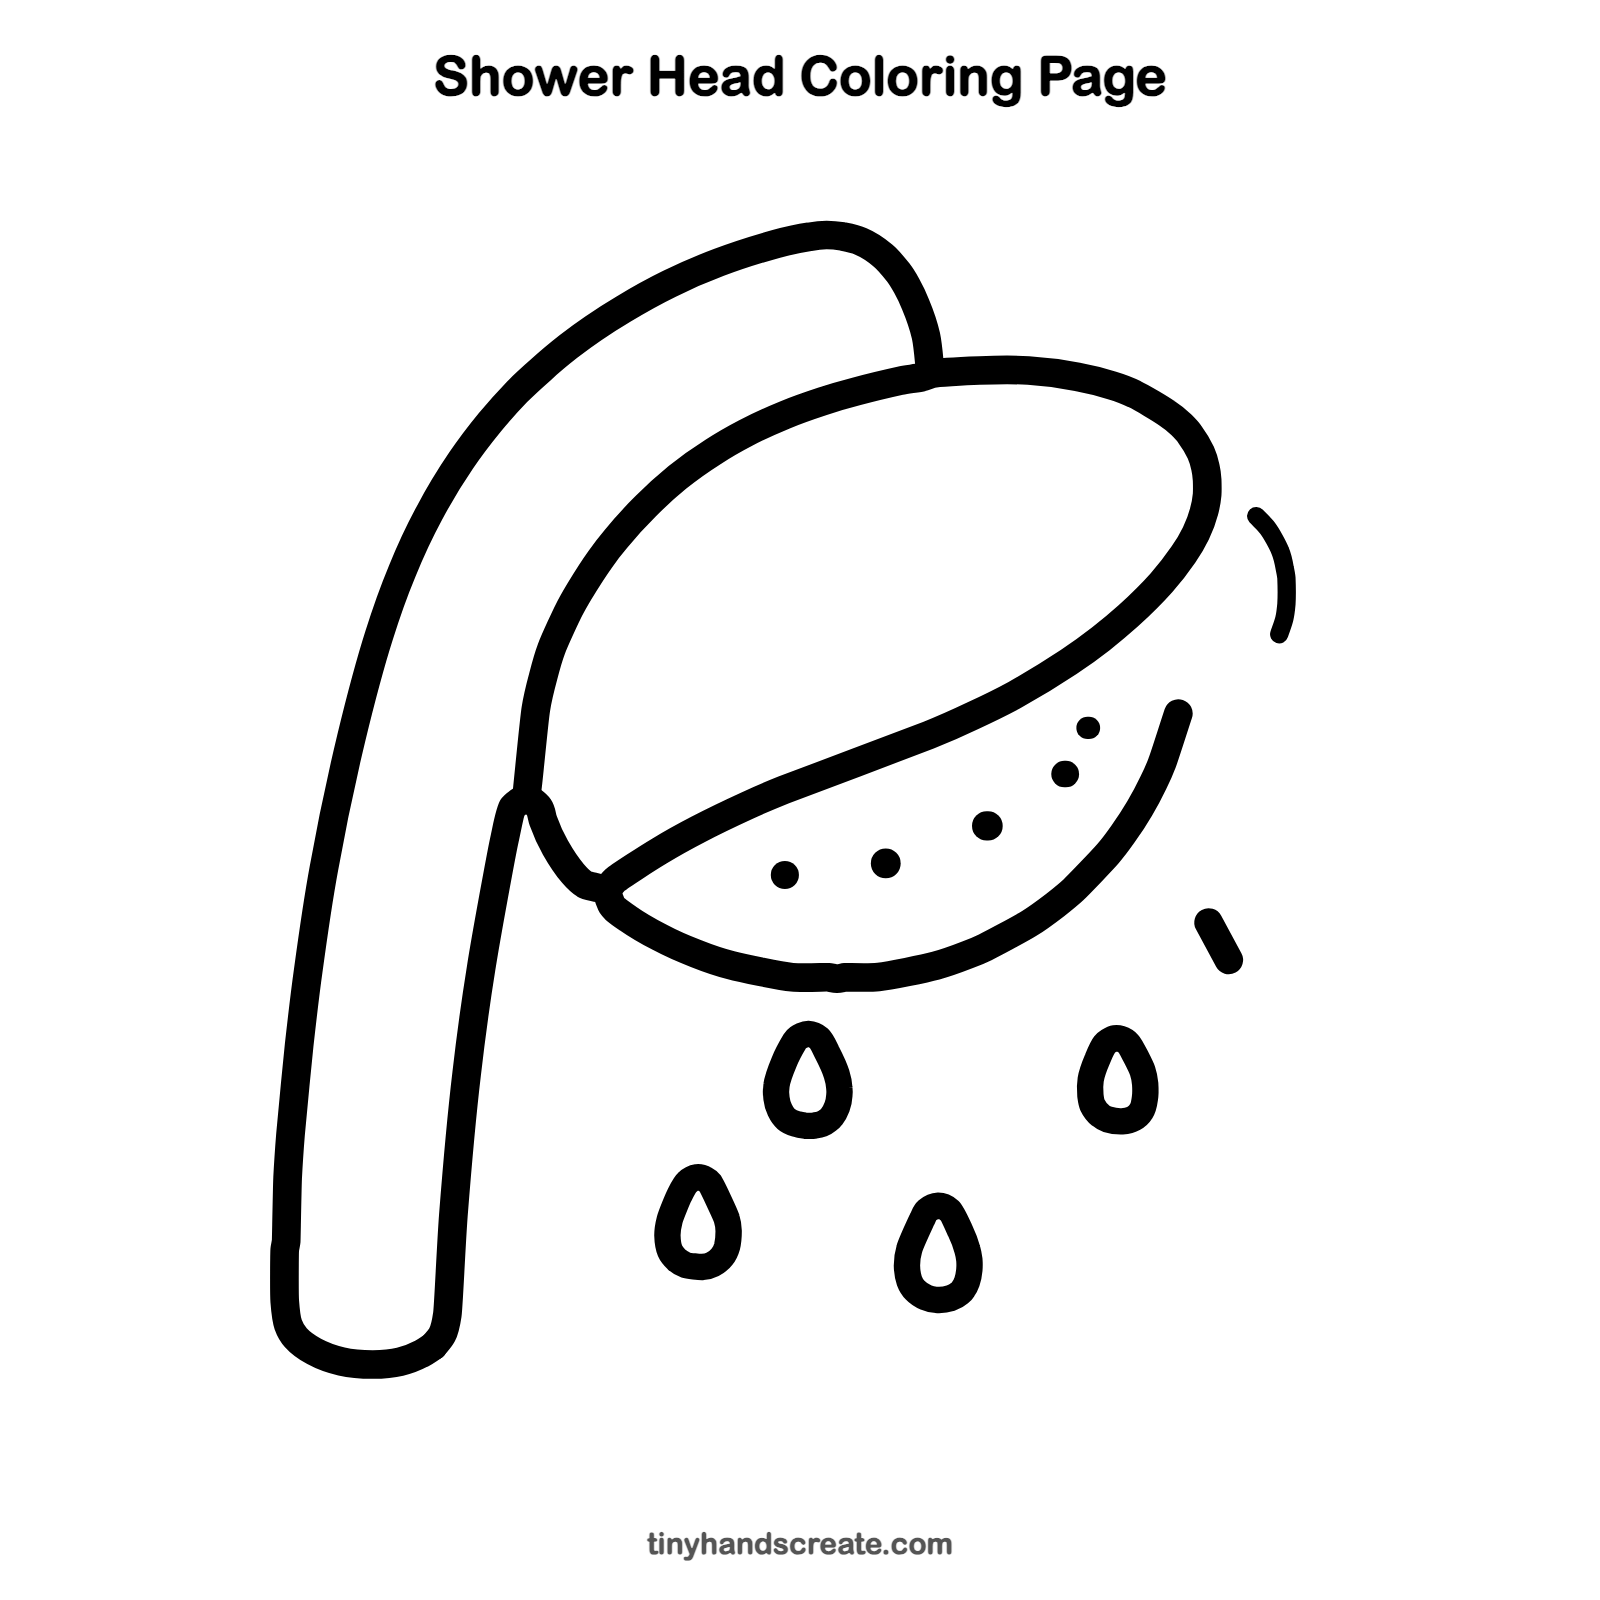
Want to go straight to coloring? Open this shower head coloring page at full size and print it. It is the same drawing you just learned, with clean lines ready for crayons or markers.
How to color your shower head drawing
Try silver or light gray for the shower head and light blue for the drops. For a creative twist, color each drop a different rainbow color so it looks like it is raining colors.
Shower head fun fact for kids
Many shower heads have dozens of tiny holes, and each hole makes one thin stream of water. Together the streams feel like a soft rain.
Questions about drawing a shower head
What shapes do I need to draw a shower head?
You need a rounded head shape, a long curved tube for the handle, a smile-shaped curve for the bottom, and small dots and drops. Everything else is just a curved line.
How do I make the water look like it is falling?
Draw the drops at different heights below the head and add a short curved line and a dash on the right side. Drops that are not lined up look like they are moving.
How do I draw the spray holes evenly?
Imagine a curved line inside the bottom of the head, then put your dots along it. Make the dots a little smaller as they go toward the right.