How to Draw a Slime Blob (Easy Step by Step)
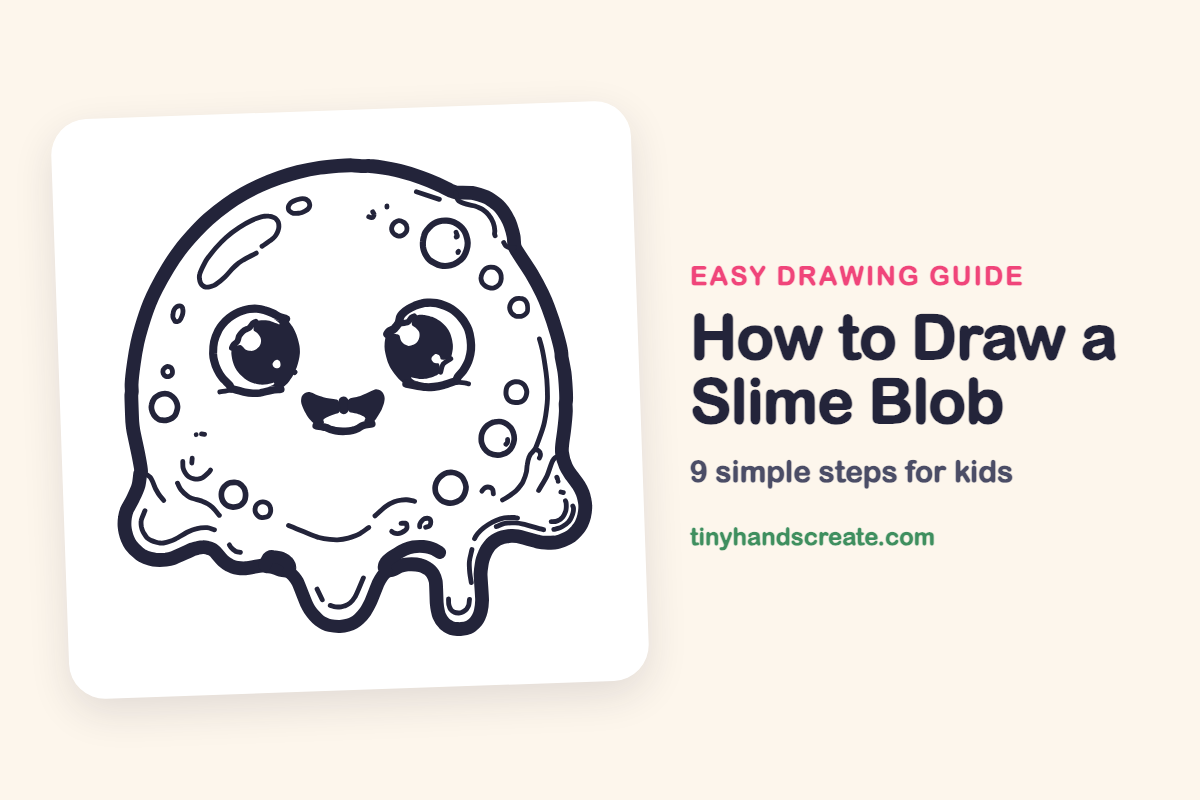
A slime blob is a silly, squishy character that anyone can draw. It is built from a few simple shapes: a big dome for the body, two round eyes, a small smile, and lots of little circles for bubbles. The wobbly drips at the bottom are the best part to practice.
- Easy
- 12 minutes
- 9 steps
You need: paper, a pencil, an eraser, and crayons or markers for coloring.
Start drawing
In this article (7 sections)
How to draw a slime blob step by step
How to Draw a Slime Blob · tinyhandscreate.com
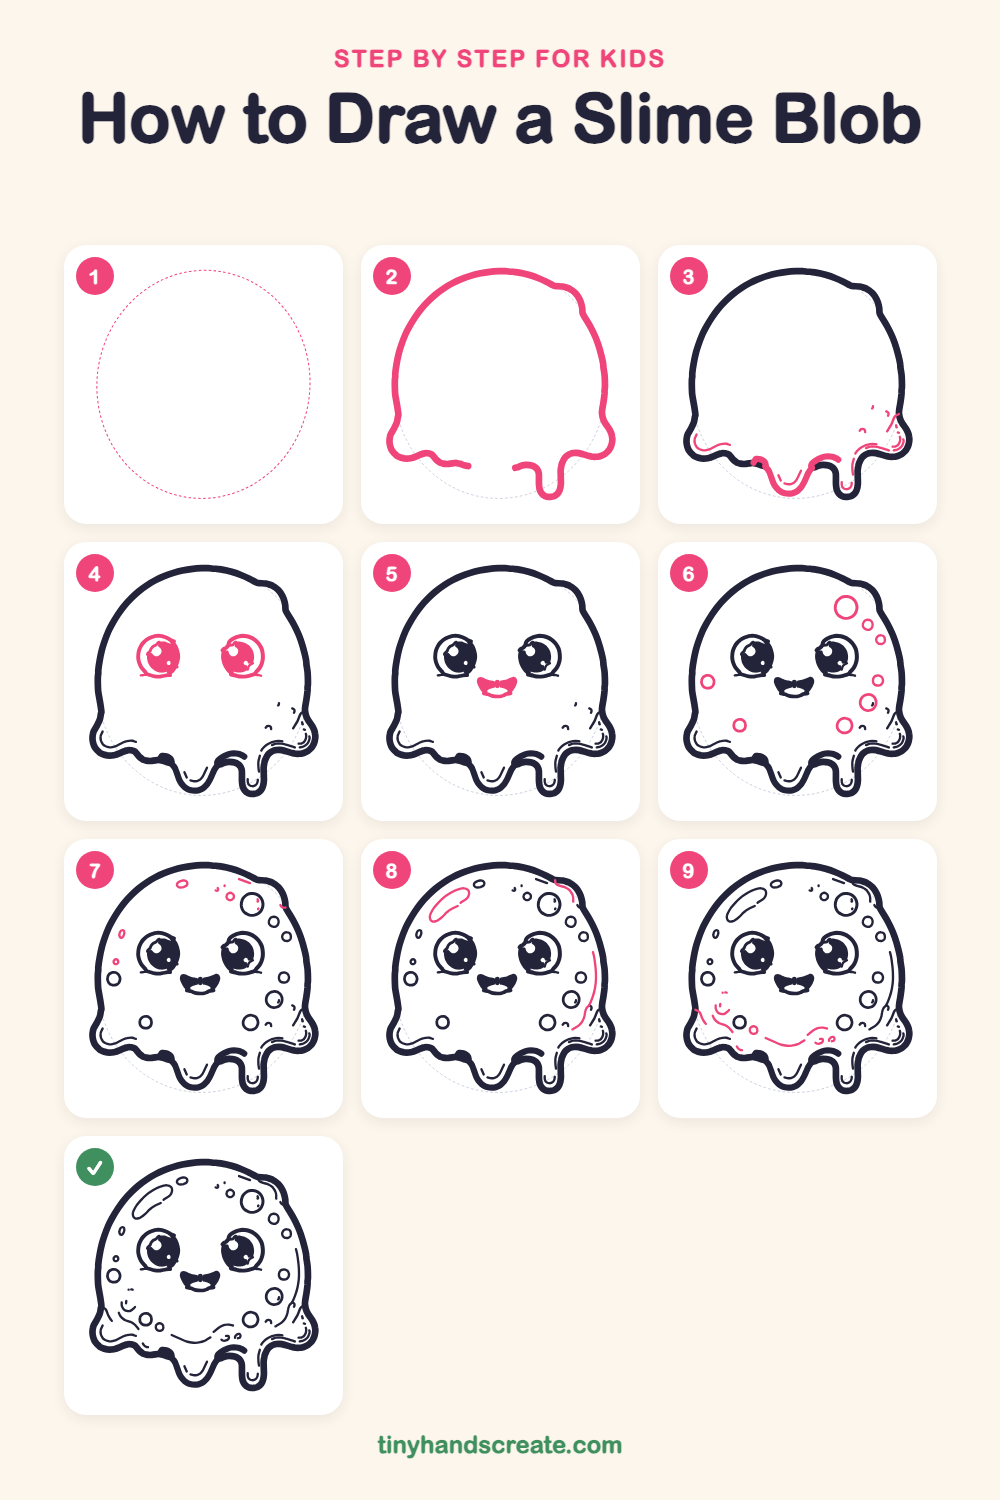
Step 1: Guide shapes
Lightly sketch this oval. It only shows where the big parts go, so press softly. You will erase it at the end.
Step 2: Dome and first drip
Draw a big dome like an upside-down bowl, with a round top and sides that curve down. Let the bottom edge wobble in and out, and end the line on the right with a long drip that has a round U-shaped tip. Leave a gap in the bottom middle for the next step.
Step 3: Middle drip and shine
Fill the gap at the bottom with a second drip: a wide U shape that hangs down and joins the wobbly edge on both sides. Then add a few short thin curves just inside the bottom edge, like a shiny rim along the drips.
Step 4: Big round eyes
Draw two big circles side by side in the middle of the dome, and fill them in with dark color. Add a curved line around each eye, and leave small white sparkle dots inside.
Step 5: A happy smile
Between the eyes, a little lower down, draw a small open smile like a half moon. Add a short curved line inside it for the bottom lip.
Step 6: Bubble circles
Draw some round circles of different sizes on the slime. Make one a little bigger and the rest small or medium, and keep them apart so they do not touch.
Step 7: Tiny bubbles
Add very small circles, little ovals, and a few dots in the empty spaces near the bubbles, mostly around the top and left side. Little ones make the slime feel bubbly.
Step 8: Shiny highlights
Near the top left, draw a long bean shape for a shiny spot. Then add a long curved line down the right side and a short one along the top right edge to show the slime glistening.
Step 9: Gooey ripples
Near the bottom, add a few short wavy lines at the left, like ripples in melted goo. Then draw a gentle smile-shaped curve across the lower middle, with a couple of tiny marks near the right.
All done!
Erase the guide shapes, go over your lines, then color it in.
Finished your slime blob? Keep the pencils out and learn how to draw a unicorn or how to draw a dragon next.
Tips for drawing a slime blob
- Sketch the dome lightly first, so you can fix the shape before you press hard.
- The drips are the trickiest part. Make them fat, with round tips, and join them smoothly to the wobbly bottom edge.
- Draw the bubbles in different sizes and keep them apart so they do not bump into each other.
Free slime blob coloring page
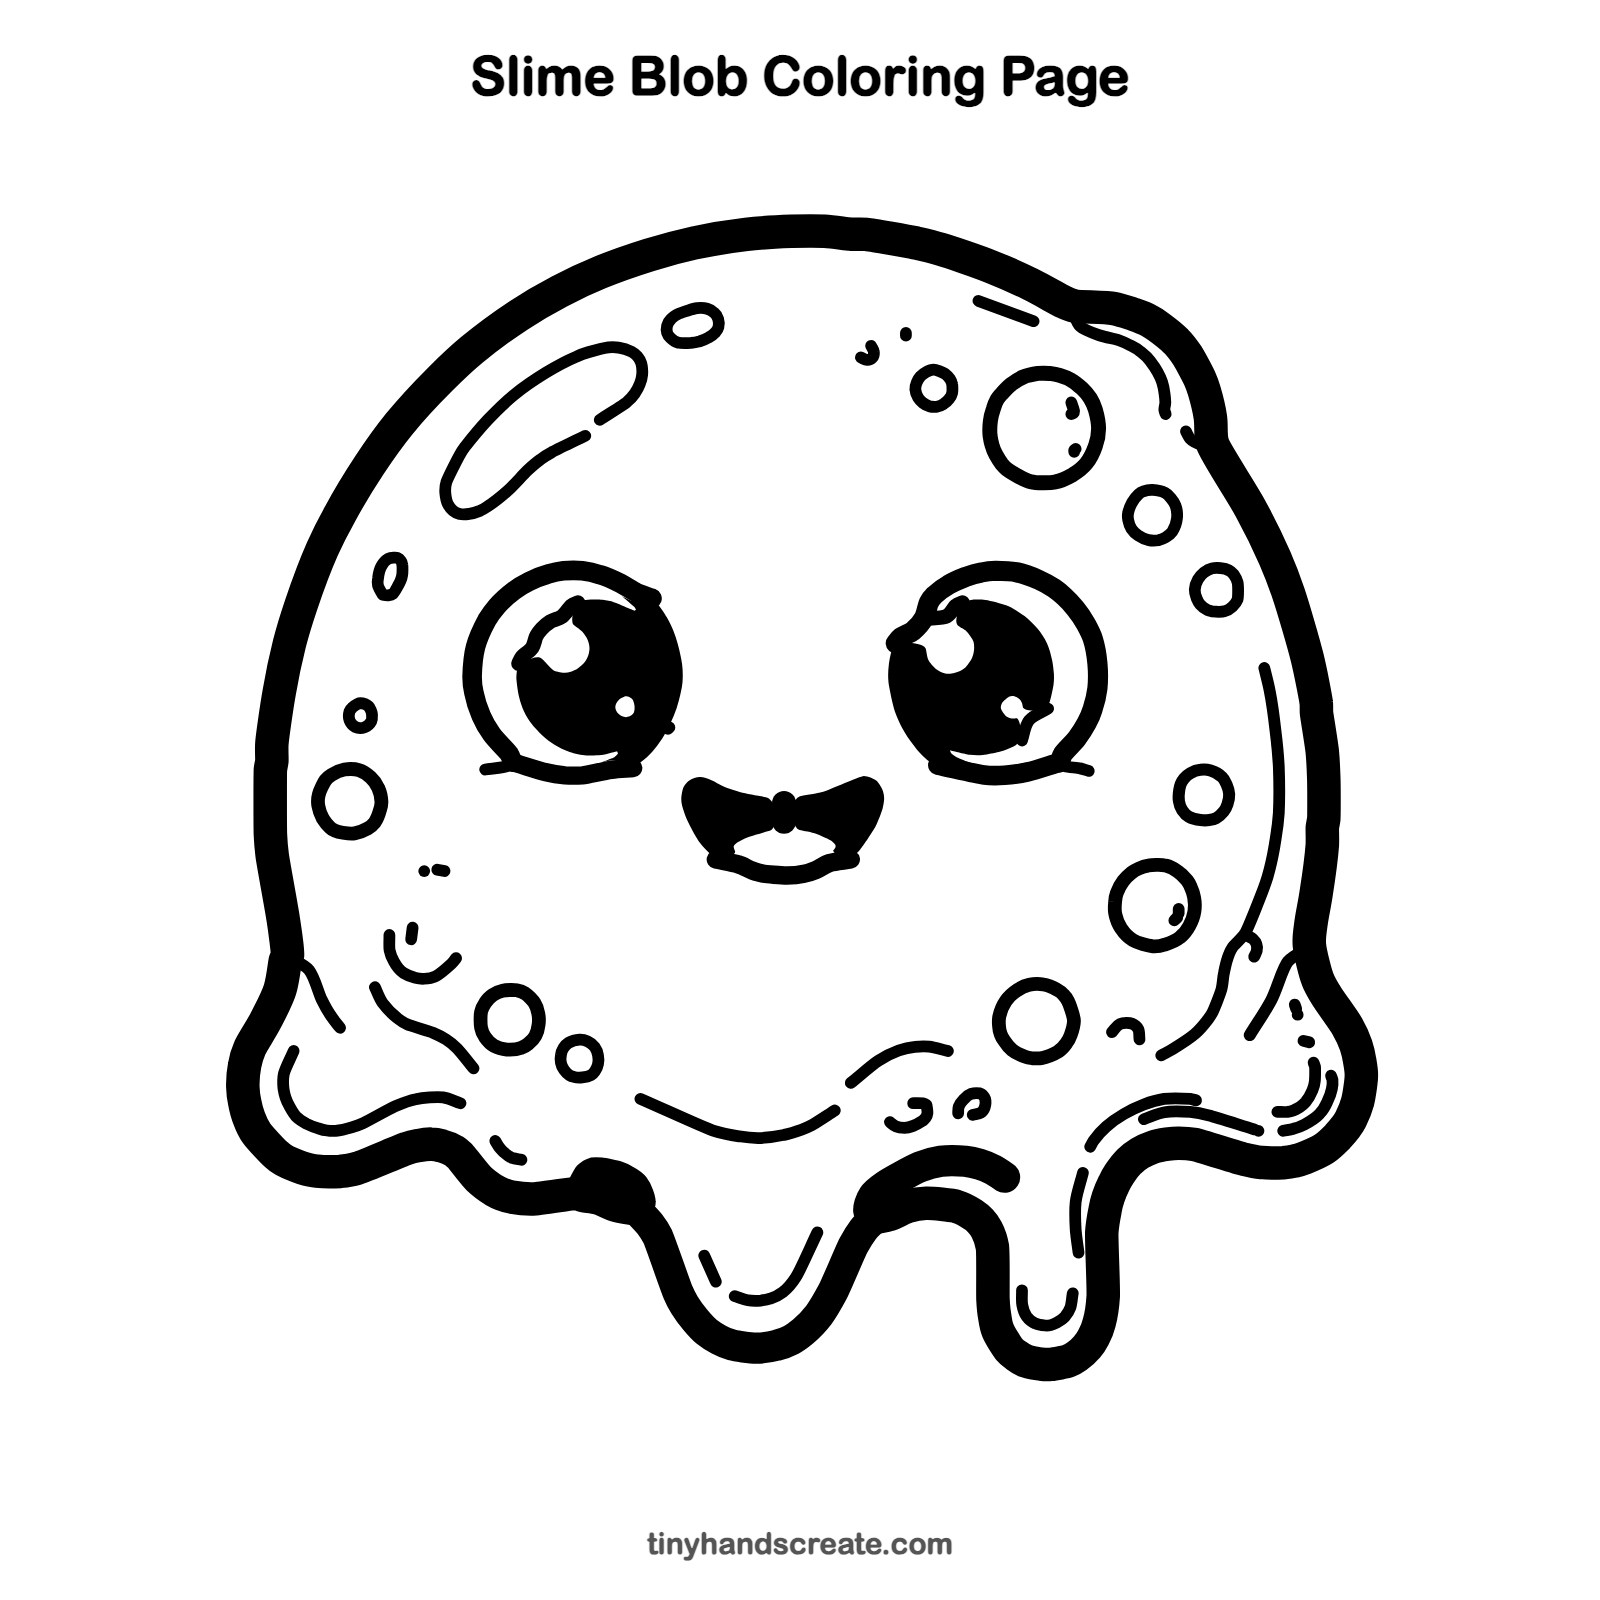
Want to go straight to coloring? Open this slime blob coloring page at full size and print it. It is the same drawing you just learned, with clean lines ready for crayons or markers.
How to color your slime blob drawing
Try bright green, purple, or teal for the body, and leave the bubbles and shiny spots lighter. For a creative twist, make a rainbow slime with a different color in each drip.
Slime blob fun fact for kids
Many kinds of craft slime are made from white school glue plus an activator, such as a borax solution or contact lens saline. The activator links the glue's long, stretchy chains together, which turns runny glue into a stretchy goo.
Questions about drawing a slime blob
What shapes do I need to draw a slime blob?
You need a big dome shape for the body, two circles for the eyes, a small half moon for the smile, and lots of small circles for bubbles. The drips are just round U shapes along the bottom.
How do I make my slime look cuter?
Make the eyes extra big and leave white sparkle dots inside them. A little smile and a few tiny bubbles around the face help a lot.
How do I draw slime that looks wet and gooey?
Add a shiny bean shape and curved lines near the top and side, and a few ripple lines near the bottom. Those little highlights make it look glossy.