How to Draw a Sink (Easy Step by Step)
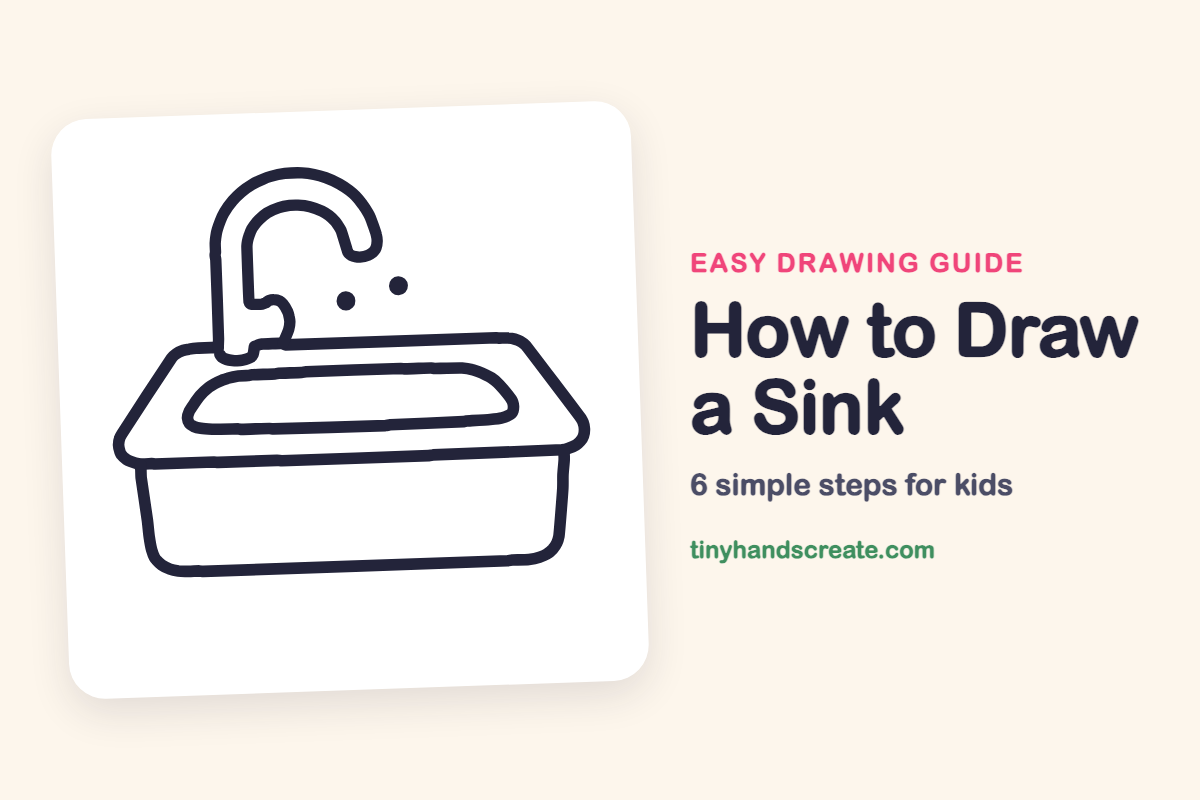
A sink is a great first drawing because it is built from simple shapes you already know: a flat box, a rounded rectangle, and a curvy tube. The tall bent faucet makes it feel like a real kitchen, and two little water drops add a touch of fun.
- Easy
- 10 minutes
- 6 steps
You need: paper, a pencil, an eraser, and crayons or markers for coloring.
Start drawing


In this article (7 sections)
How to draw a sink step by step
How to Draw a Sink · tinyhandscreate.com
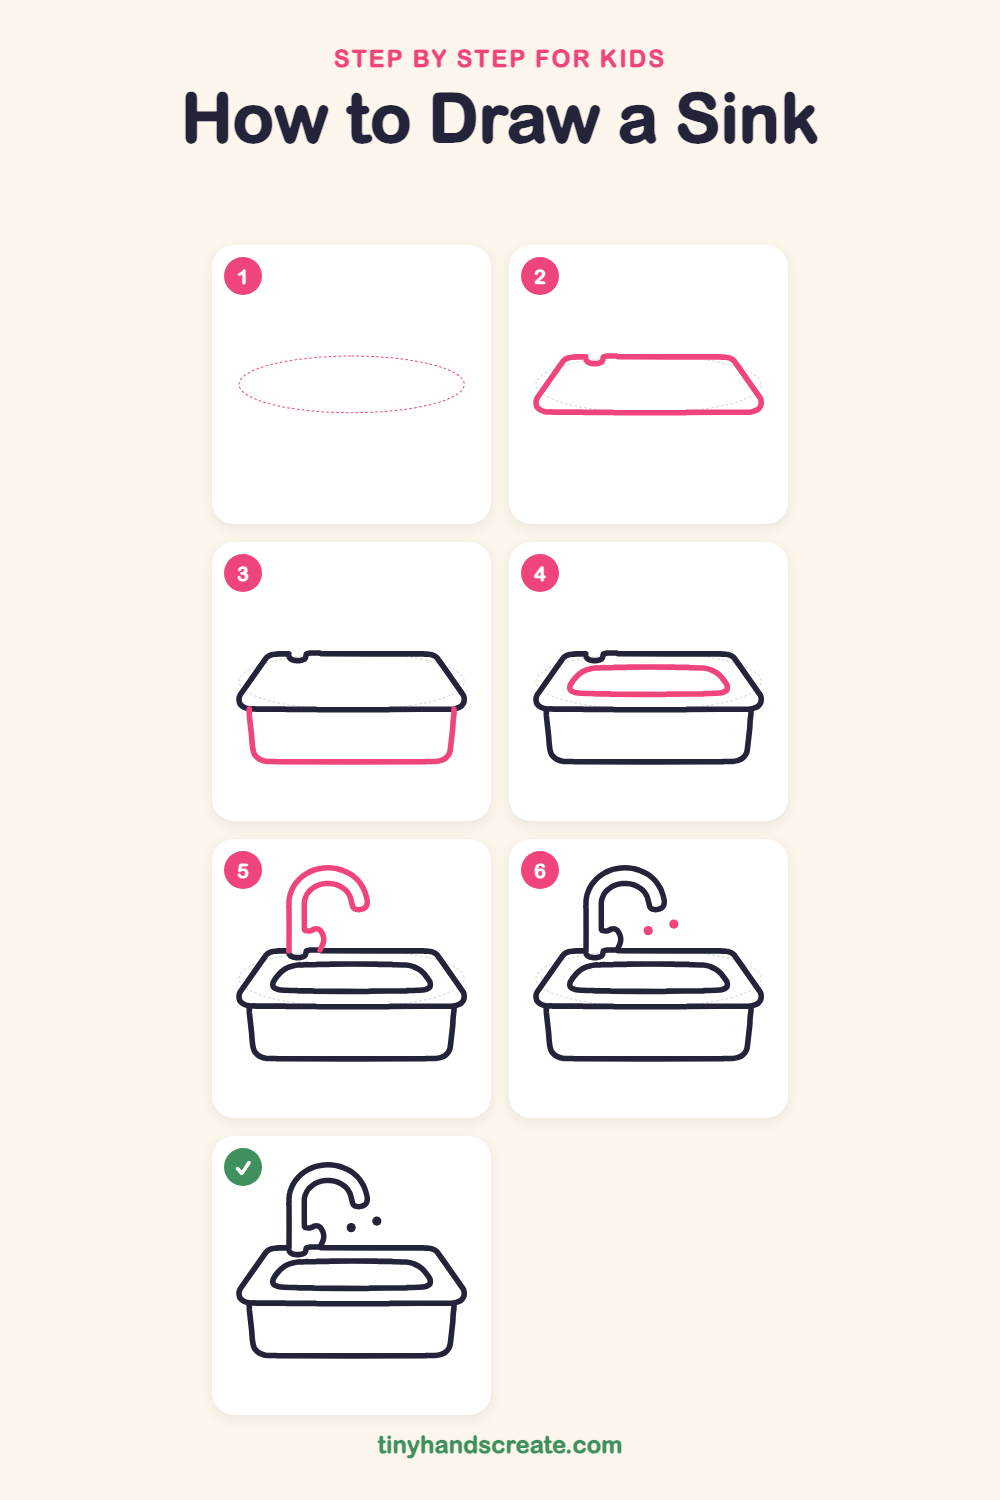
Step 1: Guide shapes
Lightly sketch this oval. It only shows where the big parts go, so press softly. You will erase it at the end.
Step 2: The counter top
Draw a wide, flat shape like a squashed box lid. Start with a long straight line across the top with a tiny dip near the left end, then slant two lines down and outward on each side, and join them with a long line along the bottom. Round off the bottom corners.
Step 3: The basin below
Under the counter, draw two short lines that go down from the bottom corners, leaning in a tiny bit. Join them with a long line at the bottom that has softly rounded corners, like a big rounded tub.
Step 4: The sink bowl
Inside the counter top, draw a long rounded rectangle that looks like a soft pillow. Keep it centered so there is a flat border all around it.
Step 5: The faucet
Start at the dip on the back of the counter and draw a tall pole going straight up. Curve it over the top like the handle of a cane, then bring it down to a little rounded spout. Draw a second line inside to make the pipe thick, with a small bump near the bottom.
Step 6: Water drops
Near the tip of the spout, add two round dots, one a little higher than the other. They look like drips about to fall.
All done!
Erase the guide shapes, go over your lines, then color it in.
Finished your sink? Keep the pencils out and learn how to draw a rocket or how to draw a shooting star next.
Tips for drawing a sink
- Draw the faucet pole with two lines side by side, and keep them the same distance apart so the pipe stays the same thickness all the way up.
- Make the sink bowl a long rounded rectangle, and leave a flat border around it so it sits nicely inside the counter.
- Keep the water drops small and put them near the spout so they look like they are about to fall.
Free sink coloring page
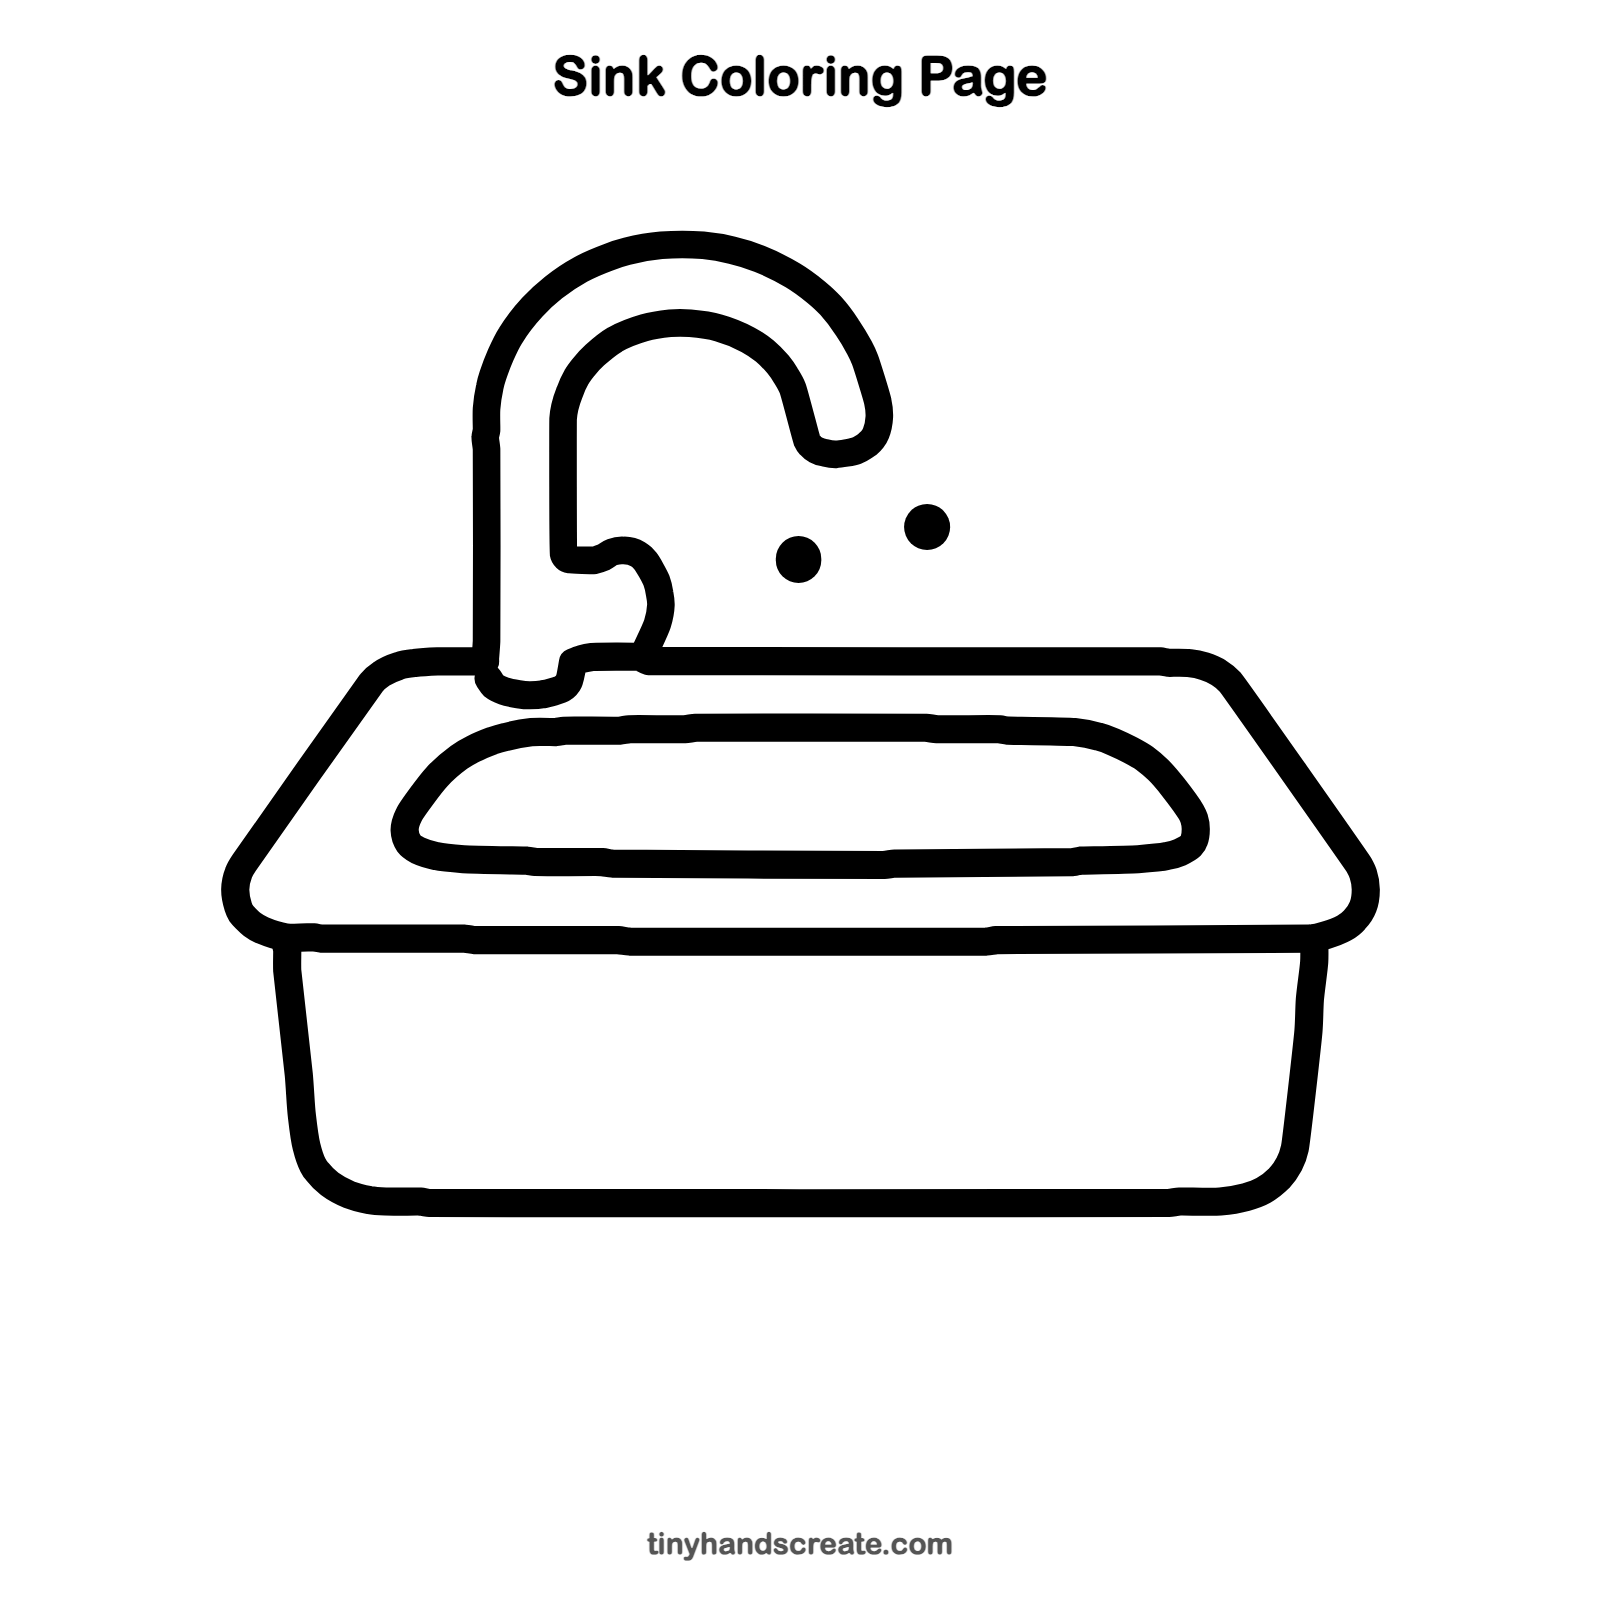
Want to go straight to coloring? Open this sink coloring page at full size and print it. It is the same drawing you just learned, with clean lines ready for crayons or markers.
How to color your sink drawing
Color the counter a warm tan or light gray and the faucet silver or light blue. For a creative twist, color the sink bowl blue like water or add a rubber duck floating inside.
Sink fun fact for kids
A kitchen faucet with a high curved neck is often called a gooseneck faucet, because the bend looks a lot like a goose's long neck.
Questions about drawing a sink
What shapes do I need to draw a sink?
You need a flat box shape for the counter, a tub shape below it, a rounded rectangle for the bowl, and a curved tube for the faucet. Two small dots make the water drops.
How do I make the faucet look bent?
Draw a tall straight pole, then curve it over the top like an upside-down U and bring it down to a short spout. Add a second line inside to give it thickness.
How can I make my sink drawing look more fun?
Add bubbles, a rubber duck, or a stack of colorful dishes around the sink once the main drawing is done.