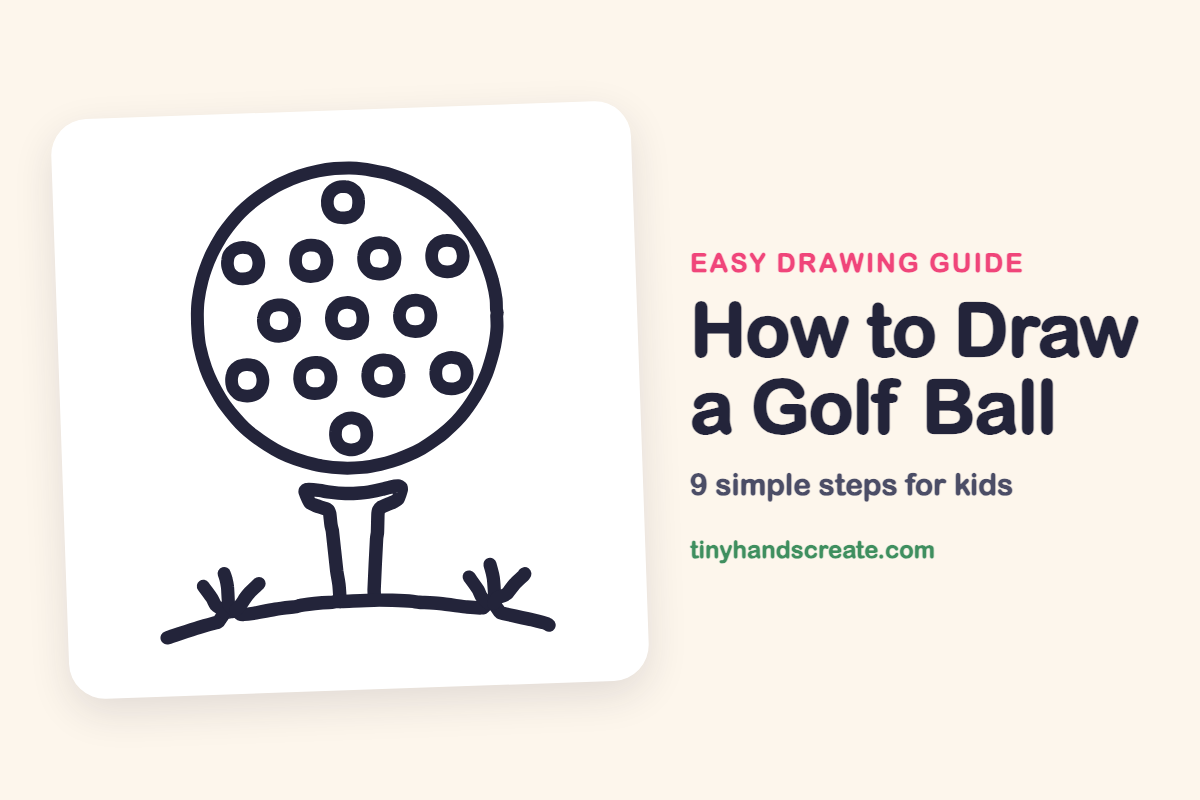
How to Draw a Golf Ball (Easy Step by Step)
A golf ball on a tee is a great first drawing because it is mostly circles. You will start with one big circle for the ball, add a little tee and a hill with two tufts of grass, then fill the ball with rows of tiny doughnut-shaped dimples.
- Easy
- 10 minutes
- 9 steps
You need: paper, a pencil, an eraser, and crayons or markers for coloring.
Start drawing


In this article (7 sections)
How to draw a golf ball step by step
How to Draw a Golf Ball · tinyhandscreate.com
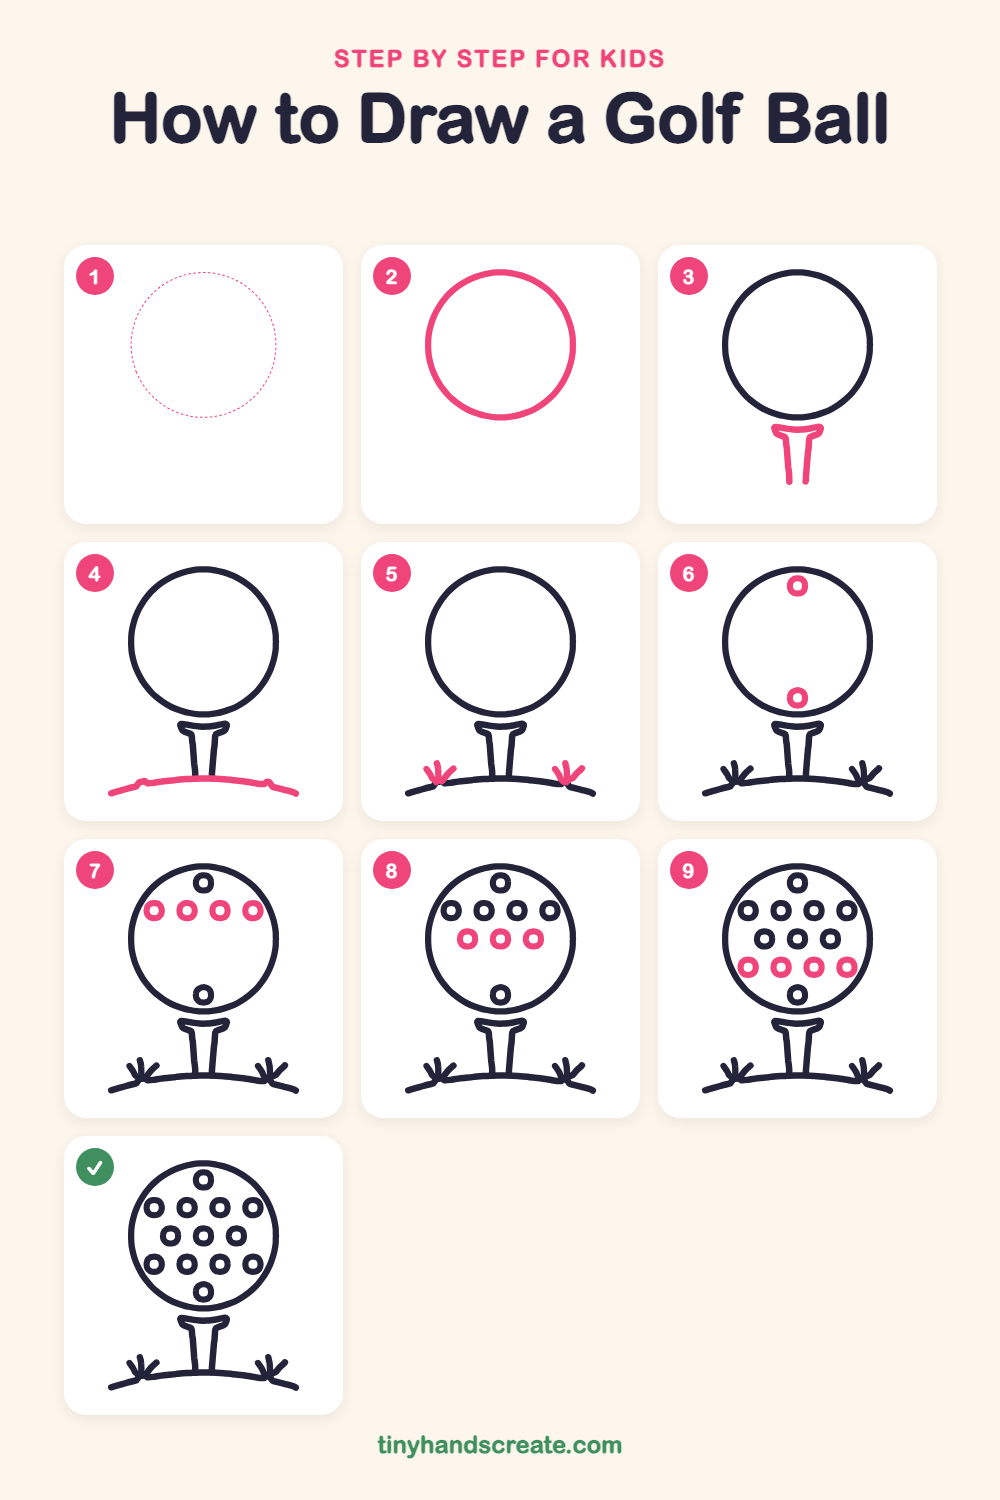
Step 1: Guide shapes
Lightly sketch this oval. It only shows where the big parts go, so press softly. You will erase it at the end.
Step 2: The ball
Draw a big, round circle near the top of your page. Take your time and let your pencil curve all the way around until the ends meet.
Step 3: The tee
Under the ball, draw a small curved cup that looks like a smile. Then draw two lines going down from the cup, a little closer together at the bottom, to make the thin tee.
Step 4: The ground
Draw a long, gentle hill across the bottom of the page. Make it touch the bottom of the tee and stretch out on both sides.
Step 5: Two tufts of grass
On each side of the tee, draw a small tuft of short lines that start at the hill and fan out like a tiny crown. Make both tufts about the same size.
Step 6: Top and bottom dimples
Draw one small ring near the top inside the ball and one near the bottom. Each is a small circle with a tiny circle inside it, like a doughnut.
Step 7: The upper row
Draw a row of four doughnut rings just below the top one. Space them evenly so they line up side by side.
Step 8: The middle row
Add three more rings in the middle of the ball. Tuck each one in between the rings above it.
Step 9: The lower row
Finish with a row of four rings under the middle row, matching the upper row. Now your golf ball is covered in dimples.
All done!
Erase the guide shapes, go over your lines, then color it in.
Finished your golf ball? Keep the pencils out and learn how to draw a rocket or how to draw a shooting star next.
Tips for drawing a golf ball
- Draw the big circle lightly first. If it comes out a little wobbly, trace over it again slowly, and no one will notice.
- The dimples are the trickiest part. Make a small circle first, then a tiny circle inside it, and try to keep all the rings about the same size.
- Line up the rows before you press hard. The rows of four and the row of three sit in a staggered pattern, so each ring in the middle row fits between two rings above it.
Free golf ball coloring page
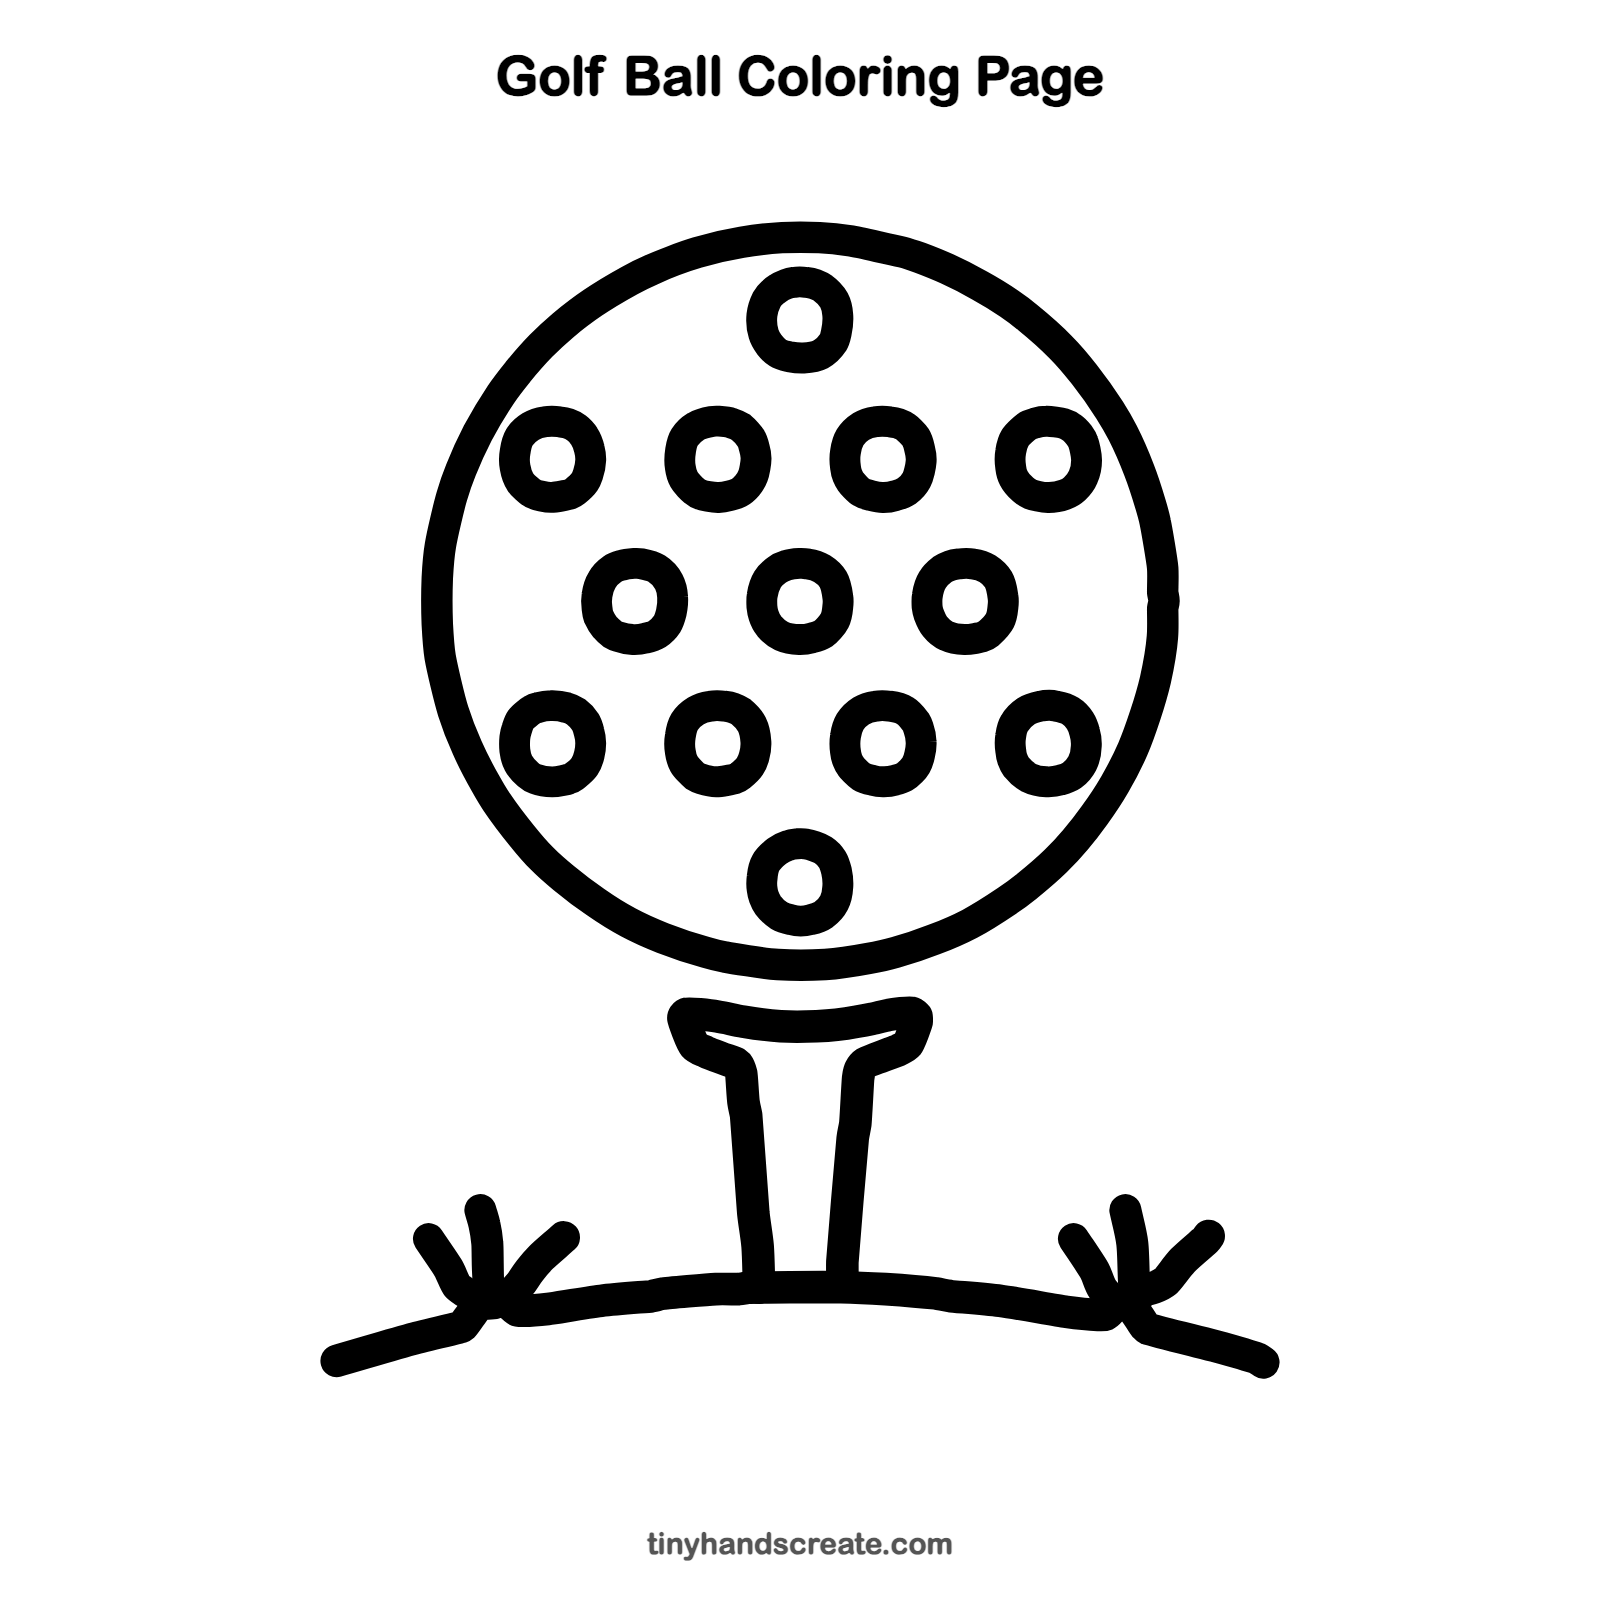
Want to go straight to coloring? Open this golf ball coloring page at full size and print it. It is the same drawing you just learned, with clean lines ready for crayons or markers.
How to color your golf ball drawing
Keep the ball white or pale gray with light blue shading inside each dimple, and color the hill and grass in bright greens. For a creative twist, make a rainbow golf ball with a different color in every dimple.
Golf ball fun fact for kids
A golf ball has hundreds of tiny dimples, usually somewhere between 300 and 500. They help the ball fly farther through the air than a smooth ball would.
Questions about drawing a golf ball
What shapes do I need to draw a golf ball?
You mostly need circles. One big circle makes the ball, and lots of small circles with even smaller circles inside make the dimples. The tee is a small curved cup with two straight lines.
How do I make the dimples look even?
Draw one at the top and one at the bottom first. Then add a row of four below the top one, a row of three in the middle, and a row of four above the bottom one, so each middle ring sits in the gap between two rings above it.
How do I draw a golf tee?
Start with a small curved shape like a smile under the ball. Then draw two lines going down from it that get a little closer together. After that, draw the hill so it touches the bottom of the tee.