How to Draw a Pot of Tulips (Easy Step by Step)
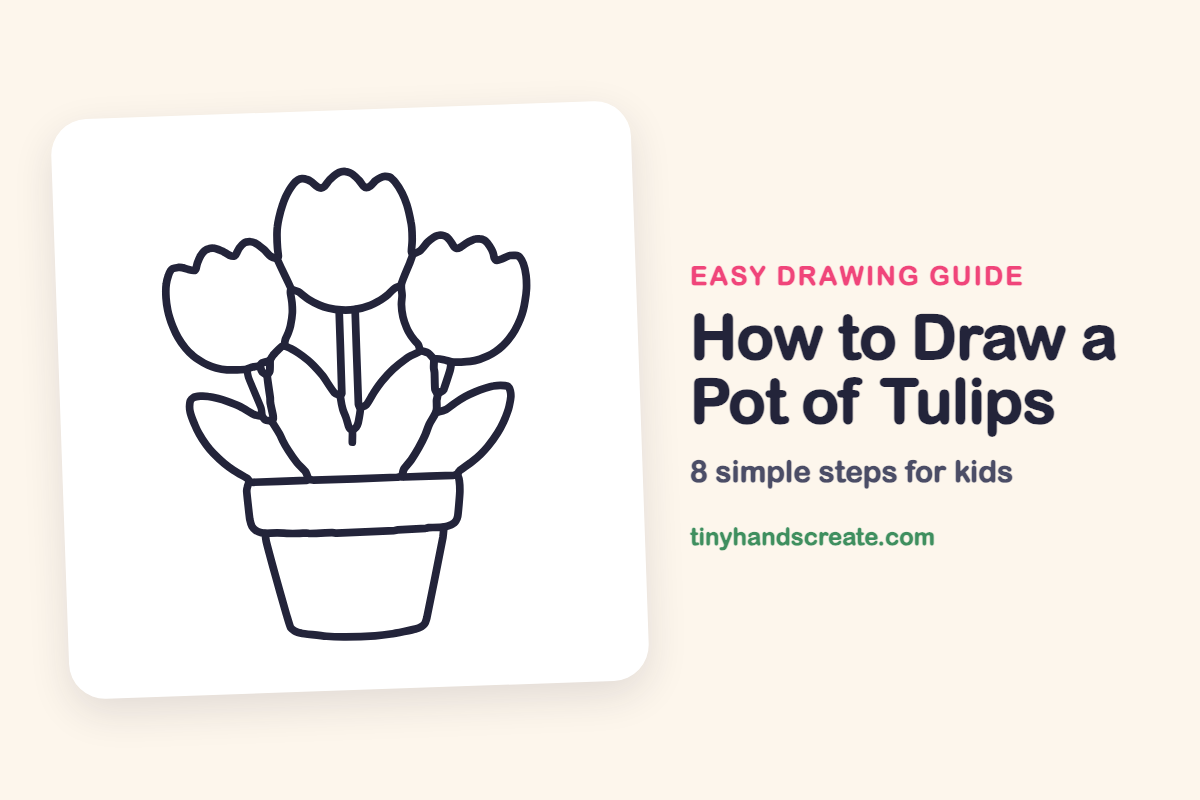
A pot of tulips is a cheerful drawing made from a few simple shapes. The flowers are rounded cups with bumpy tops, the leaves are long curved ovals with pointy ends, and the pot is a short wide rectangle with a slightly narrower pot body below it. Once you can draw these, you can fill a whole windowsill.
- Easy
- 15 minutes
- 8 steps
You need: paper, a pencil, an eraser, and crayons or markers for coloring.
Start drawing
In this article (7 sections)
How to draw a pot of tulips step by step
How to Draw a Pot of Tulips · tinyhandscreate.com
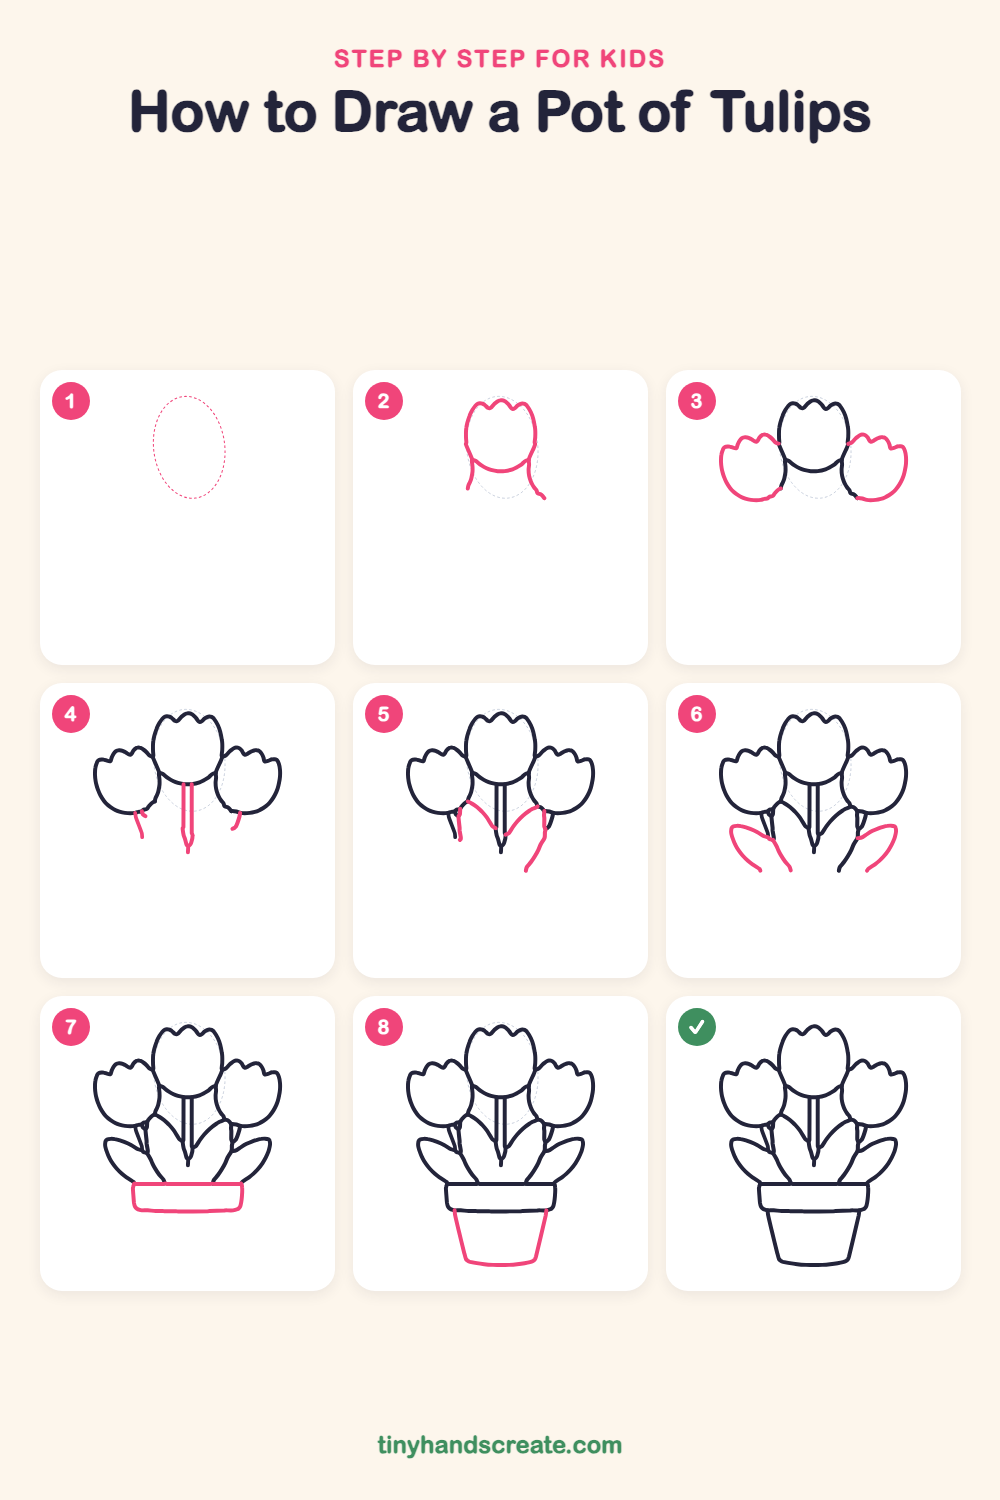
Step 1: Guide shapes
Lightly sketch this oval. It only shows where the big parts go, so press softly. You will erase it at the end.
Step 2: The middle tulip
Draw a rounded cup shape near the top of the page with three little bumps along the top edge for the petal tips. Curve a line across the bottom to close the flower.
Step 3: The two side tulips
Draw a smaller tulip on each side of the middle one, tucked a bit lower and touching it. Give each one a bumpy top and a round bottom.
Step 4: Tulip stems
Draw two straight lines going down from the middle tulip to make a skinny stem with a pointed end. Add a short slanted stem under each side tulip, tilting toward the center.
Step 5: The middle leaves
Start near the bottom of the middle stem and draw a curved line sweeping up and out toward each side tulip. Add a second curved line on the outer side of each one to make two pointy leaves.
Step 6: The side leaves
Draw a long, curved leaf on each side, like a stretched-out oval. Start each one low near the middle leaves, sweep it up and out, and curve it back toward the stems.
Step 7: The rim of the pot
Under the leaves, draw a wide, short rectangle with rounded bottom corners. The flat top edge closes off the bottom of the leaves.
Step 8: The flowerpot
Draw two lines slanting inward from the bottom of the rim. Connect them with a short, gently curved line at the bottom to finish the pot.
All done!
Erase the guide shapes, go over your lines, then color it in.
Finished your pot of tulips? Keep the pencils out and learn how to draw a mushroom or how to draw a sunflower next.
Tips for drawing a pot of tulips
- Make the middle tulip a little bigger and higher, and tuck the two side tulips slightly lower so they look like they are leaning in to join it.
- The bumpy top of each tulip is the trickiest part, so try three soft bumps like little hills instead of sharp zigzags.
- Draw the pot rim a little wider than the pot body below it, and keep its top edge straight where the leaves meet it.
Free pot of tulips coloring page
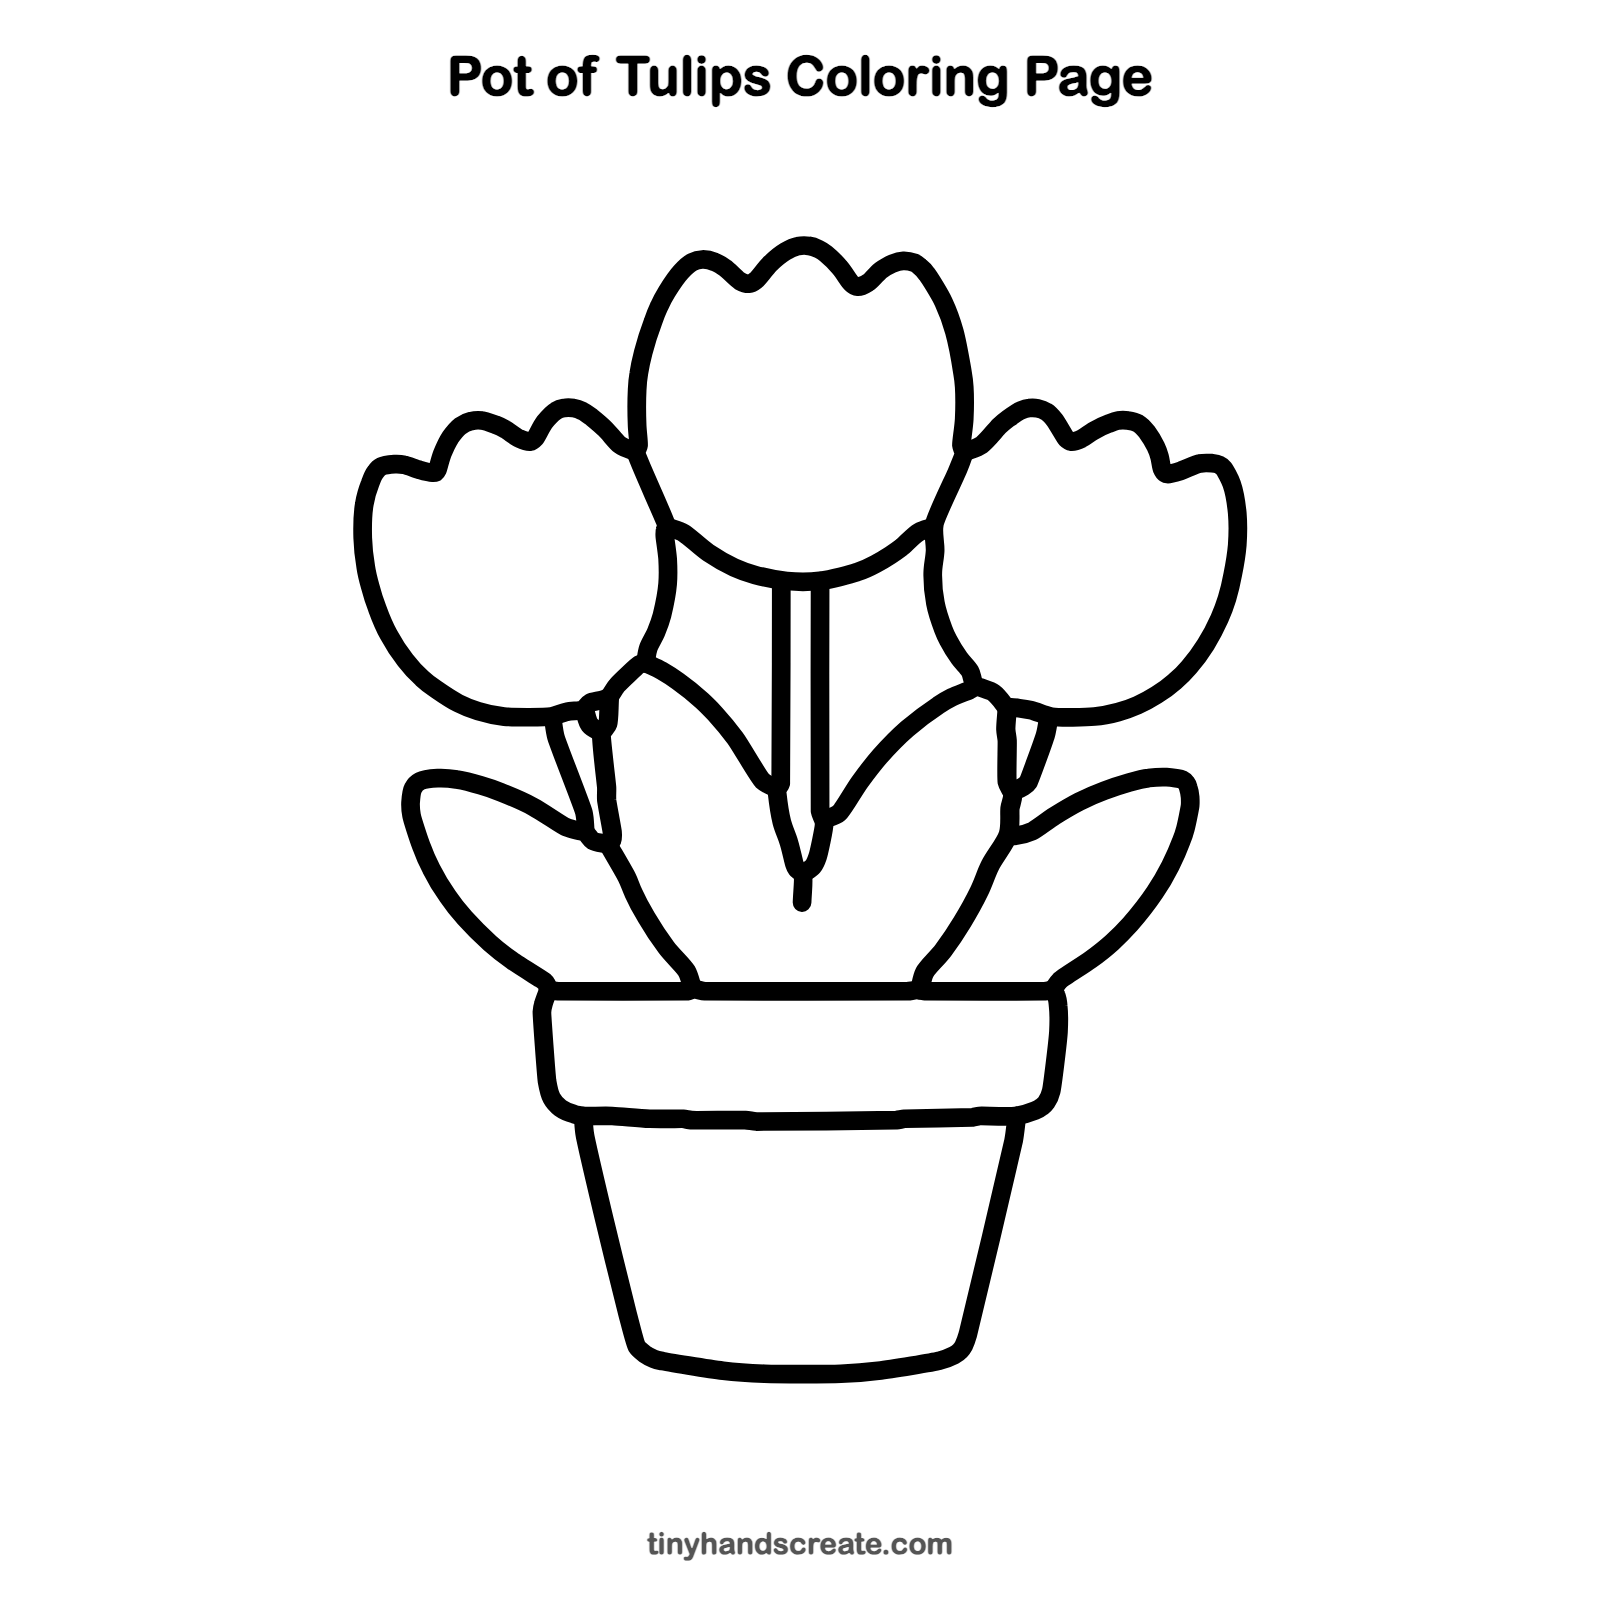
Want to go straight to coloring? Open this pot of tulips coloring page at full size and print it. It is the same drawing you just learned, with clean lines ready for crayons or markers.
How to color your pot of tulips drawing
Try red, pink, and yellow for the tulips, bright green for the leaves and stems, and a terracotta orange for the pot. For a creative twist, give each tulip a different color, or paint the pot with stripes and polka dots.
Pot of tulips fun fact for kids
Tulips grow from bulbs, which store food underground. A gardener plants the bulb in the fall, and it rests through the winter before the flower blooms in spring.
Questions about drawing a pot of tulips
What shapes do I need to draw a tulip?
Start with a rounded cup shape for the flower. Then add three small bumps along the top for the petals, and a straight line down for the stem.
How do I make my tulip pot look more balanced?
Draw the middle tulip a little higher, then place one tulip on each side, tucked slightly lower. Keeping the leaves and pot centered under the flowers helps too.
How do I draw a flowerpot that looks right?
Draw a short, wide rectangle for the rim, then a shape below it that gets narrower toward the bottom. A gently curved line at the base finishes the pot.