How to Draw a Marmoset (Easy Step by Step)
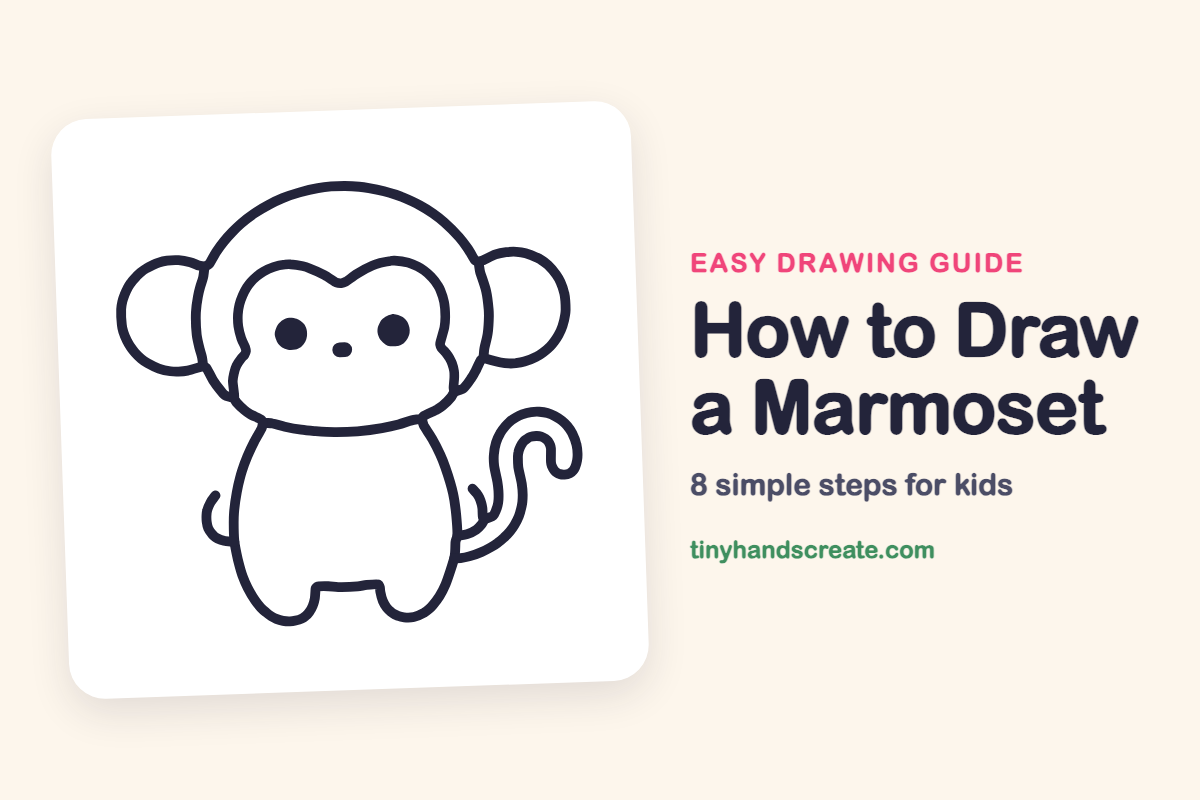
This little marmoset is built from circles and ovals, so it is a great first animal for beginners. You start with a big round head, add two ear circles, and finish with a pear-shaped body and a curly tail. The big eyes and heart-shaped face make it look friendly right away.
- Easy
- 12 minutes
- 8 steps
You need: paper, a pencil, an eraser, and crayons or markers for coloring.
Start drawing


In this article (7 sections)
How to draw a marmoset step by step
How to Draw a Marmoset · tinyhandscreate.com
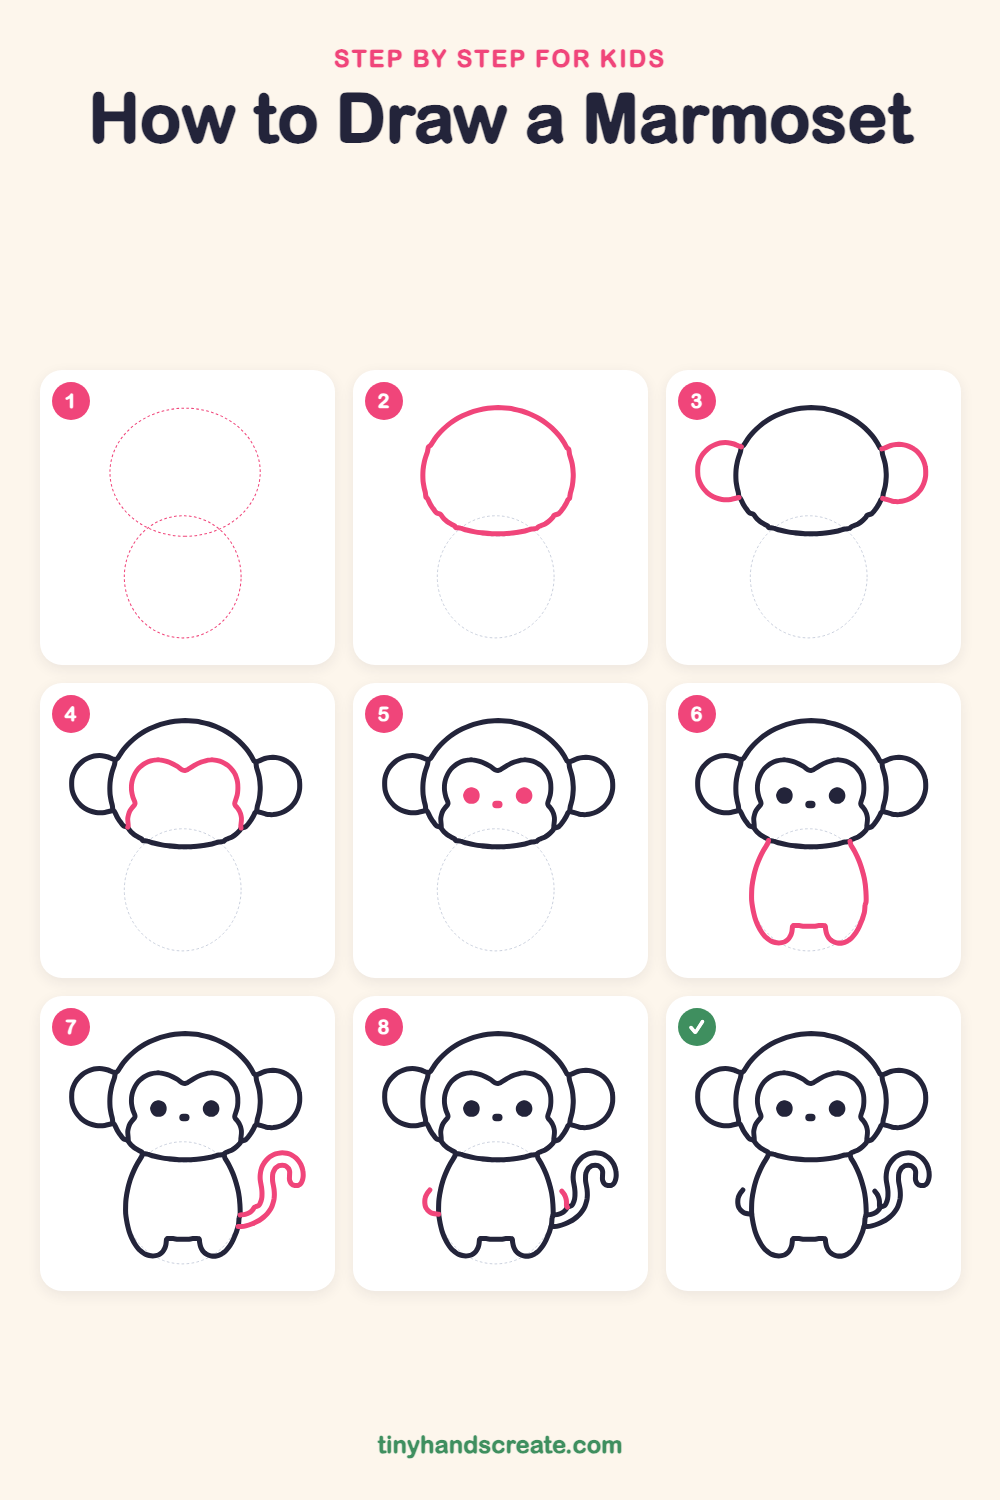
Step 1: Guide shapes
Lightly sketch these 2 ovals. They only show where the big parts go, so press softly. You will erase them at the end.
Step 2: The head
Draw a big, slightly wide oval near the top of your page. Leave the bottom a little flatter, like a soft bowl, so there is room for a body underneath.
Step 3: The round ears
Add a circle on each side of the head, sitting a little above the middle. Let each circle tuck behind the head line so the ears look like they are peeking out.
Step 4: The face patch
Inside the head, draw a heart-like shape with a small dip at the top center. Let the sides curve down and bulge out into two round cheeks near the bottom.
Step 5: Eyes and nose
Draw two big round dots for eyes, side by side in the middle of the face. Then add a small oval nose halfway between them and a little lower.
Step 6: The round body
Under the head, draw a big pear shape that is narrow at the top and wide at the bottom. Finish the bottom with two little rounded feet and a small gap between them.
Step 7: The curly tail
Start at the right side of the body and draw a long wavy line that goes out and up, then curls into a hook at the end. Draw a second line beside it so the tail looks thick.
Step 8: Little side curls
Draw a tiny curved line on the left side of the body, near the bottom. Then add another tiny curved line on the right side, next to where the tail begins, to look like little tufts of fur.
All done!
Erase the guide shapes, go over your lines, then color it in.
Finished your marmoset? Keep the pencils out and learn how to draw a fox or how to draw a hedgehog next.
Tips for drawing a marmoset
- Draw the head oval lightly first, then press harder once you like the shape. The face patch is easier to place inside a head you have already finished.
- Make both ears about the same size. Try drawing the left ear, then matching it on the right by looking at how high it sits on the head.
- Take your time with the tail. Draw one wavy line first, then add the second line beside it, keeping the gap about the same all the way along.
Free marmoset coloring page
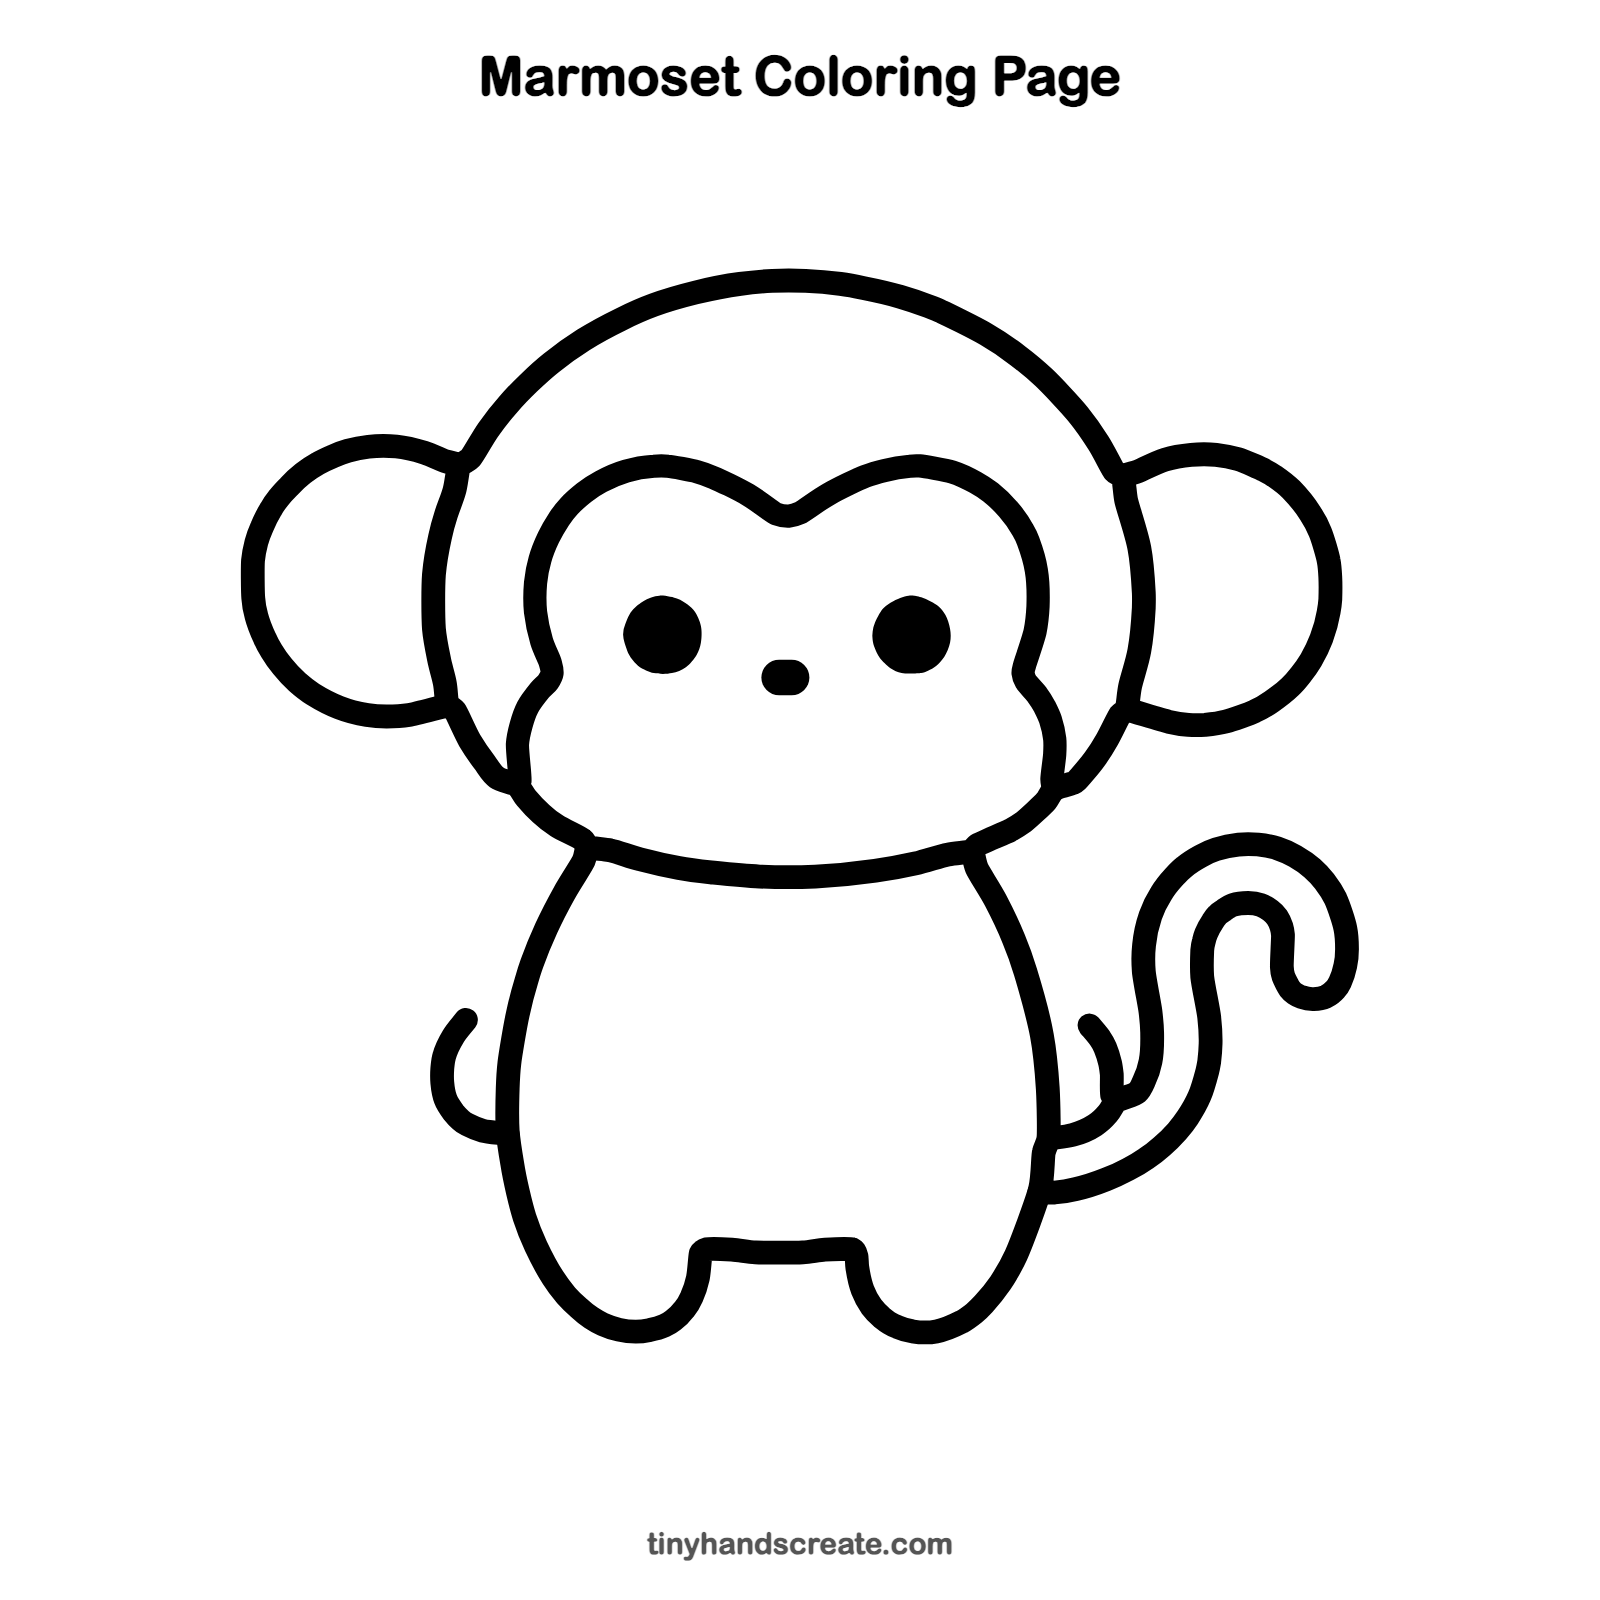
Want to go straight to coloring? Open this marmoset coloring page at full size and print it. It is the same drawing you just learned, with clean lines ready for crayons or markers.
How to color your marmoset drawing
Try soft browns and grays for the fur, with a lighter cream color for the face patch and ears. For a creative twist, give your marmoset a rainbow tail.
Marmoset fun fact for kids
The pygmy marmoset is one of the smallest monkeys in the world. It is only about 5 to 6 inches long, not counting its tail, which is longer than its body.
Questions about drawing a marmoset
What shapes do I need to draw a marmoset?
You need a big oval for the head, two circles for ears, and a pear shape for the body. The eyes are round dots and the tail is a long wavy line with a curl.
How do I make my marmoset look cuter?
Make the eyes big and round, and place them wide apart. A small nose and round cheeks on the face patch help too.
How do I draw the tail so it looks curly?
Start at the body and draw a gentle S-shaped wave, then finish with a tight hook at the end. Add a second line next to it to give the tail some thickness.