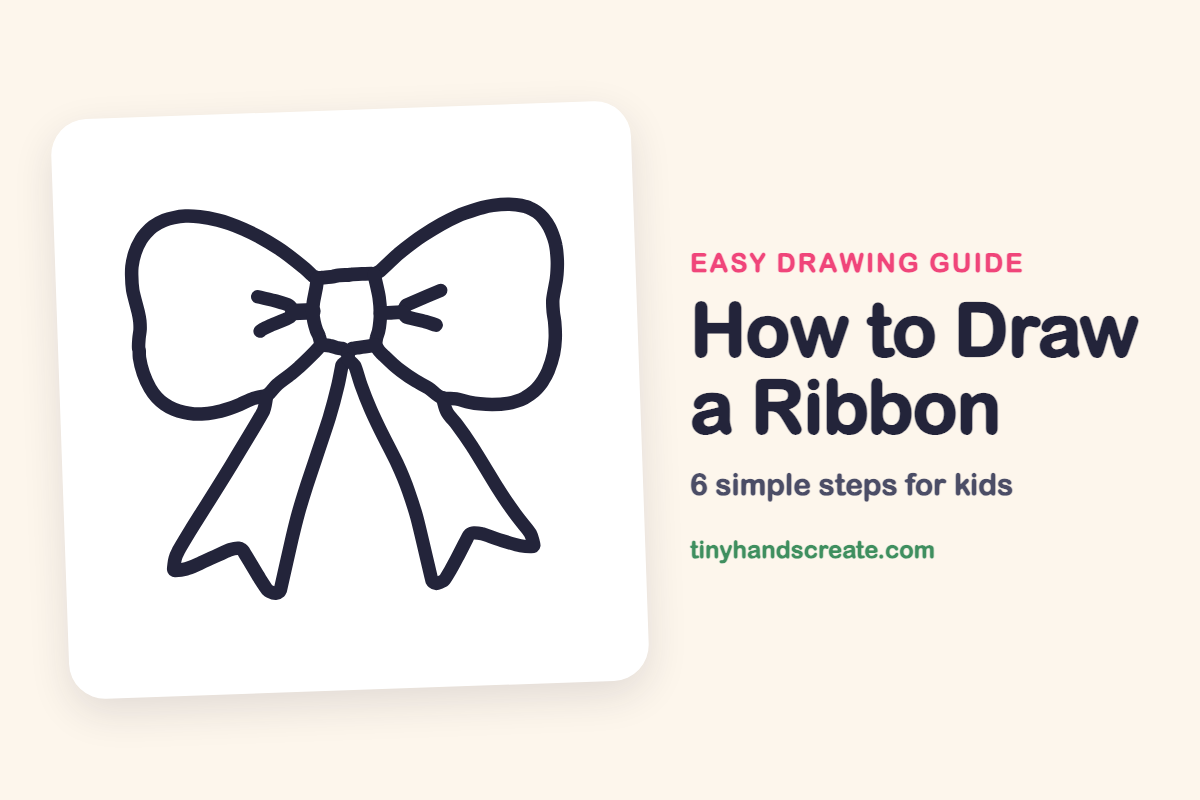
How to Draw a Ribbon (Easy Step by Step)
A ribbon bow is fun to draw because it is made from just a few friendly shapes: two puffy loops, a small rounded square knot, and two long tails. Once you can draw one side, the other side is a mirror copy. It makes a great decoration for a card or a gift drawing.
- Easy
- 10 minutes
- 6 steps
You need: paper, a pencil, an eraser, and crayons or markers for coloring.
Start drawing


In this article (7 sections)
How to draw a ribbon step by step
How to Draw a Ribbon · tinyhandscreate.com
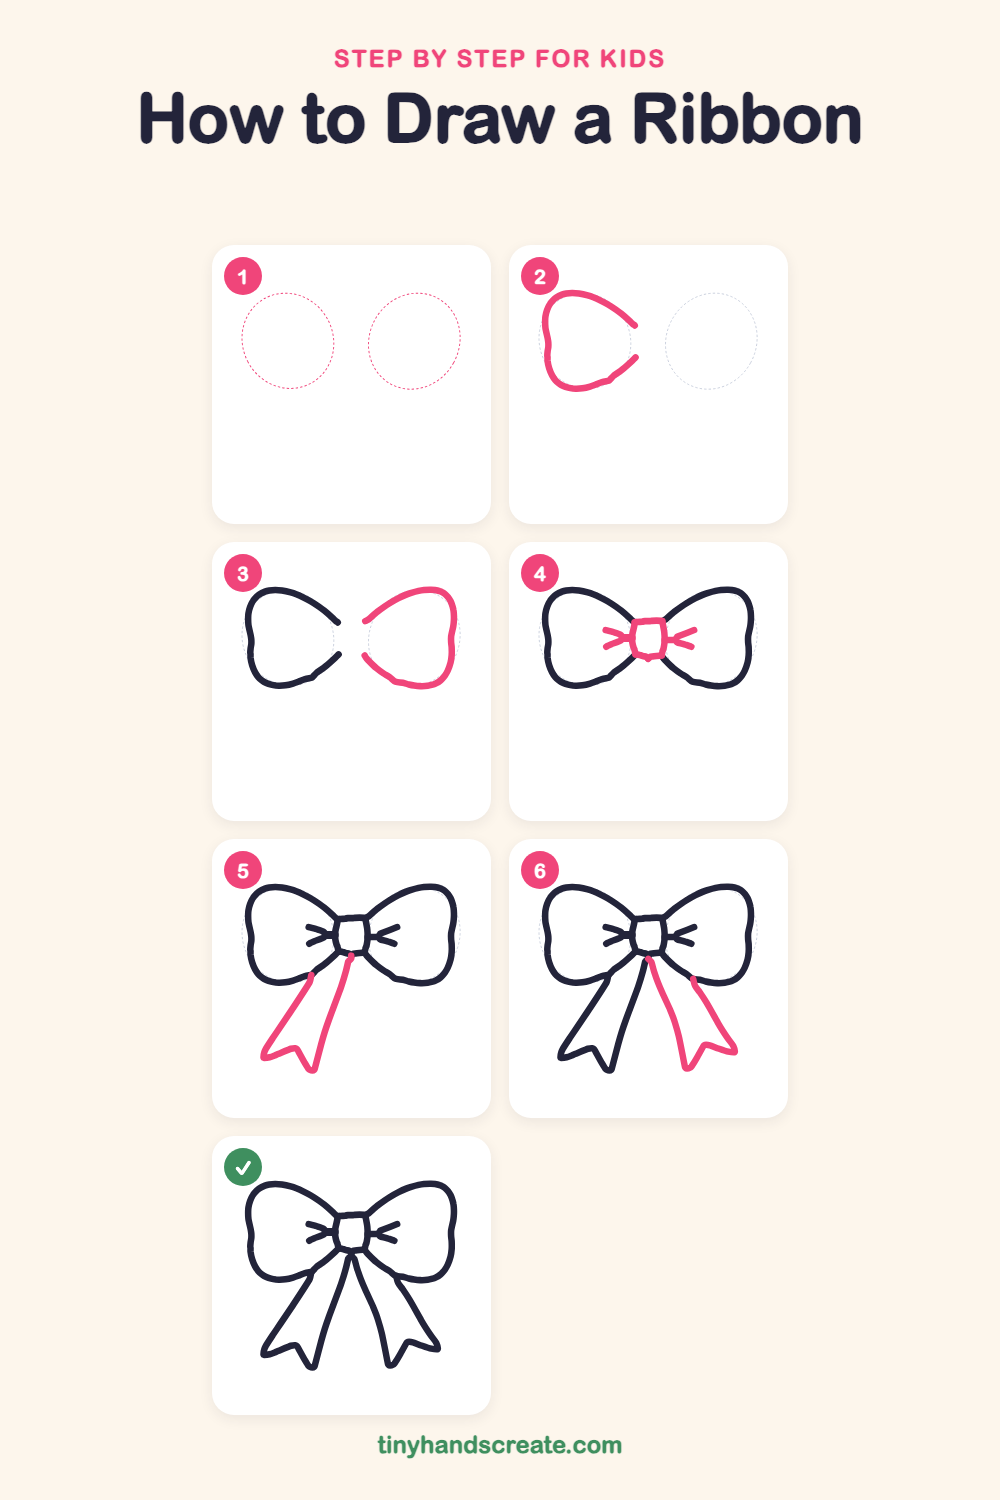
Step 1: Guide shapes
Lightly sketch these 2 ovals. They only show where the big parts go, so press softly. You will erase them at the end.
Step 2: The left loop
Draw a big, puffy rounded shape on the left, a bit like a bean. Leave the right side open, with the top and bottom ends pointing toward the middle of your paper and a gap between them.
Step 3: The right loop
Draw a matching puffy rounded shape on the right. Leave its left side open too, with a gap in the middle between the two loops. Try to make it about the same size as the left loop.
Step 4: The center knot
In the gap between the loops, draw a small rounded square to close the loop ends. Then add two short slanted lines on each side of it, pointing at the square, to show the fabric being squeezed.
Step 5: The left tail
Start one line under the knot and another at the bottom of the left loop. Draw them down and to the left, spreading apart, then join them at the bottom with a zigzag notch like the cut end of a ribbon.
Step 6: The right tail
Do the same on the right side. Start one line under the knot and another at the bottom of the right loop, spread them down and to the right, and join them with a zigzag notch at the bottom.
All done!
Erase the guide shapes, go over your lines, then color it in.
Finished your ribbon? Keep the pencils out and learn how to draw a rocket or how to draw a shooting star next.
Tips for drawing a ribbon
- Draw the two loops first and keep them about the same size. Compare them by looking at how far each one reaches from the middle.
- Leave a gap between the loops. The small rounded square knot goes right in that gap and joins the two loops together.
- For each tail, draw one line from under the knot and one from the bottom of the loop, and let them spread apart. Then add the zigzag notch at the bottom.
Free ribbon coloring page
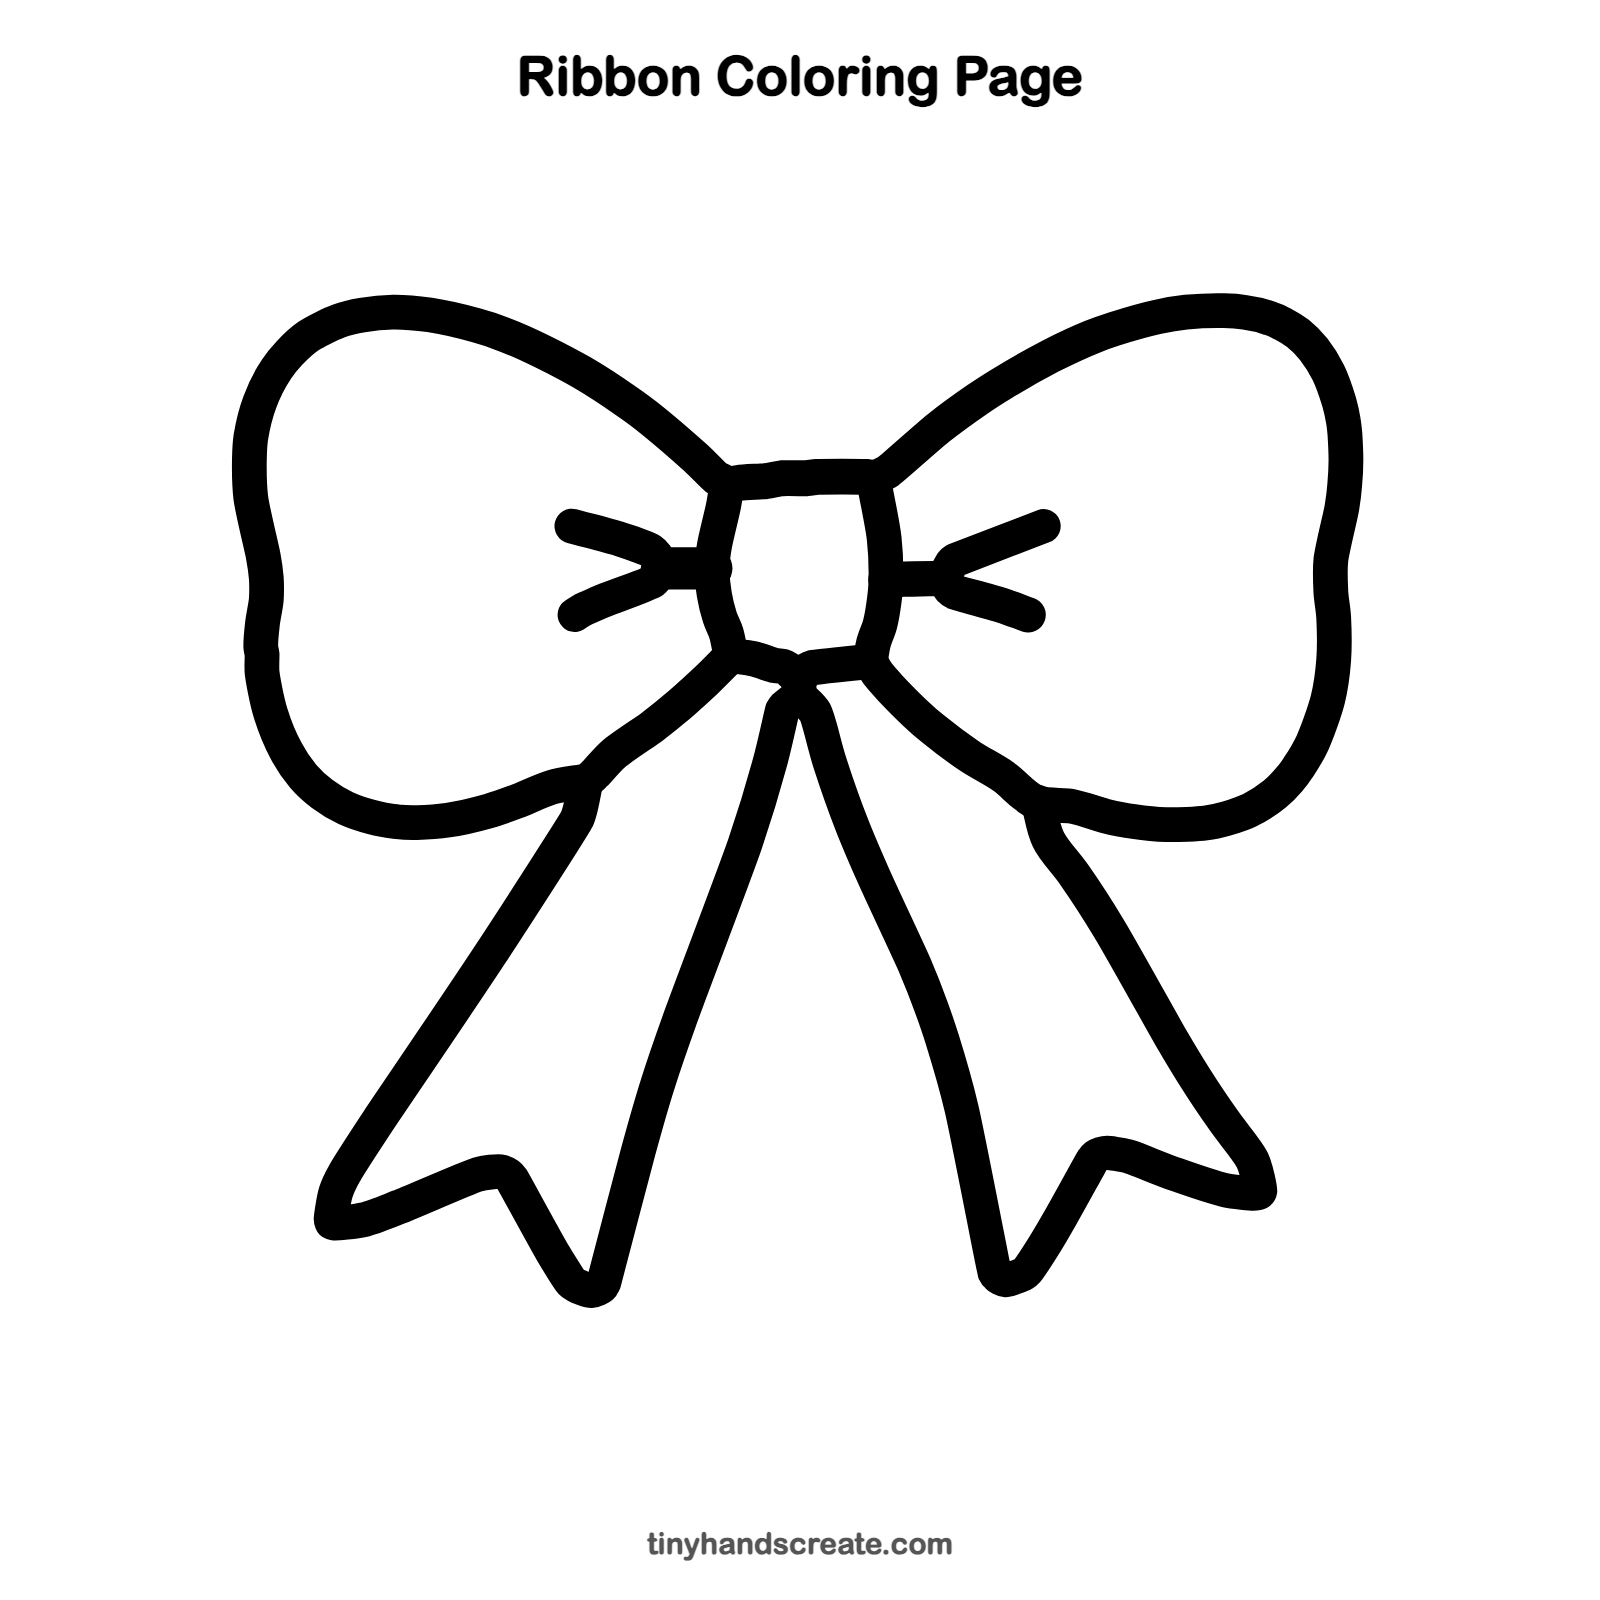
Want to go straight to coloring? Open this ribbon coloring page at full size and print it. It is the same drawing you just learned, with clean lines ready for crayons or markers.
How to color your ribbon drawing
Try a classic red, pink, or purple for the whole bow, and color the knot a slightly darker shade. For a creative twist, draw polka dots or stripes on the loops and tails.
Ribbon fun fact for kids
The knot most people use to tie their shoes makes a bow, with two loops and two loose ends, just like the bow in this drawing.
Questions about drawing a ribbon
What shapes do I need to draw a ribbon bow?
You need two big rounded loops, one small rounded square for the knot, and two long tails with notched ends. A few short lines beside the knot show where the fabric is squeezed.
How do I make my bow look balanced?
Draw the left loop first, then copy its size and shape on the right. Keep the knot in the center, and let the two tails hang down and out at about the same angle.
How do I make my ribbon look cuter?
Make the loops extra puffy and round, and add dots, hearts, or stripes. A bright color or a bit of glitter on the finished bow makes it extra special.