How to Draw an Aloe Vera Plant (Easy Step by Step)
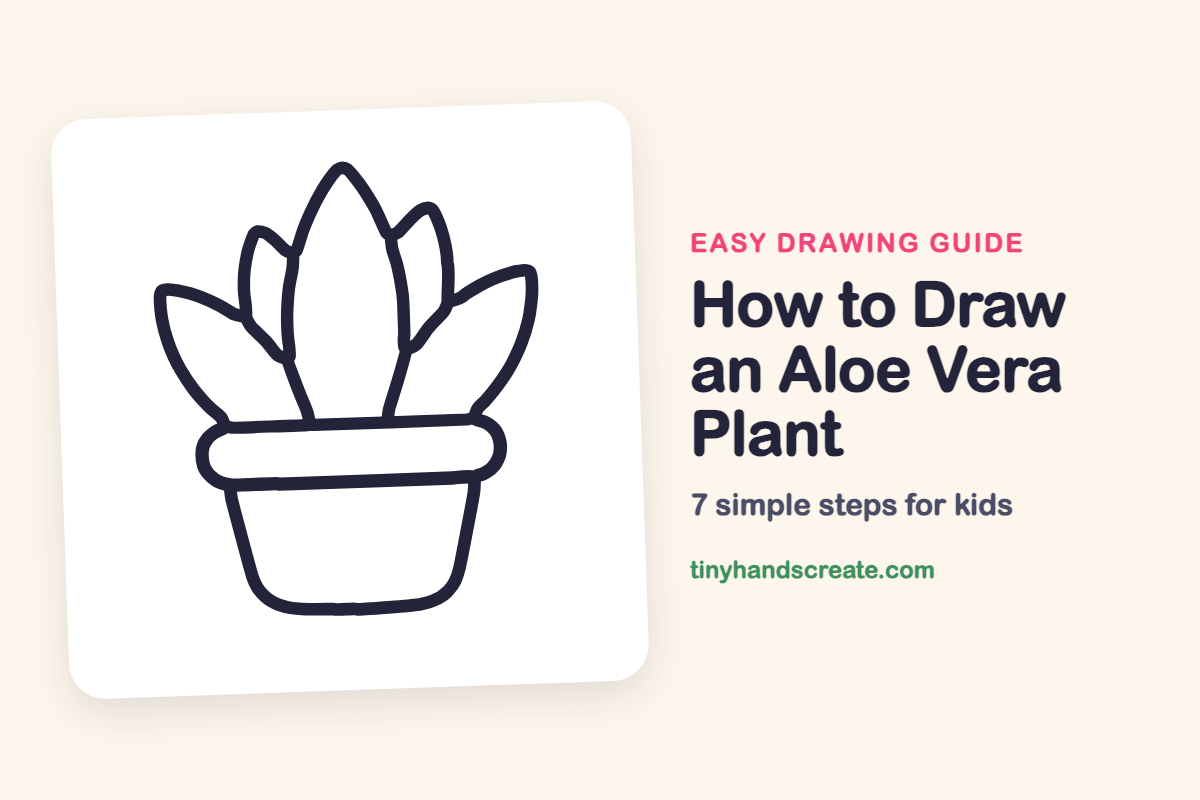
An aloe vera plant is a friendly one to draw because it is just a few pointy leaves sitting in a pot. You will use a tall egg shape, a rounded rectangle, and a bowl shape. Once you know the trick of tucking leaves behind each other, your plant will look full and real.
- Easy
- 10 minutes
- 7 steps
You need: paper, a pencil, an eraser, and crayons or markers for coloring.
Start drawing
In this article (7 sections)
How to draw an aloe vera plant step by step
How to Draw an Aloe Vera Plant · tinyhandscreate.com
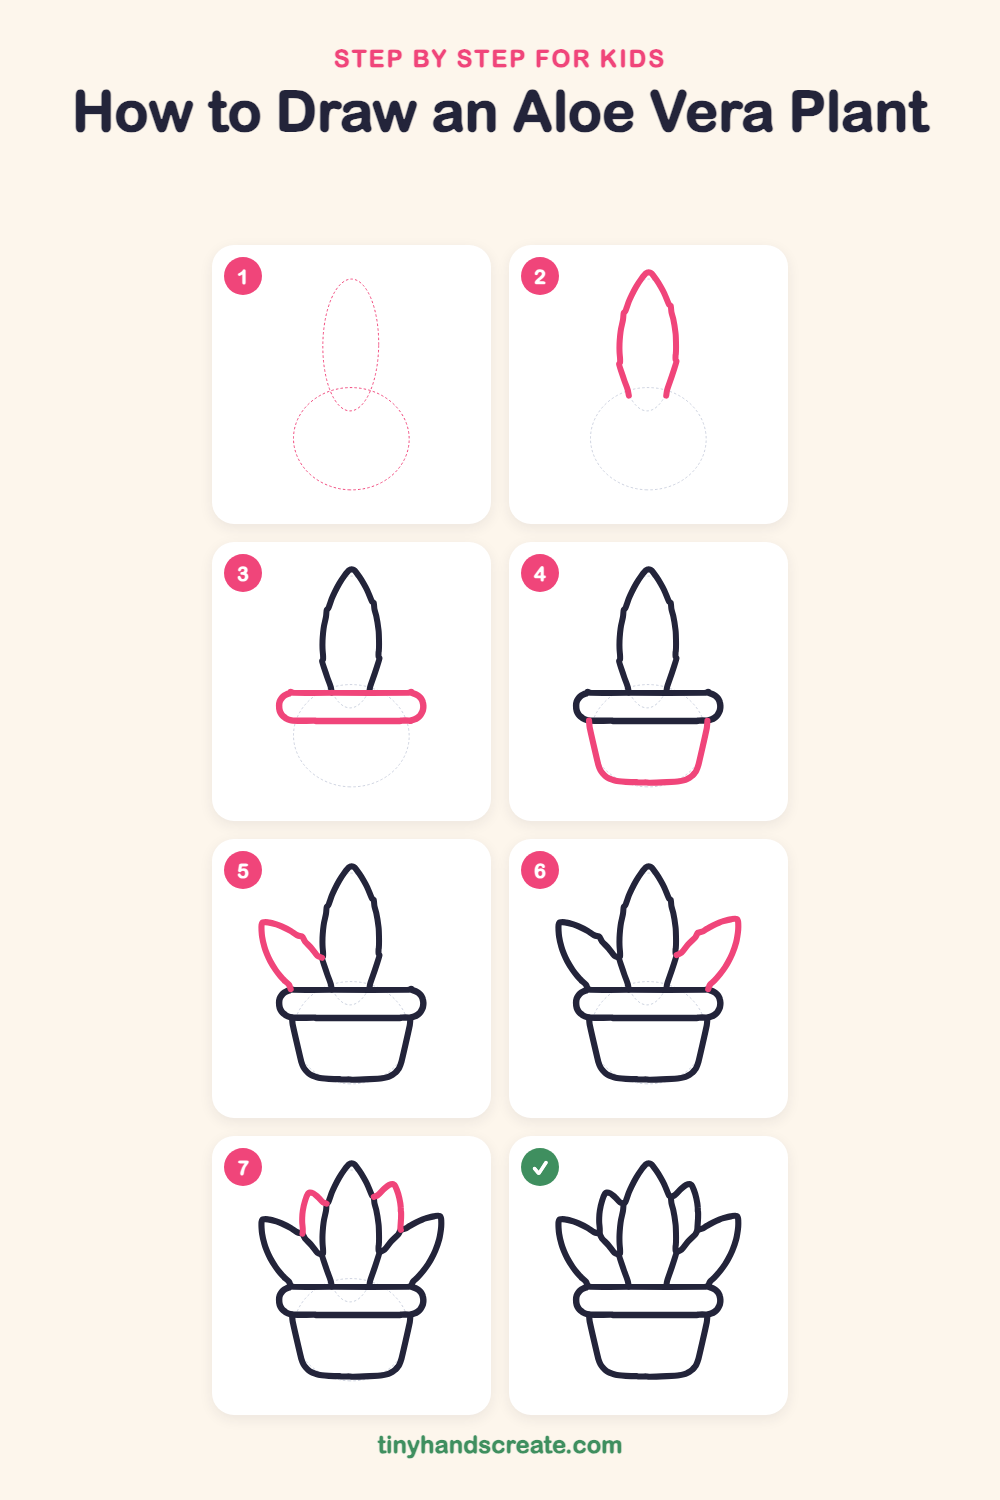
Step 1: Guide shapes
Lightly sketch these 2 ovals. They only show where the big parts go, so press softly. You will erase them at the end.
Step 2: The tall center leaf
Draw a tall, skinny leaf shape like a long pointy egg, with the sharp tip at the top. Leave the bottom open, because the pot will hide it.
Step 3: The pot rim
Near the bottom of the center leaf, draw a long rounded rectangle, like a fat sausage lying flat. The leaf's two bottom lines rest on top of it.
Step 4: The flowerpot
Under the rim, draw two slanted lines that get closer together as they go down. Join them at the bottom with a soft, curvy line to make a bowl shape.
Step 5: The left leaf
Start at the top left of the rim and curve a line up and out to the left, ending in a point. Bring a second line back from that point to touch the center leaf and close the shape.
Step 6: The right leaf
Do the same on the other side. Start at the top right of the rim, curve a line up and out to the right, make a point, then draw back to touch the center leaf.
Step 7: The two small leaves
Draw two little pointy leaves peeking out from behind the center leaf, one on each side. Each one starts at the center leaf, curves up to a small point, and comes down to meet the side leaf.
All done!
Erase the guide shapes, go over your lines, then color it in.
Finished your aloe vera plant? Keep the pencils out and learn how to draw a mushroom or how to draw a sunflower next.
Tips for drawing an aloe vera plant
- Make the center leaf the tallest and draw it first. Every other leaf is measured against it.
- The two small back leaves are the trickiest. Stop each line where it touches another leaf instead of drawing through it, and they will look tucked behind.
- Draw the pot rim as a long, flat, rounded shape. Then the pot will sit flat and not wobble.
Free aloe vera plant coloring page
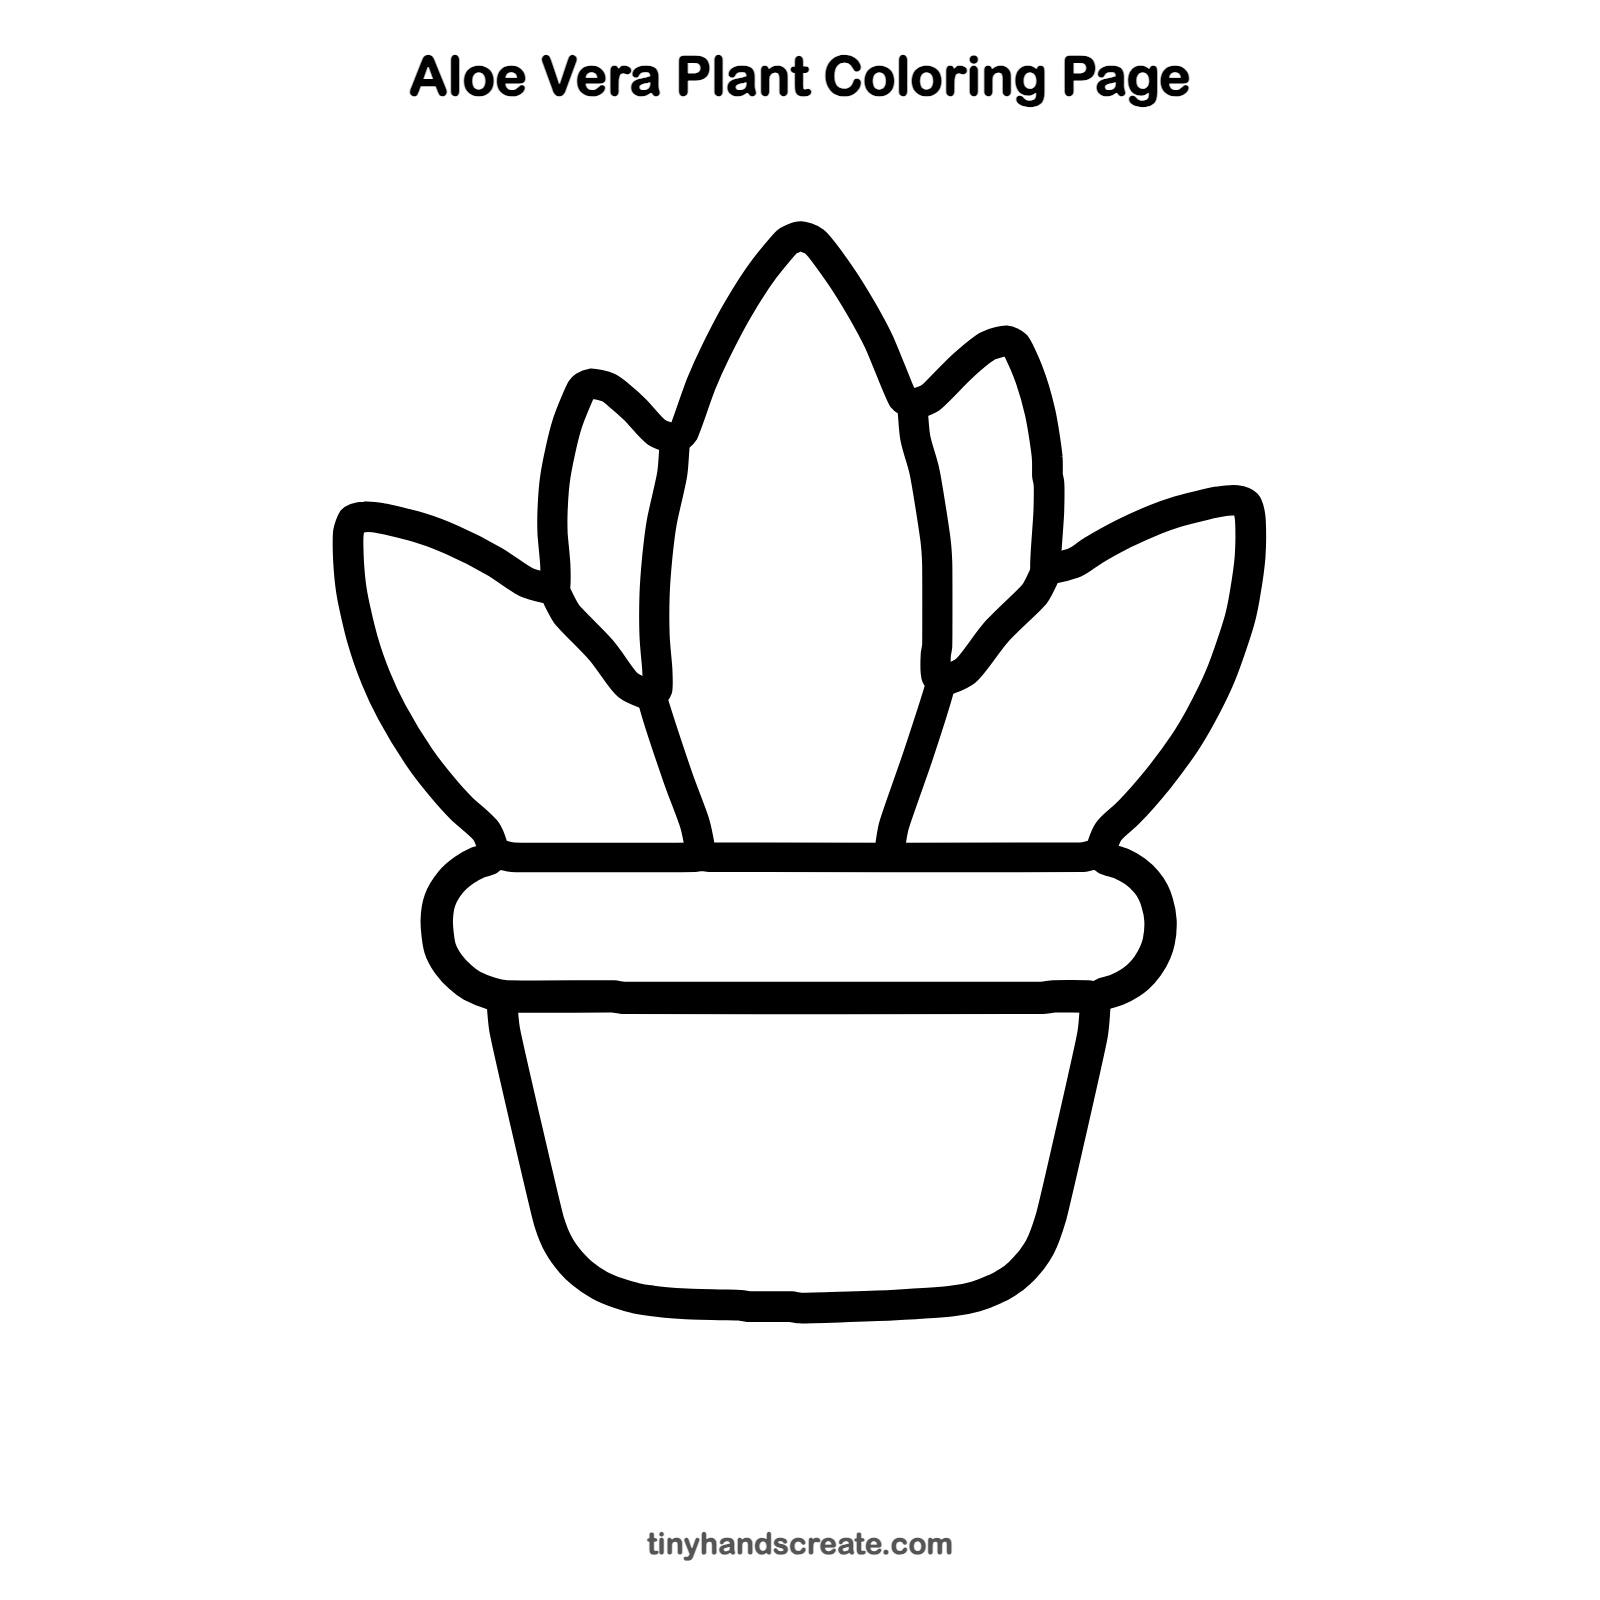
Want to go straight to coloring? Open this aloe vera plant coloring page at full size and print it. It is the same drawing you just learned, with clean lines ready for crayons or markers.
How to color your aloe vera plant drawing
Try several greens, with lighter green in the middle of each leaf and darker green on the edges. For a creative twist, color the pot with stripes, polka dots, or a funny face.
Aloe vera plant fun fact for kids
Aloe vera leaves are filled with a clear, cool gel. The plant stores water in its thick leaves, so it can survive in dry places.
Questions about drawing an aloe vera plant
What shapes do I need to draw an aloe vera plant?
You need pointy egg shapes for the leaves, a rounded rectangle for the pot rim, and a bowl shape for the pot.
How do I make my aloe vera leaves look real?
Make the leaves different sizes and point them in different directions. Let the smaller ones peek out from behind the big ones.
How do I make my plant pot look cuter?
When your drawing is finished, add a smiley face or a heart on the front of the pot. You can also add a few dots or stripes to the rim.