How to Draw a Zombie Ice Cream Cone (Easy Step by Step)
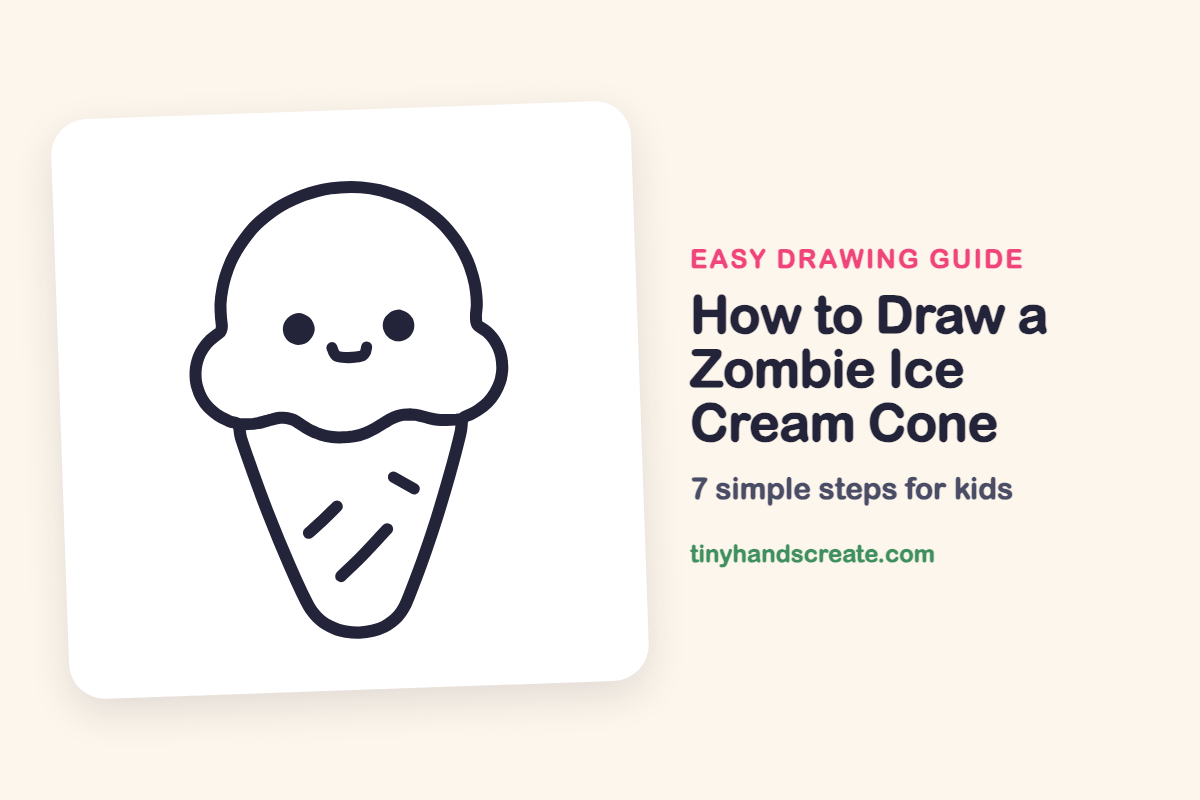
A zombie ice cream cone is a silly, spooky treat built from just a few easy shapes. You will use a big dome, a couple of round bumps, a pointy cone, and tiny dots for the face. It is a great first monster drawing because the lines are simple and the face is small.
- Easy
- 10 minutes
- 7 steps
You need: paper, a pencil, an eraser, and crayons or markers for coloring.
Start drawing
In this article (7 sections)
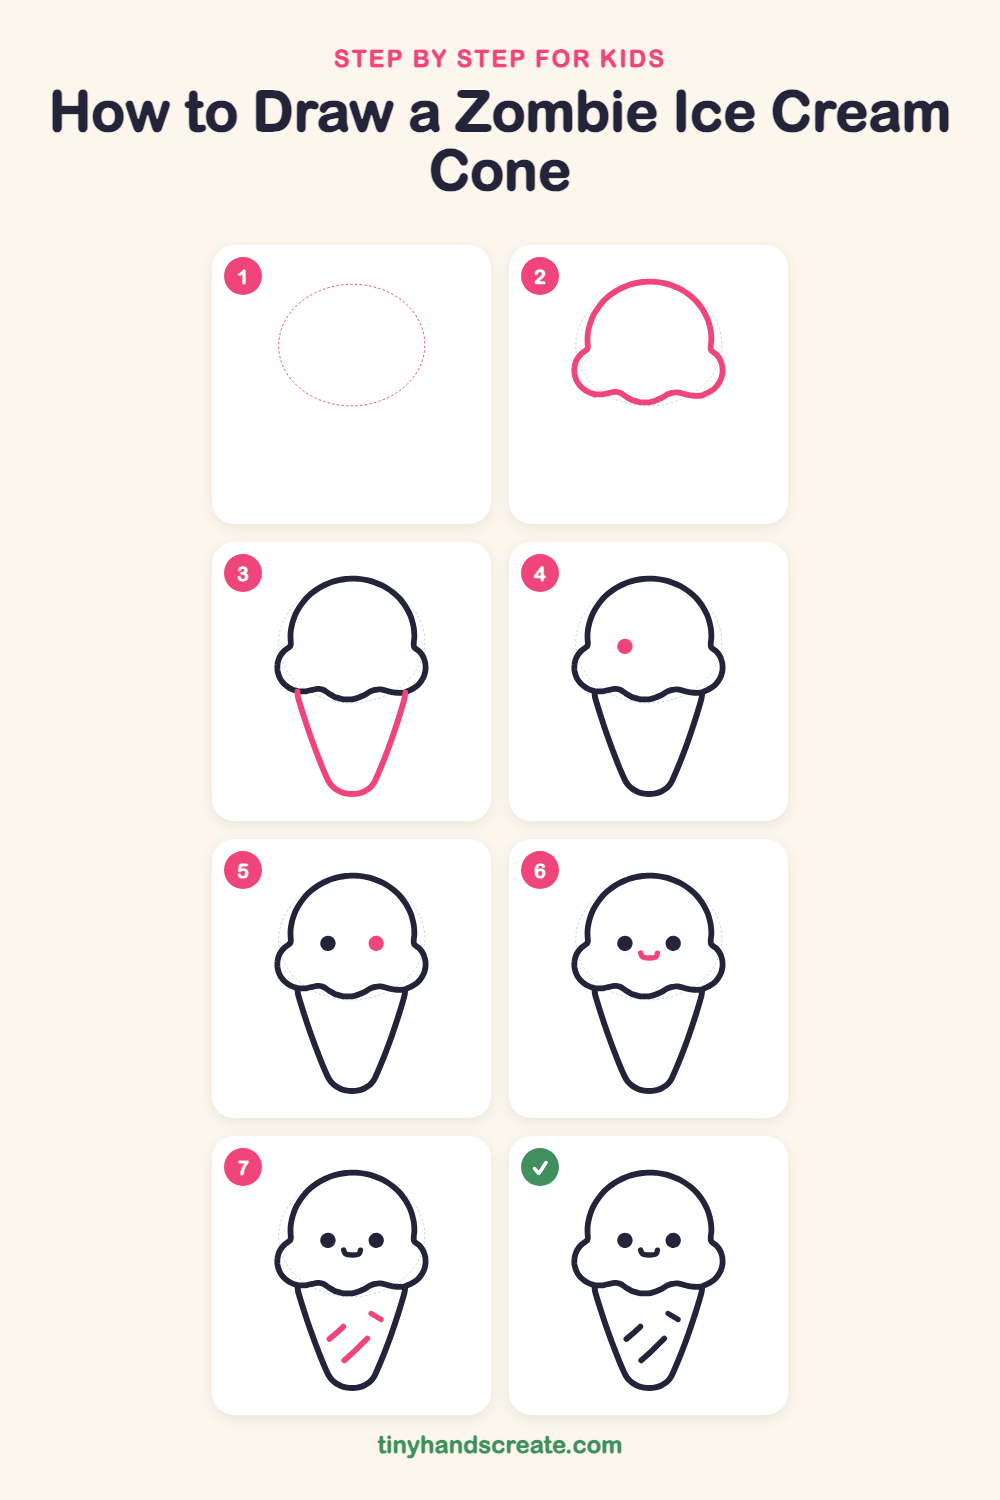
How to draw a zombie ice cream cone step by step
How to Draw a Zombie Ice Cream Cone · tinyhandscreate.com
Step 1: Guide shapes
Lightly sketch this oval. It only shows where the big parts go, so press softly. You will erase it at the end.
Step 2: The scoop
Start with a big dome, like half a circle, for the top of the scoop. At the bottom of the dome, add a soft round bump on each side, then join them with a wavy line across the bottom.
Step 3: The cone
Draw two lines going down from the ends of the wavy line, leaning toward each other. Close the bottom with a small curve, like a rounded letter U, so the cone looks like a pointy cup.
Step 4: The left eye
Draw a small solid dot on the dome, a little left of center and about halfway down the dome. Make it round and filled in.
Step 5: The right eye
Draw a second solid dot across from the first one, at the same height. Keep it the same size so the two eyes look like a pair.
Step 6: The mouth
Between the eyes and a little below them, draw a tiny smile shaped like a small letter U.
Step 7: Cone stripes
Add three short lines on the cone. Make one long, one medium, and one short, with a little space between them, and keep them inside the cone.
All done!
Erase the guide shapes, go over your lines, then color it in.
Finished your zombie ice cream cone? Keep the pencils out and learn how to draw a menorah or how to draw a dreidel next.
Tips for drawing a zombie ice cream cone
- Draw the dome big and tall first, so the two side bumps at the bottom of the scoop have room to tuck in underneath it.
- The wavy line where the scoop meets the cone is the trickiest part. Go slowly and make gentle waves with a dip in the middle.
- Draw the cone lines so they lean toward each other and would meet at a point if you kept going. Then round off the bottom instead of making a sharp tip.
Free zombie ice cream cone coloring page
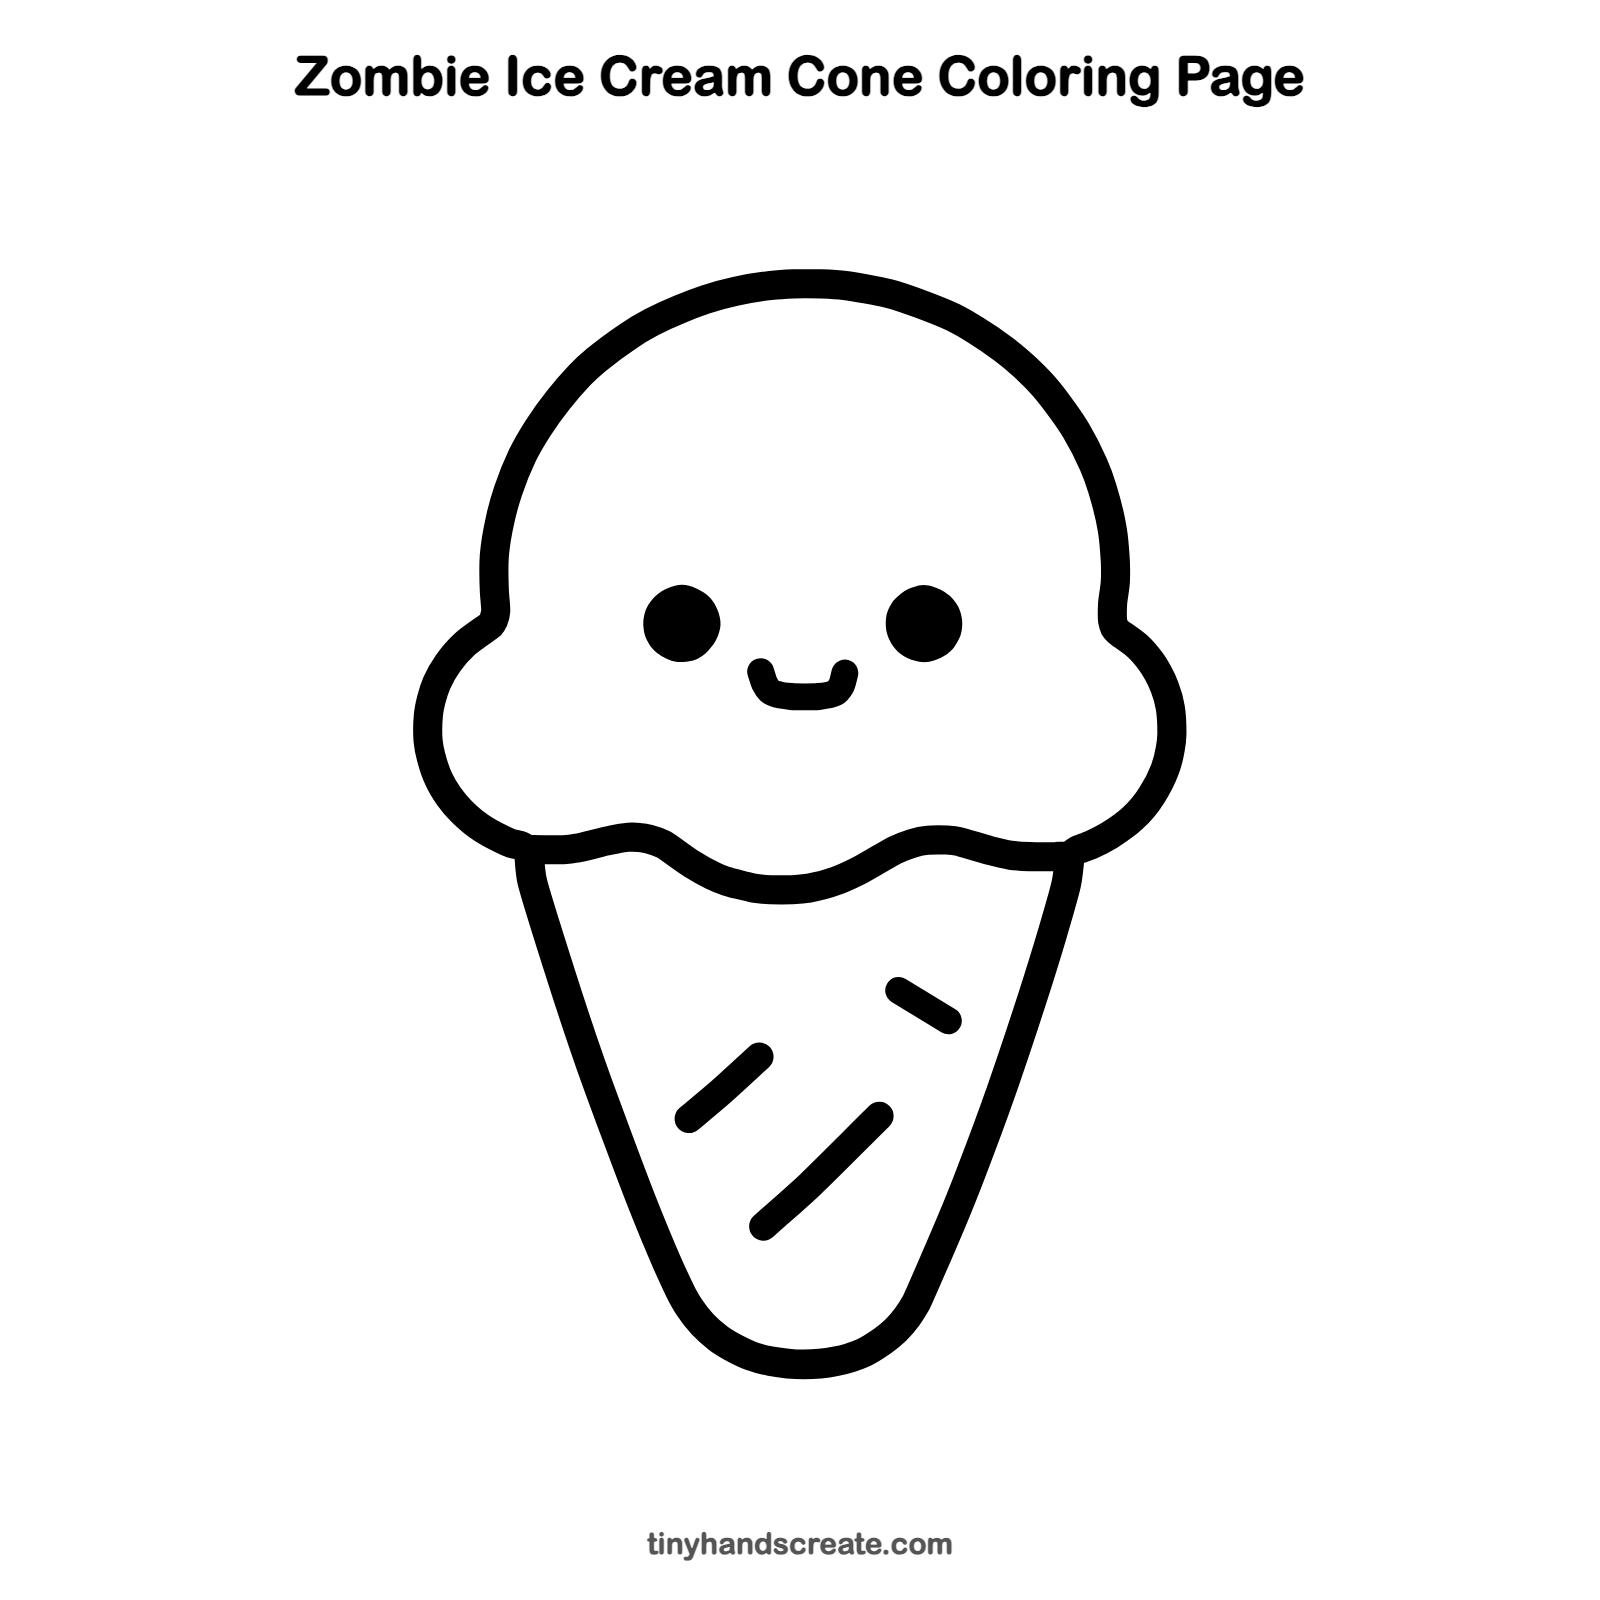
Want to go straight to coloring? Open this zombie ice cream cone coloring page at full size and print it. It is the same drawing you just learned, with clean lines ready for crayons or markers.
How to color your zombie ice cream cone drawing
Try mint green for the scoop and a warm tan or orange for the cone, with darker stripes on the cone. A grayish green scoop makes it look extra zombie-like.
Zombie ice cream cone fun fact for kids
The word zombie comes from the Haitian Creole word zonbi, and stories about zombies are a long-running tradition in Haitian folklore.
Questions about drawing a zombie ice cream cone
What shapes do I need to draw a zombie ice cream cone?
You need a big half circle for the top of the scoop, two small round bumps for the sides, and a long shape like a triangle with a rounded tip for the cone. The eyes are two small dots and the mouth is a tiny curve.
How do I make my zombie ice cream cone look cuter?
Keep the eyes small and the smile tiny, and round off the corners of the cone. Soft, simple shapes make it look friendlier.
How do I make my ice cream cone look like a zombie?
Color the scoop a sickly gray green and keep the face simple with dot eyes and a small mouth. The color does most of the zombie work.