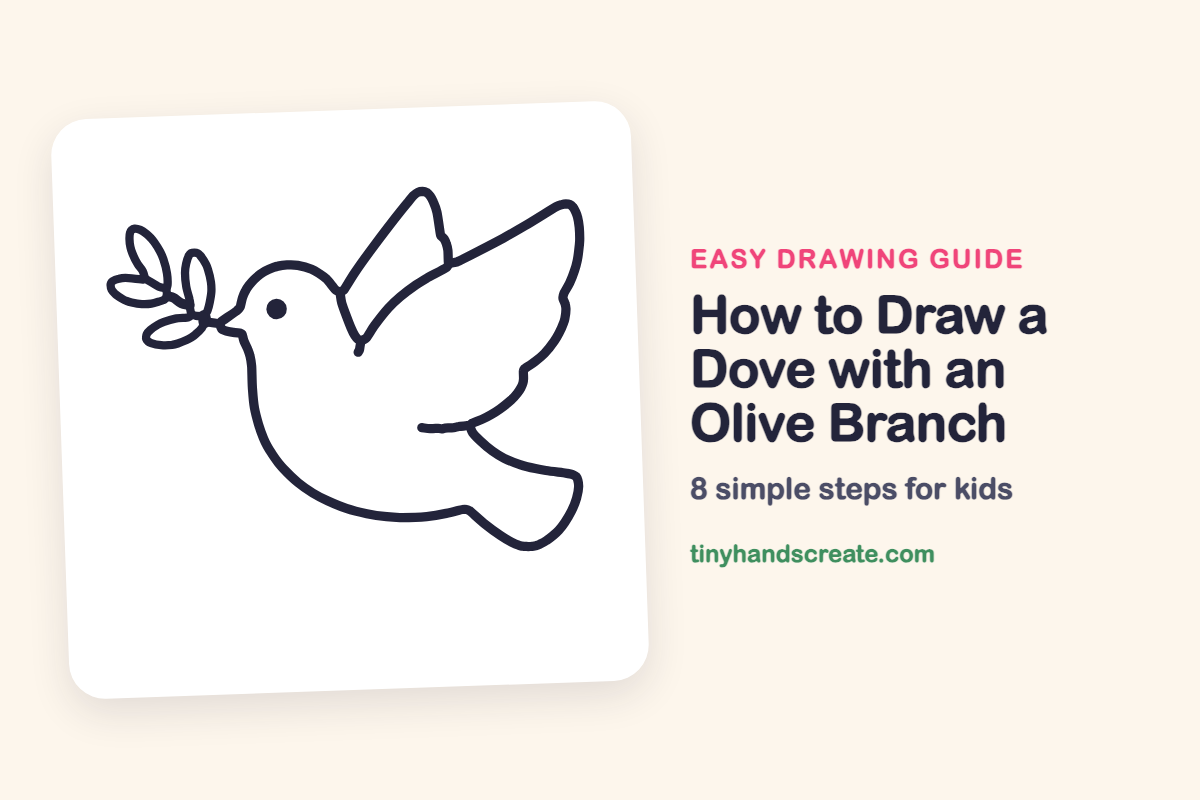
How to Draw a Dove with an Olive Branch (Easy Step by Step)
A dove carrying an olive branch is a classic symbol of peace, and it is easy to draw because it is made of soft, simple shapes. You will use a plump oval for the body, two curved wings, and a handful of pointy ovals for the leaves. Take your time with the big wing, and you will have a graceful flying bird.
- Medium
- 15 minutes
- 8 steps
You need: paper, a pencil, an eraser, and crayons or markers for coloring.
Start drawing


In this article (7 sections)
- How to draw a dove with an olive branch step by step
- Tips for drawing a dove with an olive branch
- Free dove with an olive branch coloring page
- How to color your dove with an olive branch drawing
- Dove with an olive branch fun fact for kids
- Questions about drawing a dove with an olive branch
- More easy animal drawings
How to draw a dove with an olive branch step by step
How to Draw a Dove with an Olive Branch · tinyhandscreate.com
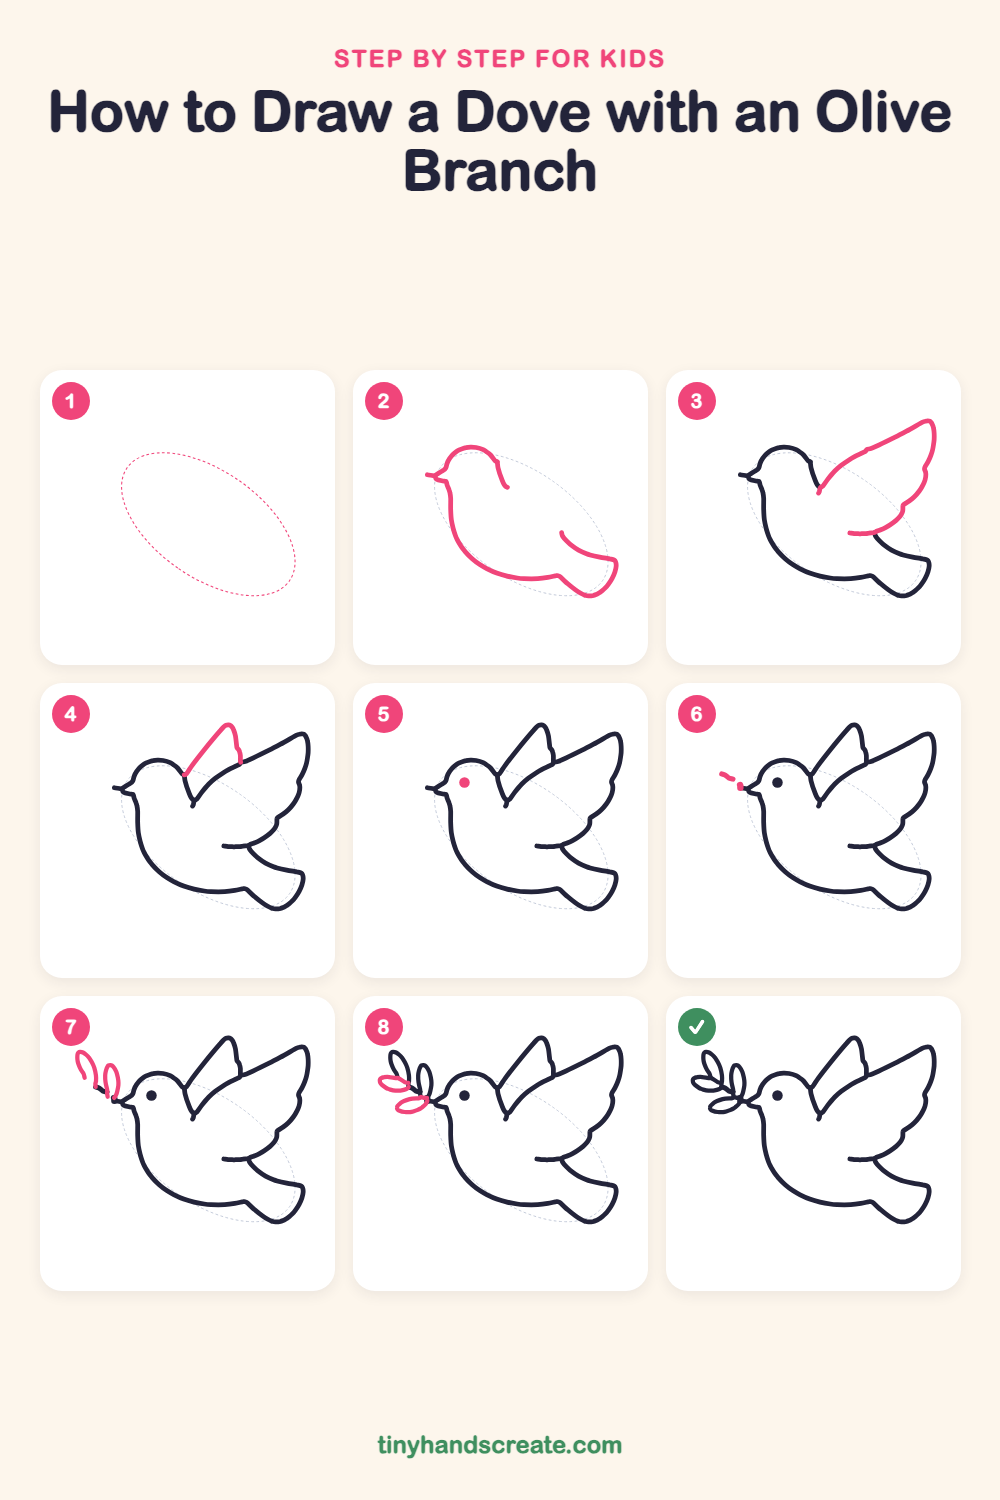
Step 1: Guide shapes
Lightly sketch this oval. It only shows where the big parts go, so press softly. You will erase it at the end.
Step 2: Body, head and tail
Start with the round head on the left and add a tiny pointed beak sticking out to the left. Draw the back of the neck, then sweep a big curve down the chest and along the bottom of the belly. Finish with a pointed tail at the lower right.
Step 3: The big wing
Start at the shoulder and draw a big curved wing sweeping up and out to the right. Give the bottom edge a few gentle bumps for feathers, then curve it back toward the body.
Step 4: The back wing
Draw a second, smaller wing poking up behind the big one. Start at the back of the neck, go up in a straight slanted line to a rounded tip, then come down with a little bump.
Step 5: The eye
Add a small solid dot on the head, a little behind the beak. Fill it in so your dove looks wide awake.
Step 6: The olive branch stem
Draw a short line of little dashes coming out of the beak toward the upper left. This is the stem of the branch.
Step 7: The top leaves
At the end of the stem, draw two tall, skinny leaf shapes like long ovals pointing up. Make them lean a little apart.
Step 8: The side leaves
Add two more pointy oval leaves along the stem, one pointing out to the left and one a little lower. Make each one a lemon shape that touches the stem.
All done!
Erase the guide shapes, go over your lines, then color it in.
Finished your dove with an olive branch? Keep the pencils out and learn how to draw a fox or how to draw a hedgehog next.
Tips for drawing a dove with an olive branch
- Sketch the body as a light, plump oval first, then trace over it so the chest and belly come out smooth.
- The big wing is the trickiest part. Draw the top edge in one long curve, then add small bumps along the bottom for feathers.
- Make the leaves like lemon shapes, pointed at both ends, and attach each one to the stem so they look like they are growing from it.
Free dove with an olive branch coloring page
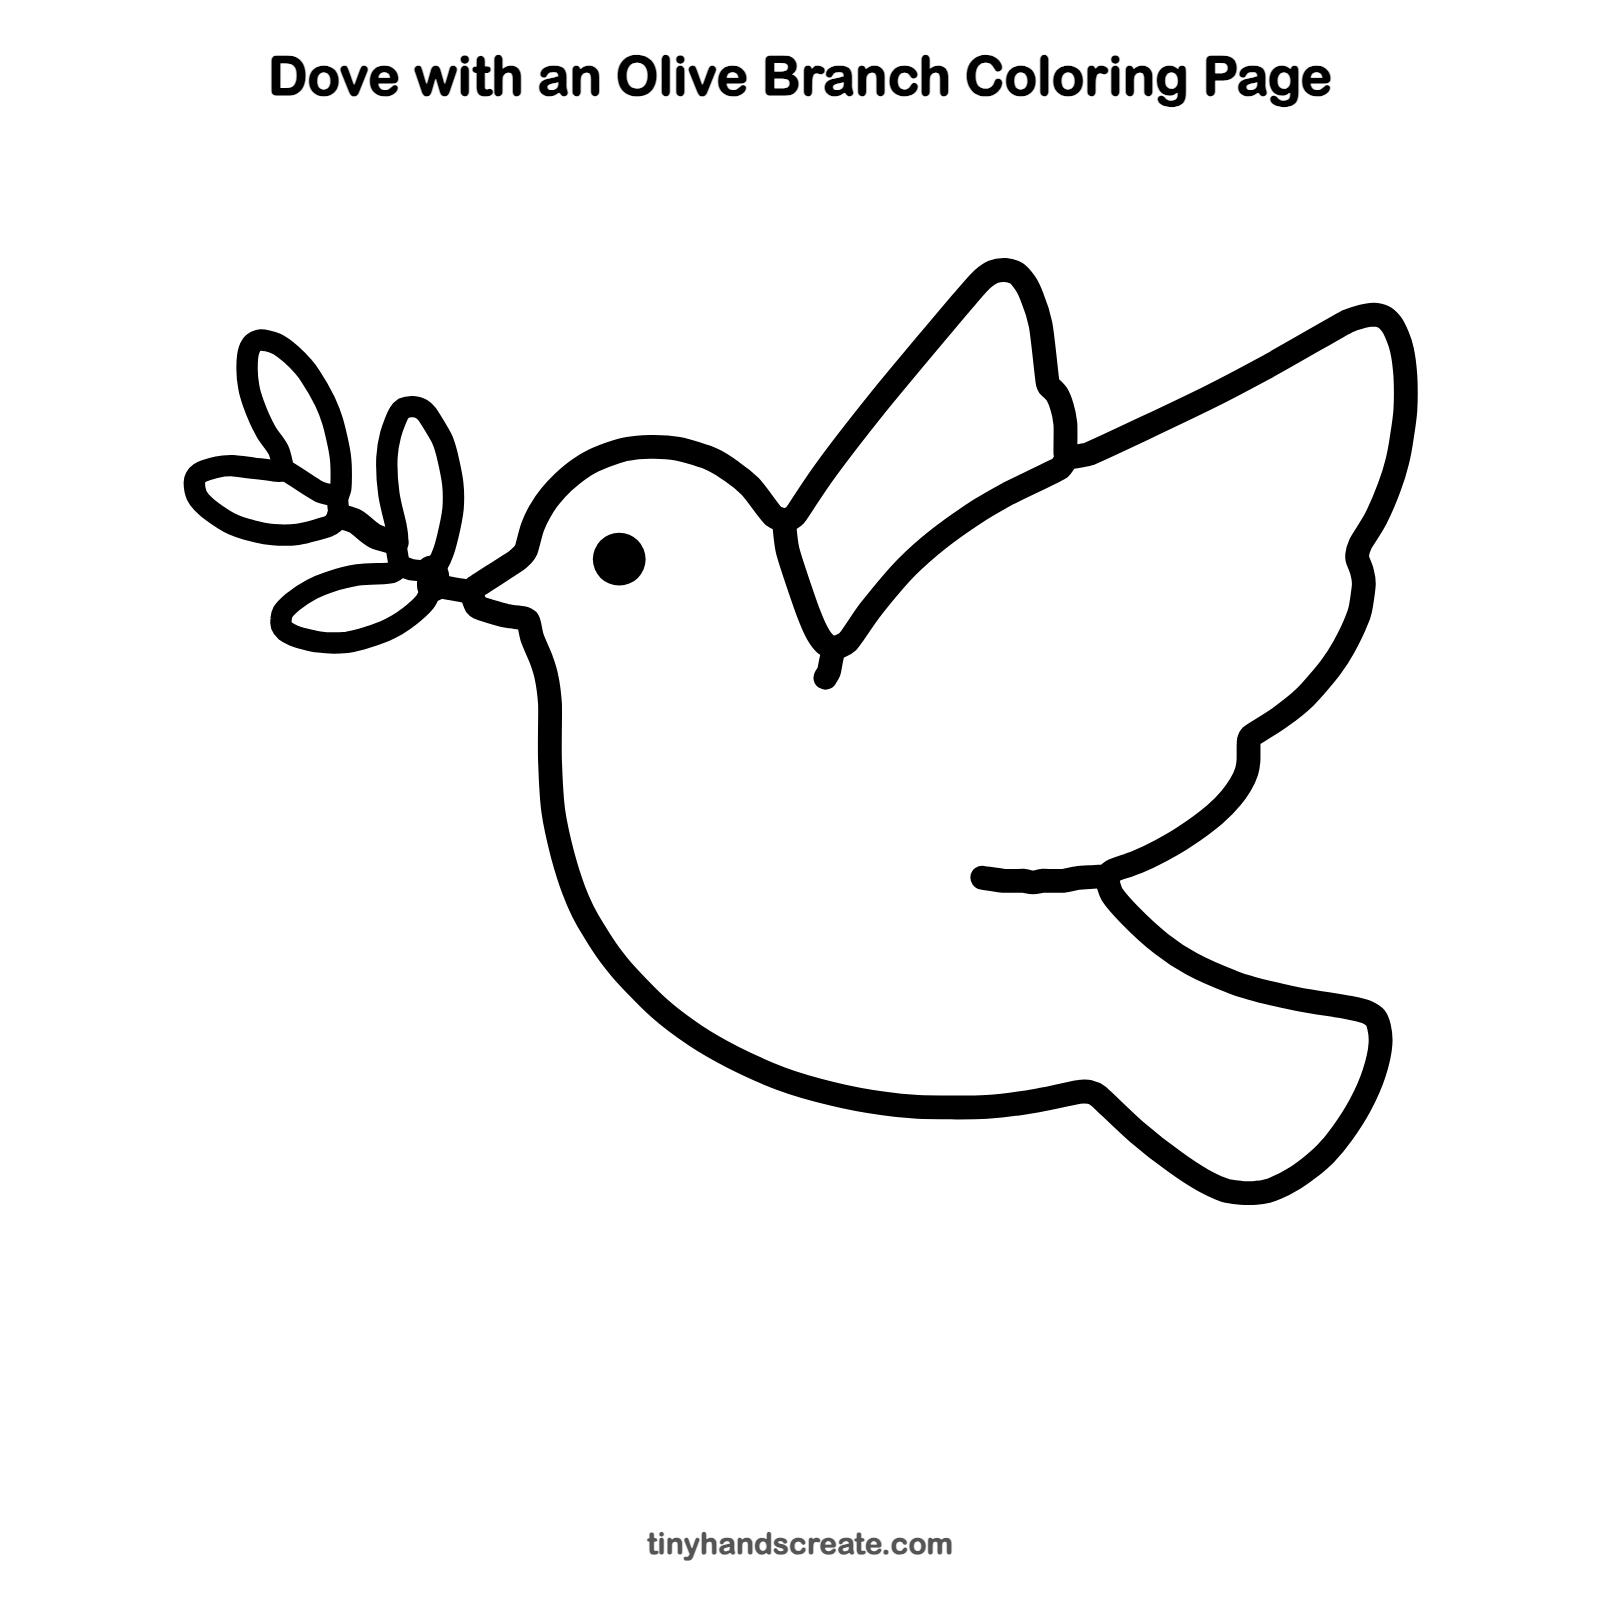
Want to go straight to coloring? Open this dove with an olive branch coloring page at full size and print it. It is the same drawing you just learned, with clean lines ready for crayons or markers.
How to color your dove with an olive branch drawing
Leave the dove white with soft gray or light blue shading on the wings, and color the leaves in two shades of green. For a creative twist, paint a sunrise sky behind your dove in pink and orange.
Dove with an olive branch fun fact for kids
Doves and pigeons belong to the same bird family, and homing pigeons can find their way home from hundreds of miles away. Long ago, people used homing pigeons to carry messages.
Questions about drawing a dove with an olive branch
What shapes do I need to draw a dove?
You need a plump oval for the body, a round head, a tiny pointed beak, a pointed tail, and curved shapes for the two wings. The leaves are pointy ovals.
How do I make my dove look like it is flying?
Lift the wings up and out. Wings that sweep upward make the dove look like it is soaring.
How do I draw the olive branch leaves?
Draw a short stem from the beak, then add pointy ovals at its end, two pointing up and two pointing out to the left. Keep them touching the stem so the branch looks natural.