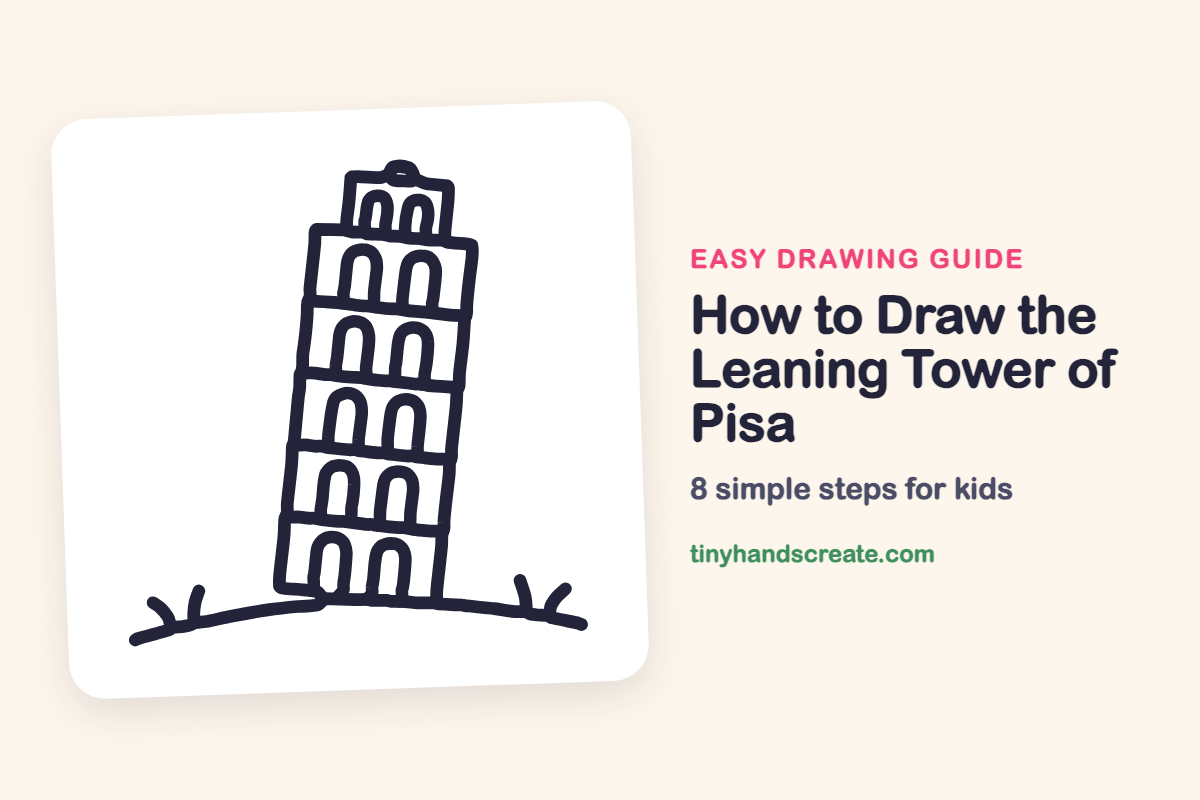
How to Draw the Leaning Tower of Pisa (Easy Step by Step)
The Leaning Tower of Pisa is fun to draw because it is a tall, tilted stack of floors. You only need straight lines and upside-down U shapes for the arches. Once you get the lean right, it looks just like the real tower.
- Medium
- 15 minutes
- 8 steps
You need: paper, a pencil, an eraser, and crayons or markers for coloring.
Start drawing


In this article (7 sections)
How to draw the Leaning Tower of Pisa step by step
How to Draw the Leaning Tower of Pisa · tinyhandscreate.com
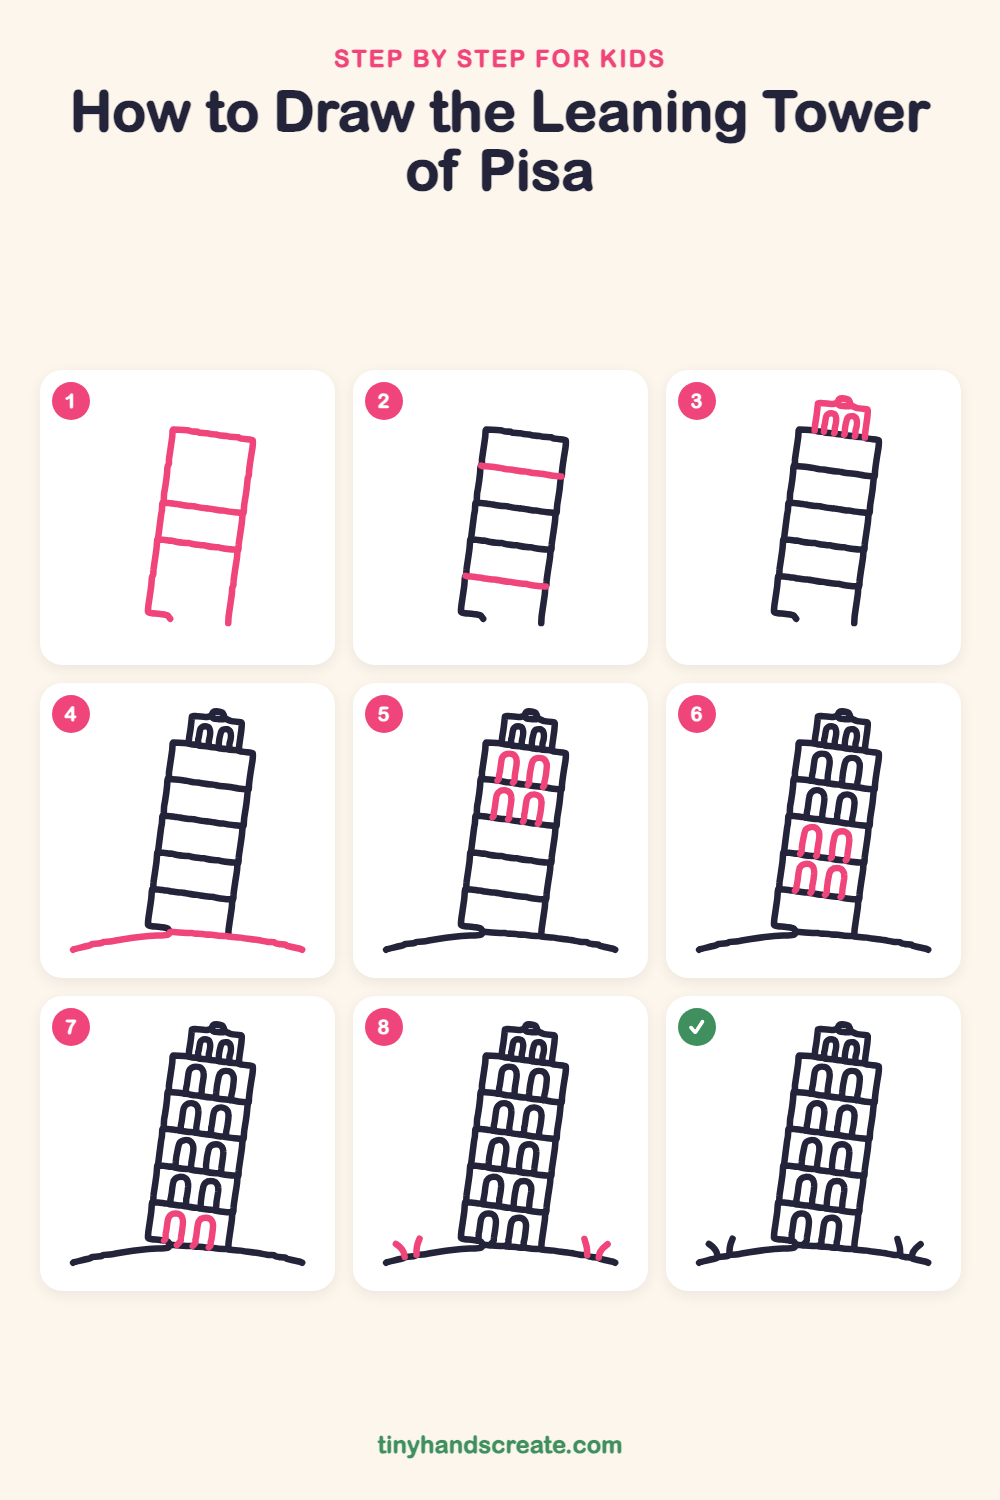
Step 1: Tilted tower sides
Draw two long lines that lean to the right at the top, like a tipping book. Join them across the top with a short line, then draw two slanted lines across the tower. Leave the bottom open.
Step 2: More floor lines
Draw two more slanted lines across the tower, one near the top and one near the bottom. Now the tower is split into five floors.
Step 3: Top bell room
On top of the tower, draw a small, narrow box. Add two tiny upside-down U shapes inside it and a little bump on the roof.
Step 4: The grassy hill
At the bottom, draw one long, gentle curve like an upside-down smile. The tower sits right on top of it.
Step 5: Top two floors
In the top two floors of the tower, draw two upside-down U shapes on each floor, like little tunnels.
Step 6: Middle two floors
Keep going down. Draw two upside-down U shapes on each of the next two floors, leaning the same way as the tower.
Step 7: Bottom floor arches
On the lowest floor, draw the last two upside-down U shapes. Let them stand right on the hill line.
Step 8: Grass tufts
Add a small grass tuft near each end of the hill. Draw two short curved lines that start together and spread apart like a V.
All done!
Go over your lines with a marker, then color it in.
Finished your Leaning Tower of Pisa? Keep the pencils out and learn how to draw a rocket or how to draw a shooting star next.
Tips for drawing the Leaning Tower of Pisa
- Draw the two long side lines first and tilt them both the same way. If they lean differently, the tower will look bent instead of leaning.
- Keep the floor lines slanted, not flat. They should tip down to the right a little, matching the lean.
- Make the upside-down U shapes about the same size on each floor, and keep them between the floor lines so they line up.
Free Leaning Tower of Pisa coloring page
Want to go straight to coloring? Open this Leaning Tower of Pisa coloring page at full size and print it. It is the same drawing you just learned, with clean lines ready for crayons or markers.
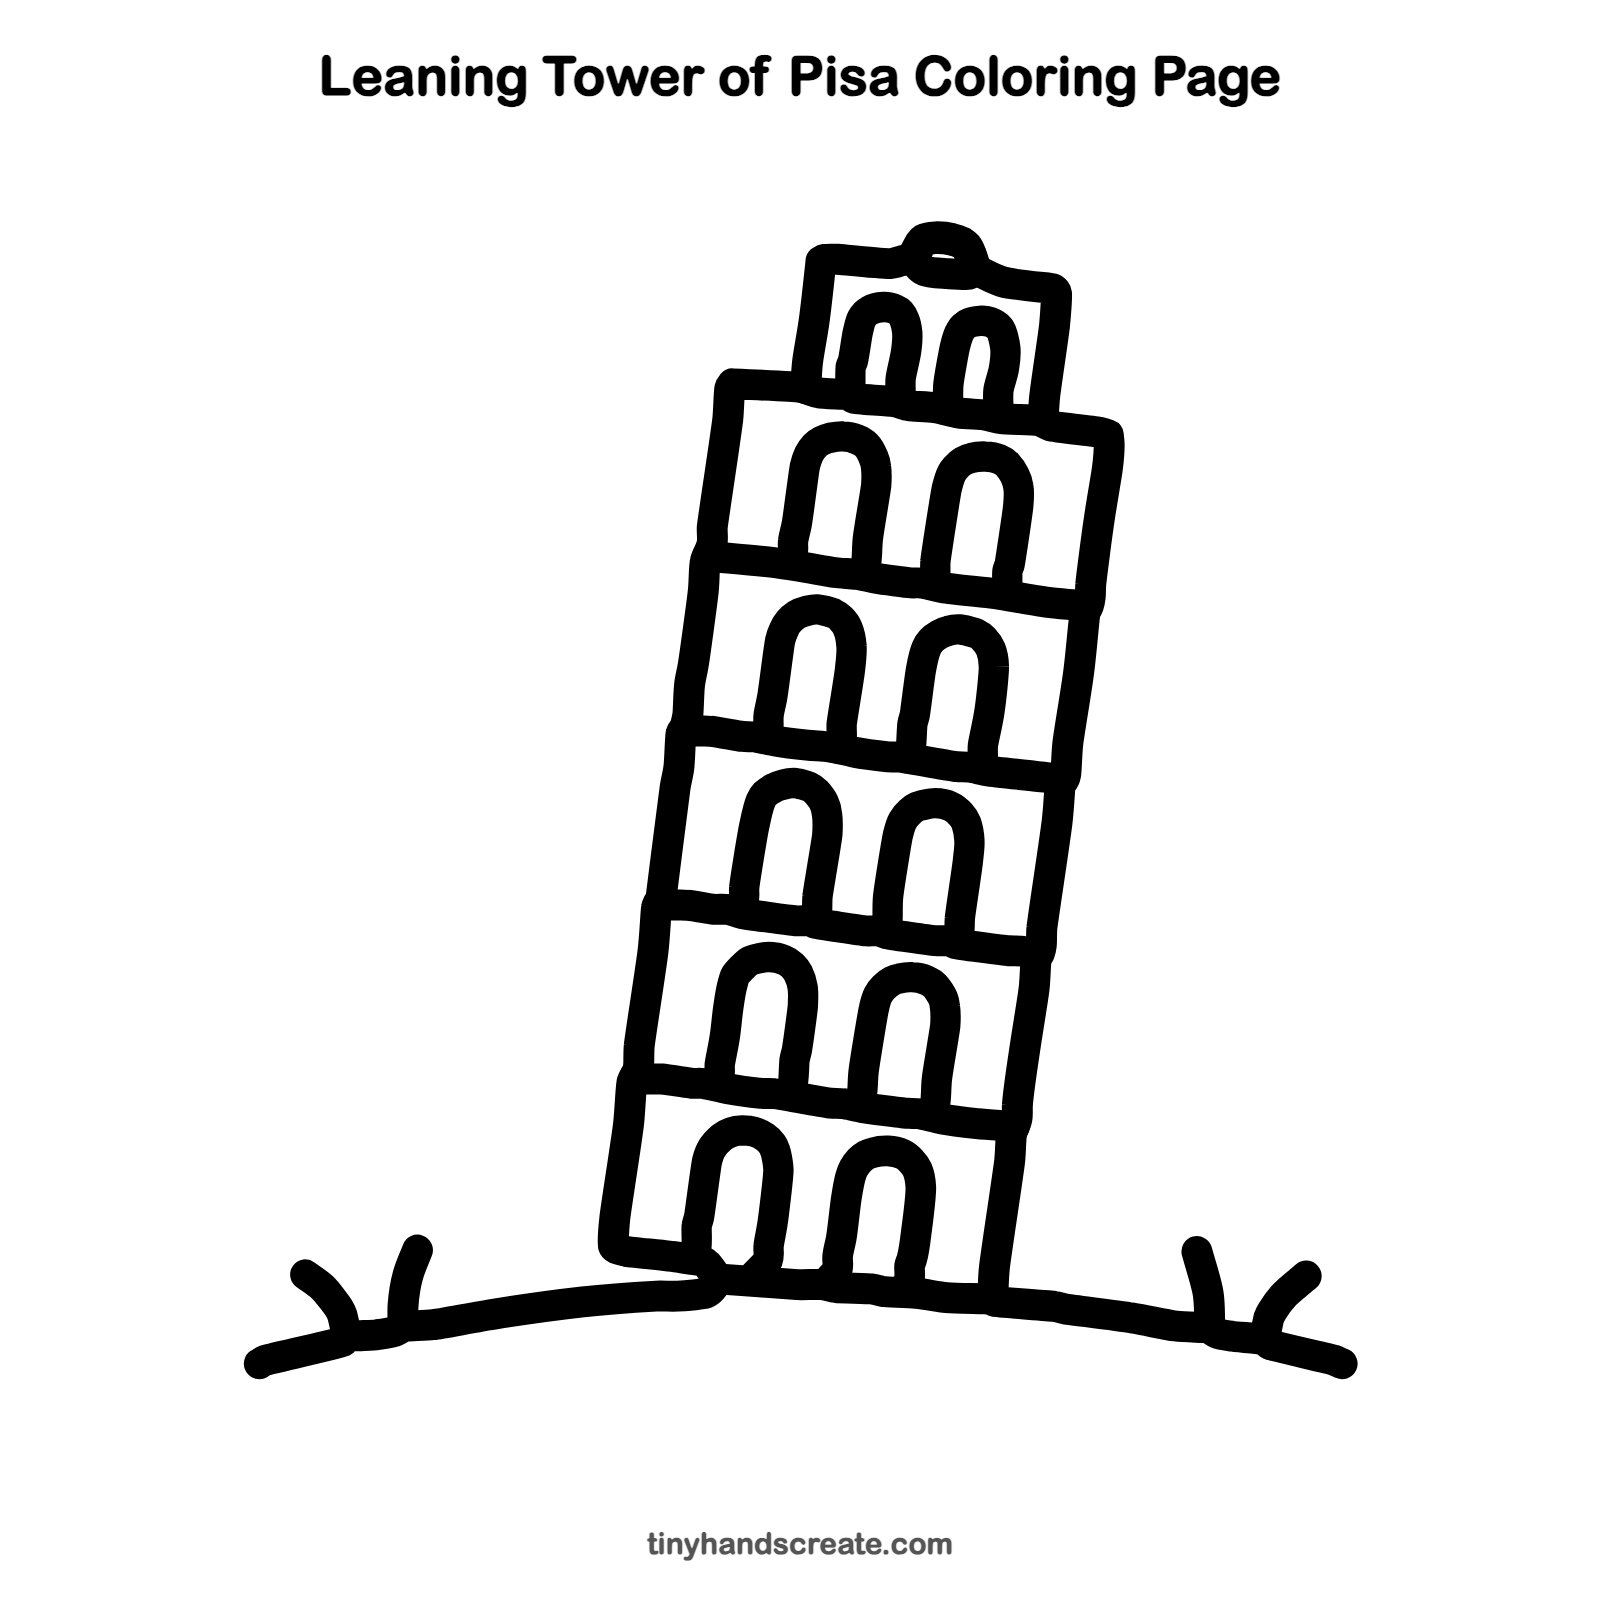
How to color your Leaning Tower of Pisa drawing
Try cream, tan, or light gray for the tower, with a bright green hill and a blue sky behind it. For a creative twist, add a tiny flag on the roof or a kid sitting on the hill.
Leaning Tower of Pisa fun fact for kids
The Leaning Tower of Pisa in Italy started to tilt while it was being built, because the ground on one side was soft. Work began in 1173, and the tower was finished about 200 years later.
Questions about drawing the Leaning Tower of Pisa
What shapes do I need to draw the Leaning Tower of Pisa?
You need long slanted lines for a tall tilted tower, a small box on top, and lots of upside-down U shapes for the arches. A long curved line makes the hill.
How do I make my tower look like it is leaning?
Tilt both side lines the same way, and slant the floor lines to match. Drawing a light straight line next to it can help you see how much it tips.
How many arches should I draw?
Draw two arches on each floor. The tower has five floors plus the small box on top, so that is twelve arches in all.