How to Draw a Tube of Toothpaste (Easy Step by Step)
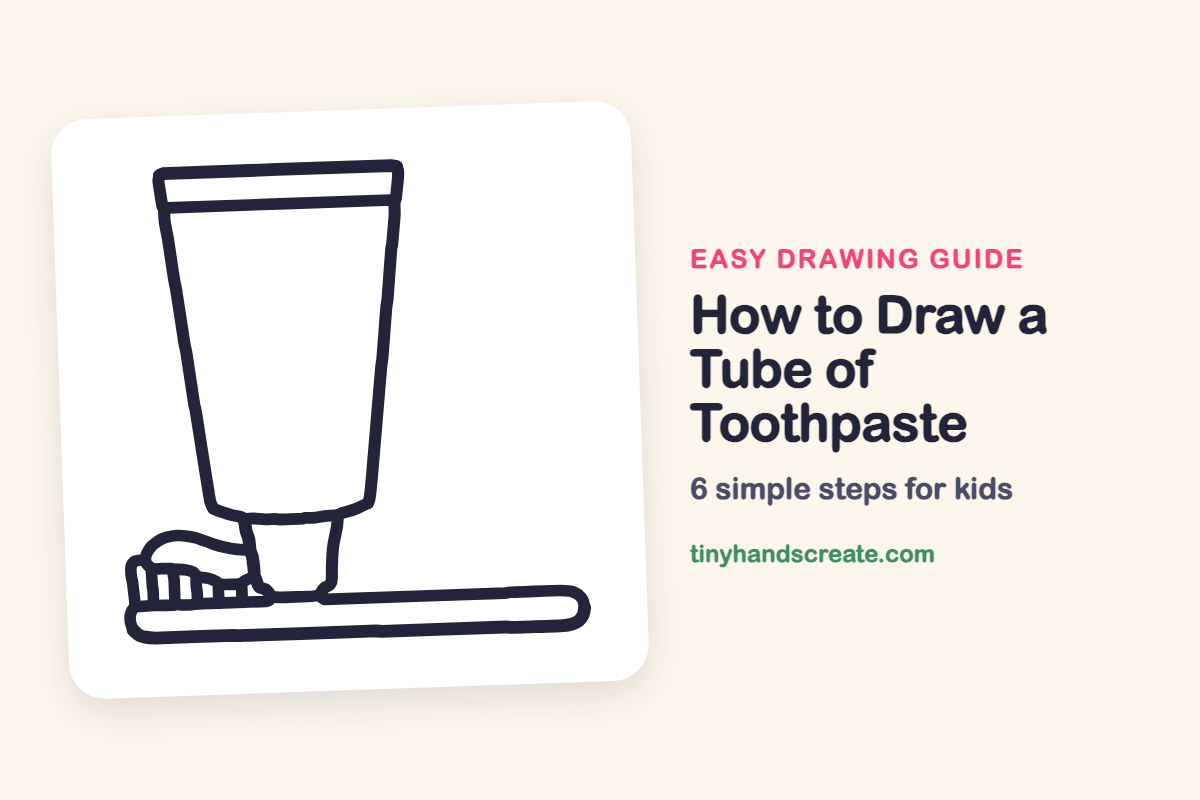
Learn how to easily draw a tube of toothpaste using simple shapes and gentle curves. You'll start with two slanted sides, add a small nozzle, and finish with a wavy blob of paste on a toothbrush.
- Begin your drawing by creating two slanted sides for the tube.
- Add a small nozzle to the top of your toothpaste tube.
- Finish your drawing by adding a wavy blob of paste on a toothbrush.
- Utilize straight lines and gentle curves to make the drawing process easy.
This post contains affiliate links. As an Amazon Associate I earn from qualifying purchases.
A tube of toothpaste is a great first object to draw because it is made of straight lines and a few gentle curves. You will start with two slanted sides, add a small nozzle, and finish with a wavy blob of paste on a toothbrush. It is a fun one to draw right before brushing your teeth.
- Easy
- 10 minutes
- 6 steps
You need: paper, a pencil, an eraser, and crayons or markers for coloring.
Start drawing


In this article (7 sections)
How to draw a tube of toothpaste step by step
How to Draw a Tube of Toothpaste · tinyhandscreate.com
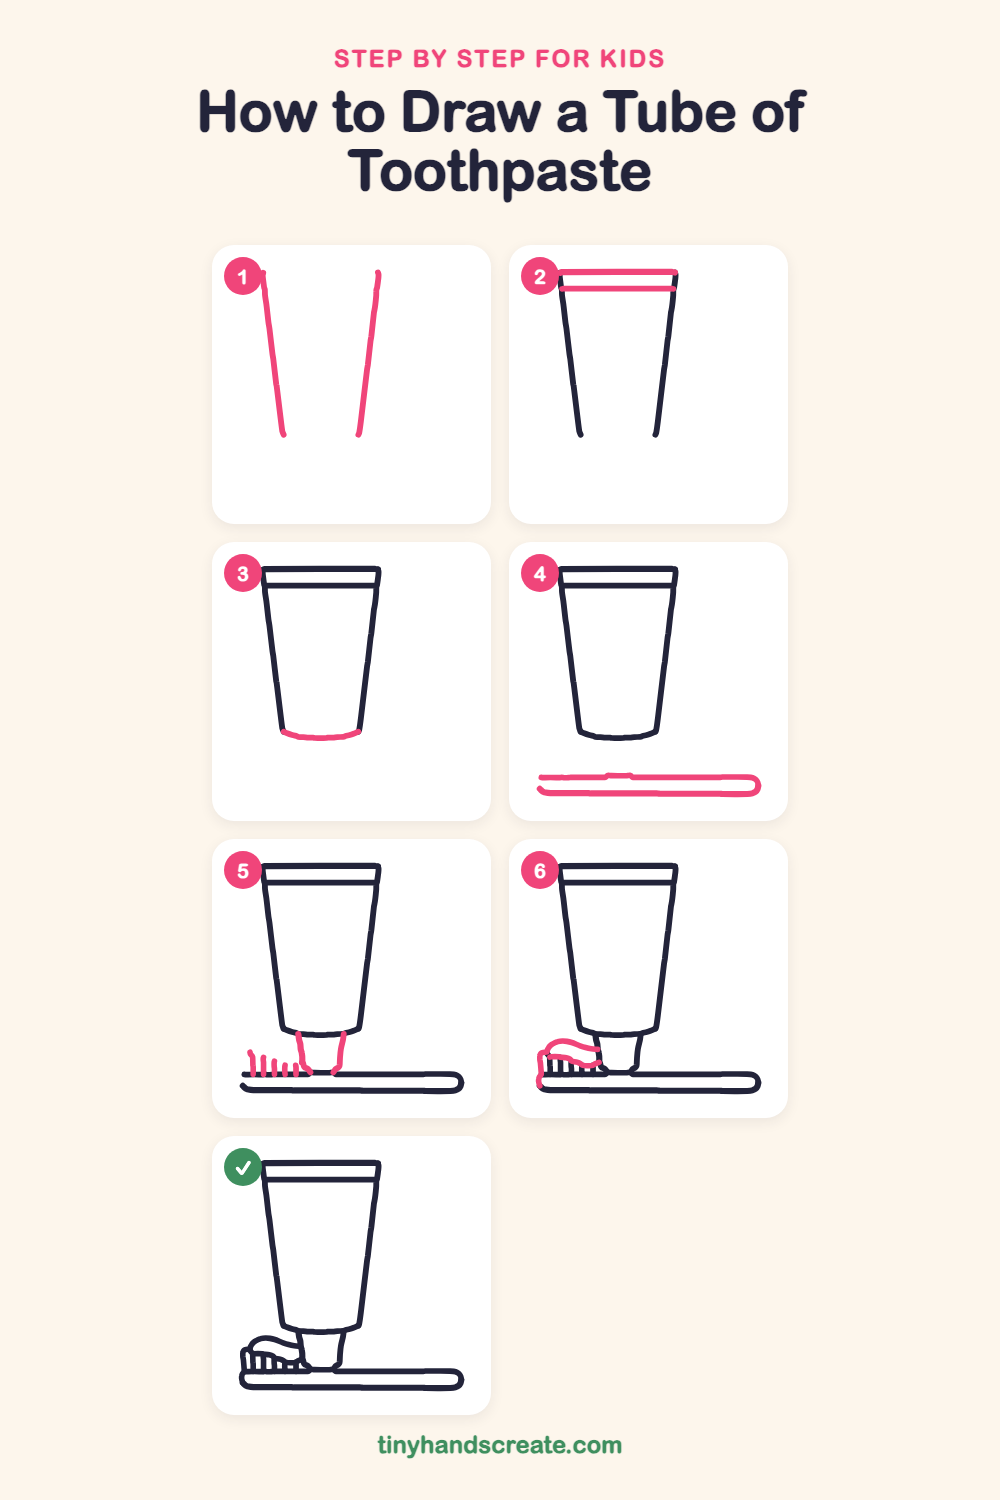
Step 1: The tube sides
Draw two long slanted lines that start wide apart at the top and get closer together toward the bottom. Leave the bottom open for now.
Step 2: Top of the tube
Draw a straight line across the top to join the two sides. Then draw a second straight line a little way below it to make the flat crimped edge.
Step 3: Bottom curve
Close the bottom of the tube with a gentle curved line that smiles from one side to the other.
Step 4: The toothbrush handle
Draw a long, skinny rounded rectangle lying flat below the tube. Draw the top line, then the bottom line, and round the right end.
Step 5: Nozzle and bristles
Under the curved bottom of the tube, draw two short lines going down to the handle to make the nozzle. Then add a row of short upright lines on the left side of the handle for the bristles.
Step 6: The toothpaste
Start at the nozzle and draw a wavy line that curves out to the left over the bristles like a soft ribbon. Round the end and bring it down to the handle, then add a wiggly line underneath to finish the blob of paste.
All done!
Go over your lines with a marker, then color it in.
Finished your tube of toothpaste? Keep the pencils out and learn how to draw a rocket or how to draw a shooting star next.
Tips for drawing a tube of toothpaste
- Make the two long sides of the tube lean in toward each other at the bottom. If they are parallel, the tube will look like a box.
- Draw the toothbrush handle with a ruler or the edge of a card first if you like, then round the end by hand so it looks smooth.
- For the paste, think of a wavy ribbon and go slowly. Lift your pencil often if the line gets wobbly.
Free tube of toothpaste coloring page
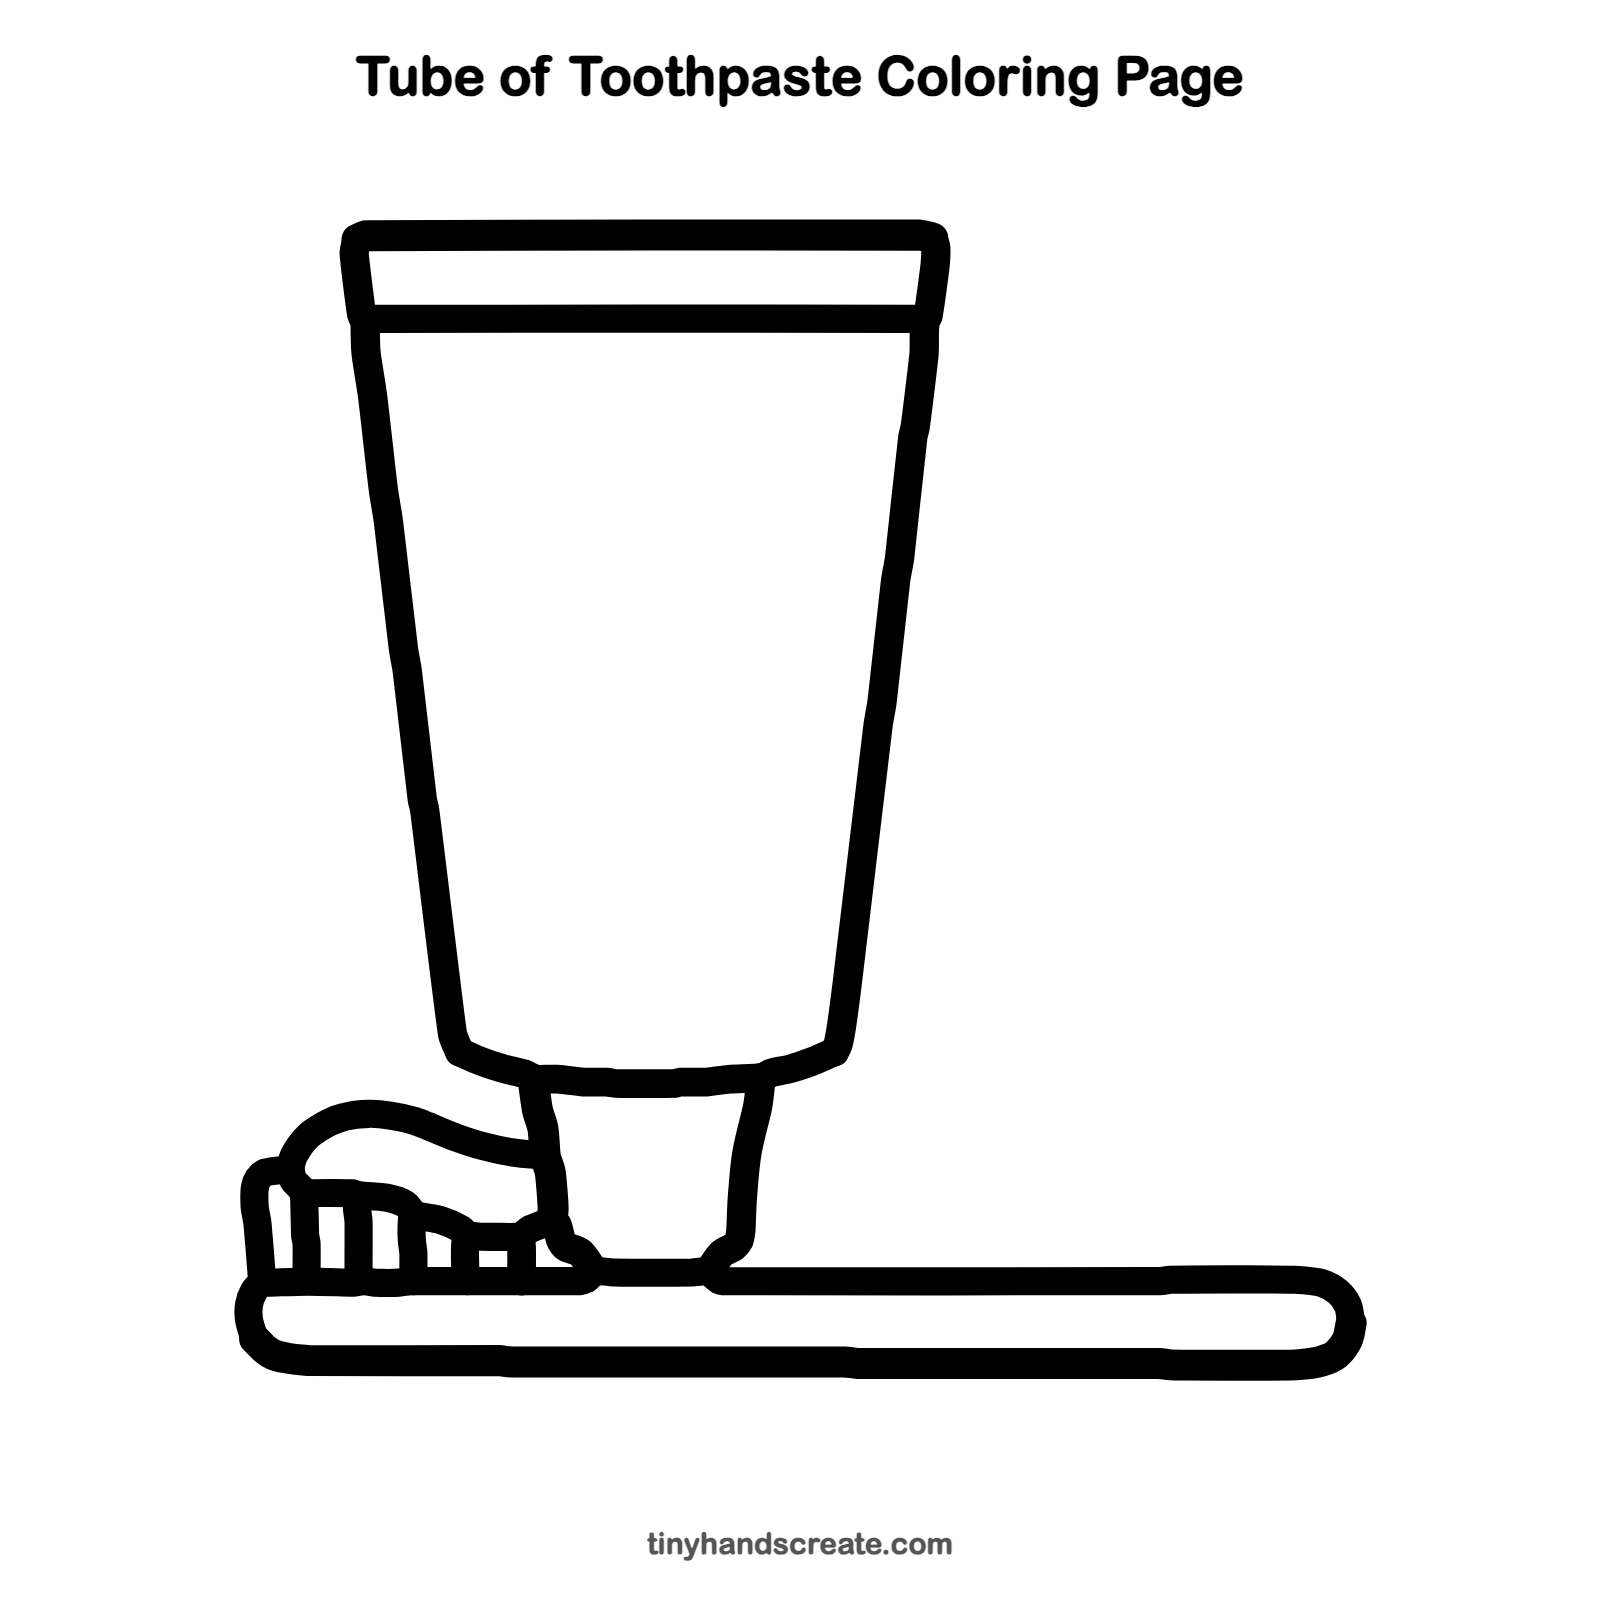
Want to go straight to coloring? Open this tube of toothpaste coloring page at full size and print it. It is the same drawing you just learned, with clean lines ready for crayons or markers.
How to color your tube of toothpaste drawing
Try a bright blue or red tube with a white stripe at the top, a green toothbrush with white bristles, and white paste with tiny blue stripes. For a creative twist, give the paste a rainbow of colors.
Tube of toothpaste fun fact for kids
The squeezable metal tube was invented in 1841 by John Goffe Rand, an American portrait painter, to hold oil paint. Toothpaste makers started using tubes later.
Questions about drawing a tube of toothpaste
What shapes do I need to draw a tube of toothpaste?
You need two long slanted sides with a curved bottom for the tube, two short lines for the nozzle, a long rounded rectangle for the toothbrush, and a wavy blob for the paste.
How do I make the toothpaste look squeezed out?
Start the wavy line right at the nozzle and let it curve out over the bristles. A bumpy edge makes it look soft and squishy.
How do I keep the tube sides straight?
Make a light dot at each top corner and each bottom corner, then connect the dots with long, slow strokes.