How to Draw a Juicer (Easy Step by Step)
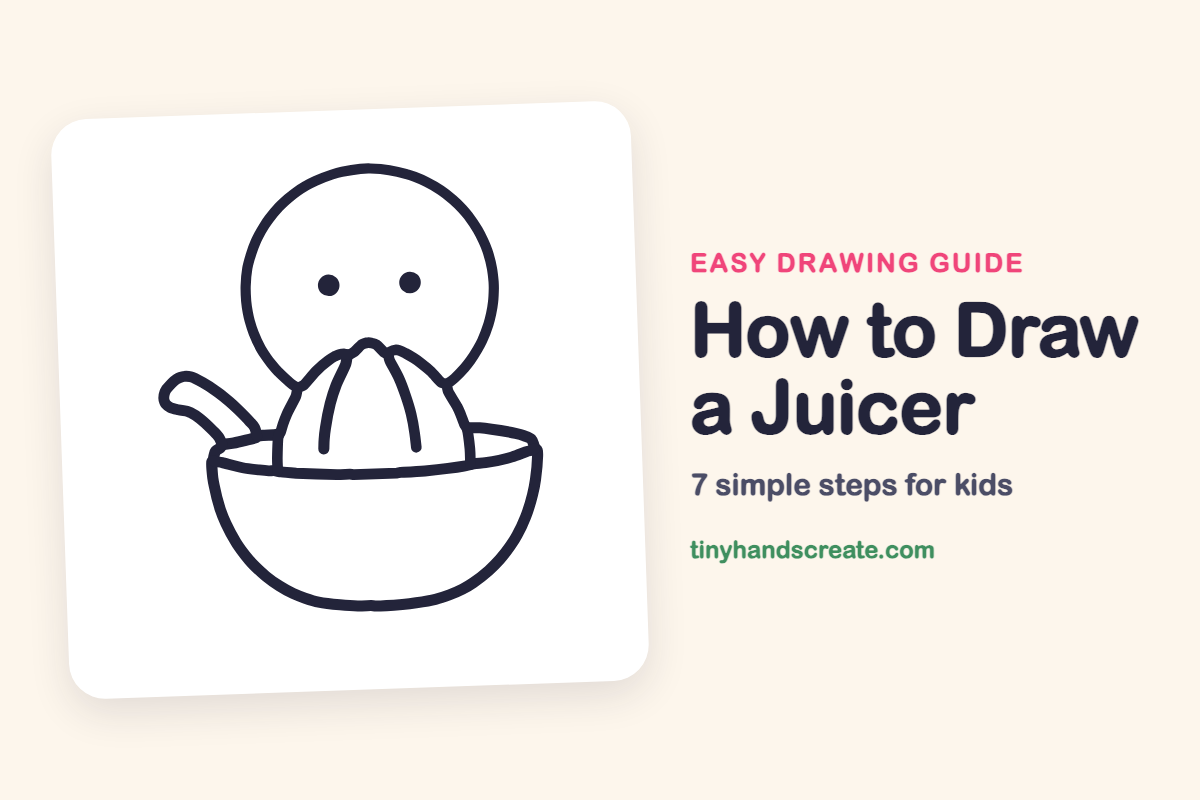
Learn how to draw a friendly juicer character using simple shapes like circles, ovals, and curved lines. This easy step-by-step guide will show you how to create its round head and dot eyes.
- Start your drawing with simple curves, like a bowl and a dome.
- Use a big round head and two dot eyes to make your juicer a friendly character.
- You only need a circle, an oval, and a few curved lines for this easy drawing.
This post contains affiliate links. As an Amazon Associate I earn from qualifying purchases.
A juicer is a great first drawing because it is made of simple curves: a bowl, a dome, and a small handle. This version has a big round head and two dot eyes peeking over the top, so it looks like a friendly little character. You only need a circle, an oval, and a few curved lines.
- Easy
- 10 minutes
- 7 steps
You need: paper, a pencil, an eraser, and crayons or markers for coloring.
Start drawing


In this article (7 sections)
How to draw a juicer step by step
How to Draw a Juicer · tinyhandscreate.com
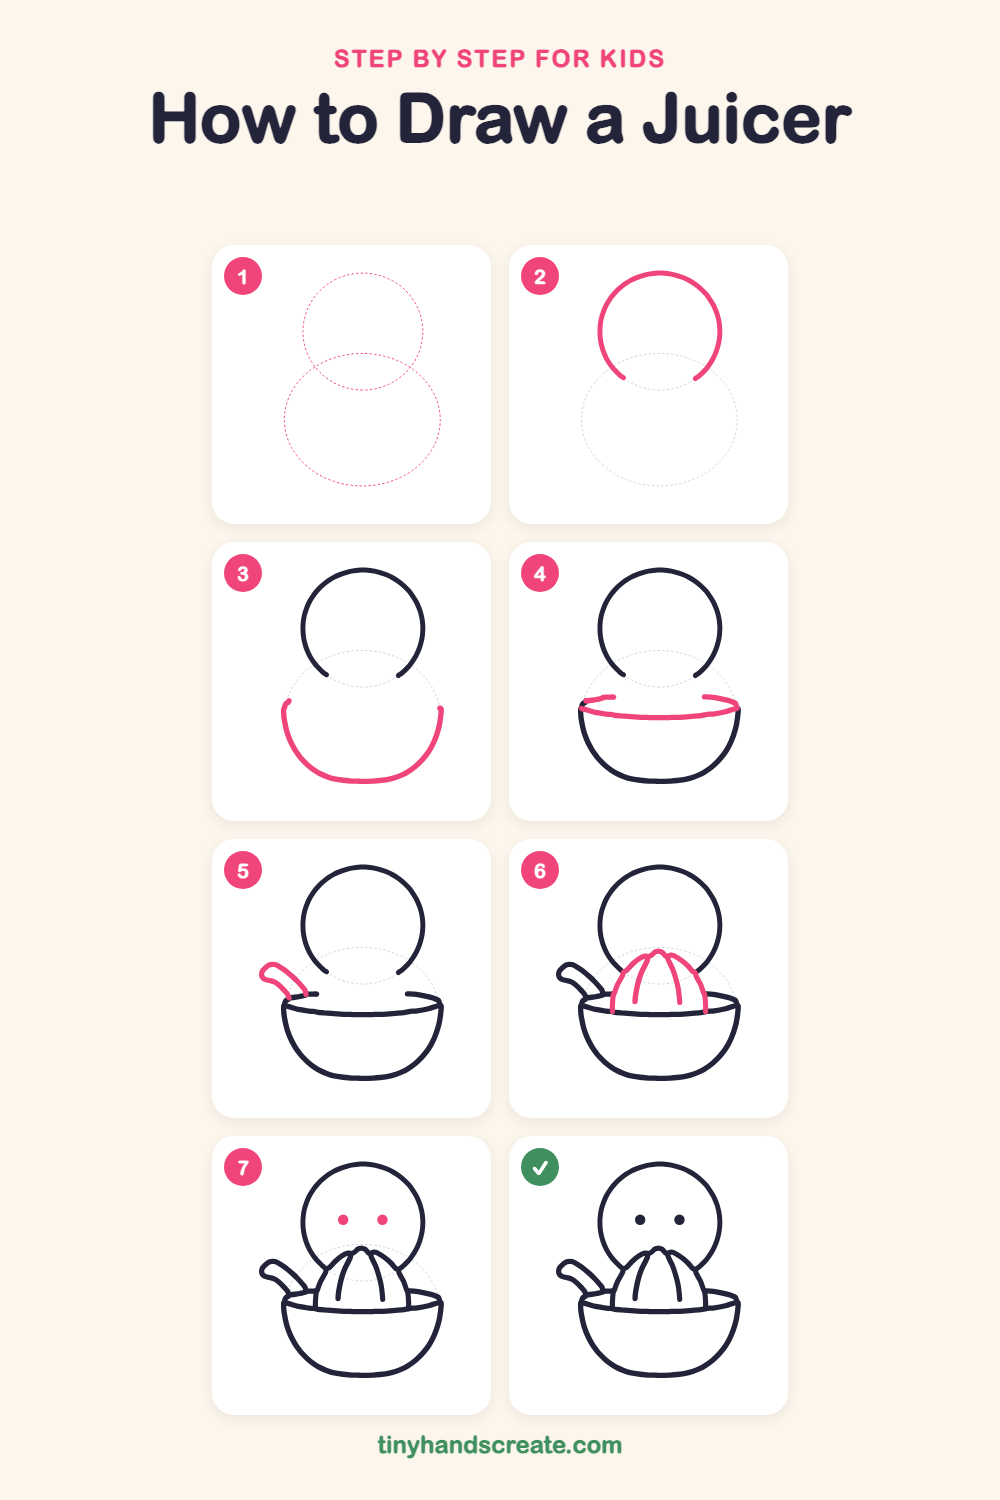
Step 1: Guide shapes
Lightly sketch these 2 ovals. They only show where the big parts go, so press softly. You will erase them at the end.
Step 2: The big round head
Start near the top of the page and draw a big circle, like a giant ball. Leave a small gap at the bottom and room underneath for the bowl.
Step 3: The bowl
Below the circle, draw a wide, deep curve like a smile that is open at the top. Make it a little wider than the circle.
Step 4: The bowl rim
Draw a long, flat oval across the top of the bowl so it has an opening. Join the ends of the oval to the two top corners of the bowl.
Step 5: The handle
On the left, draw a short, skinny shape that sticks out of the bowl and points up and to the left. Round off the end like a little paddle.
Step 6: The squeezing cone
Inside the bowl, draw a dome like a hill with a pointed top, so it covers the bottom of the big circle. Then add two curved lines inside it that start at the top and bend down toward the bottom.
Step 7: The two eyes
Fill in two small round dots in the middle of the big circle. Keep them the same size and at the same height.
All done!
Erase the guide shapes, go over your lines, then color it in.
Finished your juicer? Keep the pencils out and learn how to draw a rocket or how to draw a shooting star next.
Tips for drawing a juicer
- Draw the big circle first and the bowl second. The dome then tucks in front of the circle, so you can stop the circle's line where it meets the dome.
- The rim is the trickiest part. Think of a long, flat oval, like a pancake seen from the side, and make its ends meet the top corners of the bowl.
- For the two curved lines on the dome, start both at the pointed top and let them bend down toward the bowl, like the ribs of a pumpkin.
Free juicer coloring page
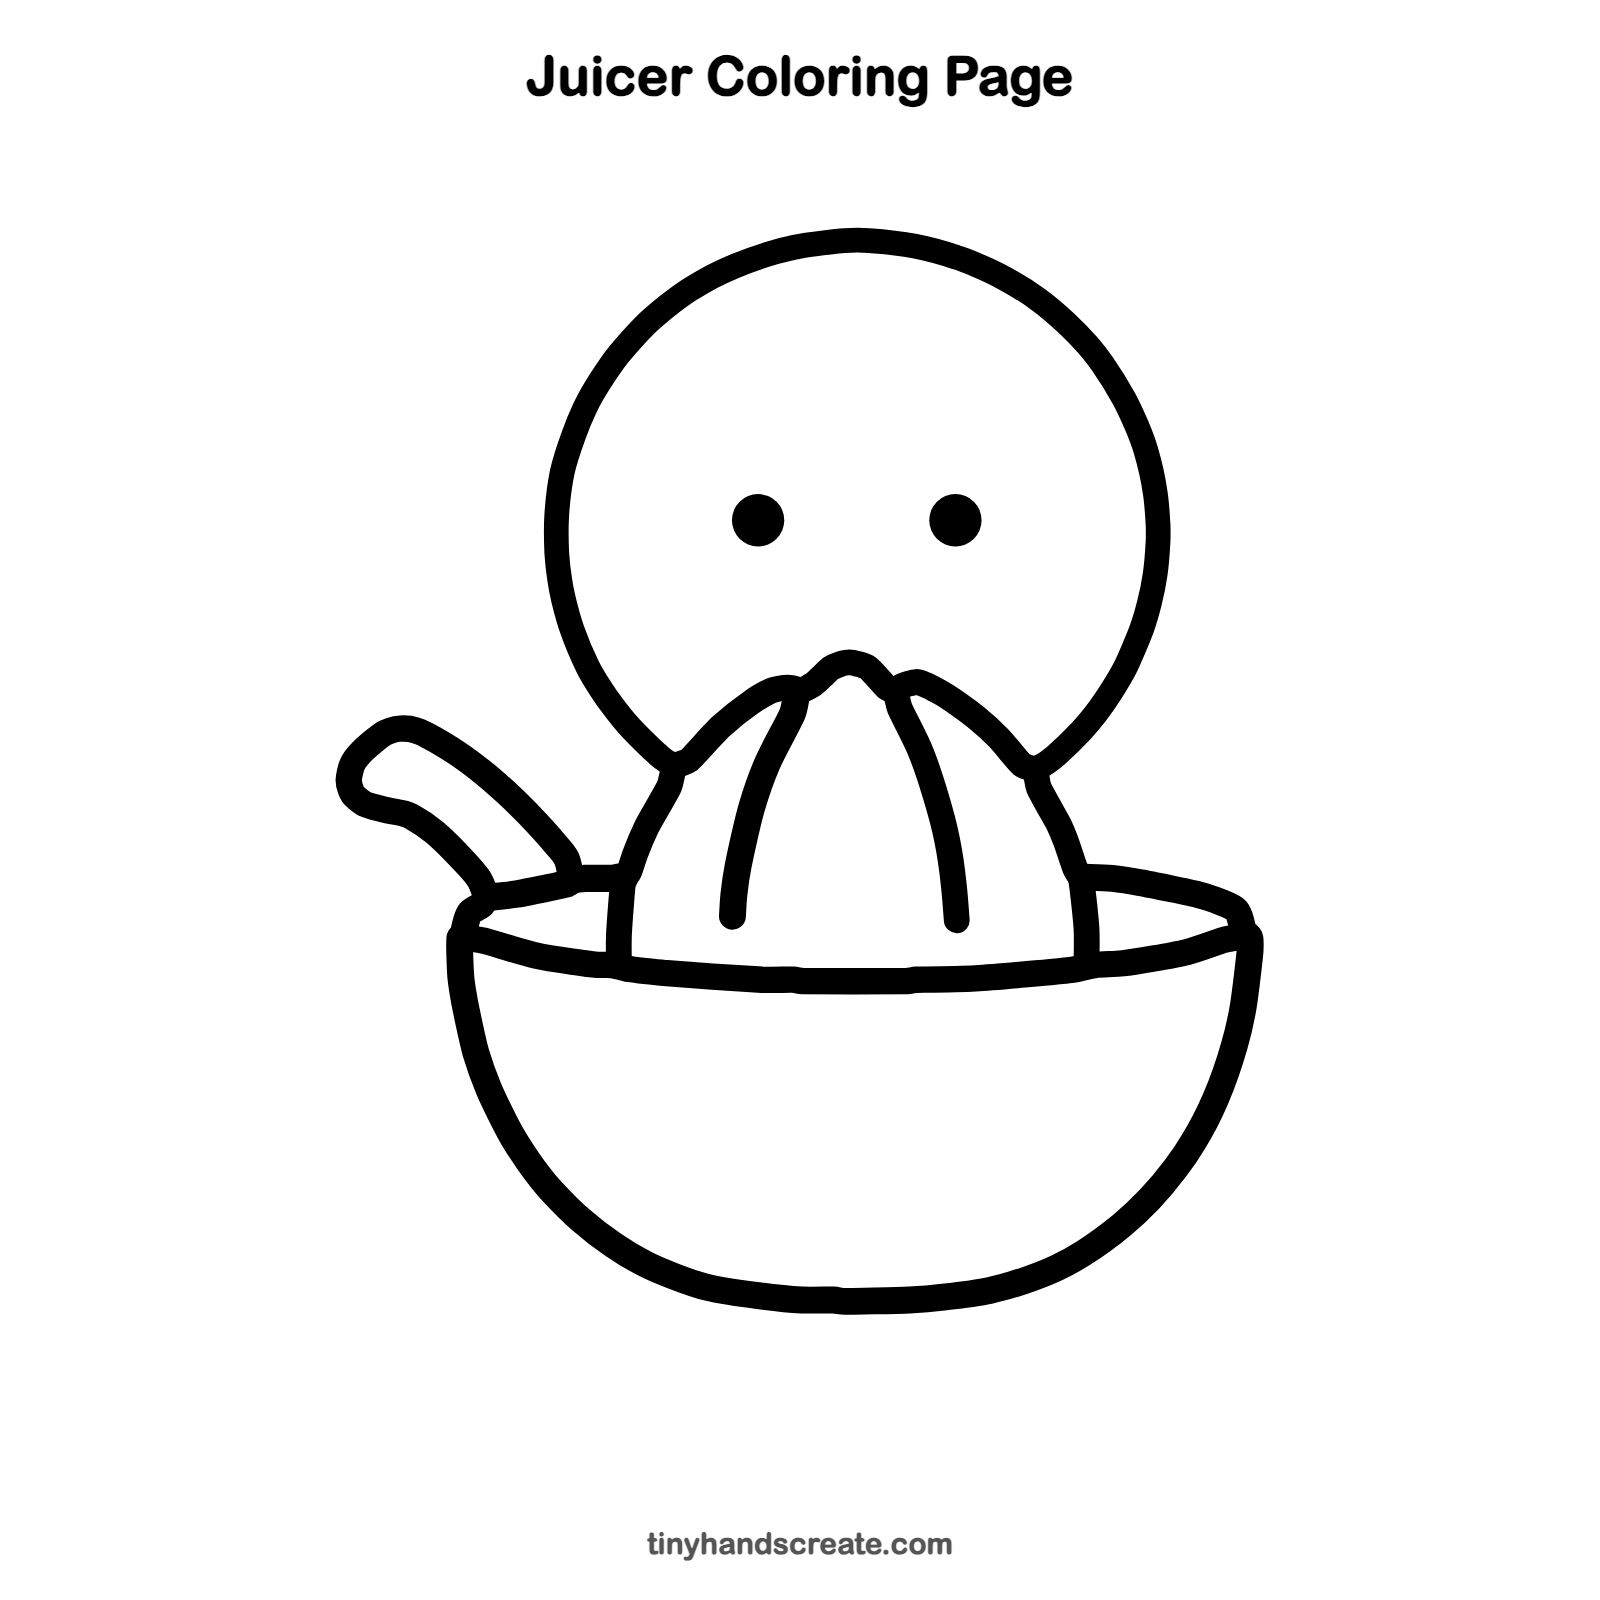
Want to go straight to coloring? Open this juicer coloring page at full size and print it. It is the same drawing you just learned, with clean lines ready for crayons or markers.
How to color your juicer drawing
Try a bright yellow or orange for the cone and a soft blue or green for the bowl. For a creative twist, color the big round head like a lemon or an orange.
Juicer fun fact for kids
Many citrus juicers have a ridged cone in the middle. The ridges grip the fruit and help squeeze out the juice when you press and twist a lemon or orange half on top.
Questions about drawing a juicer
What shapes do I need to draw a juicer?
You need a big circle, a deep half-circle for the bowl, a flat oval for the rim, a small skinny shape for the handle, and a dome for the cone.
How do I make my juicer look cuter?
Add the two round eyes at the same height and make the big circle as round as you can. Matching eyes give your juicer a friendly face.
Why does my bowl look lopsided?
Try drawing a light line down the middle first, then draw each side of the bowl to match. Make both sides curve the same amount.