How to Draw a Swordfish (Easy Step by Step)
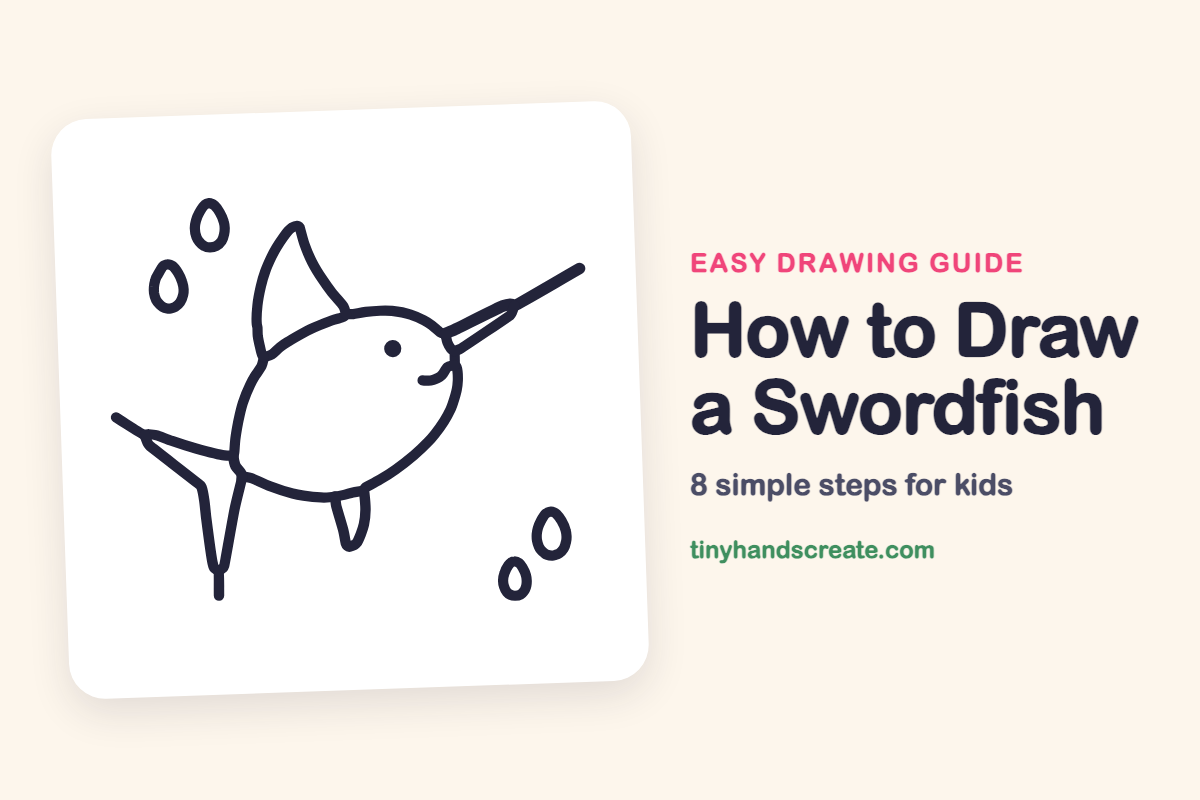
Learn how to easily draw a swordfish using simple shapes like an oval, a curved fin, and a pointy tail. You'll create a happy fish with splashing water in just a few steps.
- Start your swordfish drawing with a large oval for the body.
- Add a long, pointy sword to the front of the oval shape.
- Draw a tall curved fin and a pointy tail for your fish.
- Use small teardrop shapes to illustrate splashing water around it.
This post contains affiliate links. As an Amazon Associate I earn from qualifying purchases.
A swordfish is a fun one to draw because it is mostly one big oval with a long pointy sword on the front. You will use an oval, a tall curved fin, a pointy tail, and some little teardrops to build a happy fish with splashing water around it.
- Easy
- 12 minutes
- 8 steps
You need: paper, a pencil, an eraser, and crayons or markers for coloring.
Start drawing
In this article (7 sections)
How to draw a swordfish step by step
How to Draw a Swordfish · tinyhandscreate.com
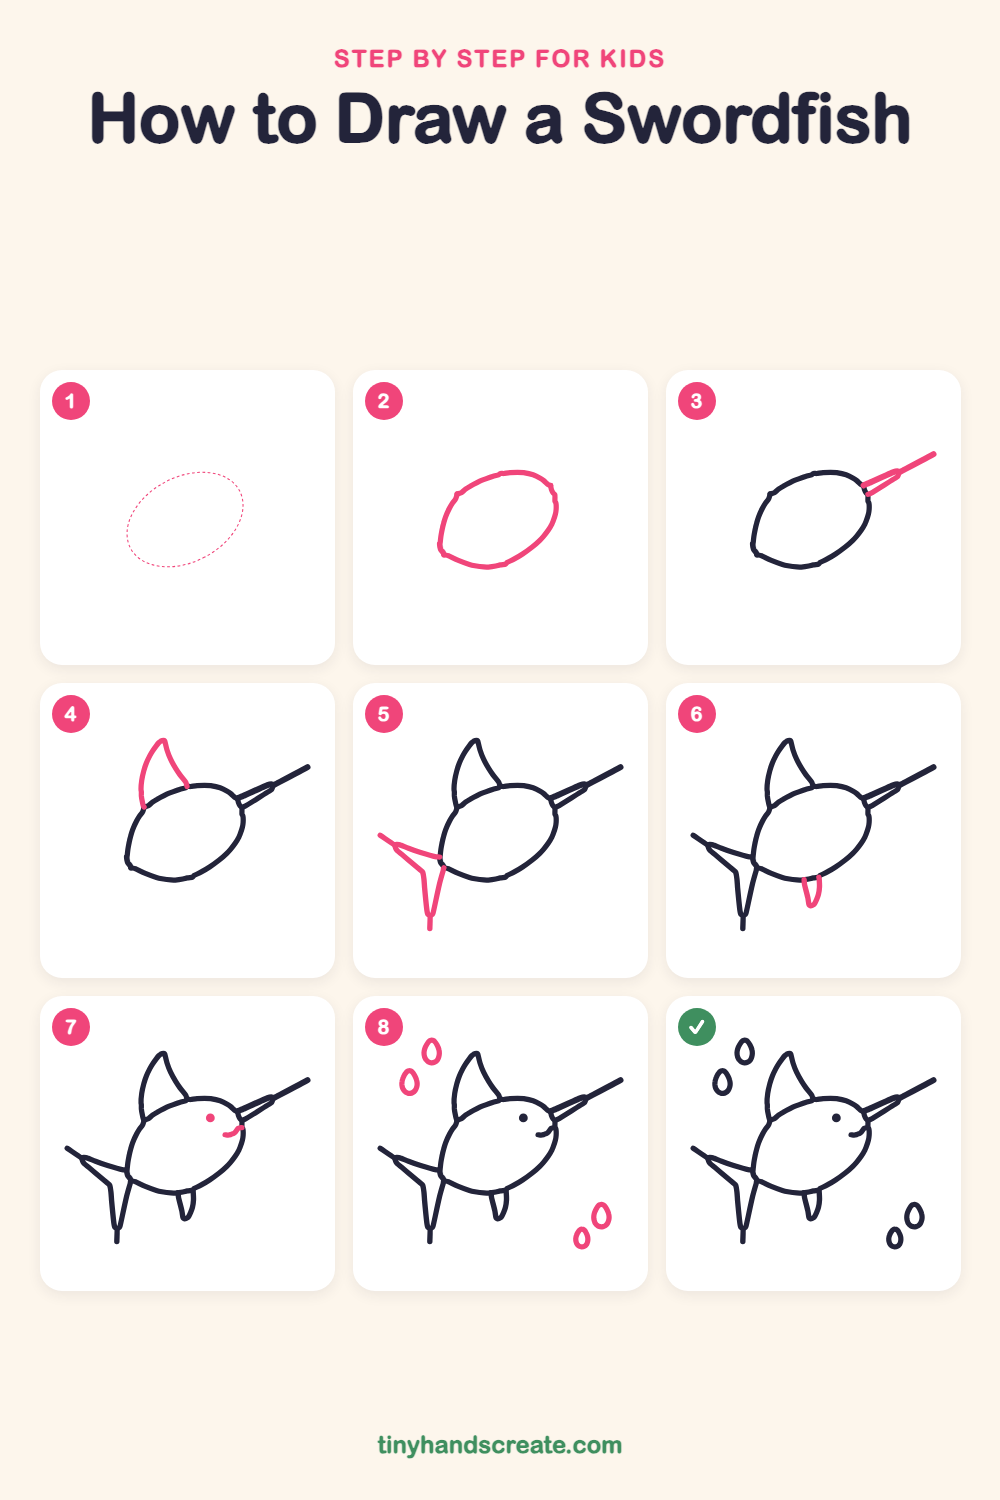
Step 1: Guide shapes
Lightly sketch this oval. It only shows where the big parts go, so press softly. You will erase it at the end.
Step 2: The round body
Start with a big, slightly tilted oval for the swordfish's body. Draw it nice and round, like a plump egg lying on its side.
Step 3: The long sword
At the front right of the oval, draw two long lines that start close together on the body and meet at a sharp tip far out to the upper right. It makes a long, thin pointy wedge, like a sword.
Step 4: The tall back fin
On top of the body, draw a tall curved fin like a shark fin. Start on the left side of the back, curve up to a point, then sweep down to meet the body again.
Step 5: The pointy tail
At the back of the body on the left, draw a tail with two pointy parts. One long point sticks out to the upper left and the other long point stretches down, and both start where they touch the body.
Step 6: The small belly fin
Under the body, draw a little fin shaped like a tiny leaf. Start on the belly, go down to a point, and curve back up to the body.
Step 7: Eye and smile
Near the front of the body, draw a small round dot for the eye. Then draw a little curved line below it that bends up at the end to make a smile.
Step 8: Water drops
Around your fish, draw four teardrop shapes for the splashing water, two in the top left and two in the bottom right. Make each one with a rounded bottom and a pointy top, in big and small sizes.
All done!
Erase the guide shapes, go over your lines, then color it in.
Finished your swordfish? Keep the pencils out and learn how to draw a hammerhead shark or how to draw a whale shark next.
Tips for drawing a swordfish
- Draw the oval body first and lightly, so the sword, fins, and tail all have a clear place to attach.
- The sword is the trickiest part. Draw two long lines that start close together on the body and meet at a sharp tip, and keep both lines pointing the same way.
- Make the tail with two pointy parts that spread apart, one toward the upper left and one pointing down, and let both touch the body.
Free swordfish coloring page
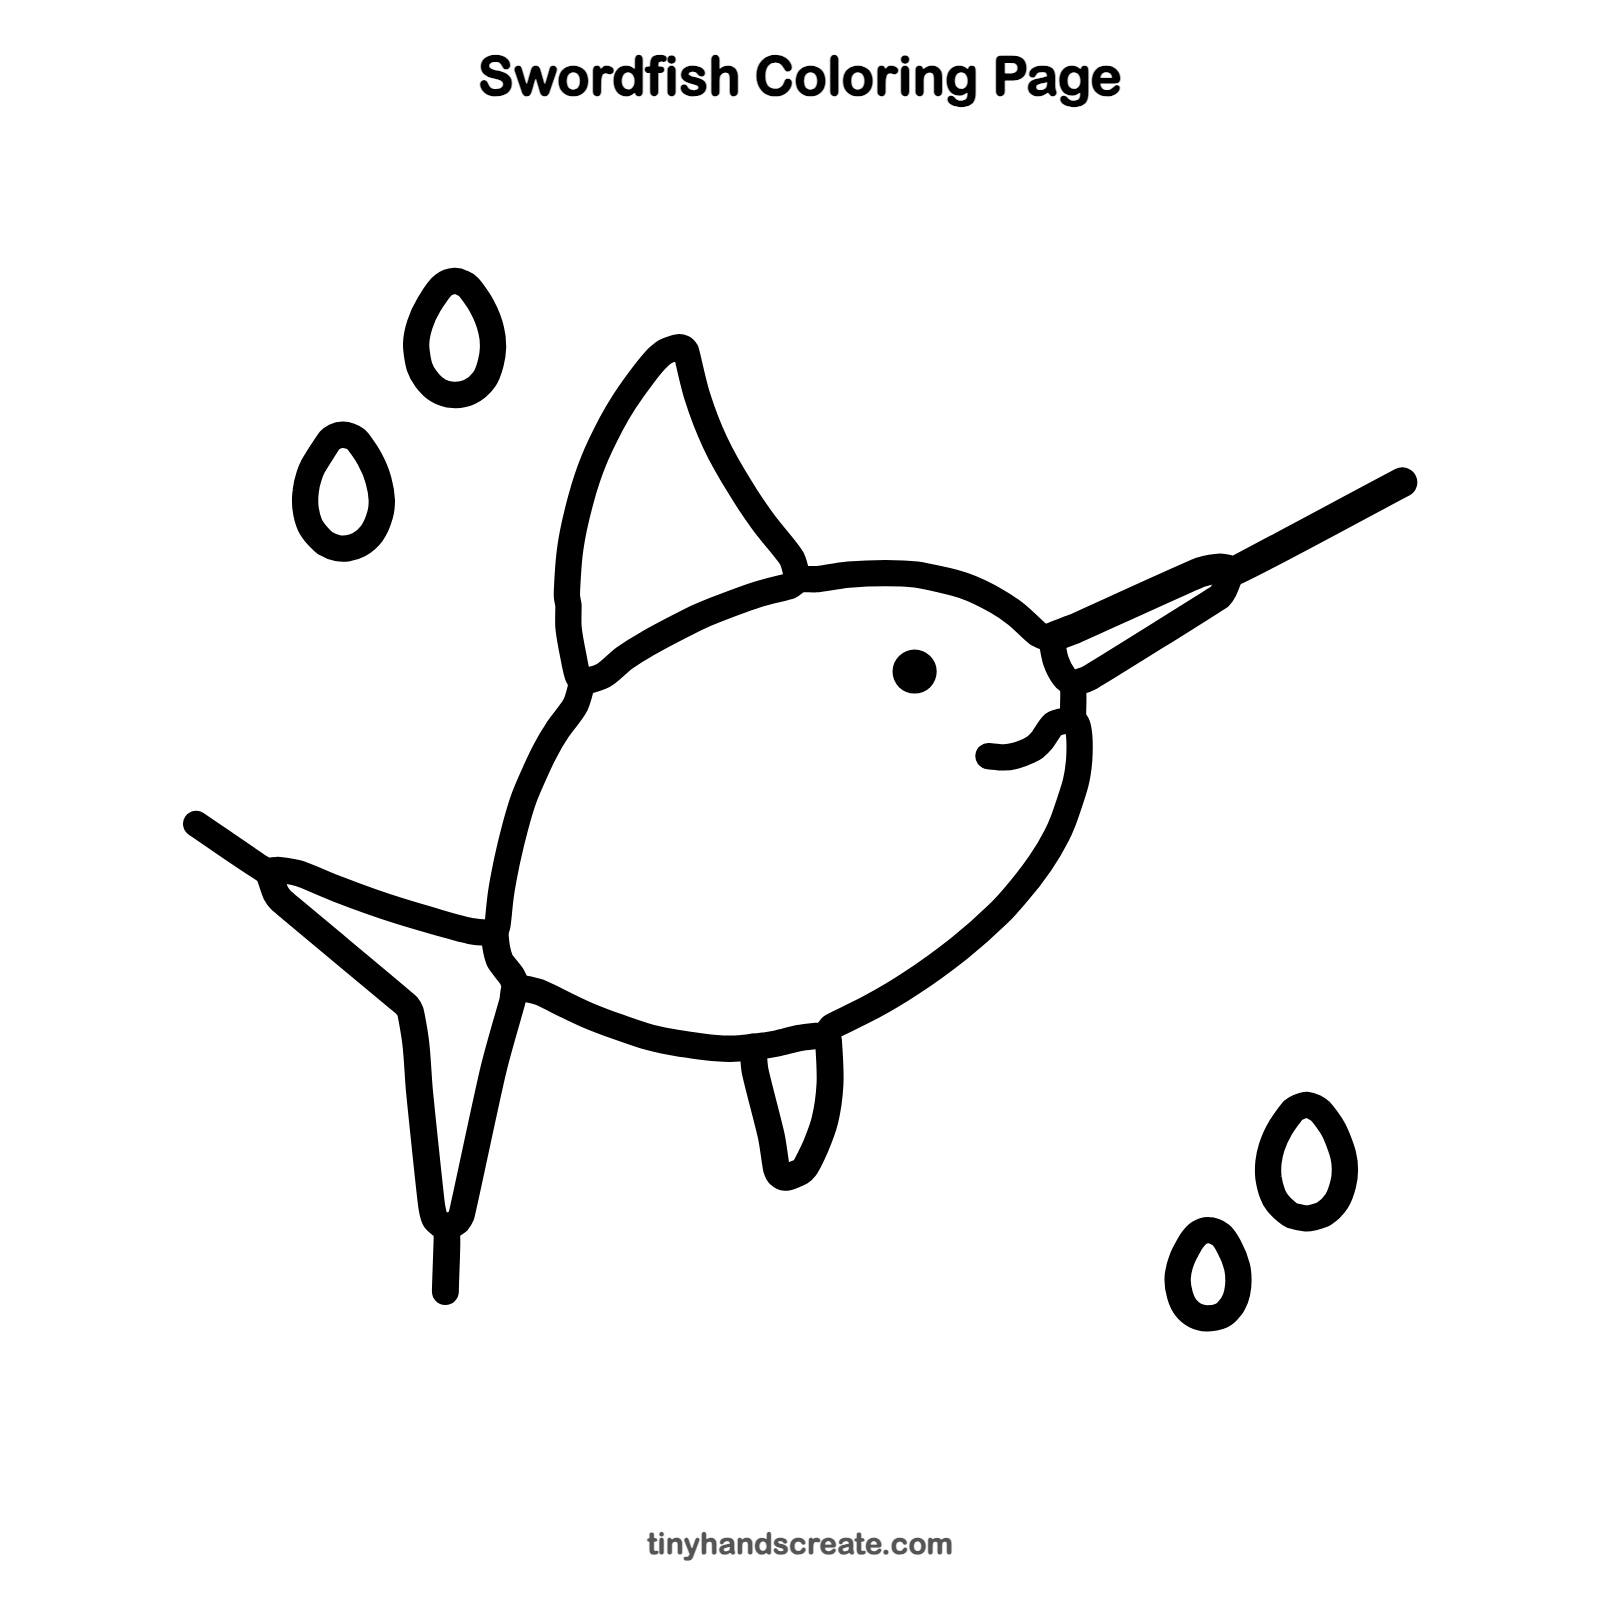
Want to go straight to coloring? Open this swordfish coloring page at full size and print it. It is the same drawing you just learned, with clean lines ready for crayons or markers.
How to color your swordfish drawing
Try deep ocean blue on the back and a lighter silvery blue on the belly, with a gray sword. Color the water drops light blue, or use rainbow colors for a fun splash.
Swordfish fun fact for kids
A swordfish's sword is a flat, pointed bill, and adult swordfish have no teeth.
Questions about drawing a swordfish
What shapes do I need to draw a swordfish?
You need one big oval for the body, a long thin wedge for the sword, a curved fin for the back, pointy shapes for the tail and belly fin, and small teardrops for the water splashes.
How do I make my swordfish look cuter?
Give it a round dot eye and a small curved smile near the front of its face. A bigger, rounder body also makes it look friendlier.
How do I draw the sword straight?
Start with two lines at the front of the body and let them meet at a tip far out to the upper right. Lightly marking the tip first with a tiny dot can help.