How to Draw a Necktie (Easy Step by Step)
This post contains affiliate links. As an Amazon Associate I earn from qualifying purchases.
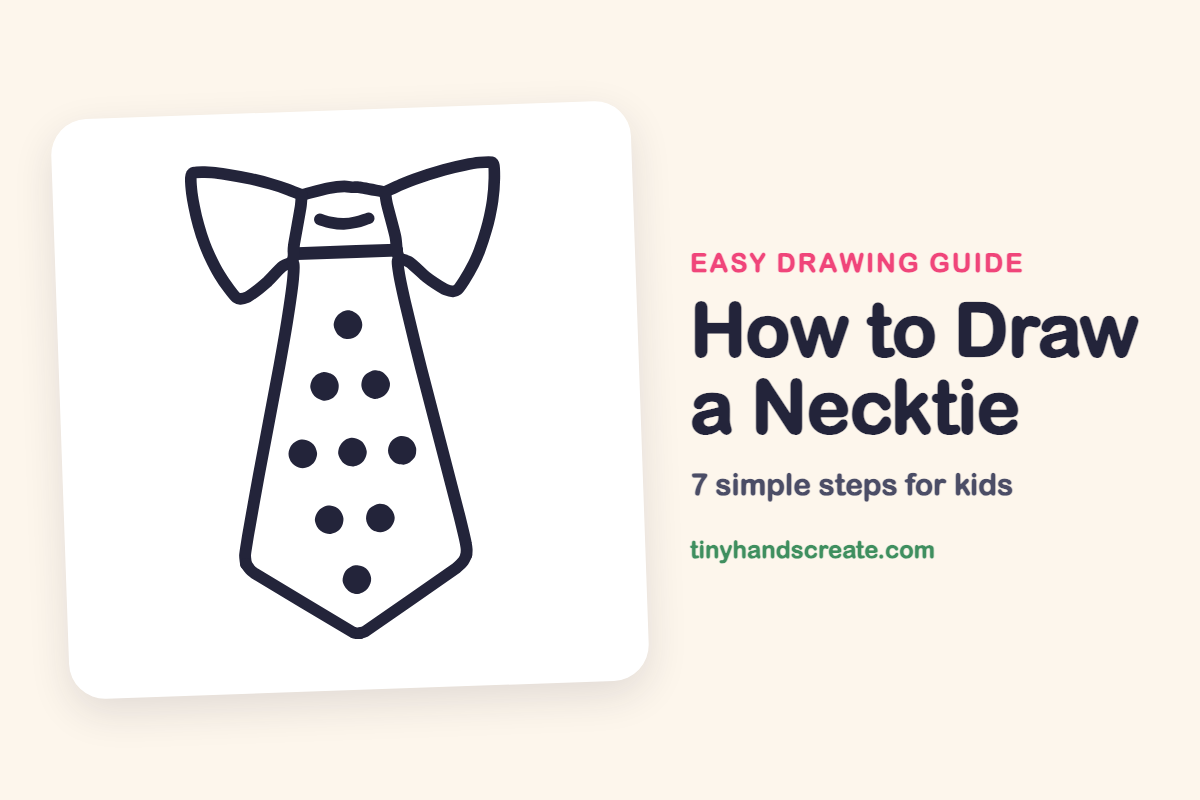
A polka-dot necktie is a great first drawing because it is mostly straight lines and circles. You start with a little knot, add two pointy wings, then stretch the long sides down to a point and finish with a pattern of dots.
- Easy
- 10 minutes
- 7 steps
You need: paper, a pencil, an eraser, and crayons or markers for coloring.
Start drawingDraw this next
In this article (7 sections)
How to draw a necktie step by step
How to Draw a Necktie · tinyhandscreate.com
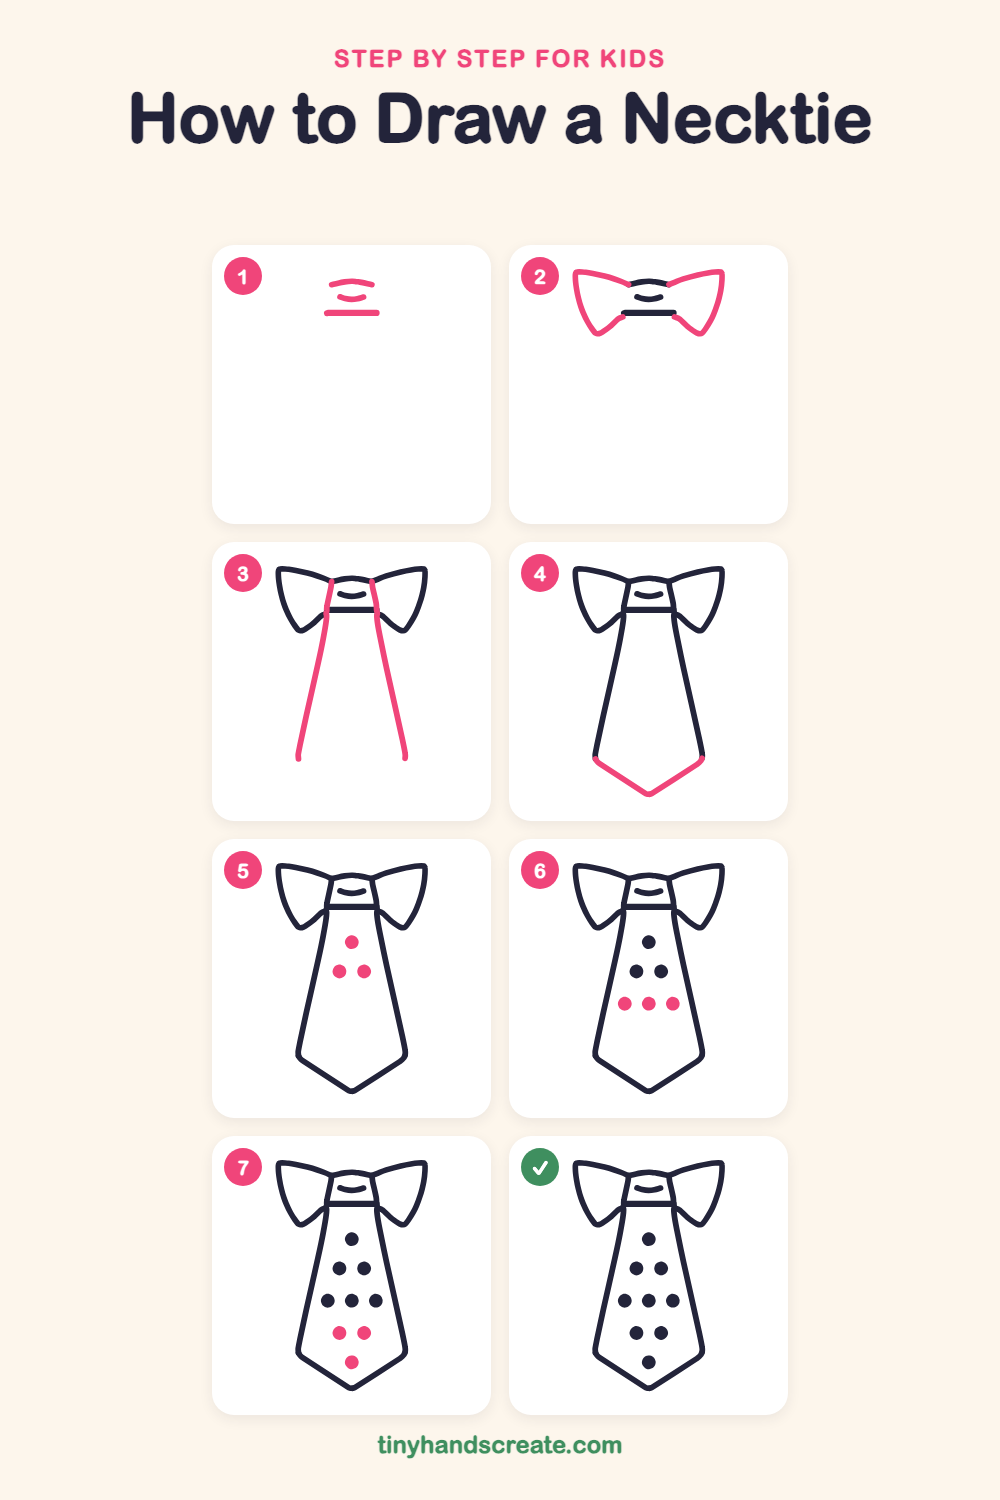
Step 1: Knot top and band
Draw a short curved line for the top of the knot. Draw a straight line across a little lower down for the bottom of the knot, then add a small smiling curve in between.
Step 2: The two bow wings
Draw a pointy, rounded wing on the left that starts at the top corner of the knot, curves out and down to a point, then comes back in to the end of the band. Make a matching wing on the right side.
Step 3: The long sides
From each end of the band, draw a long line going down that spreads a little wider as it goes. The two lines make a tall, skinny shape that stops before the bottom.
Step 4: The pointed tip
Connect the bottom of the left side to a point in the middle, then back up to the bottom of the right side. It looks like an arrow pointing down.
Step 5: Top three dots
Draw one filled-in circle near the top of the tie. Add two circles side by side just below it.
Step 6: Middle row of dots
Draw a row of three circles across the middle of the tie. Try to space them evenly.
Step 7: Bottom dots
Add two circles side by side near the bottom, then one last circle below them, just above the pointed tip.
All done!
Go over your lines with a marker, then color it in.
Finished your necktie? Keep the pencils out and learn how to draw a nose or how to draw an ear next.
Tips for drawing a necktie
- Draw the two long side lines so they slant outward at the same angle. Look at the first one before you draw the second so the tie stays even.
- Make the bottom point with two straight lines that meet in the middle, like a tiny roof turned upside down.
- Place the dots in rows: one, two, three, two, one. Draw the middle dot of each row first so the rest line up.
Free necktie coloring page
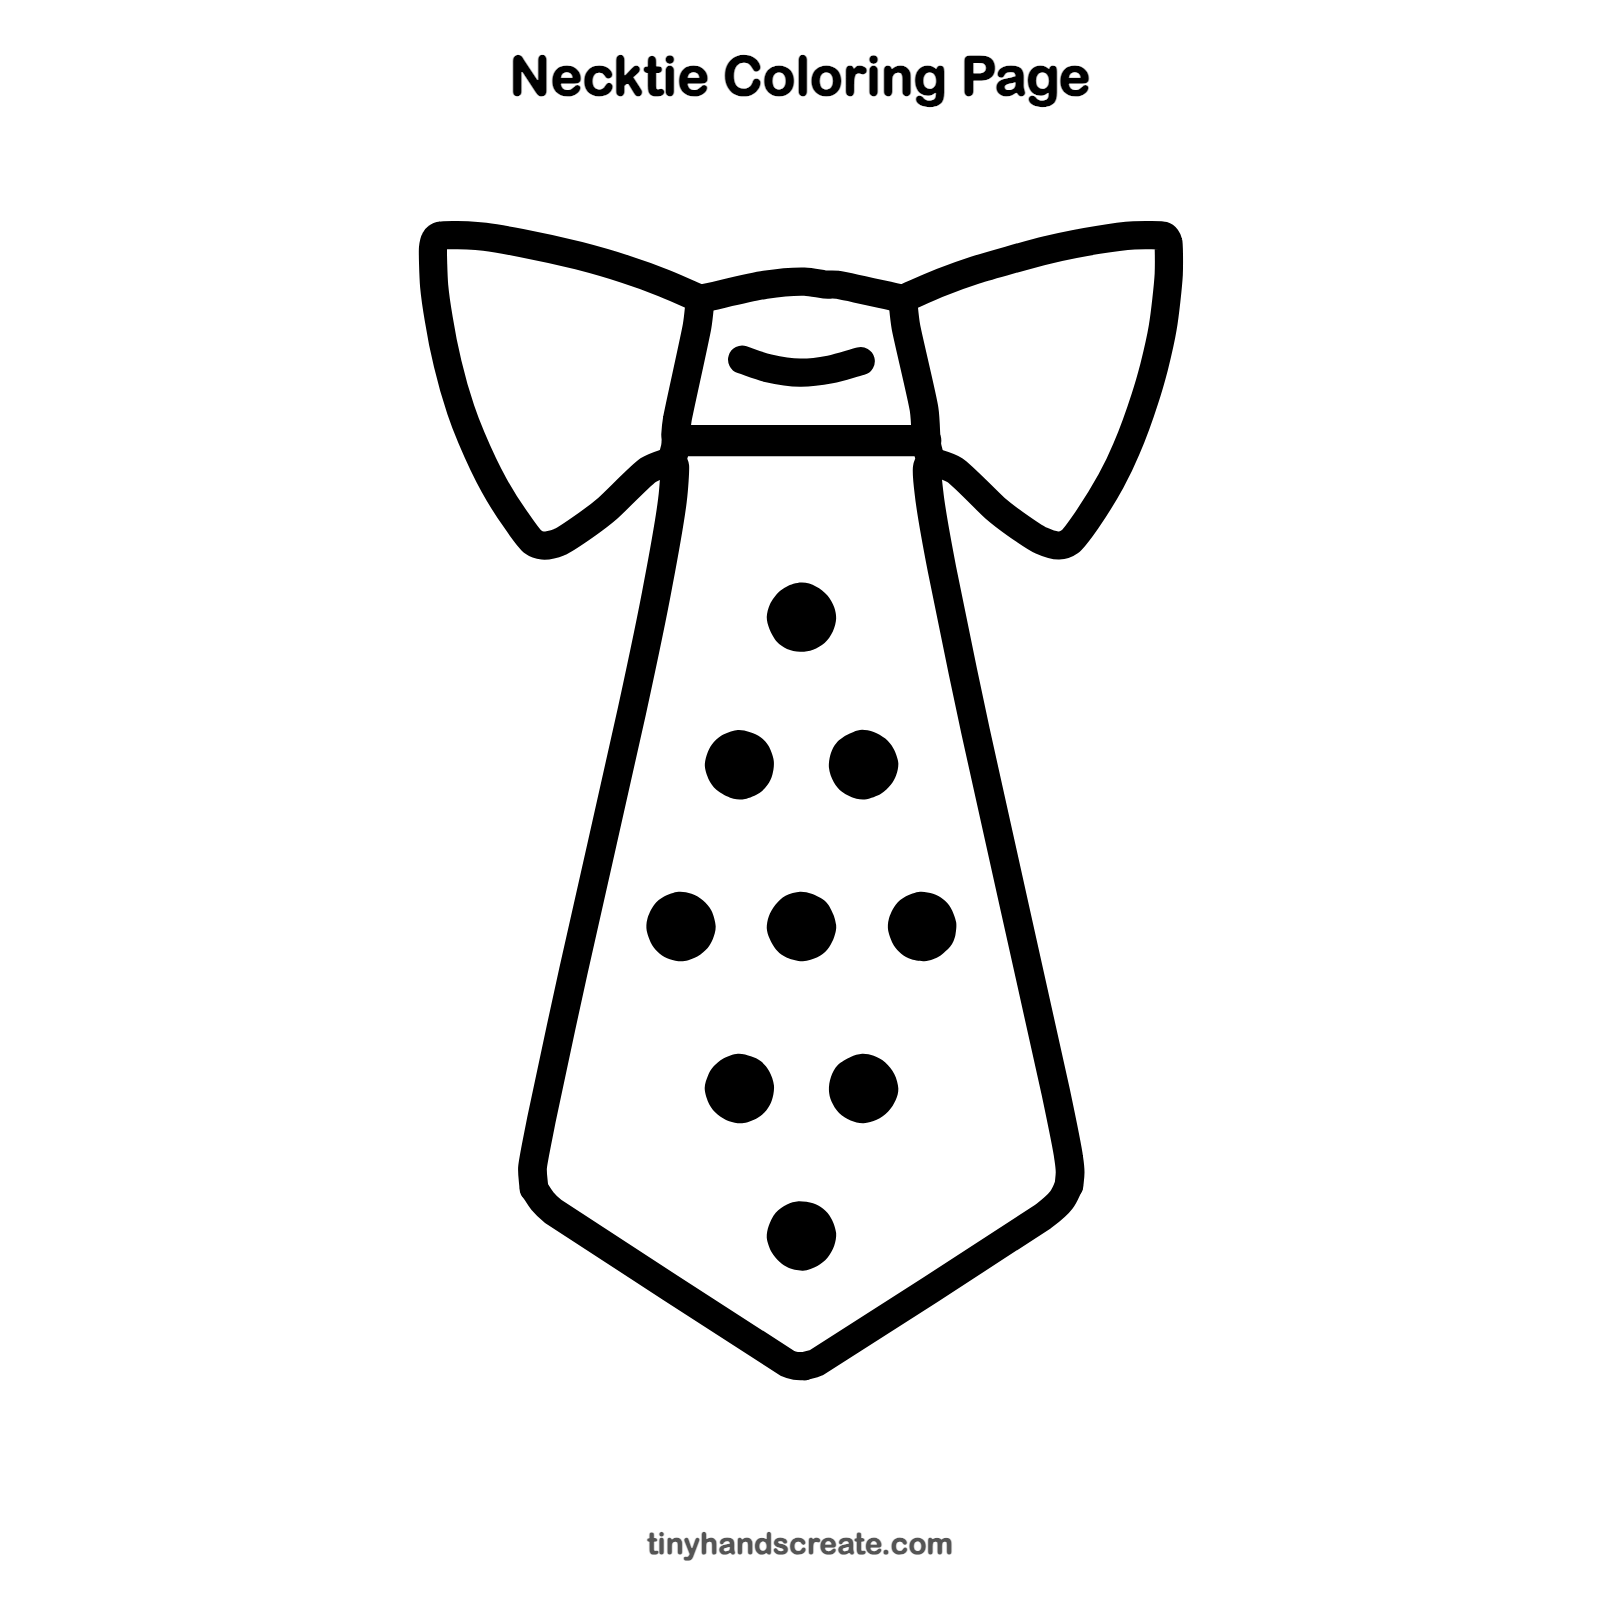
Want to go straight to coloring? Open this necktie coloring page at full size and print it. It is the same drawing you just learned, with clean lines ready for crayons or markers.
How to color your necktie drawing
Try a red tie with white dots, or a rainbow tie where each dot is a different color. For a creative twist, draw stars or hearts instead of the dots.
Necktie fun fact for kids
The word cravat comes from the French word for Croatian. In the 1600s, Croatian soldiers wore knotted cloth scarves around their necks, and people in France copied the style.
Questions about drawing a necktie
What shapes do I need to draw a necktie?
You need a few short lines for the knot, two pointy wing shapes on the sides, two long lines that end in a point, and circles for the dots.
How do I make my necktie look neat?
Draw the two long sides with light lines first, and check that they spread out evenly. Then go over them with a darker line when you are happy.
How do I draw the dots evenly?
Use rows. Draw the middle dot of each row first, then add the ones on either side, keeping about one dot width between them.