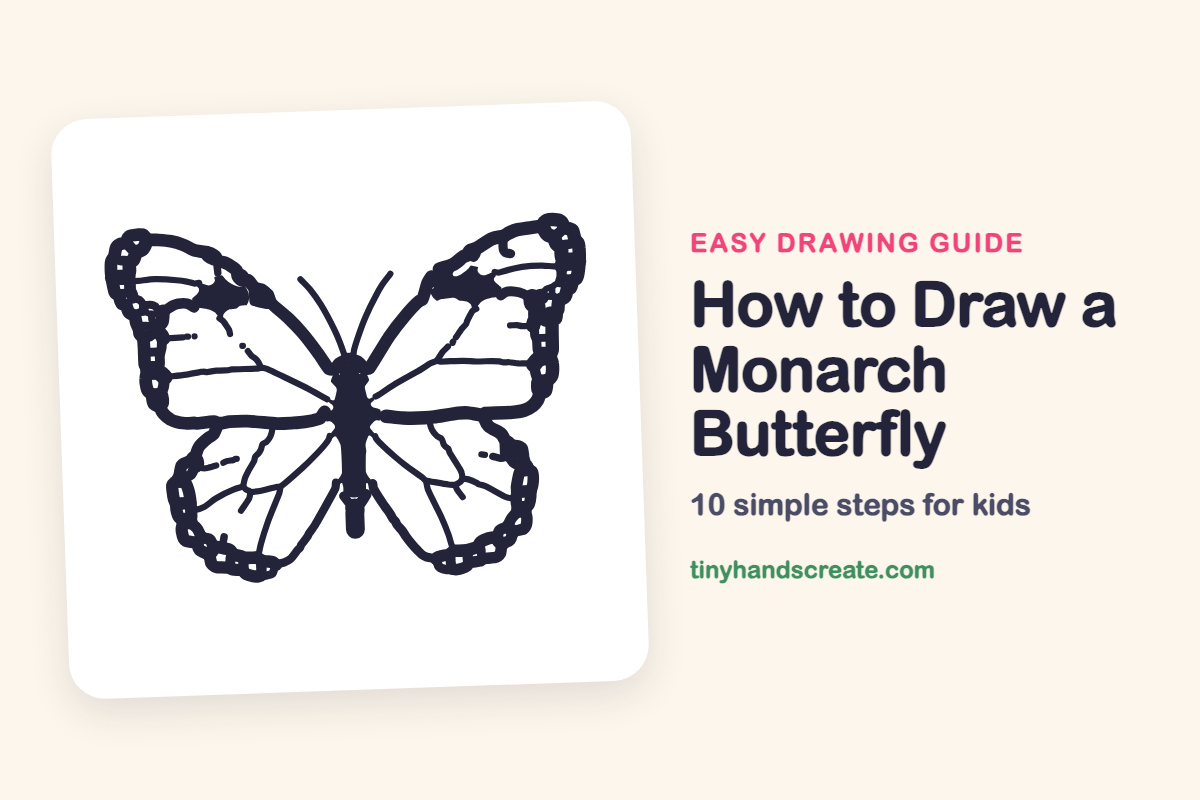
How to Draw a Monarch Butterfly (Easy Step by Step)
A monarch butterfly is fun to draw because both of its wings match, like a mirror. It is built from simple shapes: a small circle for the head, a skinny body, big rounded wings, and a bumpy pattern along the edges. Take your time with the wings and the pattern will come together.
- Medium
- 15 minutes
- 10 steps
You need: paper, a pencil, an eraser, and crayons or markers for coloring.
Start drawing


In this article (7 sections)
How to draw a monarch butterfly step by step
How to Draw a Monarch Butterfly · tinyhandscreate.com
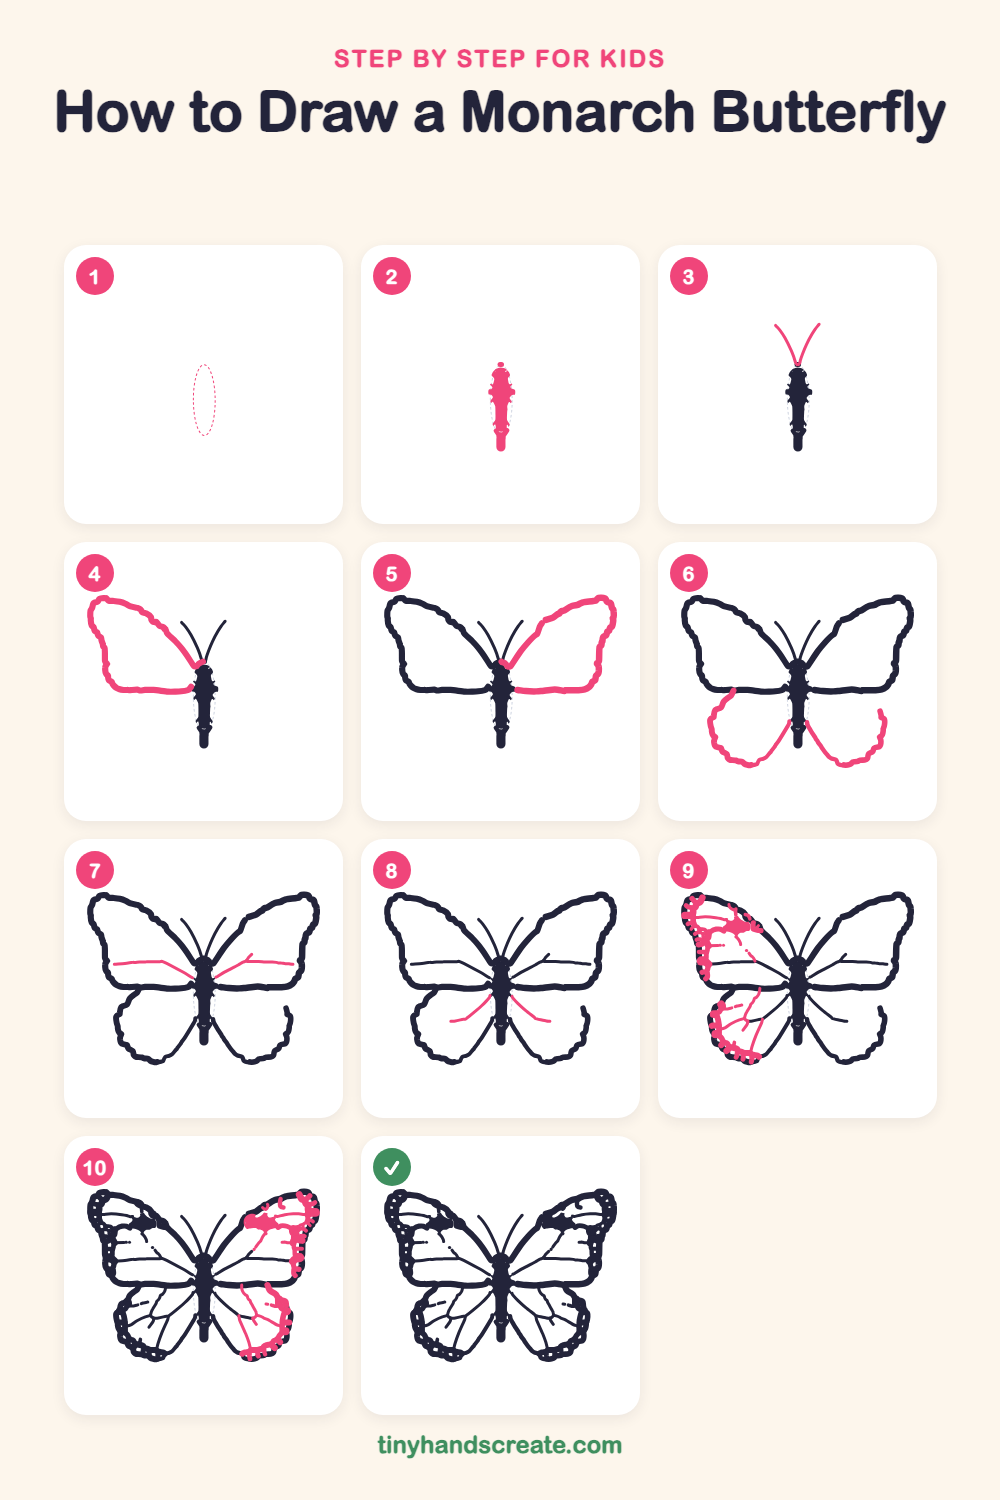
Step 1: Guide shapes
Lightly sketch this oval. It only shows where the big parts go, so press softly. You will erase it at the end.
Step 2: Head and body
Start in the middle of your paper with a small circle for the head. Right below it, draw a long, skinny body made of a few little bumpy sections that gets thinner toward the bottom.
Step 3: The antennae
Draw two thin, curved lines that start at the top of the head and swoop up and out in a V shape, like a pair of gentle whiskers.
Step 4: Top left wing
Start at the side of the body and draw a big curved line up and out to a rounded corner. Then bring it down the side and back along the bottom to meet the body. It makes a big rounded wing shape.
Step 5: Top right wing
Make the other top wing the same way on the right side. Start at the body, curve up and out to a rounded corner, then come down and back along the bottom to the body.
Step 6: Bottom wings
Under each top wing, draw a rounded, bumpy wing shape that starts at the body and swings down and out. Curl the outer end up a little, and make the left and right wings match as best you can.
Step 7: Top wing veins
Inside each top wing, draw a long line that starts at the body and stretches out toward the side edge. Add a short branch on the right wing, if you like.
Step 8: Bottom wing veins
Inside each bottom wing, draw one curved line that starts near the body and stretches out and down into the wing. Make the two lines look like mirror images.
Step 9: Left wing patterns
Along the outer edge of the left wings, draw a row of small bumps. Then add a few thin, curvy lines and a small dark patch inside the wing sections.
Step 10: Right wing patterns
Do the same on the right wings. Draw a row of small bumps along the outer edge, then add a few thin, curvy lines and a small dark patch inside the wing sections.
All done!
Erase the guide shapes, go over your lines, then color it in.
Finished your monarch butterfly? Keep the pencils out and learn how to draw a fox or how to draw a hedgehog next.
Tips for drawing a monarch butterfly
- Draw the body first and keep it straight up and down. The wings will be easier to match on both sides.
- The wings are the trickiest part. Make the left one, then look at it while you draw the right one so they come out about the same size.
- Draw the edge bumps and patterns last. Small, wiggly bumps of different sizes along the wing edges look best.
Free monarch butterfly coloring page
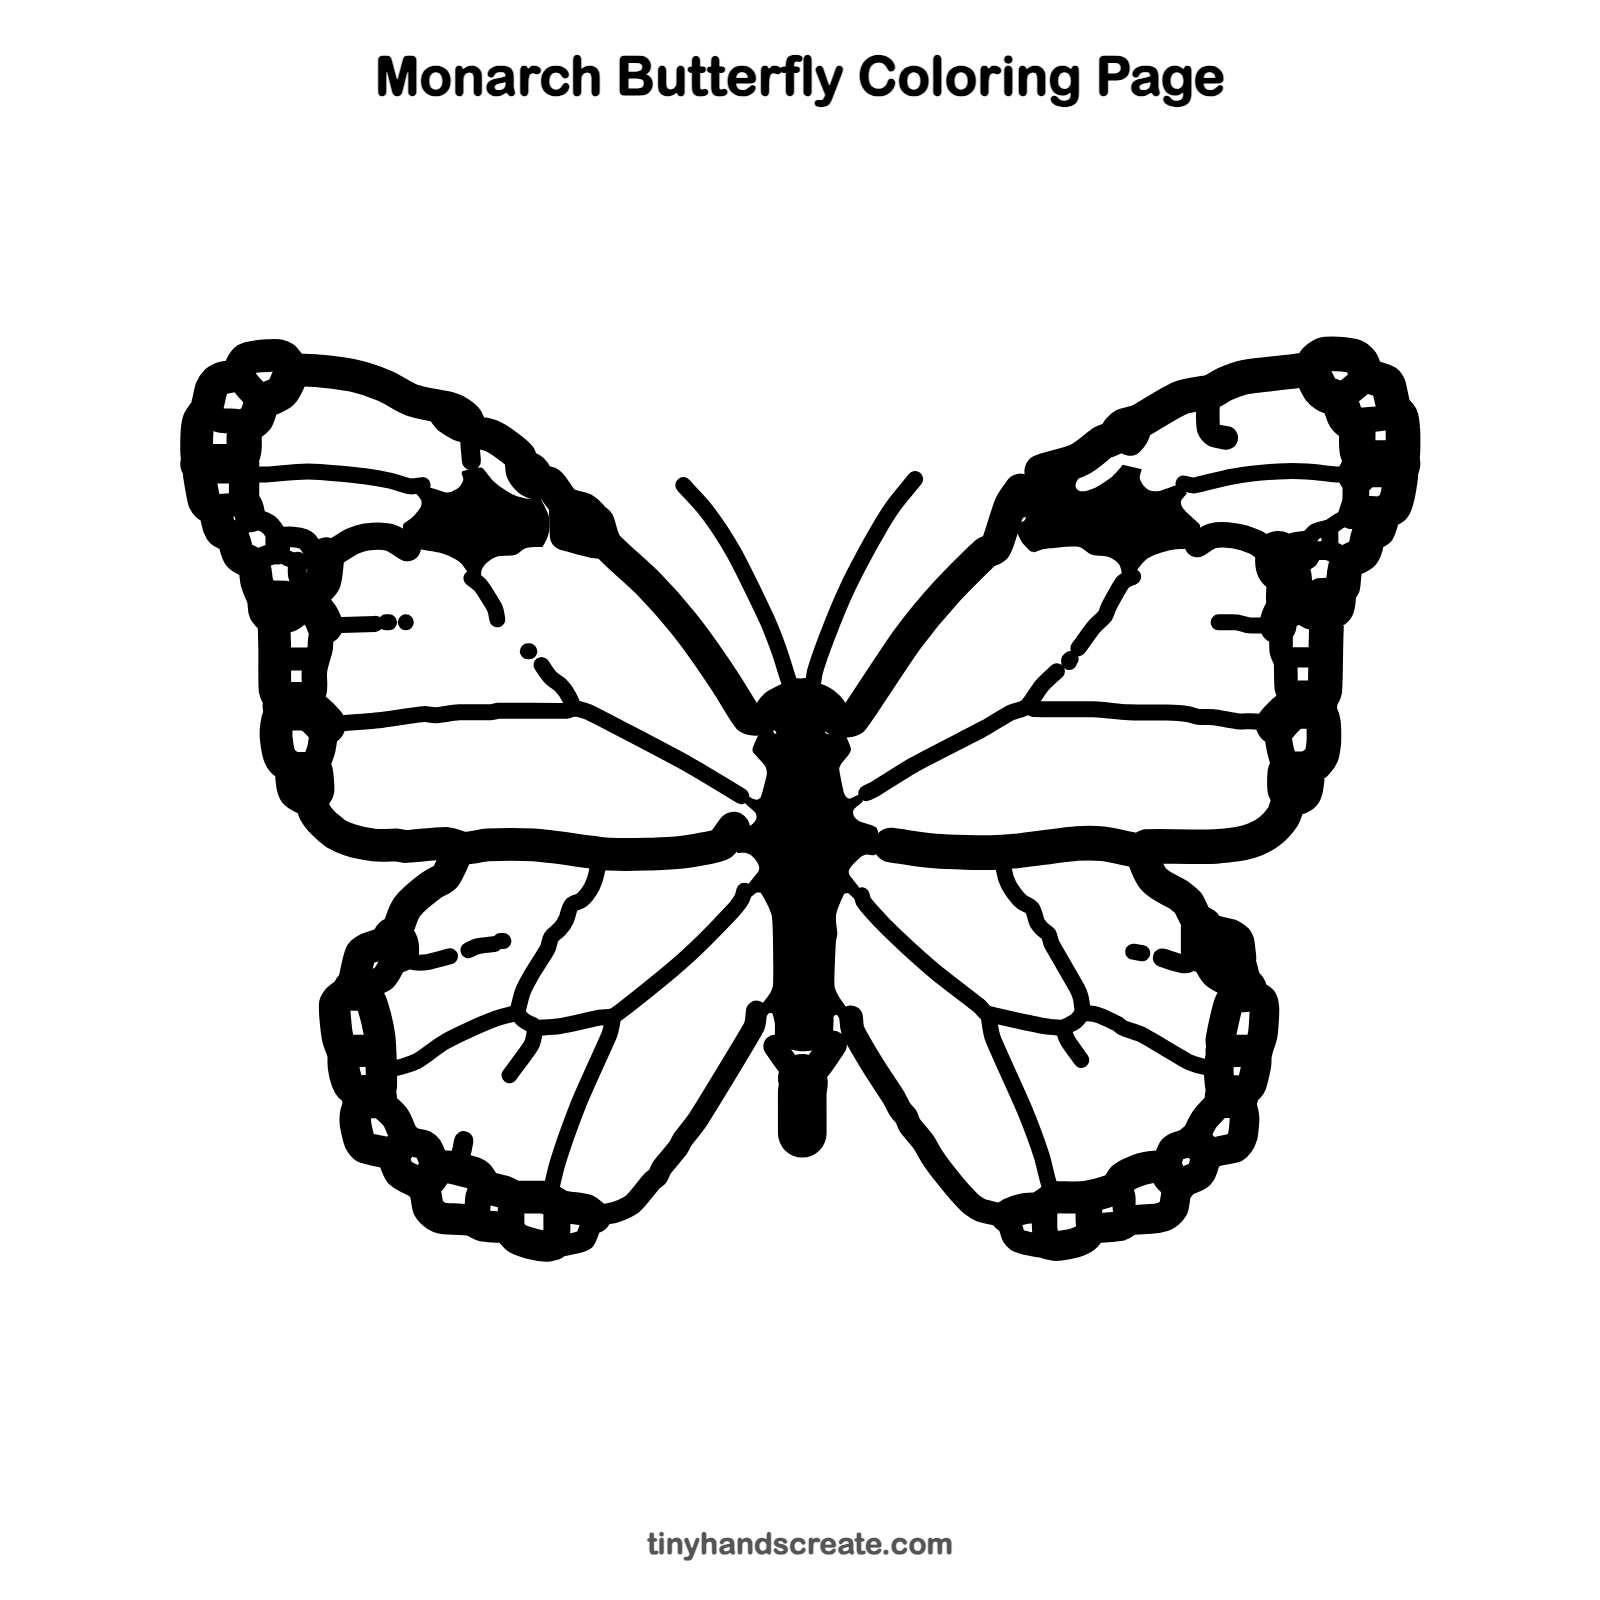
Want to go straight to coloring? Open this monarch butterfly coloring page at full size and print it. It is the same drawing you just learned, with clean lines ready for crayons or markers.
How to color your monarch butterfly drawing
Color the wings bright orange and fill the thick outlines and veins with black. Try a twist: make a rainbow monarch with a different color in each wing section.
Monarch butterfly fun fact for kids
Monarch butterflies travel thousands of miles every fall. Many fly from the United States and Canada all the way to the mountains of Mexico to spend the winter.
Questions about drawing a monarch butterfly
What shapes do I need to draw a monarch butterfly?
You need a small circle for the head and a skinny, bumpy body. The wings are big rounded shapes, and the edge pattern is a row of little bumps.
How do I make both butterfly wings match?
Draw the body first and use it as the center. Then draw one wing, and copy its size and shape on the other side while you look back and forth.
How do I make my butterfly look more like a monarch?
Add thick black outlines and veins, then a row of small bumps along the edges. Color the sections in the middle bright orange.