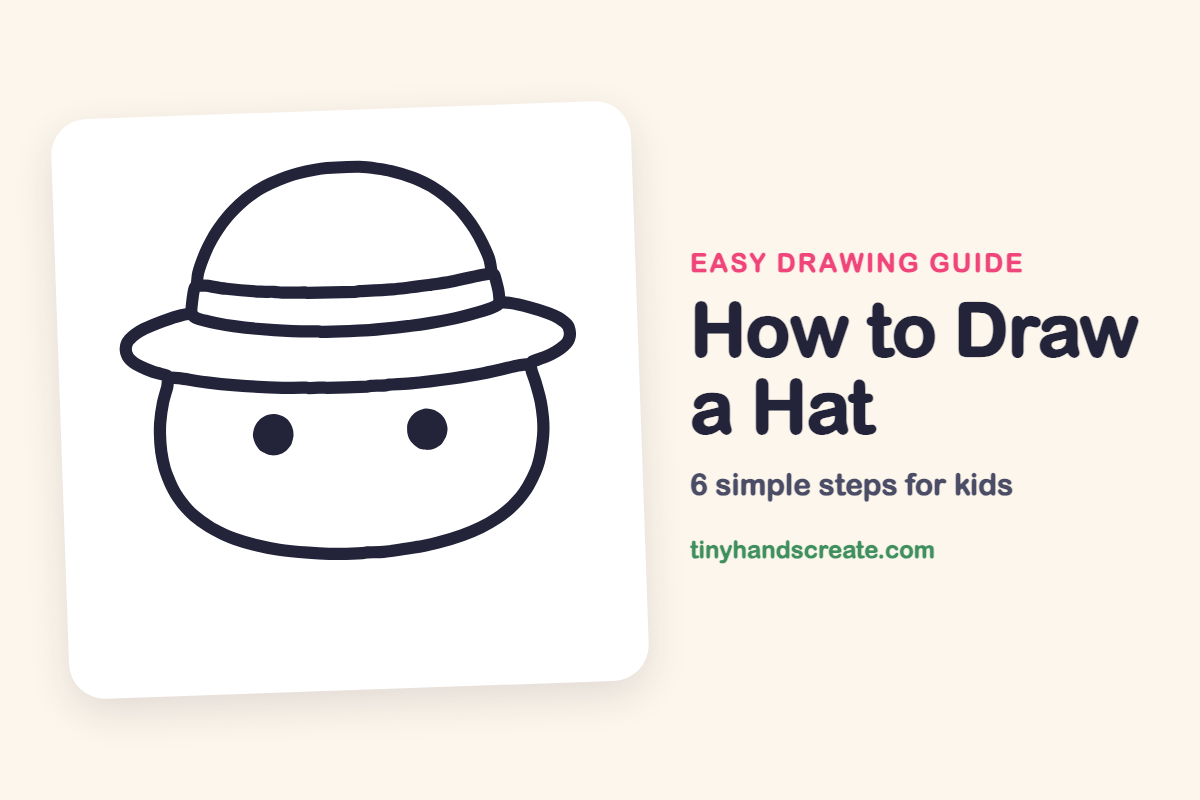
How to Draw a Hat (Easy Step by Step)
A round-top hat with a wide brim is a fun thing to draw because it is made from just a few simple shapes. You will use a half circle for the dome, a long oval for the brim, and two curved lines for the ribbon. Add a round face peeking out underneath and your hat comes to life.
- Easy
- 10 minutes
- 6 steps
You need: paper, a pencil, an eraser, and crayons or markers for coloring.
Start drawing


In this article (7 sections)
How to draw a hat step by step
How to Draw a Hat · tinyhandscreate.com
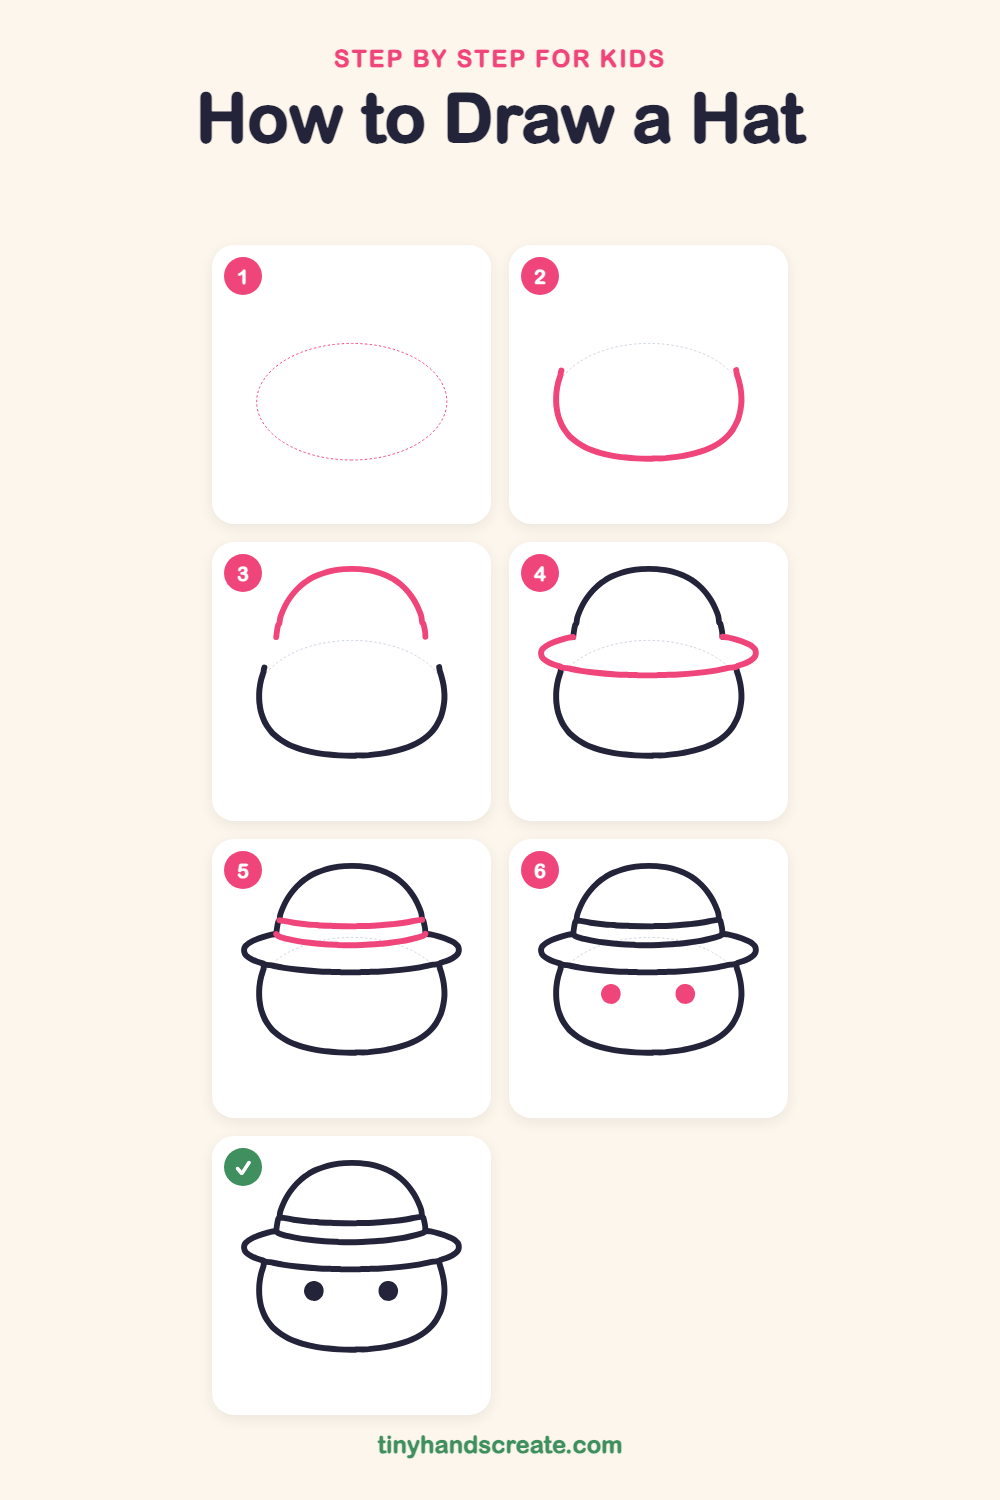
Step 1: Guide shapes
Lightly sketch this oval. It only shows where the big parts go, so press softly. You will erase it at the end.
Step 2: The face
Draw a big round shape like a soft ball, a little wider than it is tall. Leave the top open, because the hat will sit over it and hide that part.
Step 3: The dome
Above the face, draw a big curved hump like half a circle. It starts on the left, arches up high, and comes down on the right, ending just above the open top of the face.
Step 4: The wide brim
Draw a long, flat oval around the bottom of the dome, wider than the dome on both sides. The front edge of the oval crosses over the top of the face.
Step 5: The hat band
Draw two gently curved lines across the bottom of the dome, one above the other. Together they make a ribbon that wraps around the hat.
Step 6: The eyes
Under the brim, draw two small round dots for eyes. Keep them the same size and a good space apart.
All done!
Erase the guide shapes, go over your lines, then color it in.
Finished your hat? Keep the pencils out and learn how to draw a rocket or how to draw a shooting star next.
Tips for drawing a hat
- Draw the face first, then let the brim cover its top edge. Your hat will look like it is really sitting on the head.
- Make the brim oval much wider than the dome. A wide, flat oval is what makes it look like a sun hat.
- Curve both ribbon lines the same way, like gentle smiles, so the band looks like it wraps around the hat.
Free hat coloring page
Want to go straight to coloring? Open this hat coloring page at full size and print it. It is the same drawing you just learned, with clean lines ready for crayons or markers.
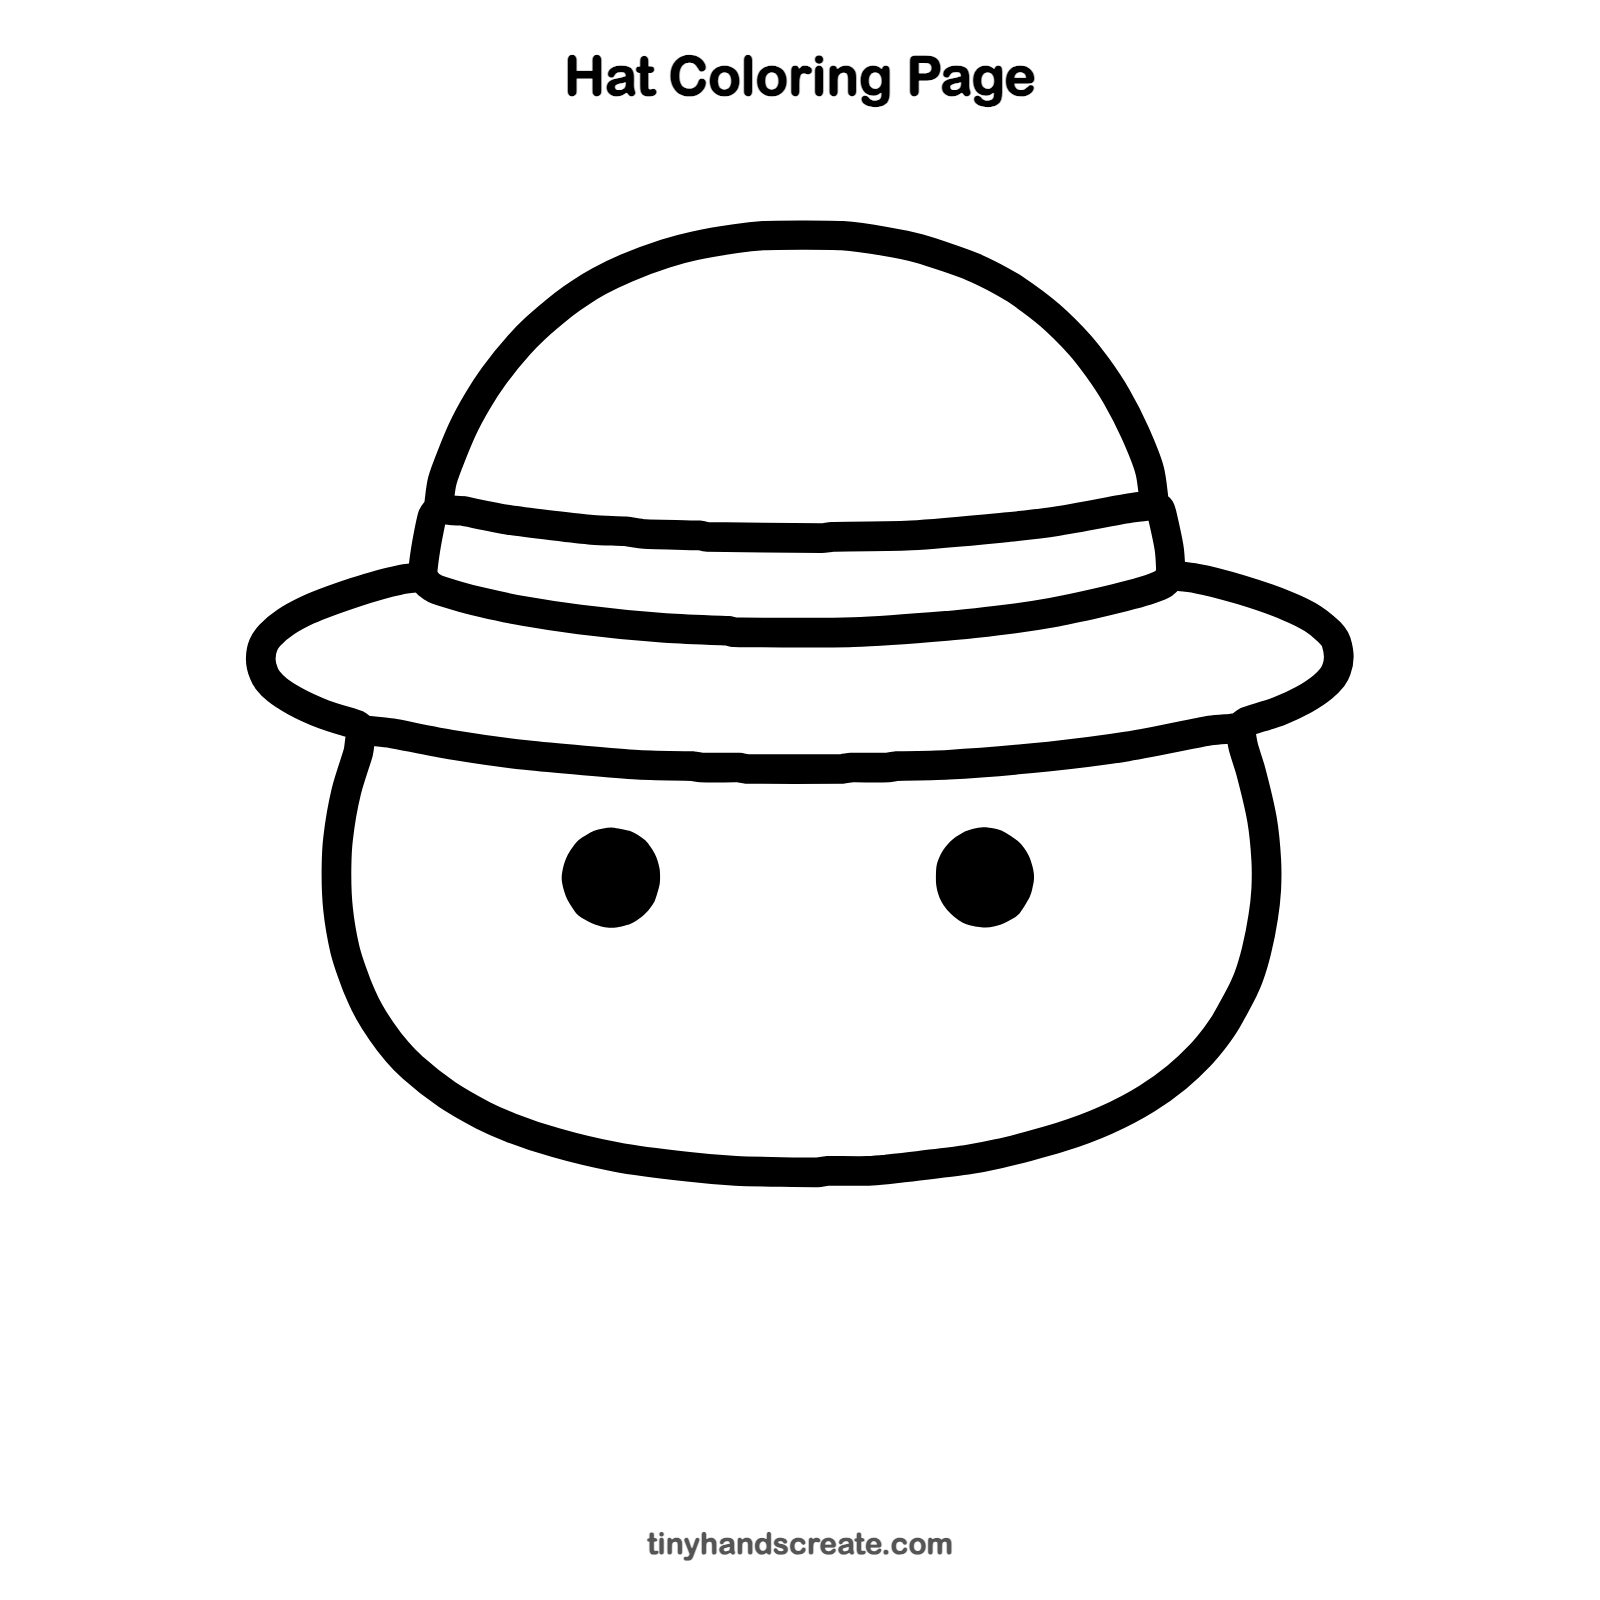
How to color your hat drawing
Try a sunny yellow or straw color for the hat with a bright red or blue ribbon, and a peachy color for the face. For a creative twist, decorate the band with a flower, a feather, or tiny polka dots.
Hat fun fact for kids
Wide-brimmed hats have been worn for hundreds of years to keep the sun off faces and necks. The brim makes a little patch of shade, just like a tiny umbrella you wear on your head.
Questions about drawing a hat
What shapes do I need to draw a hat?
You need a half circle for the dome, a long flat oval for the brim, and two curved lines for the ribbon band. A big rounded shape makes the face underneath.
How do I make my hat look like it sits on a head?
Draw the face first and let the front of the brim cross over its top. The brim hiding part of the face makes the hat look like it is really being worn.
How do I make my hat drawing look cuter?
Draw the eyes small and round and set them a little low on the face. You can also add rosy cheeks or a flower on the ribbon.