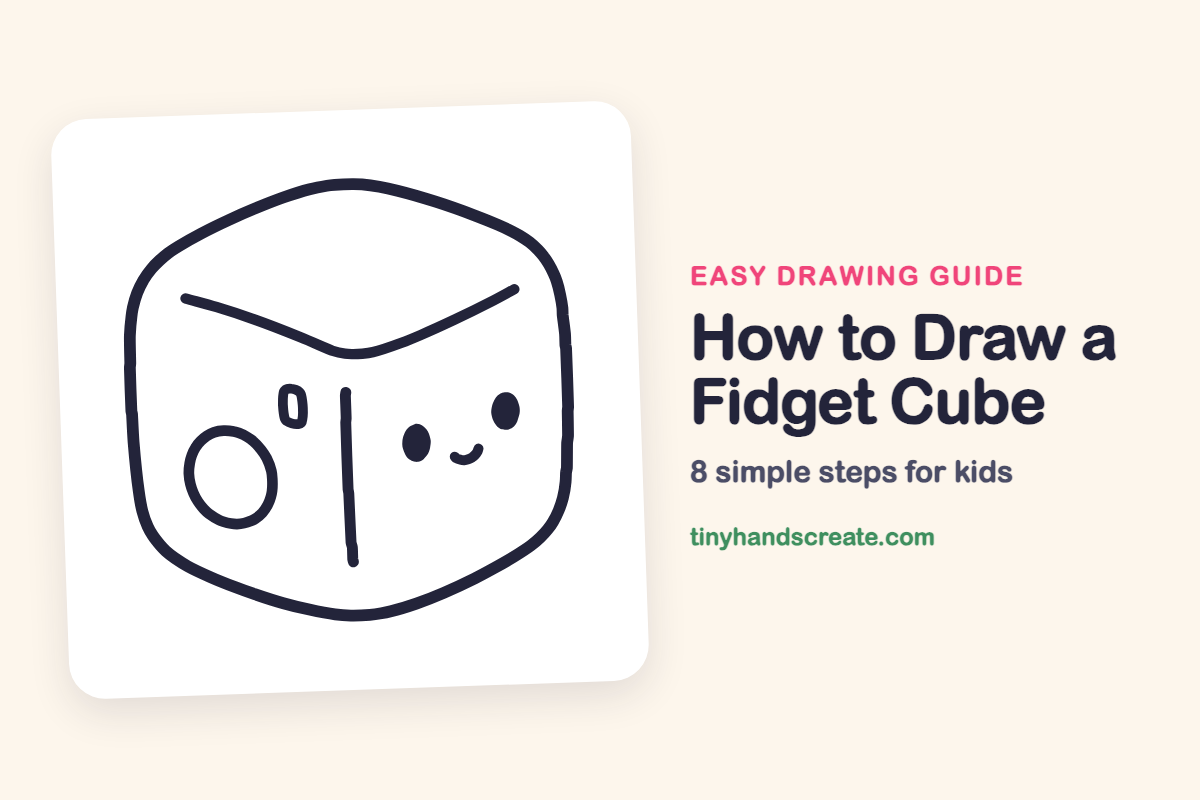
How to Draw a Fidget Cube (Easy Step by Step)
You will learn to draw a fidget cube with a cute face using simple shapes like a rounded hexagon, straight and curved lines, a ring, a tiny rectangle, and two small ovals. This easy, step-by-step guide will help you create your own drawing.
- Start your fidget cube drawing with a rounded hexagon.
- Use straight and curved lines to add details and features.
- Incorporate a ring, a tiny rectangle, and two small ovals.
- Give your drawn fidget cube a cute face.
This post contains affiliate links. As an Amazon Associate I earn from qualifying purchases.
A fidget cube is a toy covered in buttons and switches, and this one has a cute face too. You will build it from simple shapes: a rounded hexagon, a few straight and curved lines, a ring, a tiny rectangle, and two small ovals.
- Easy
- 10 minutes
- 8 steps
You need: paper, a pencil, an eraser, and crayons or markers for coloring.
Start drawing


In this article (7 sections)
How to draw a fidget cube step by step
How to Draw a Fidget Cube · tinyhandscreate.com
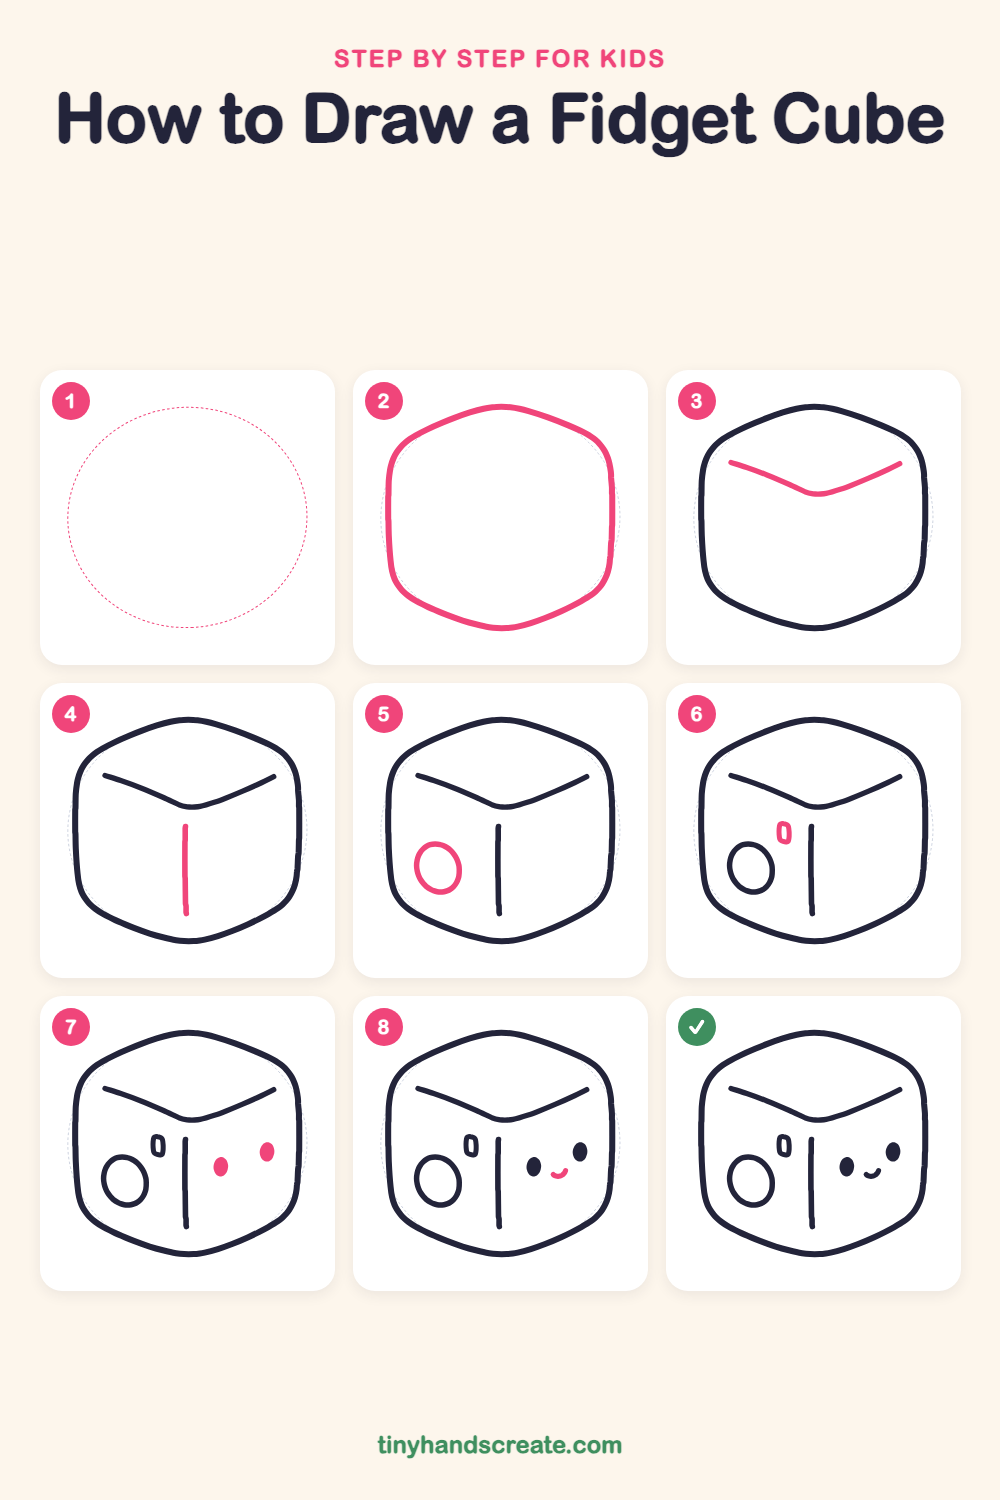
Step 1: Guide shapes
Lightly sketch this oval. It only shows where the big parts go, so press softly. You will erase it at the end.
Step 2: The cube outline
Draw a big rounded shape like a hexagon with soft, curvy corners. Make the top a gentle peak, the two sides tall and almost straight, and the bottom a shallow point.
Step 3: The top edges
Start near the upper left and draw a line sloping down to a little dip in the middle. Then curve it back up toward the upper right to make a V that shows the top of the cube.
Step 4: The front corner
Start a little below the dip in the middle of the V and draw one straight line going down. Stop before you reach the bottom of the cube.
Step 5: The round button
On the left side, near the bottom, draw a ring that is a little taller than it is wide, like a button you could press. Leave it empty in the middle.
Step 6: The little switch
Above the button and close to the front corner, draw a small, tall rectangle with rounded corners. Keep it tiny.
Step 7: The two eyes
On the right side, draw two small tall ovals and color them in. Put the left one a little lower and the right one a little higher.
Step 8: The happy smile
Between the eyes and a little below them, draw a tiny curve like a smile. Keep it small and round at the bottom.
All done!
Erase the guide shapes, go over your lines, then color it in.
Finished your fidget cube? Keep the pencils out and learn how to draw a rocket or how to draw a shooting star next.
Tips for drawing a fidget cube
- Draw the outline lightly first. Make the left and right sides about the same height so the cube looks balanced.
- The V on top is the trickiest line. Make it dip gently in the middle, then start the straight line down the front just below that dip.
- Draw the two eyes at slightly different heights. Then add the small smile between them, and the face will look friendly.
Free fidget cube coloring page
Want to go straight to coloring? Open this fidget cube coloring page at full size and print it. It is the same drawing you just learned, with clean lines ready for crayons or markers.
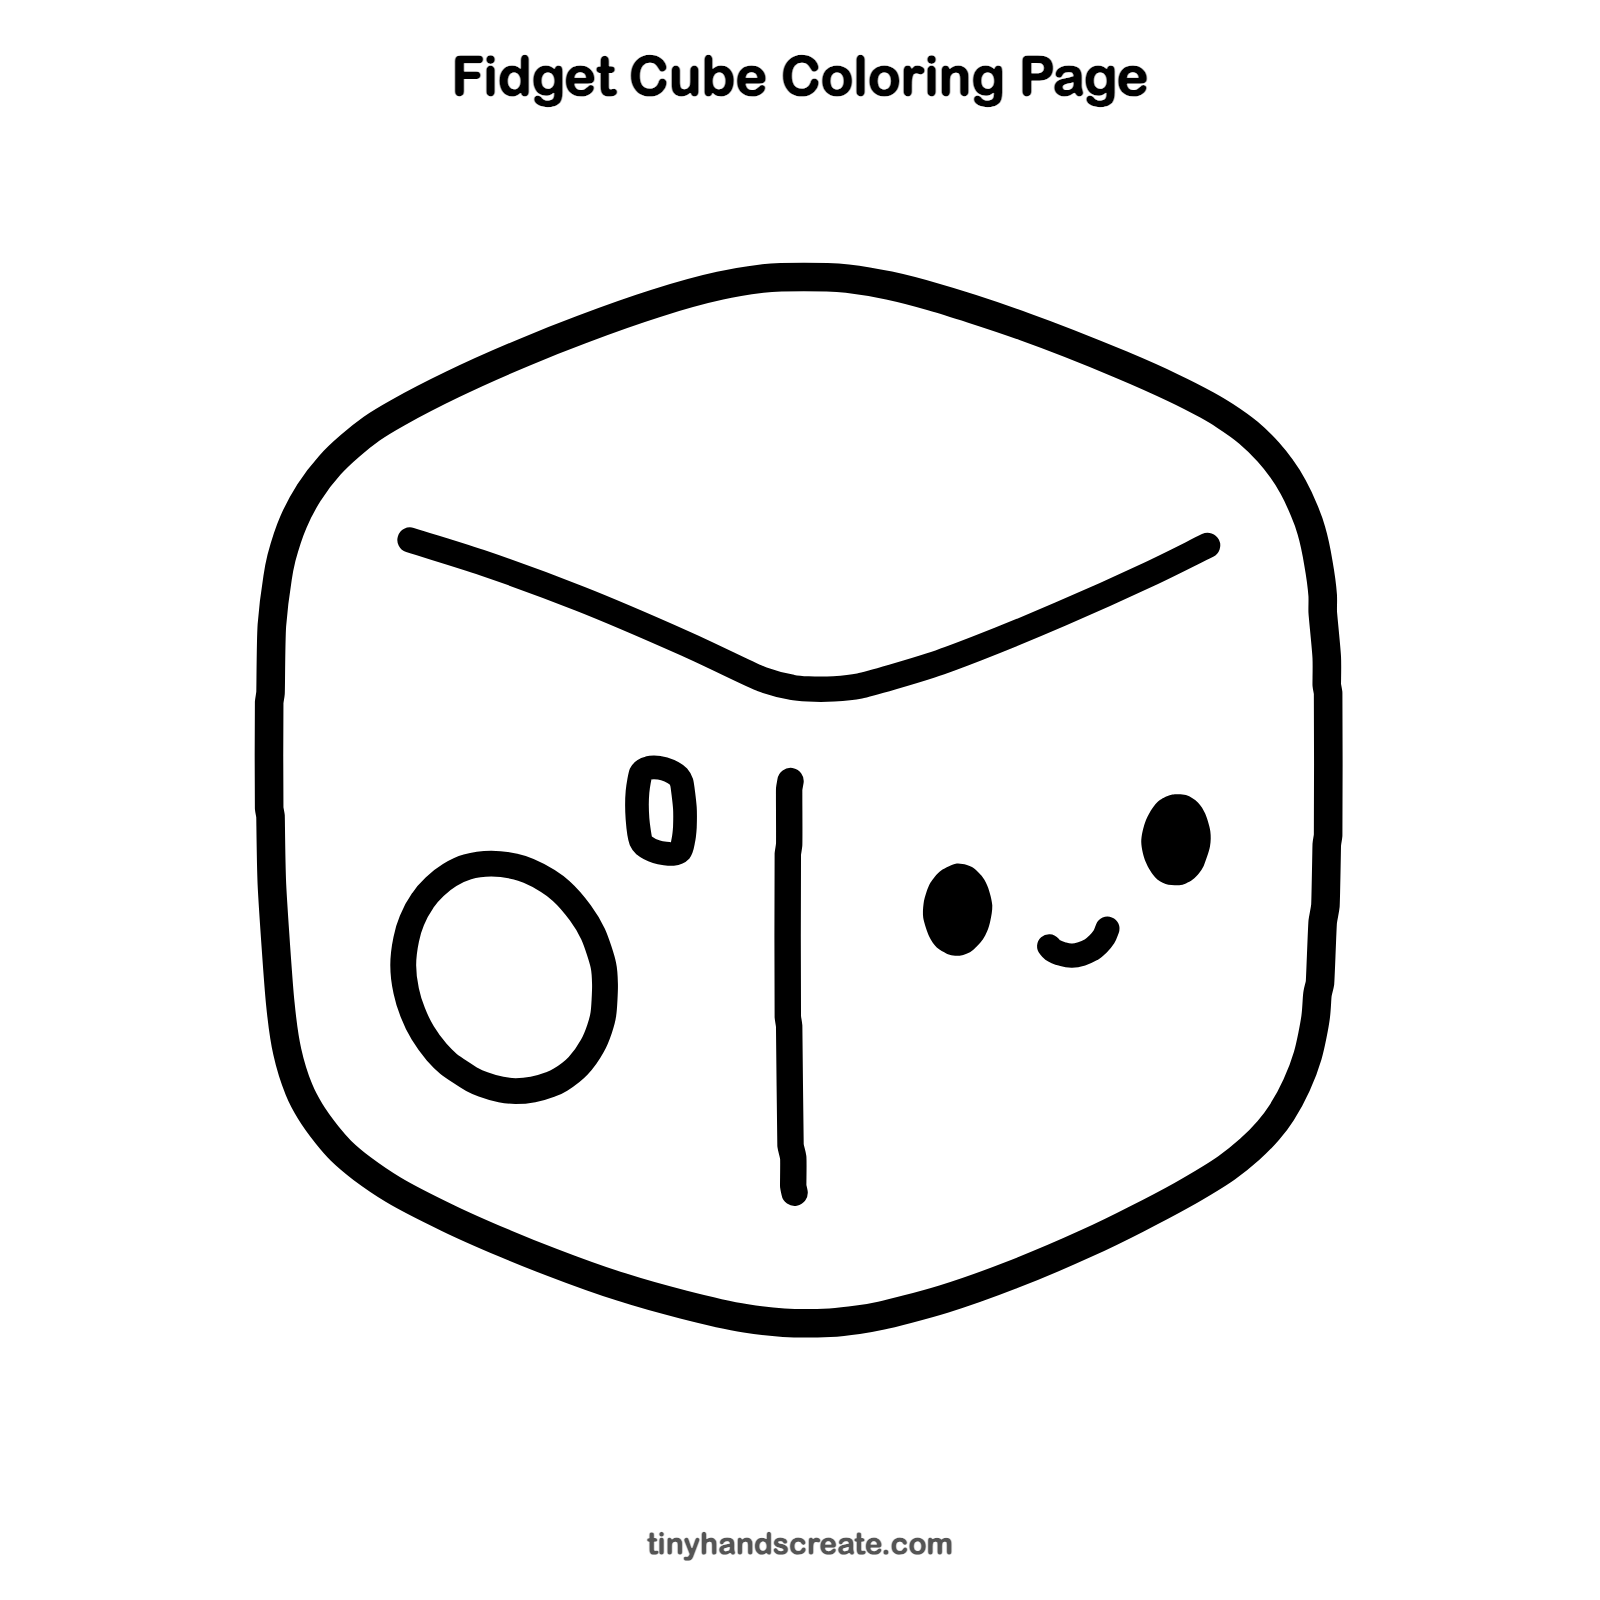
How to color your fidget cube drawing
Try bright colors for the cube, like sky blue on top and mint green on the sides, with a yellow button. For a twist, give each side of the cube a different color or pattern.
Fidget cube fun fact for kids
The Fidget Cube was invented by Antsy Labs and became famous in 2016, when it raised more than 6 million dollars on the website Kickstarter.
Questions about drawing a fidget cube
What shapes do I need to draw a fidget cube?
You need a rounded hexagon for the cube, a few straight and curved lines for the edges, and a ring for the button. A small rounded rectangle makes the switch.
How do I make my fidget cube look cuter?
Add a face with two small oval eyes and a tiny smile on one side. Rounding every corner also makes it look soft and friendly.
How do I make the cube look three-dimensional?
Draw a V shape near the top of the cube, then add a straight line down from just below its dip. That makes the top and two sides look like separate faces.