No-Sew Felt Crafts for Toddlers: 15 Glue-Only Ideas
This post contains affiliate links. As an Amazon Associate I earn from qualifying purchases.
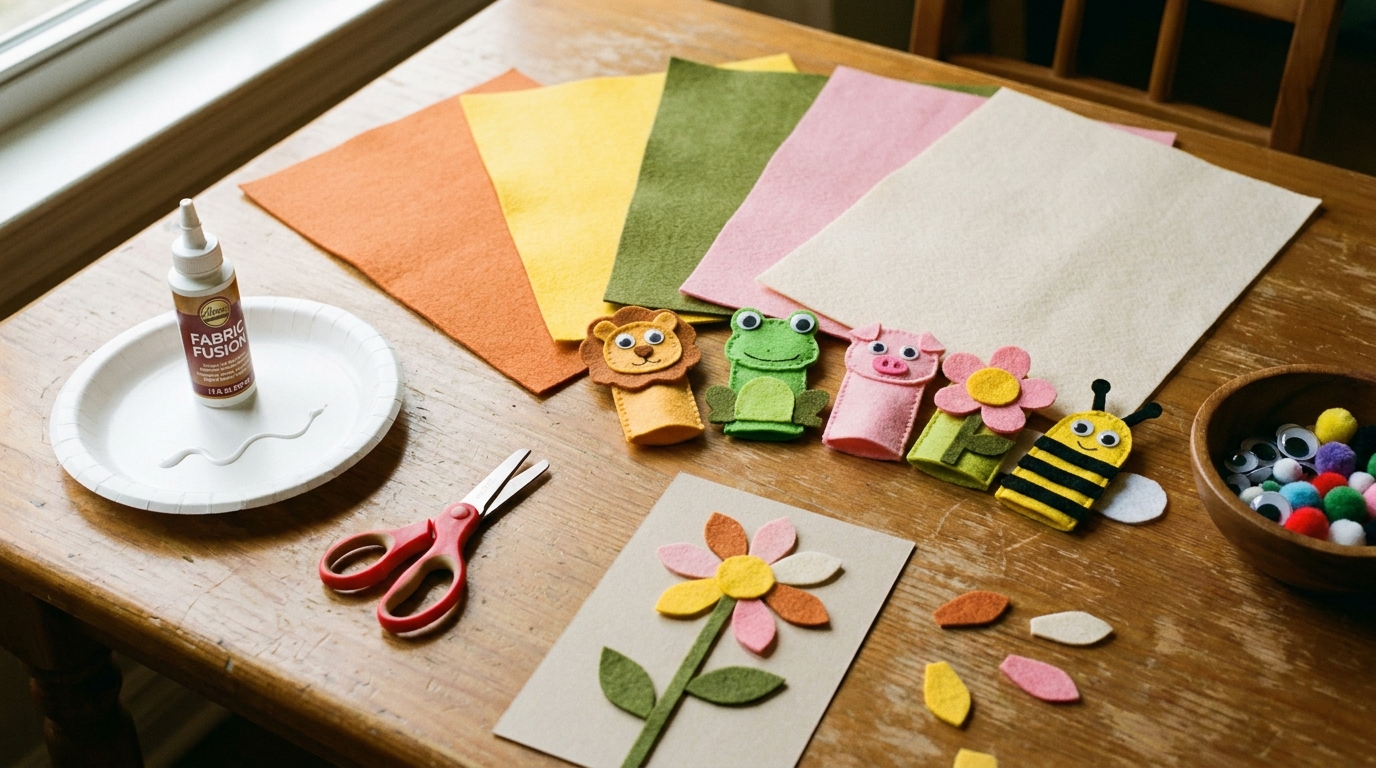
I bought a sewing kit for felt crafts once, then admitted I was never going to hand a two-year-old a needle. What got used was a two-dollar bottle of fabric glue and a pack of felt sheets.
Here are 15 no-sew felt crafts for toddlers ages 1–3. Every one uses fabric glue or a glue stick. Each notes who does what, where small parts need care, and whether the finished piece is for supervised play or display only. If “which glue?” is your first question, the fabric glue vs. glue stick guide comes after the project table.
In this article (12 sections)
- Safety Rules for Every Project
- The 15 Ideas at a Glance
- Why Felt Works So Well for Toddlers
- Fabric Glue vs. Glue Stick: Which One Do You Actually Need?
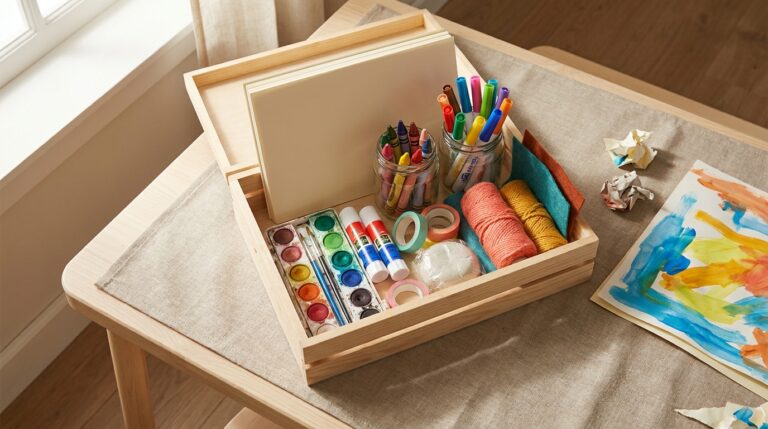
- What You Need Before You Start
- Ages 1–2: Simplest Felt Crafts (Pressing and Placing Only)
- Ages 2–3: Felt Crafts with Simple Cutting and Layering
- Seasonal Felt Crafts (Ages 2–3)
- Setting Up for Success (and Less Mess)
- Troubleshooting Common Felt Craft Problems
- Frequently Asked Questions
- A Little Mess Is Part of the Fun
Safety Rules for Every Project
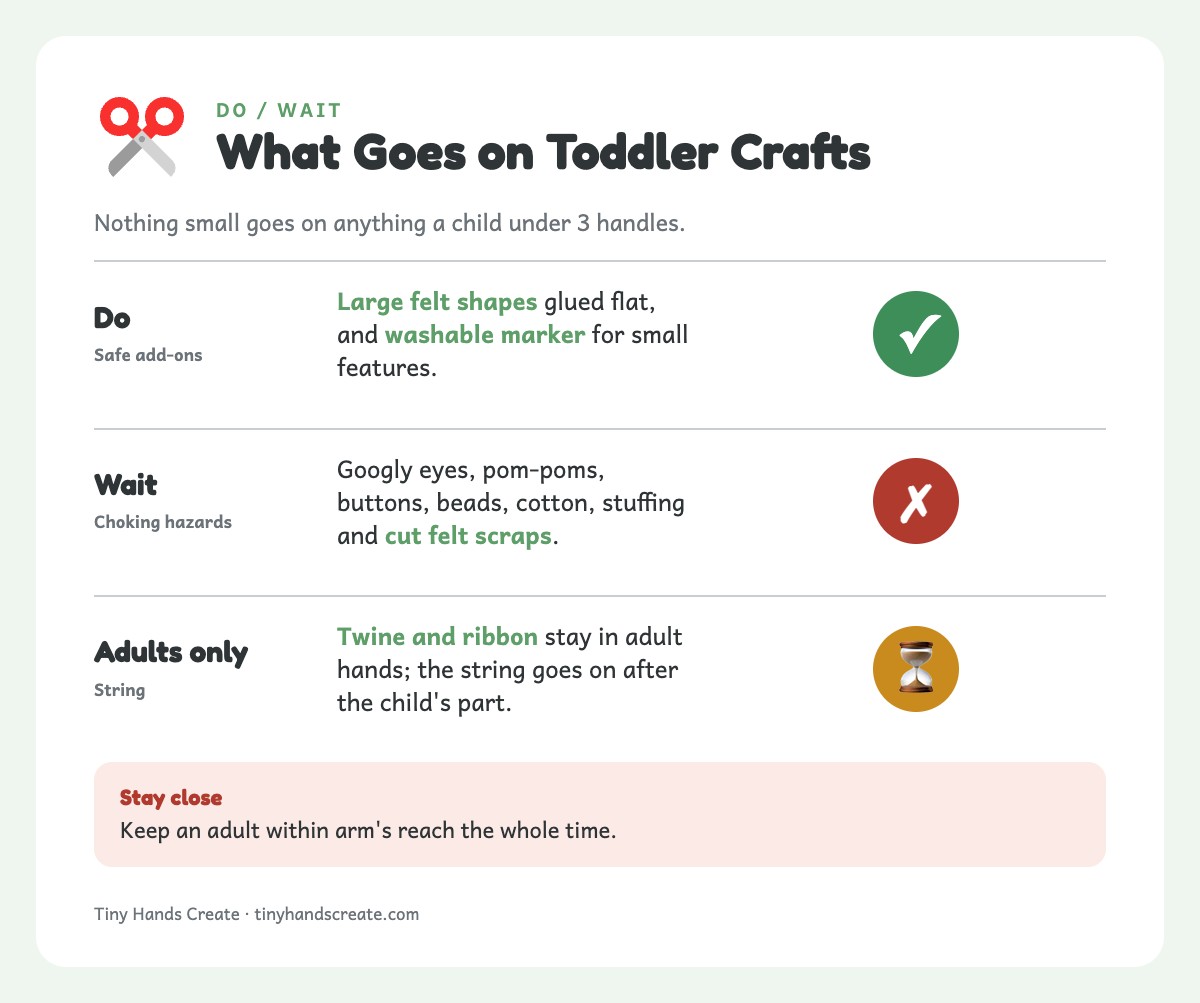
Safety firstGoogly eyes, pom-poms, buttons, beads, cotton, stuffing and cut felt scraps are choking hazards for any child who still mouths objects. Keep an adult within arm’s reach the whole time.
One rule for every project here: nothing small goes on anything a child under 3 handles. On those pieces, large felt shapes glued flat are the only add-ons, and small features are drawn with washable marker. Glued-on parts can come loose, so every project below is labelled supervised play or display only.
Twine and ribbon stay in adult hands. Your child’s part happens flat on the table, and the string goes on afterward, out of reach.
Non-toxic glue is not edible. Keep glue and glue sticks away from mouths.
The 15 Ideas at a Glance
The last column tells you what happens to the finished piece.
- Supervised play: your child may handle it with you within arm’s reach. Check every glued seam and edge before each use, and discard it if anything lifts.
- Display only: it gets hung up or kept by an adult, out of your child’s reach.
| # | Project | Age | Glue | Who does what | Play or display? |
|---|---|---|---|---|---|
| 1 | Felt Sticker Board | 1–2 | Fabric glue | Adult cuts and dabs glue; child presses | Display only |
| 2 | Felt Shape Sorting Collage | 1–2 | Glue stick | Adult pre-cuts; child glues | Display only |
| 3 | Textured Felt Sensory Strip | 1–2 | Fabric glue | Adult builds base; child glues large scraps | Supervised play |
| 4 | Felt Handprint Keepsake | 1–2 | Fabric glue | Adult traces and cuts; child decorates | Display only |
| 5 | Felt Peekaboo Flaps | 1–2 | Fabric glue | Adult glues the edge; child lifts and plays | Supervised play |
| 6 | Finger Puppets | 2–3 | Fabric glue | Adult cuts and glues edges; child draws the face | Supervised play |
| 7 | Felt Fruit Play Set | 2–3 | Fabric glue | Adult cuts and glues; child draws the seeds | Supervised play |
| 8 | Felt Monsters | 2–3 | Fabric glue | Adult cuts; child decorates | Display only |
| 9 | Flower Garden Picture | 2–3 | Glue stick | Adult pre-cuts; child builds | Display only |
| 10 | Felt Bookmark | 2–3 | Fabric glue | Adult cuts and folds; child decorates | Display only (a grown-up’s bookmark) |
| 11 | Fall Leaf Garland | 2–3 | Fabric glue | Adult cuts and handles all twine; child presses leaves onto a flat strip | Display only |
| 12 | Pumpkin Patch Scene | 2–3 | Glue stick | Adult pre-cuts; child glues | Display only |
| 13 | Heart Garland | 2–3 | Fabric glue | Adult cuts and handles all twine; child presses hearts onto a flat strip | Display only |
| 14 | Felt Busy Board Add-On | 2–3 | Fabric glue | Adult builds; child presses and matches | Supervised play |
| 15 | Felt Name Banner | 2–3 | Fabric glue | Adult cuts and handles all ribbon; child presses letters onto flat squares | Display only |
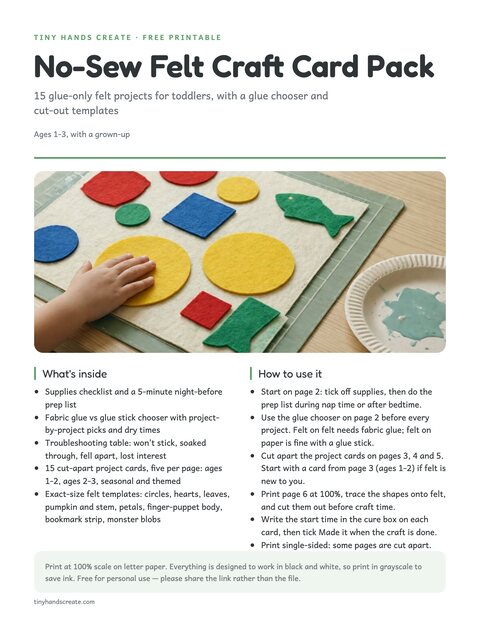
Free printable · 6 pages
No-Sew Felt Craft Card Pack
A supplies and prep checklist, a fabric glue vs glue stick chooser, 15 cut-apart felt craft cards for ages 1-3, exact-size felt templates, a flower and monster design sheet, a troubleshooting table, a cure-time tracker and a made-it checklist.
Free. Your download link appears right here. You'll also join the Daily Printable Drop. Unsubscribe anytime. Privacy
Why Felt Works So Well for Toddlers
Felt earns its spot in the craft bin for a few simple reasons.
- It doesn’t fray. Cut felt with kid scissors, cut it crooked, cut it in a jagged toddler zigzag — the edge stays clean. No hemming, no pinking shears, no worrying about a ragged edge unraveling in a diaper bag.
- It’s forgiving of glue. Felt has enough texture and loft that fabric glue and even a glue stick can grab onto it, unlike slick fabrics that need actual stitching to hold anything.
- It comes pre-cut into manageable sizes. Craft store felt sheets are usually 9×12 inches — small enough for a toddler to manage, big enough to get several shapes out of one sheet.
If your toddler has done any fine motor activities for toddlers before — pinching, tearing, pressing — felt crafts sit right in that same skill zone. The only new part is the fabric glue.
Fabric Glue vs. Glue Stick: Which One Do You Actually Need?
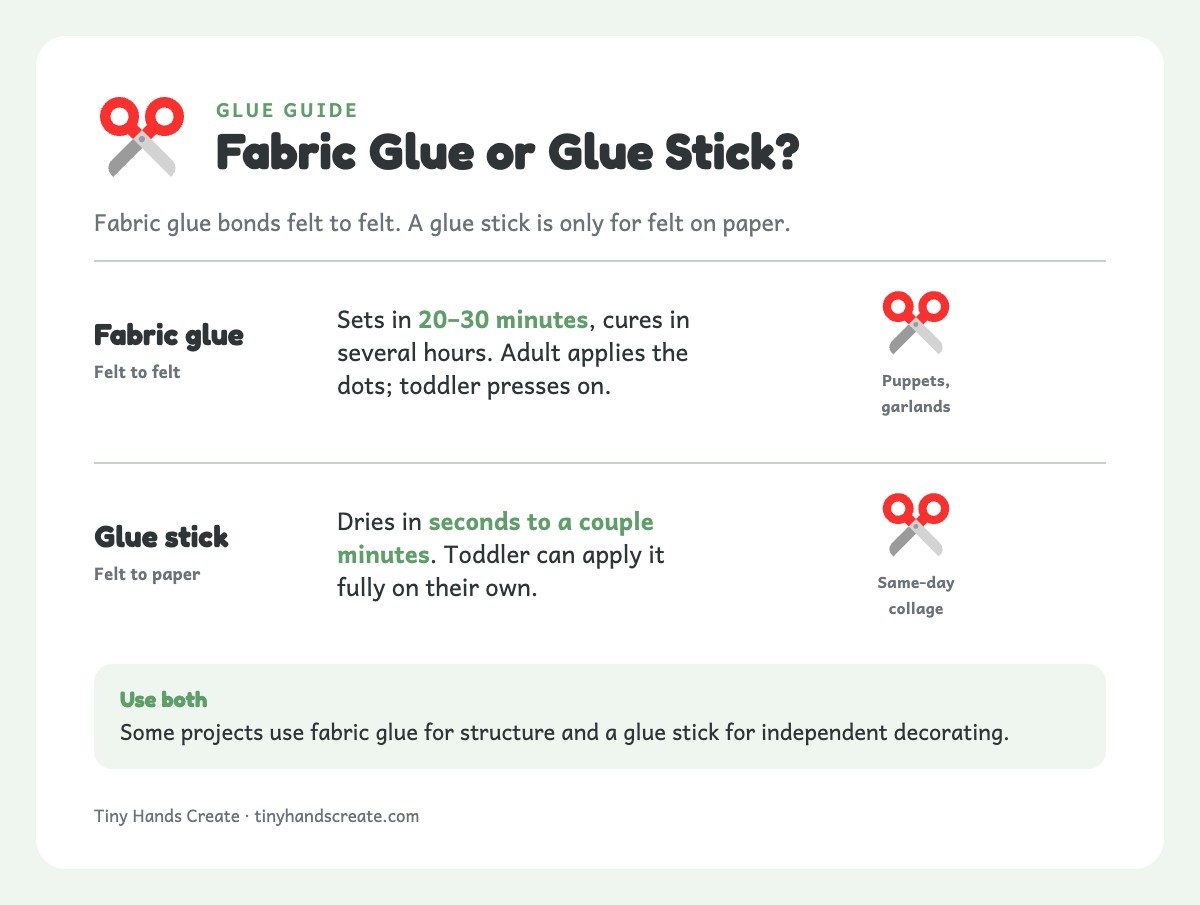
Fabric glue bonds felt to felt. A glue stick is only for felt on paper.
| Feature | Fabric / Tacky Glue (e.g., Aleene’s Original Tacky Glue) | Glue Stick (washable kid glue stick) |
|---|---|---|
| Dry time | 20–30 minutes to set, several hours to fully cure | Seconds to a couple minutes |
| Bond strength | Strong, permanent, holds felt-to-felt and felt-to-wood/plastic | Light, temporary-ish — good for felt-to-paper, weak for felt-to-felt |
| Washability | Permanent once cured and can stain clothes. Washable formulas are school glue and glue sticks, not tacky glue, so check the bottle | Washes out of clothes and skin easily, glue itself isn’t durable |
| Toddler safety | Non-toxic formulas widely available, but can be runny — supervise application | Lower-hazard with supervision and no wet glue to touch; non-toxic doesn’t mean edible, so keep sticks away from mouths |
| Best for | Anything meant to last — finger puppets, garlands, banners, gifts | Quick collage-style projects, felt-on-paper, anything going home same day |
| Toddler independence | Adult usually squeezes/applies dots; toddler presses pieces on | Toddler can hold and apply glue stick fully independently |
| Cleanup | Wipe wet drips immediately; dried glue peels off skin and most surfaces | None really — dry, no mess |
The short versionIf the craft needs to survive being picked up or displayed for more than a day, use fabric glue and let a grown-up do the gluing while the toddler places pieces.
For a same-day “let’s just make something” craft, hand over a glue stick and let your toddler do it all. Some projects use both: fabric glue for structure, glue stick for independent decorating.
Safety firstSkip glue guns entirely for this age group. Hot glue is a real burn risk with toddlers reaching across a table. It also dries so fast that it removes the slow, exploratory part of the craft that toddlers enjoy.
What You Need Before You Start
You don’t need a full craft store haul. Here’s the actual toddler-felt-craft starter kit:
- Felt sheets — a multicolor pack of 9×12 sheets covers almost every project here. Roughly 10–12 sheets and one 4 oz bottle of glue cover most of the list. Soft, thin felt works best; wool-blend felt is nicer but costs more.
- Fabric glue — one bottle of a water-based tacky glue, like Aleene’s Original Tacky Glue. Look for a non-toxic label and check the specific bottle. Skip solvent-based adhesives with fumes.
- Washable glue sticks — the kind already in your craft bin for paper crafts works fine.
- Washable markers — for drawing eyes, seeds and faces instead of gluing on small parts.
- Scissors — adults cut felt with sharp scissors out of the child’s reach, then put them away. Children only use blunt safety scissors, on easy felt strips.
- Pre-cut felt shapes (optional but useful) — bags of felt circles, stars, and hearts save you the pre-cutting step entirely on busy days.
- Felt letters/numbers and large felt shapes — easy embellishments. Skip googly eyes, pom-poms, buttons, beads and cotton on anything a child under 3 handles; use large felt shapes or washable marker.
- A cutting mat or old placemat — glue drips happen; protect the table.
- Paper plate or piece of cardboard as a glue palette, plus a large flat craft stick. Squeeze a small puddle so toddlers dip a fingertip or the craft stick and dab. Don’t hand over the bottle: bottle squeezing means glue everywhere, every time.
That’s it. No sewing needles, no pins, no thread, no embroidery hoop. Everything below assumes you’re working from this same basic kit.
Ages 1–2: Simplest Felt Crafts (Pressing and Placing Only)
At this age, the “craft” is about touching felt and pressing a piece onto glue. Cutting isn’t realistic yet, so you do all the cutting ahead of time and your toddler does the placing.
Safety firstThis is the most mouth-prone age group. Stay hands-on, hand over one piece at a time, and keep pieces and glue out of reach until the activity starts. Count and collect every piece afterward.
1. Felt Sticker Board
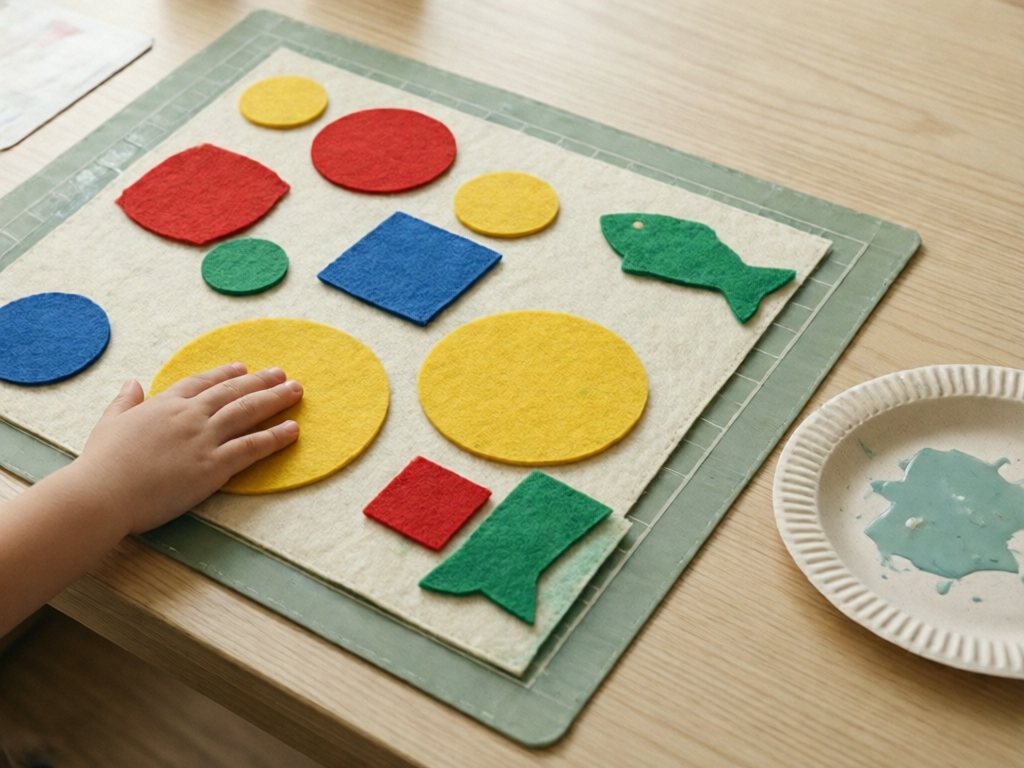
Cut felt shapes ahead of time (circles, squares, simple animal shapes) and dab fabric glue on the back of each one just before handing it over. Give your toddler a piece of felt or cardstock as the “board” and let them press shapes on wherever they land. There’s no wrong placement, which makes this a stress-free first felt craft. Let them reposition a piece before the glue sets; a do-over keeps frustration low.
Once it cures, hang the board up out of reach. It’s a display piece, and a good home for the felt monsters (#8).
2. Felt Shape Sorting Collage
Pre-cut a pile of felt shapes in two or three colors. Draw or print simple outlines on paper (a circle, a triangle, a square) and have your toddler match and glue felt shapes onto the outline that matches. This sneaks in shape recognition practice alongside the gluing, and a glue stick works perfectly here since it’s a paper-backed project, not felt-to-felt.
3. Textured Felt Sensory Strip
Cut a long strip of felt, or use a paint stick or ruler as a base. Let your toddler glue on a row of large felt pieces in different colors and thicknesses. Use felt only: no pom-poms, buttons, beads, cotton or fabric scraps.
Fabric glue holds best here. The finished strip is for supervised touch-and-feel play only; discard it as soon as any piece loosens.
4. Felt Handprint Keepsake
- Trace the hand. Trace your toddler’s hand onto felt.
- Cut it out. An adult cuts it out; handprint cutting is too fine a task for toddlers.
- Decorate. Your toddler glues on large felt scraps for eyes and a nose to make a silly creature. Use fabric glue.
- Cure flat. Let it cure flat for at least a few hours.
For under 3, draw features with washable marker instead of gluing on googly eyes or pom-poms. This is a favorite for grandparent gifts, and it’s display only.
5. Felt Peekaboo Flaps
Glue a felt shape (a cloud, a leaf, a flower) onto cardstock along just one edge, so the rest lifts like a flap. Hide a drawing underneath. Toddlers love the lift-and-reveal motion, and it turns plain gluing into a tiny game.
Use fabric glue along the one edge that has to survive repeated lifting. Skip stickers under the flap for children who peel and mouth them.
Make the flap at least 3 inches across. This one is supervised play, so check the glued edge before each use.
Ages 2–3: Felt Crafts with Simple Cutting and Layering
By two, most toddlers can manage a few real snips with blunt safety scissors, even if the cut lines are far from straight. These projects add a small cutting step while keeping assembly glue-only.
6. No-Sew Felt Finger Puppets
This is the most requested project in this age range, and it needs no sewing. Fabric glue is the right choice, since it holds felt-to-felt layers through repeated finger-in, finger-out play. You do the cutting and edge-gluing; your toddler draws the face. This is a supervised-play piece, so stay within arm’s reach while it’s on a finger.
- Cut two shapes. An adult cuts two matching body shapes from felt. A simple oval works for almost any animal. Cut any ears as part of the shape, so nothing small is glued on.
- Draw the face. Your toddler draws eyes, a mouth and spots on one piece with washable marker while it lies flat.
- Glue the edges. An adult runs fabric glue around the sides and top, leaving the bottom open for a finger, then presses the two pieces together.
- Cure and check. Let it cure flat overnight. An adult checks every seam before each use and discards the puppet if an edge lifts.
7. Felt Fruit and Veggie Play Set
An adult cuts felt into simple fruit shapes: an apple, a banana, an orange slice, a strawberry. Make every piece bigger than your toddler’s fist, at least 3 inches across, with the stem cut as part of the shape.
Your toddler draws seeds and stripes on with washable marker. Then you glue two matching pieces together fully, edge to edge, so nothing loose is inside. Nothing small gets glued on.
Let the fruit cure flat overnight. This is supervised play: check every edge before each play session and discard a piece if a seam lifts. Skip stuffing for under 3, since it can work loose and get mouthed. Flat felt fruit is just as fun to “cook” with.
8. Felt Monsters
An adult cuts large felt blobs, ovals and triangles for the monster bodies.
Your toddler decorates them with large scrap-felt teeth and spots using fabric glue. Draw the eyes with washable marker.
No magnet needed. Hang the finished monster at adult height, or glue it onto the felt sticker board (#1). Either way, it’s display only. The shape doesn’t need to be neat.
A toddler can try some of the cutting with a grown-up guiding the blunt scissors hand-over-hand.
Safety firstSkip magnets for ages 1–3. Adhesive magnet strips can peel off and be swallowed, and a swallowed magnet is an emergency: go to emergency care right away.
A fridge-magnet version is an optional, adult-only step for a child over 3, or for a piece only adults handle. An adult sandwiches the strip between two felt layers glued fully shut and keeps the finished piece above child reach. Never use small or loose magnets.
9. Felt Flower Garden Picture
Glue a felt stem and leaves onto cardstock, then let your toddler build a flower on top by gluing on felt petals one at a time around a center circle.
It practices a “one at a time, press and hold” rhythm instead of dumping a handful of pieces. I get toddlers to say “press” out loud, which slows them down.
A glue stick works fine since it’s felt-to-paper. Make a few in a row for a felt garden mural on a wall or fridge well out of reach, away from any sleep space.
10. No-Sew Felt Bookmark
Fabric glue along the folded sides is what makes this hold up to being slid on and off a book. A glue stick will not survive that friction.
The decorations are small, so this is a grown-up’s bookmark. Your toddler decorates it, you use it at story time, and it stays out of reach in between.
- Cut the strip. An adult cuts felt about 2 inches wide and 6 inches long.
- Fold the pocket. Fold the top third down so it forms a small pocket that slides over a book’s corner.
- Glue the sides. An adult runs fabric glue along the folded sides and presses them shut.
- Decorate. Your toddler presses on felt shapes or a felt initial letter. Let it cure overnight before use.
Seasonal Felt Crafts (Ages 2–3)
A few themed builds turn scrap felt into decor or gifts that fit the calendar. They use the same materials and techniques as above.
Safety firstTwine and ribbon are strangulation hazards, so an adult handles all of it. Your toddler decorates the felt pieces flat on the table, and the string goes on afterward, out of their reach.
Hang garlands and banners out of reach, never over or near a crib or bed. Keep strings short, and never let a child wear, pull or play with them.
11. Felt Fall Leaf Garland
An adult cuts felt into simple leaf shapes in red, orange, and yellow. Your toddler’s part happens flat on the table, with no string in sight: they press each leaf onto a strip of felt or cardstock dabbed with fabric glue.
Once the strips cure, an adult takes them away from the table, folds the top edge of each strip over a short length of twine and glues the fold shut. The twine stays in adult hands the whole time, then the garland goes up high as a display piece.
Doing an autumn craft week? This pairs well with our fall leaf crafts. You get the same leaf shapes without real leaves that crumble by day three.
12. Felt Pumpkin Patch Scene
An adult cuts orange felt circles and green felt stems. Your toddler glues the circles in a row on cardstock, then presses a stem onto the paper at the top of each one. Add felt vine curls cut from green scraps.
This is an easy seasonal follow-up if your family already leans into fall crafting the way our pumpkin crafts roundup does, just swapping paper or real pumpkins for felt.
13. Felt Heart Garland (Valentine’s or Any Day)
Same construction as the fall leaf garland, but with felt hearts. Toddlers this age can usually manage cutting a rough heart shape from a folded piece of felt with guidance, since the fold does half the symmetry work for them.
Your toddler presses five or six hearts onto a flat felt or cardstock strip. An adult adds a short length of twine afterward, away from the table, for a decoration hung well out of reach or a handmade gift topper.
14. Felt Busy Board Add-On
If you’ve already built a busy bag or busy board at home, felt makes an easy add-on. Glue a row of large felt shapes onto the board for a matching or texture station.
Make a second set of loose felt shapes to match onto them, each at least 3 inches across. It’s a good home for large felt scraps left over from other projects on this list.
This is supervised play. Count the loose shapes back in afterward, and check the glued ones before each use.
15. Felt Name Banner
Cut felt letters (or use pre-cut felt letters from a craft pack) spelling your toddler’s name. Your toddler presses each letter onto a small square of contrasting felt or cardstock, flat on the table.
Once the squares cure, an adult strings them along a short ribbon, away from your toddler. The ribbon never goes on the craft table.
Split this across two sittings: cutting and arranging one day, gluing the next. Hang it out of reach, away from any bed or crib.
Setting Up for Success (and Less Mess)
A few habits make the difference between a felt craft session that goes smoothly and one that ends in a glue-covered toddler mid-meltdown.
- Pre-cut everything you can the night before. Felt cutting is the slowest, least toddler-friendly part of most of these projects. Do it during nap time or after bedtime so craft time is all assembly, not prep.
- Portion the glue. Squeeze a small puddle onto a paper plate rather than handing over the bottle. Toddlers dip a fingertip or a large flat craft stick into the puddle and dab it onto felt. It’s controlled, low-mess, and it stretches one bottle much further.
- Expect wandering hands mid-dry-time. Fabric glue’s 20–30 minute set window is exactly long enough for a toddler to “check” a piece and knock it loose. Build in a distraction (snack, a different toy) for that window rather than asking a toddler to simply wait.
- Keep a damp cloth at the table. Wet glue wipes off skin and tables easily. Dried tacky glue can stain clothes, so wear old ones. If glue gets in an eye, rinse with water and call poison control or a doctor if irritation persists.
- Let layered projects (puppets, felt fruit) cure flat and untouched overnight. The temptation to test a finger puppet the moment it’s assembled is real, and it’s also the fastest way to pop a seam that hasn’t set yet.
- Store scraps in a labeled bin, not the trash. Larger scraps are perfect for the sensory strip (#3) or felt monster (#8) builds later. Keep the bin out of reach, since tiny trimmings are a choking hazard.
- Felt pre-cut by an adult, sharp scissors put away
- Glue puddle on a paper plate, plus a large flat craft stick
- Twine and ribbon kept off the craft table
- Old clothes on, damp cloth and cutting mat out
- Bin ready for scraps
- Count pieces after the activity
- Display-only pieces hung up or stored out of reach
Troubleshooting Common Felt Craft Problems
| Problem | Likely Cause | Fix |
|---|---|---|
| Felt pieces won’t stay stuck | Used glue stick on felt-to-felt bond | Switch to fabric glue for anything felt-on-felt |
| Glue soaked through and left a stain/mark | Too much glue applied at once | Use a thin, even dot rather than a puddle; a large flat craft stick helps control the amount |
| Project fell apart after a day of play | Didn’t let fabric glue fully cure (several hours minimum) before handling | Let handled crafts (puppets, felt fruit) cure flat and untouched overnight, and recheck the seams before each use |
| Toddler lost interest halfway through | Too many steps in one sitting | Split multi-step crafts (like the name banner) across two short sessions |
| Felt edges look fuzzy after cutting | Dull or blunt kid scissors, or a cheap low-density felt | Adult cuts with sharp scissors out of the child’s reach, and children never use them; a higher-quality felt cuts cleaner |
| Cut shapes are wildly uneven | Normal for this age — toddler is doing the cutting | Let it be part of the charm, or pre-cut shapes yourself and let toddler focus on gluing/decorating instead |
Frequently Asked Questions
Can toddlers really do felt crafts without any sewing?
Yes — every project in this list uses fabric glue or a glue stick instead of a needle and thread. Felt is one of the few fabrics that glues reliably well, which is exactly why it’s the go-to material for no-sew felt crafts. Save actual sewing projects for when your child is older and ready to handle a needle with real supervision.
What’s the best glue for felt crafts with toddlers?
It depends on the project. Use a washable glue stick for quick, same-day projects and anything felt-on-paper — it’s mess-free and toddlers can apply it independently. Use fabric glue (like a water-based tacky glue) for anything that needs to last, like finger puppets, garlands or gifts. Use it for felt-to-felt too, since a glue stick doesn’t bond fabric strongly enough for play.
How long does fabric glue take to dry on felt?
Most fabric glues set enough to handle gently within 20–30 minutes. Full curing takes several hours, and overnight is best for anything that will get a lot of handling, like a finger puppet. Check the label on your specific glue, since dry times vary by brand.
Is felt safe for toddlers to use in crafts?
Large felt pieces are low-risk: felt is soft and doesn’t fray into sharp threads. Small cut pieces and scraps can be a choking hazard for a child who mouths things.
Googly eyes, pom-poms, cotton balls and stuffing are choking hazards for children under 3, and supervision doesn’t remove that risk. Keep an adult within arm’s reach, use large felt pieces or washable marker on anything your child handles, and follow the play-or-display label in the project table. Anything with small glued-on parts, string or ribbon is display only. Choose non-toxic glue, remember non-toxic isn’t edible, and keep the bottle away from independent squeezing.
My toddler can’t cut felt shapes yet — can they still do these crafts?
Yes. Most of these projects are designed with that in mind. Pre-cut all the felt shapes yourself ahead of time and let your toddler focus on placing and gluing pieces. At ages 1–2, that’s where the fine motor practice comes from anyway. Introduce toddler scissors and simple straight-line cutting closer to age 2–3, starting with wide felt strips before working up to shapes. Our cutting practice sheets are a good warm-up.
What can I make with felt scraps left over from other crafts?
Bigger scraps are perfect for the sensory strip or the felt monsters in this list, since those projects don’t need neat, matching pieces. Save the rest for a future collage, where uneven sizes and shapes add visual interest.
Throw away tiny trimmings, since they are a choking hazard for a child who mouths things.
Do felt crafts work as a busy bag or travel activity?
Pre-assembled felt pieces travel well, but save the gluing for the table at home, since wet glue and car seats don’t mix. Keep any piece with small glued-on parts away from a child who mouths things. If you want a felt-based activity specifically for on-the-go, pack pre-made felt shapes for a no-glue sorting or matching game instead, which fits the same idea behind most busy bags.
A Little Mess Is Part of the Fun
Felt crafts are one of the rare toddler activities where a flop is still a win. A lopsided finger puppet, a garland with hearts glued on backwards, a handprint creature with six eyes: they all end up loved and displayed somewhere in the house. Start with one or two projects from the ages 1–2 section if you’re new to this, keep the fabric glue bottle out of grabby hands, and let the rest build from there. The felt will forgive you, the glue will dry, and you’ll have a drawer full of tiny fabric creatures to show for it.