How to Draw a Christmas Caroler (Easy Step by Step)
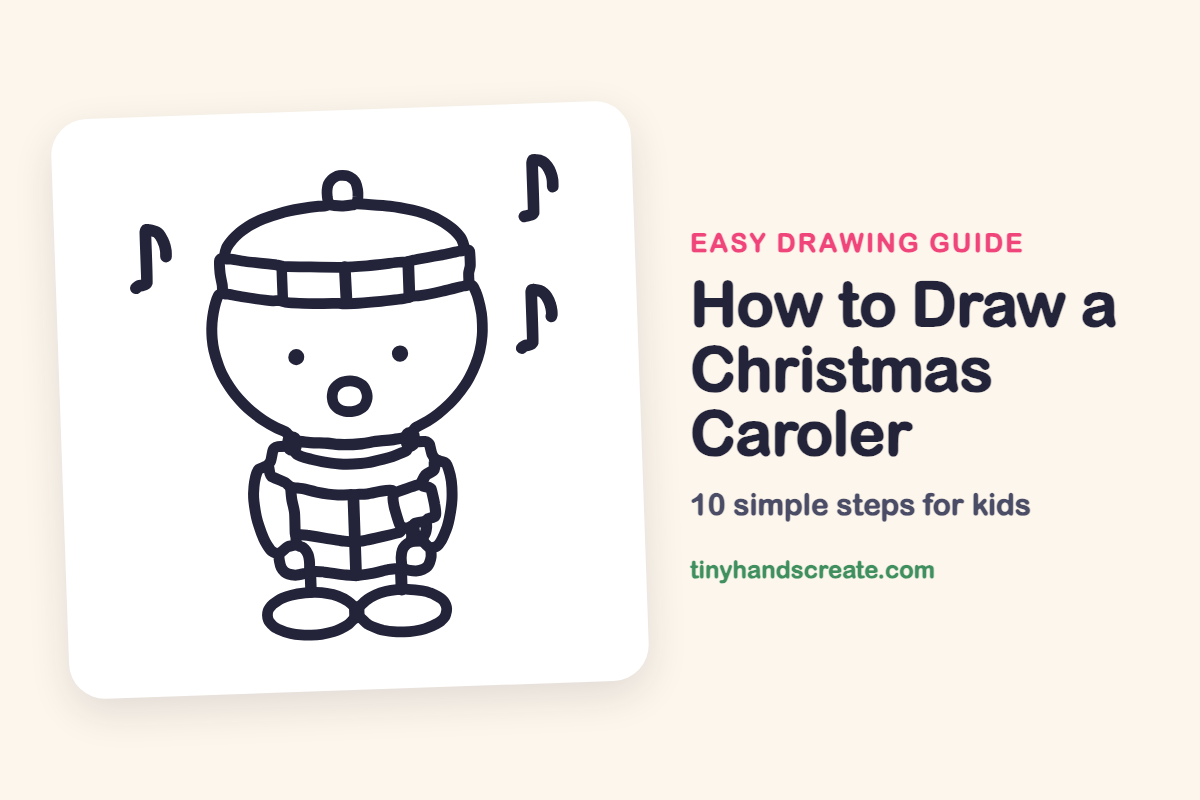
This Christmas caroler is a happy little singer in a pom-pom hat and a checked scarf. The whole drawing is built from curved lines and ovals, so it is a great one for beginners. The floating music notes make it feel like you can hear the song.
- Easy
- 15 minutes
- 10 steps
You need: paper, a pencil, an eraser, and crayons or markers for coloring.
Start drawingIn this article (7 sections)
How to draw a Christmas caroler step by step
How to Draw a Christmas Caroler · tinyhandscreate.com
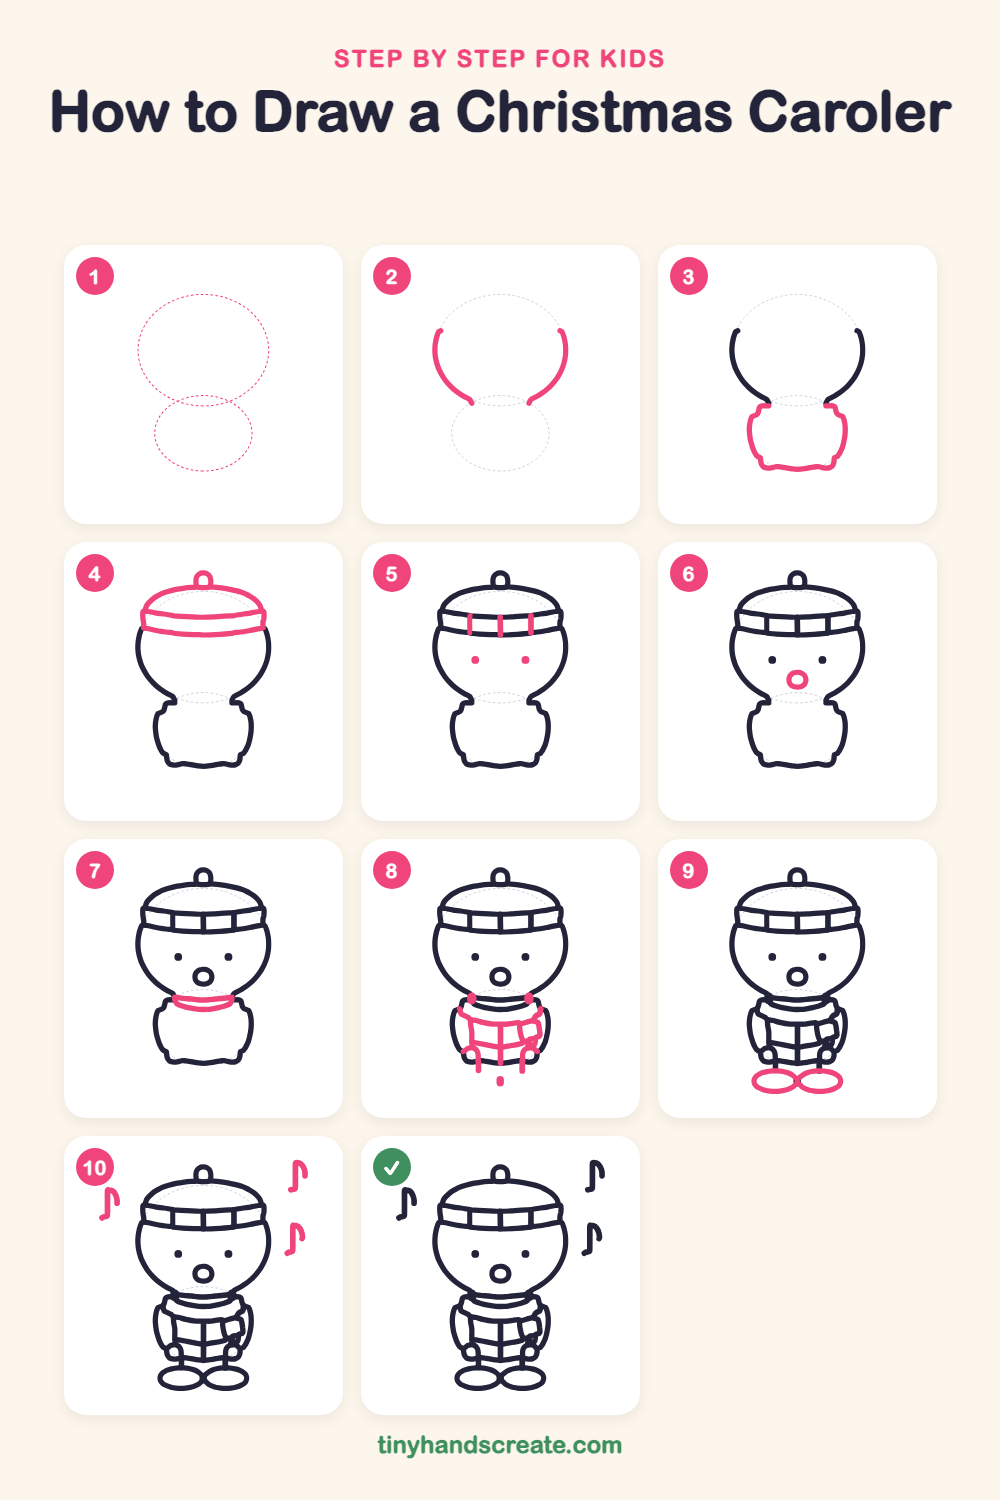
Step 1: Guide shapes
Lightly sketch these 2 ovals. They only show where the big parts go, so press softly. You will erase them at the end.
Step 2: Sides of the head
Draw two curved lines for the sides of the round head. Start each one near the top, bend it outward, then sweep it in toward the middle where the neck will be. Leave the top open for the hat.
Step 3: The body
Under the head, draw a rounded, slightly bumpy shape for the puffy coat. Start at the bottom of each head line and curve down and around to make a wide, soft bottom.
Step 4: The hat
Draw a dome on top of the head, like half an egg. Add a wide band across the bottom of the dome for the cuff, then a little loop on top for the pom-pom.
Step 5: Cuff stripes and eyes
Draw three short up-and-down lines across the cuff band, spaced evenly. Then add two small dots for eyes, side by side in the middle of the face.
Step 6: The singing mouth
Draw a small oval below the eyes for a mouth wide open in song.
Step 7: The collar
Draw two short curved lines right under the chin, bending like a smile, to make the top of a cozy scarf. Let the ends touch the coat on each side.
Step 8: The plaid scarf
Draw a scarf down the front of the coat with a few crisscross lines to make a checked pattern. Add a small dot at each shoulder and finish with a short hanging end on each side.
Step 9: The feet
Draw two wide ovals at the bottom, side by side, so they just touch in the middle. They sit right under the coat.
Step 10: Music notes
Float three music notes around the caroler. For each one, draw a small oval, then a line going up from it, and finish with a little curl at the top.
All done!
Erase the guide shapes, go over your lines, then color it in.
Finished your Christmas caroler? Keep the pencils out and learn how to draw an ice skater or how to draw a skier next.
Tips for drawing a Christmas caroler
- Draw the two head lines so they curve out evenly on both sides. Matching curves make the head look round.
- The hat cuff is the trickiest part. Draw the dome and band first, then add the little up-and-down stripes inside the band.
- For the music notes, make the round blob first, then the stick, then the curl. Try tilting each note a little so they look like they are dancing.
Free Christmas caroler coloring page
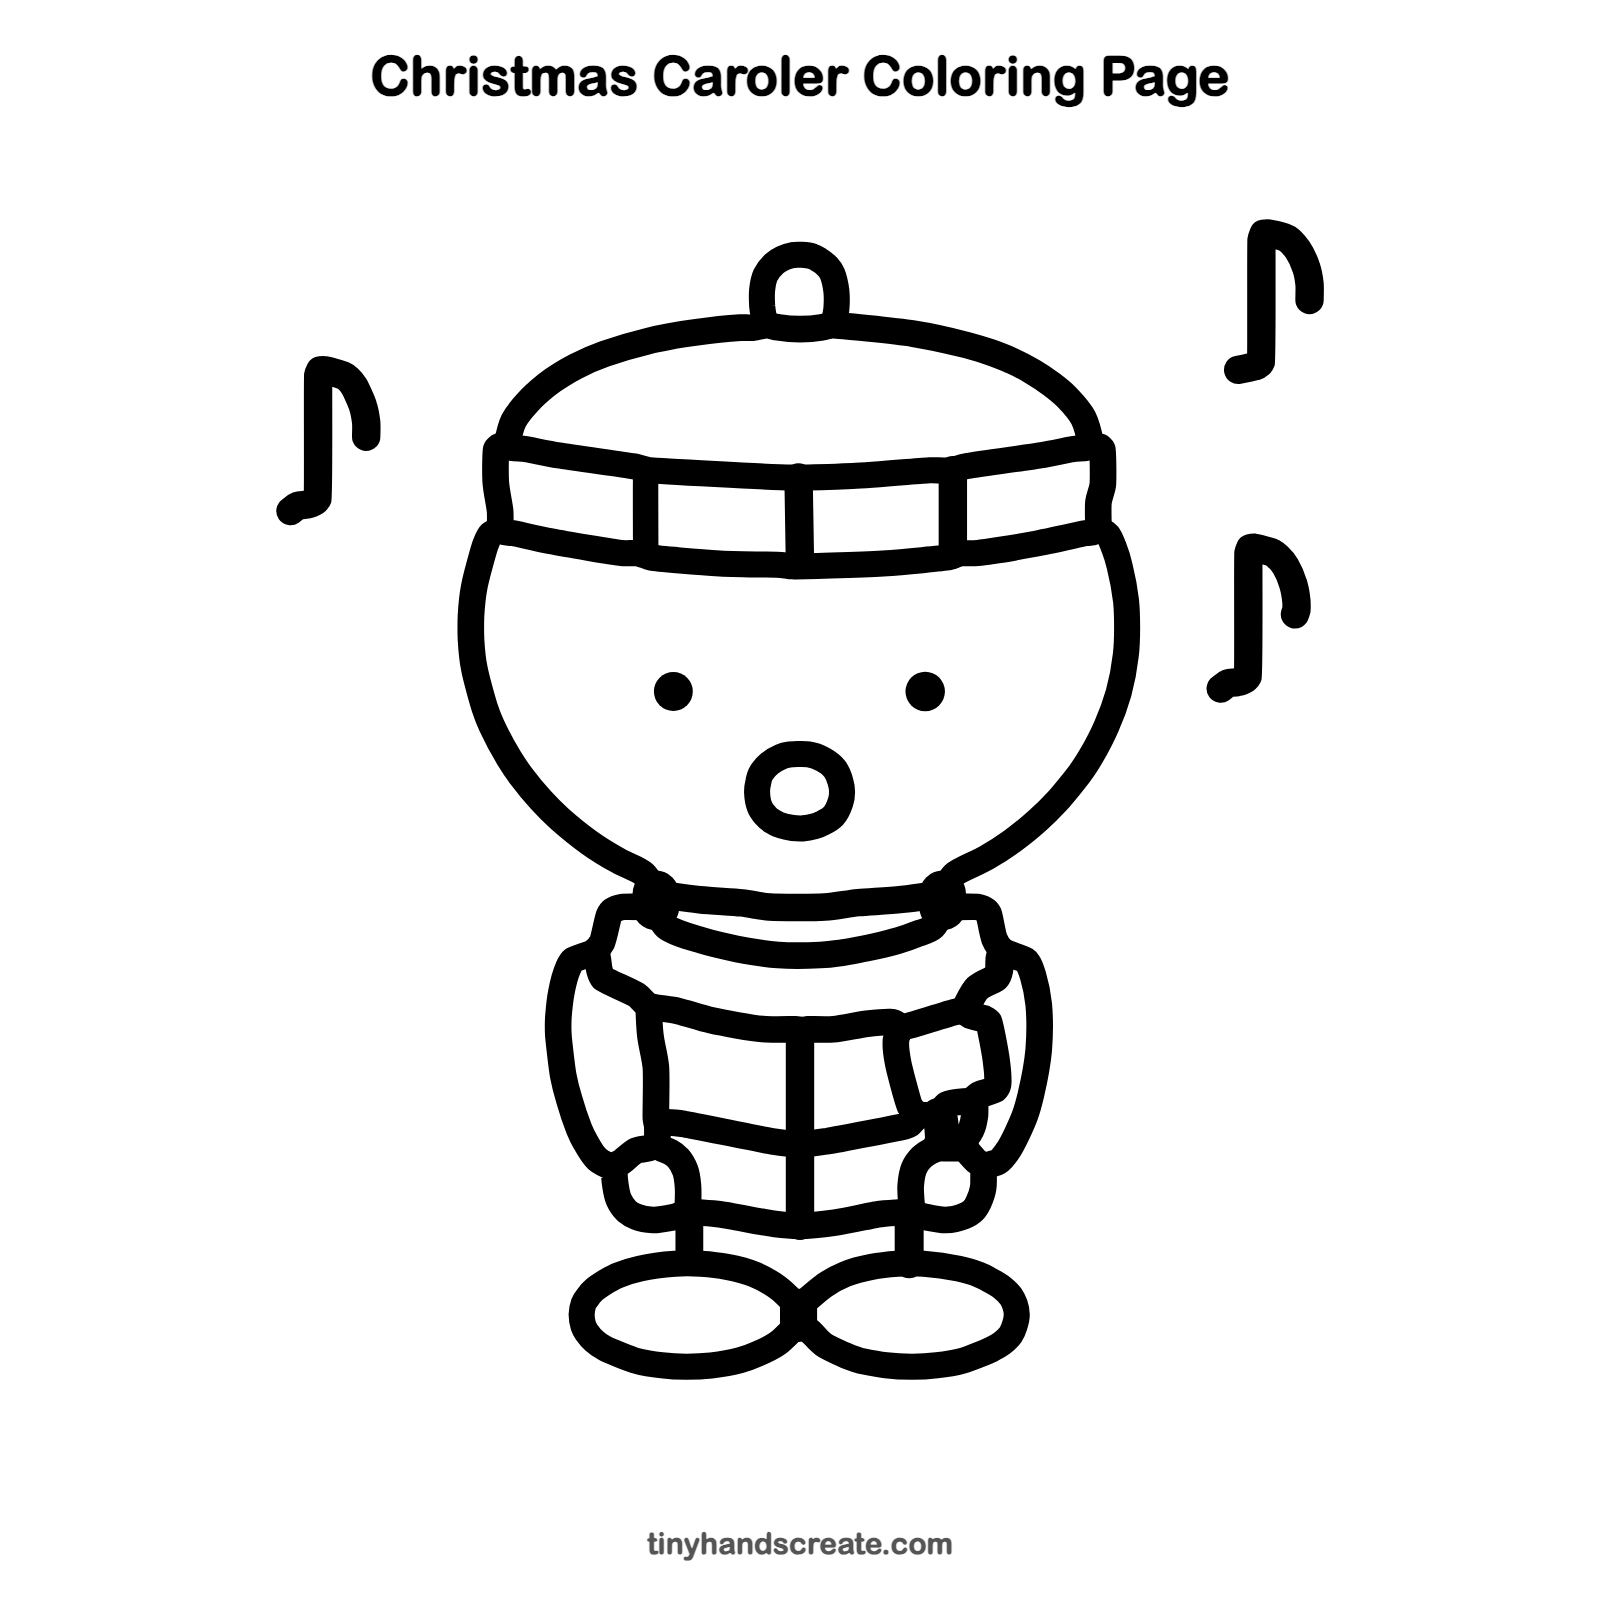
Want to go straight to coloring? Open this Christmas caroler coloring page at full size and print it. It is the same drawing you just learned, with clean lines ready for crayons or markers.
How to color your Christmas caroler drawing
Try a red hat and scarf with a green coat. For a creative twist, color the notes in different bright colors, or add falling snowflakes around the singer.
Christmas caroler fun fact for kids
Christmas caroling goes back hundreds of years. In old England, groups of singers walked from house to house in winter, singing songs in return for a warm treat.
Questions about drawing a Christmas caroler
What shapes do I need to draw a Christmas caroler?
You need two curved lines for the head, a rounded shape for the coat, and two ovals for the feet. The hat, scarf and face are small lines, dots and ovals added on top.
How do I make my caroler look cuter?
Keep the eyes small and wide apart, and make the mouth a round open oval so it looks like singing. A fluffy pom-pom on the hat also adds charm.
How do I draw music notes?
Draw a small oval, add a straight line going up from its side, then finish with a little curl at the top. Draw a few in different spots to fill the air.