How to Draw a Snowy Pine Tree (Easy Step by Step)
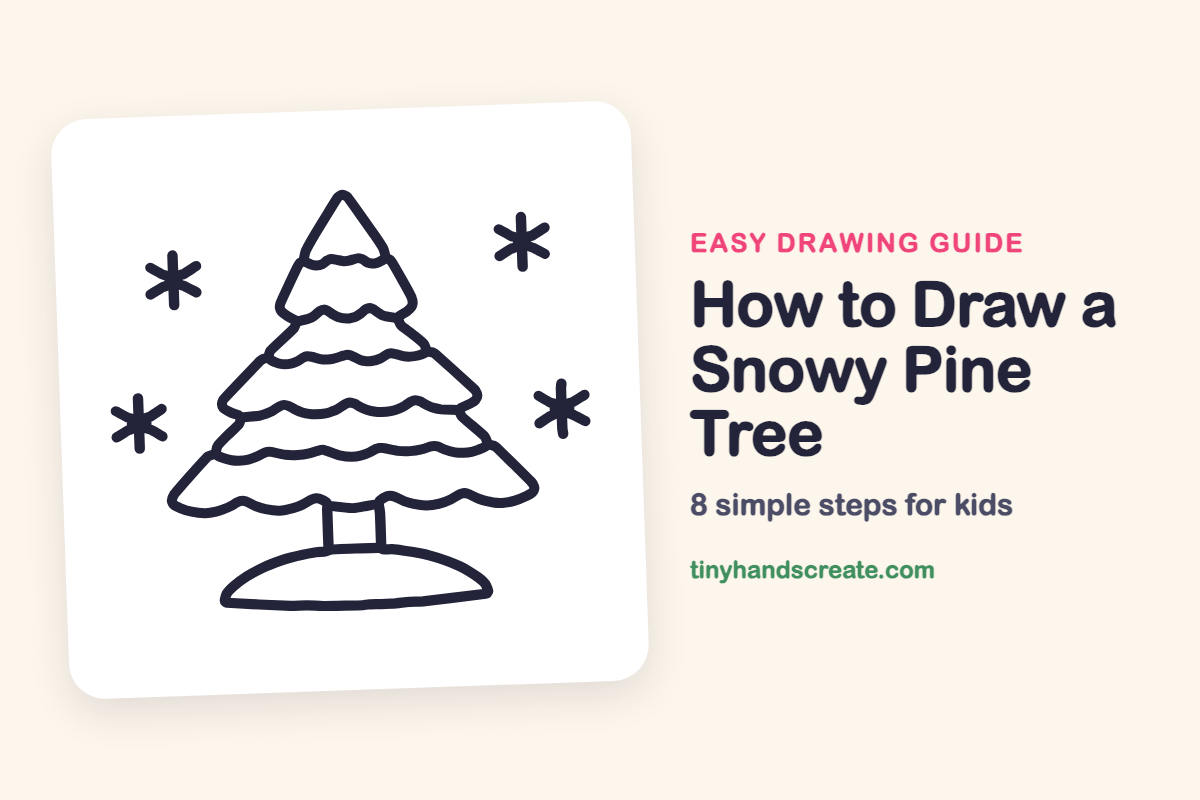
A snowy pine tree is a great first winter drawing because it is a stack of wide layers with wavy lines for snow. You also get to add a snowy hill and some snowflakes. Each layer repeats the same idea, so it gets easier as you go.
- Easy
- 15 minutes
- 8 steps
You need: paper, a pencil, an eraser, and crayons or markers for coloring.
Start drawingIn this article (7 sections)
How to draw a snowy pine tree step by step
How to Draw a Snowy Pine Tree · tinyhandscreate.com
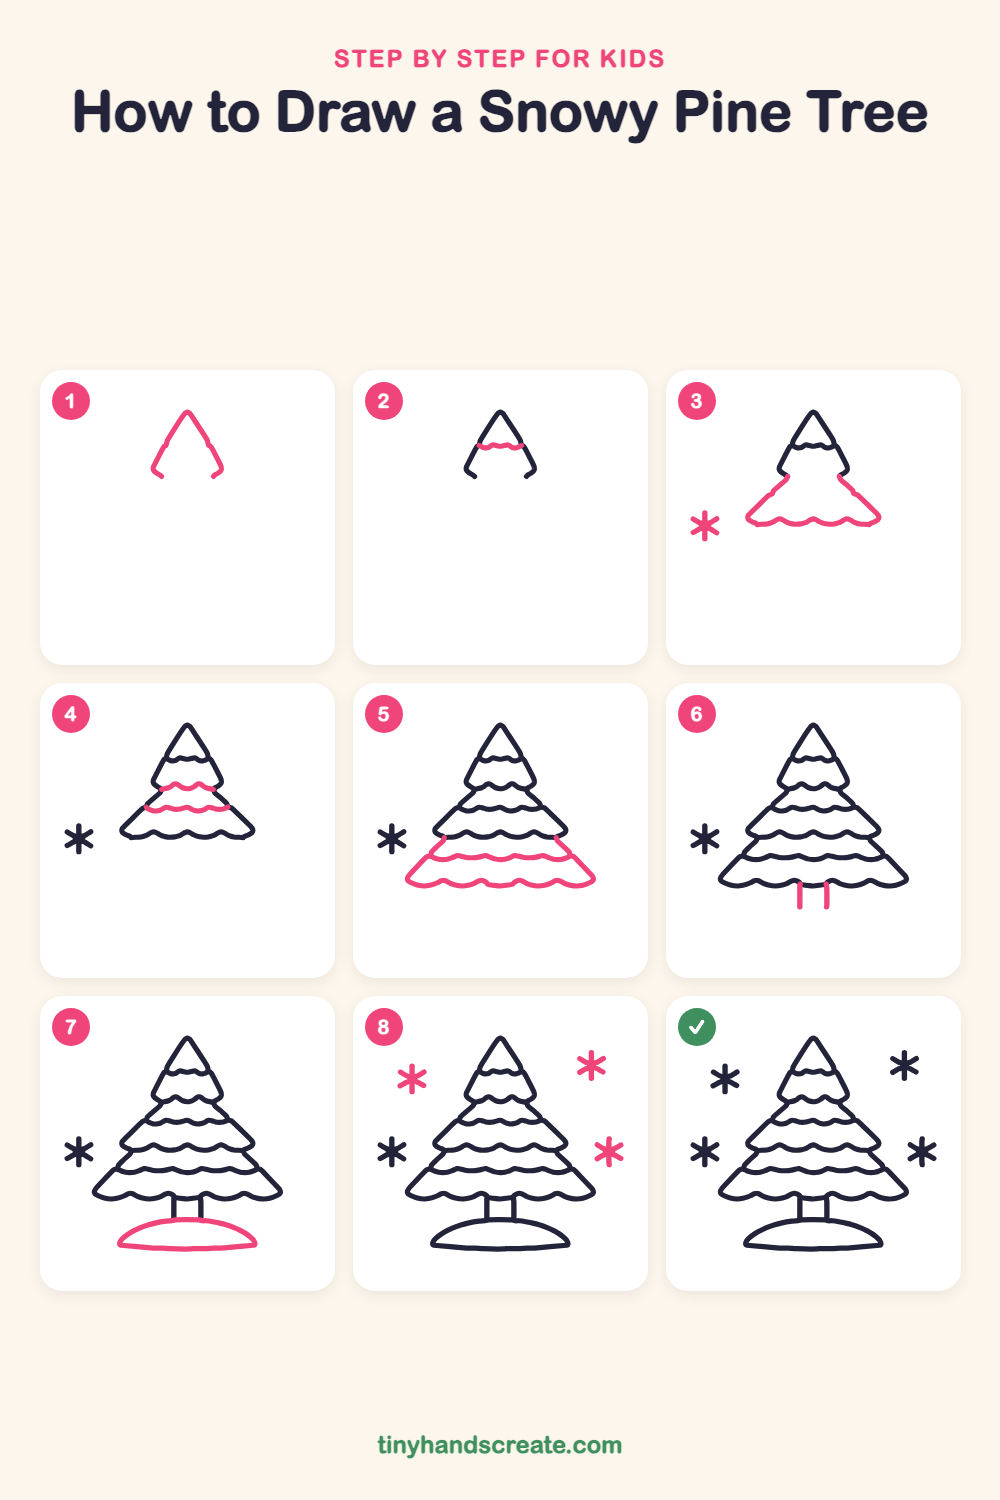
Step 1: The tree top
Start at the very top with a pointed peak, like a party hat. Draw two slanted lines going down and out, and let each one curl a tiny bit outward at the bottom. Leave the bottom open.
Step 2: Snow on the top
Near the top of the hat, draw a wavy line with three little bumps from one side to the other. This is the snow resting on the tip.
Step 3: Second layer and snowflake
Under the top, start a line at each lower side of the hat and slant it outward and down. Join them with a row of round scallop bumps along the bottom to make a wider layer. Then draw one little snowflake to the left: a straight up-and-down line crossed by two slanted lines.
Step 4: Wavy snow lines
Draw two wavy lines across the wide layer, one above the other, from one side to the other. Make soft bumps that go up and down in a row, like clouds of snow.
Step 5: The bottom layer
Draw the biggest layer at the bottom. Go out and down on each side, then make a row of round scallop bumps along the bottom edge. Add one wavy snow line across it, above the bumps.
Step 6: The trunk
Under the middle of the bottom edge, draw two short straight lines going down side by side. They make the trunk.
Step 7: The snowy ground
At the bottom of the trunk, draw a wide, flat hill shape like a half moon lying down. Close it with a nearly straight line along the bottom.
Step 8: More snowflakes
Around the tree, draw three more snowflakes, one on the upper left, one on the upper right and one on the right. For each, draw a straight up-and-down line and cross it with two slanted lines to make six little arms.
All done!
Go over your lines with a marker, then color it in.
Finished your snowy pine tree? Keep the pencils out and learn how to draw a cardinal or how to draw a letter to Santa next.
Tips for drawing a snowy pine tree
- Make each layer of the tree a little wider than the one above it, so the whole tree looks like a triangle.
- Wavy snow lines are easiest when you draw the bumps in one slow, steady stroke instead of one bump at a time.
- For each snowflake, draw the straight up-and-down line first and then cross it with two slanted lines, so all six arms look even.
Free snowy pine tree coloring page
Want to go straight to coloring? Open this snowy pine tree coloring page at full size and print it. It is the same drawing you just learned, with clean lines ready for crayons or markers.
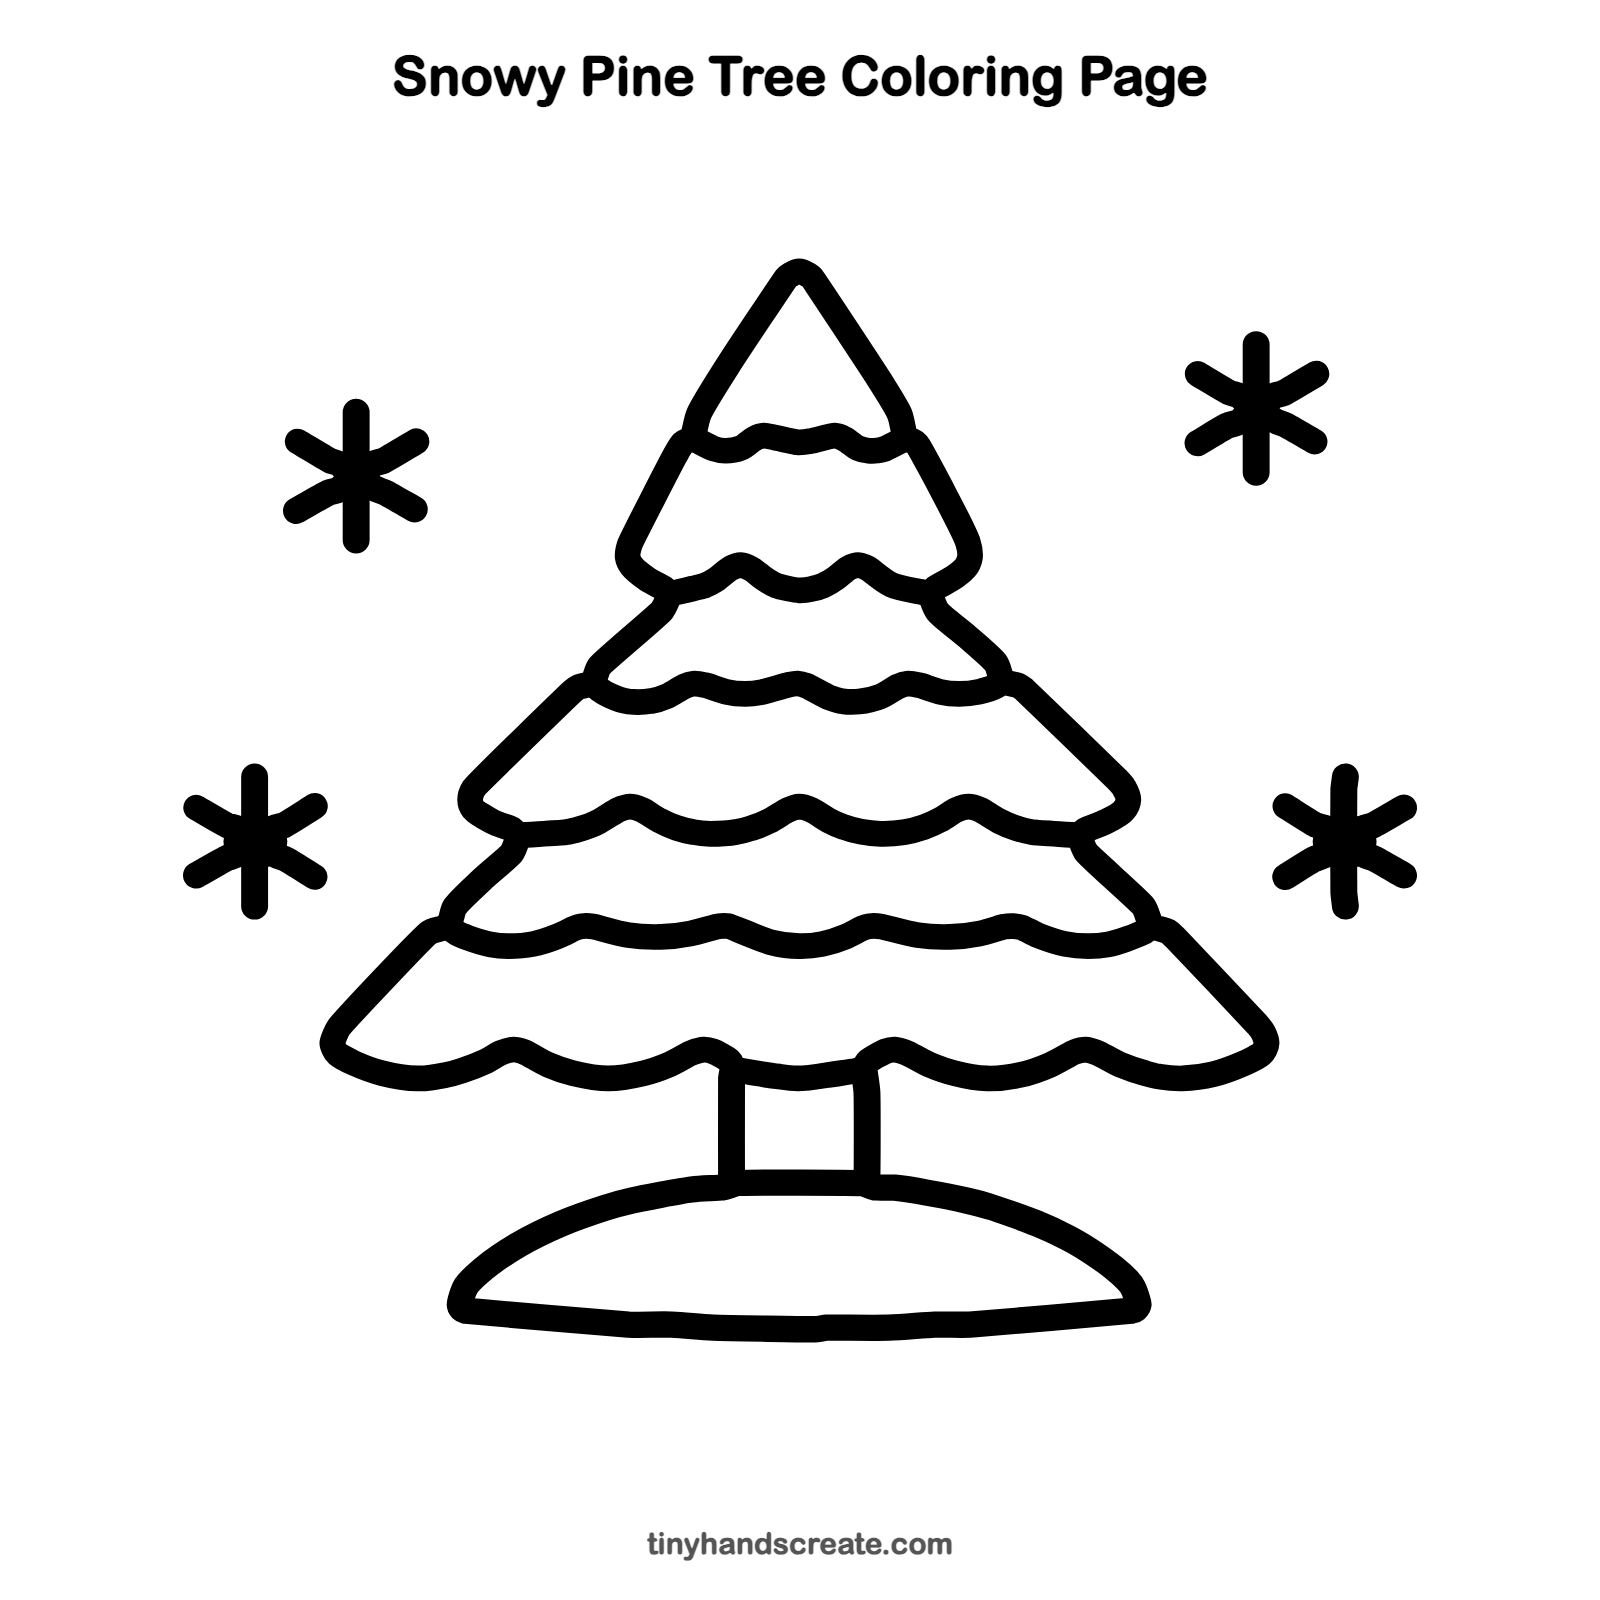
How to color your snowy pine tree drawing
Color the tree dark green and leave the wavy snow bands and the hill white, or tint them light blue. For a twist, color the snowflakes in rainbow colors, or color the trunk brown.
Snowy pine tree fun fact for kids
Pine trees are evergreens, which means they stay green all year long instead of losing all their leaves in fall. A pine drops its oldest needles every few years, but never all at once.
Questions about drawing a snowy pine tree
What shapes do I need to draw a snowy pine tree?
You need a pointed peak and wide layers with scalloped bottoms for the tree, a pair of straight lines for the trunk, and a flat half oval for the snowy hill. The snow is just wavy lines.
How do I make the snow look fluffy?
Draw round, even bumps along each layer edge and wavy lines across the layers, and leave the snow white when you color. The scalloped edges make it look soft.
How do I make my tree look balanced?
Start with a light line straight down the middle and keep each layer centered on it. The left and right sides should match.