How to Draw a Snowy Christmas House (Easy Step by Step)
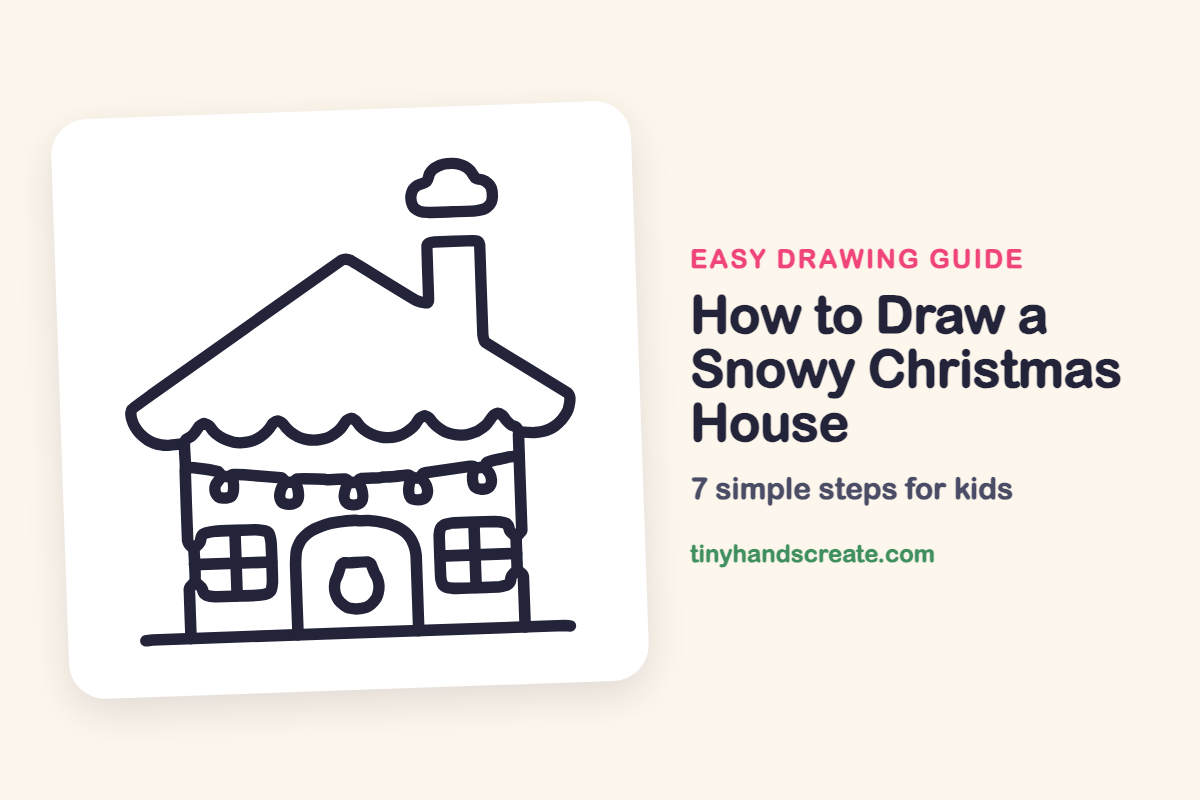
This cozy snow-capped house is a great first Christmas drawing. It is built from simple shapes: a roof with a chimney, a row of scallops, an arched door and two square windows. The wreath, string of lights and puff of smoke add holiday cheer without being hard to draw.
- Easy
- 15 minutes
- 7 steps
You need: paper, a pencil, an eraser, and crayons or markers for coloring.
Start drawingIn this article (7 sections)
How to draw a snowy Christmas house step by step
How to Draw a Snowy Christmas House · tinyhandscreate.com
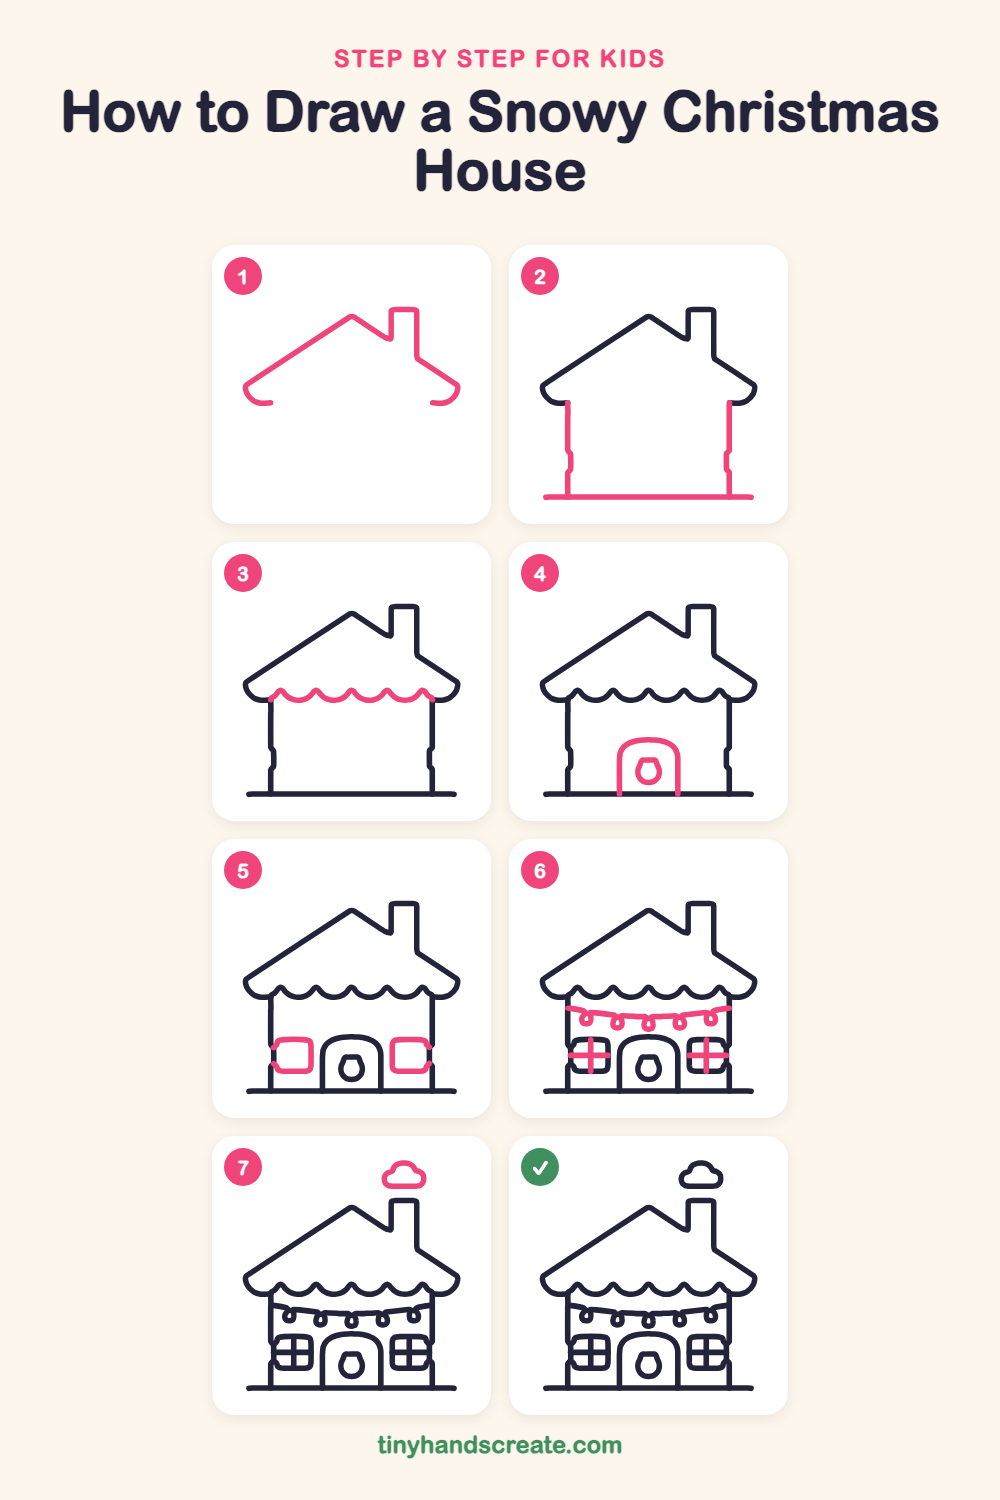
Step 1: Roof and chimney
Start at the bottom left with a small curl, then draw a long slanted line up to a peak. Slide down a little, go up for a tall chimney, and draw a slanted line down to the right, ending in another small curl.
Step 2: Walls and ground
Draw a straight line going down from under each end of the roof. Then draw a long flat line across the bottom to join them and make the ground.
Step 3: Snowy roof edge
Under the roof, draw a row of bumpy scallops from one wall to the other, like little hills side by side. They look like fluffy snow hanging off the roof.
Step 4: Door and knob
In the middle, start at the ground and draw a tall door with a rounded top. Add a small round shape inside the door for a wreath.
Step 5: Two window frames
Draw a square with rounded corners on each side of the door, so both windows sit between the door and the walls.
Step 6: Window panes and lights
Draw a plus sign inside each window to make four panes. Then draw a gently curved line across the wall under the scallops, like a smile, and hang five little loops from it for the lights.
Step 7: Puffy smoke cloud
Above the chimney, draw a small puffy cloud with a flat bottom and two or three round bumps on top.
All done!
Go over your lines with a marker, then color it in.
Finished your snowy Christmas house? Keep the pencils out and learn how to draw a log cabin or how to draw earmuffs next.
Tips for drawing a snowy Christmas house
- Draw the roof's slanted line up to the peak first, then step down and go up to make the chimney. Keep the chimney tall and straight.
- The scallops are the trickiest part. Make each bump about the same width, and start at the walls so the middle ones fit evenly.
- Draw the curved string for the lights first, then hang the little loops from it. Space them out evenly, with the middle one lowest where the string dips.
Free snowy Christmas house coloring page
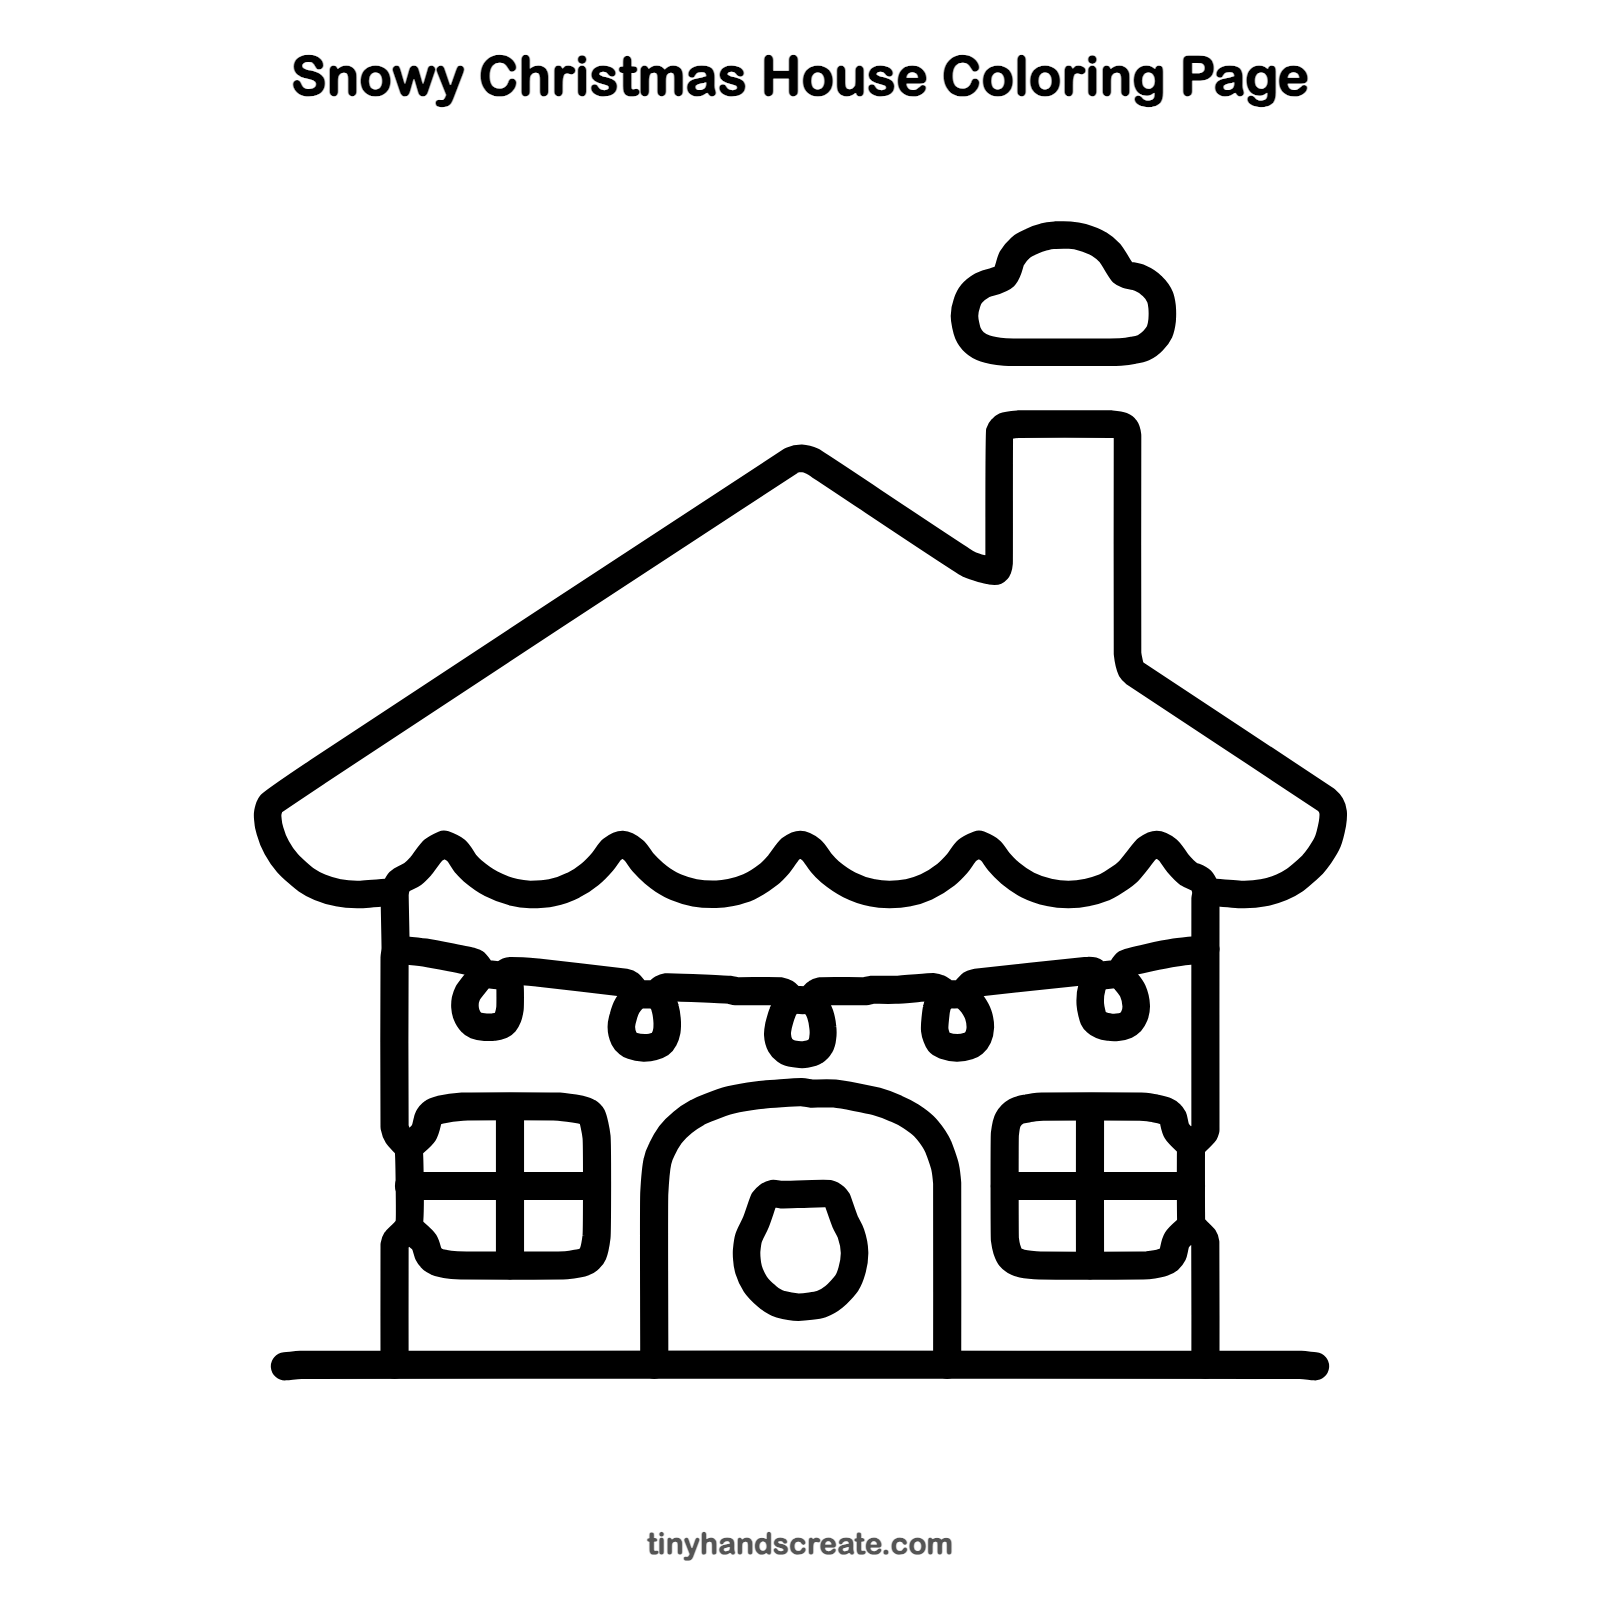
Want to go straight to coloring? Open this snowy Christmas house coloring page at full size and print it. It is the same drawing you just learned, with clean lines ready for crayons or markers.
How to color your snowy Christmas house drawing
Try a red or green roof with white snow showing along the scallops, a warm yellow for the windows and bright red, green, blue and yellow lights. For a creative twist, color the sky dark blue and add snowflakes falling all around.
Snowy Christmas house fun fact for kids
Before electric bulbs, families lit their Christmas trees with small candles. Strings of electric Christmas lights were first made in the 1880s.
Questions about drawing a snowy Christmas house
What shapes do I need to draw a Christmas house?
You need slanted lines for the roof, a tall rectangle for the chimney, straight lines for the walls, squares for the windows and an arch for the door. A small circle makes the wreath.
How do I make my Christmas house look snowy?
Draw the bumpy scallops under the roof and leave the roof white when you color. A few snow dots in the sky and a white ground make it feel even more wintery.
How do I make my house look more festive?
Add the string of lights, a wreath on the door and a puff of smoke above the chimney. Color the lights in different bright colors to make them sparkle.