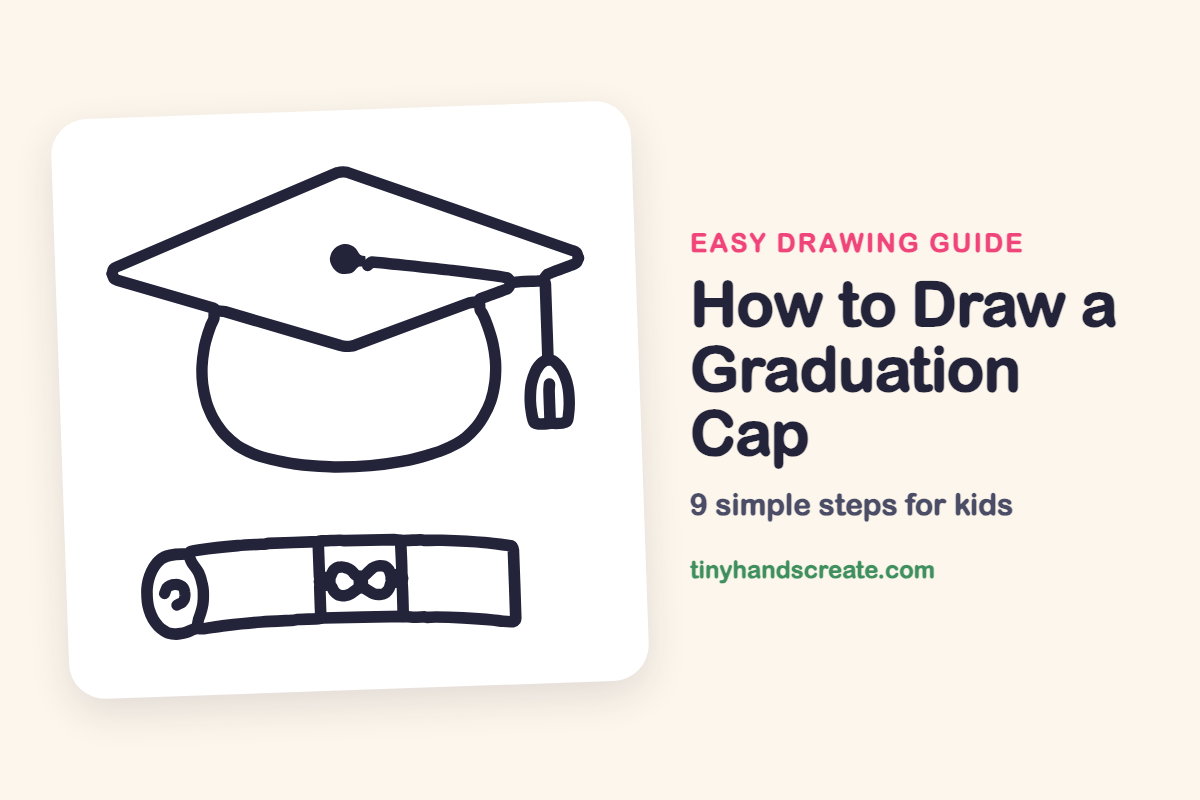
How to Draw a Graduation Cap (Easy Step by Step)
A graduation cap is a fun drawing because it is built from a few simple shapes: a flat diamond, a rounded bowl, and a dangling tassel. This guide also adds a rolled diploma tied with a ribbon, so you get two drawings in one. It is a nice one to make for a graduation party or a card for someone you love.
- Medium
- 15 minutes
- 9 steps
You need: paper, a pencil, an eraser, and crayons or markers for coloring.
Start drawingIn this article (7 sections)
How to draw a graduation cap step by step
How to Draw a Graduation Cap · tinyhandscreate.com
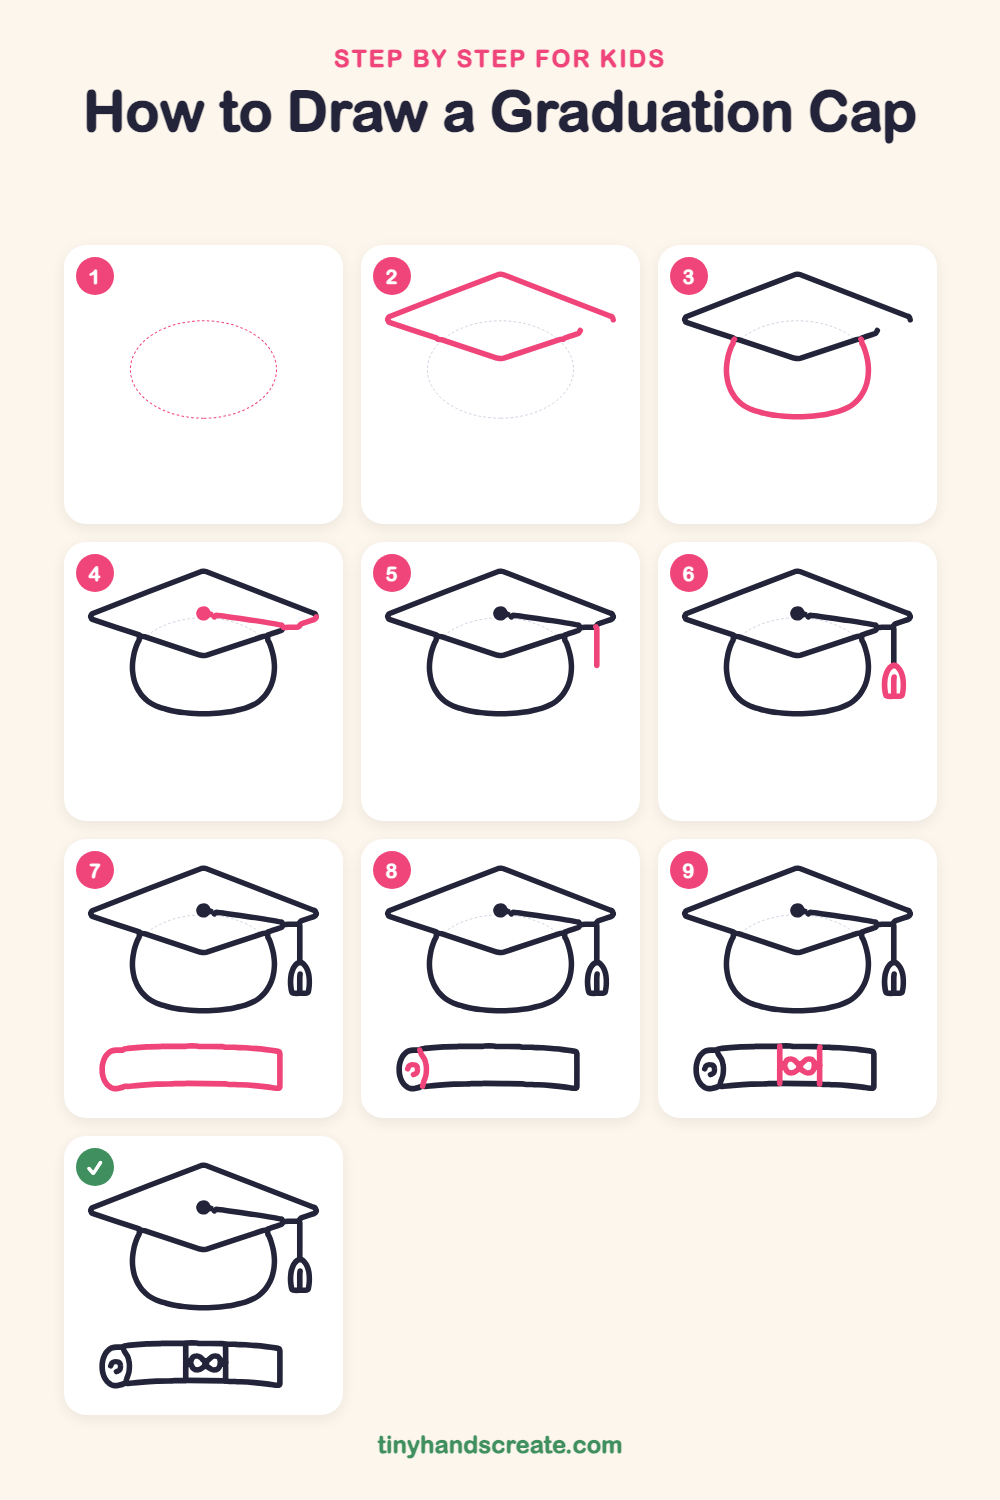
Step 1: Guide shapes
Lightly sketch this oval. It only shows where the big parts go, so press softly. You will erase it at the end.
Step 2: The flat top
Draw a big flat diamond shape, like a tilted square. Make a point at the top, a point on each side, and a point at the bottom where the two lower edges meet.
Step 3: The cap bowl
Under the diamond, draw a rounded bowl shape like a soft bucket. Start at the lower left edge of the diamond, curve down and across the bottom, then swing back up to the lower right edge.
Step 4: The button and cord
Draw a small round dot in the middle of the diamond for the button. Then draw a line from the dot over to the right corner of the diamond for the cord.
Step 5: The hanging string
From the end of the cord near the right corner, draw one short straight line going down. This is the string that holds the tassel.
Step 6: The tassel
At the bottom of the string, draw a small rounded bell shape with a flat bottom. Add a little arch inside it for the fluffy threads.
Step 7: The diploma roll
Below the cap, draw a long rectangle lying on its side. Make the left end rounded and keep the right end square.
Step 8: The rolled end
On the rounded left end, draw a curved line to show the edge of the paper. Inside that end, add a little curl like the letter C or a snail shell.
Step 9: The ribbon
Draw two straight up-and-down lines across the middle of the diploma. Between them, draw a sideways figure eight for the bow.
All done!
Erase the guide shapes, go over your lines, then color it in.
Finished your graduation cap? Keep the pencils out and learn how to draw a party popper or how to draw a disco ball next.
Tips for drawing a graduation cap
- Draw the diamond first and make the bottom point dip down a little. This gives the cap its flat, tilted look.
- The bowl is the trickiest part. Start and end it right under the lower diamond edges so it looks like it is tucked beneath the top.
- Keep the tassel small. A short string with a tiny bell shape at the bottom looks just right, and you can draw the ribbon bow last as a sideways number 8.
Free graduation cap coloring page
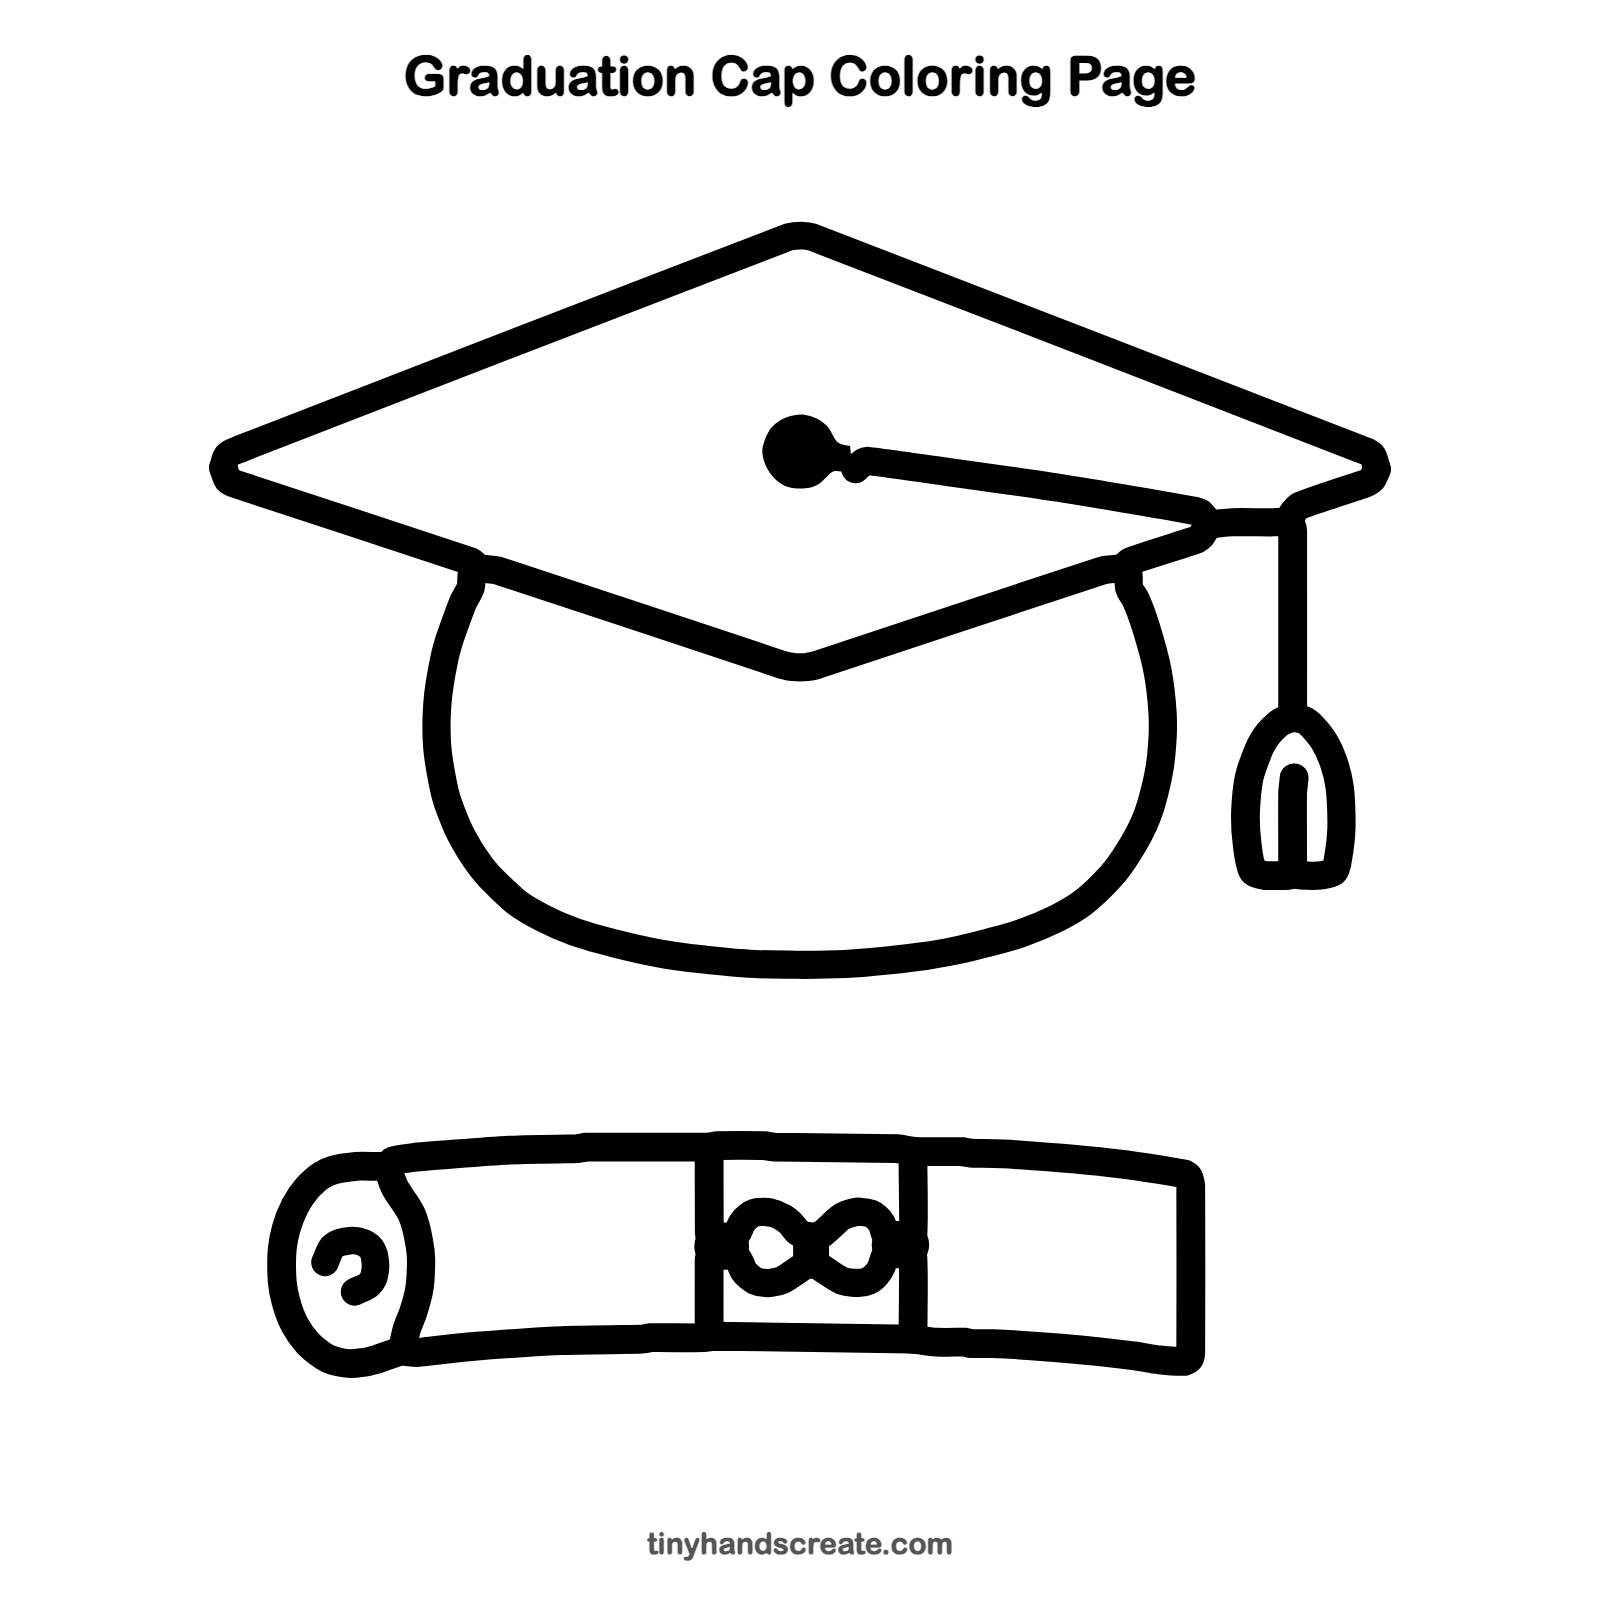
Want to go straight to coloring? Open this graduation cap coloring page at full size and print it. It is the same drawing you just learned, with clean lines ready for crayons or markers.
How to color your graduation cap drawing
Black or navy blue is the classic color for the cap, with a gold tassel and a cream diploma tied with a red ribbon. For a creative twist, color the cap in your school colors.
Graduation cap fun fact for kids
The flat, square graduation cap is called a mortarboard because it looks like the flat board that bricklayers use to hold mortar. In many schools, students move the tassel from one side to the other when they graduate.
Questions about drawing a graduation cap
What shapes do I need to draw a graduation cap?
You need a diamond for the flat top, a rounded bowl shape for the part that sits on your head, and a short line with a small bell shape for the tassel.
How do I make my graduation cap look flat on top?
Draw the diamond wide and a little squished, with the bottom point lower than the side points. That makes it look like a board lying on top of the cap.
How do I draw the diploma?
Draw a long rectangle on its side, round off the left end, and add a curl inside that end to look rolled. Then draw two lines across the middle and a sideways 8 for the ribbon bow.