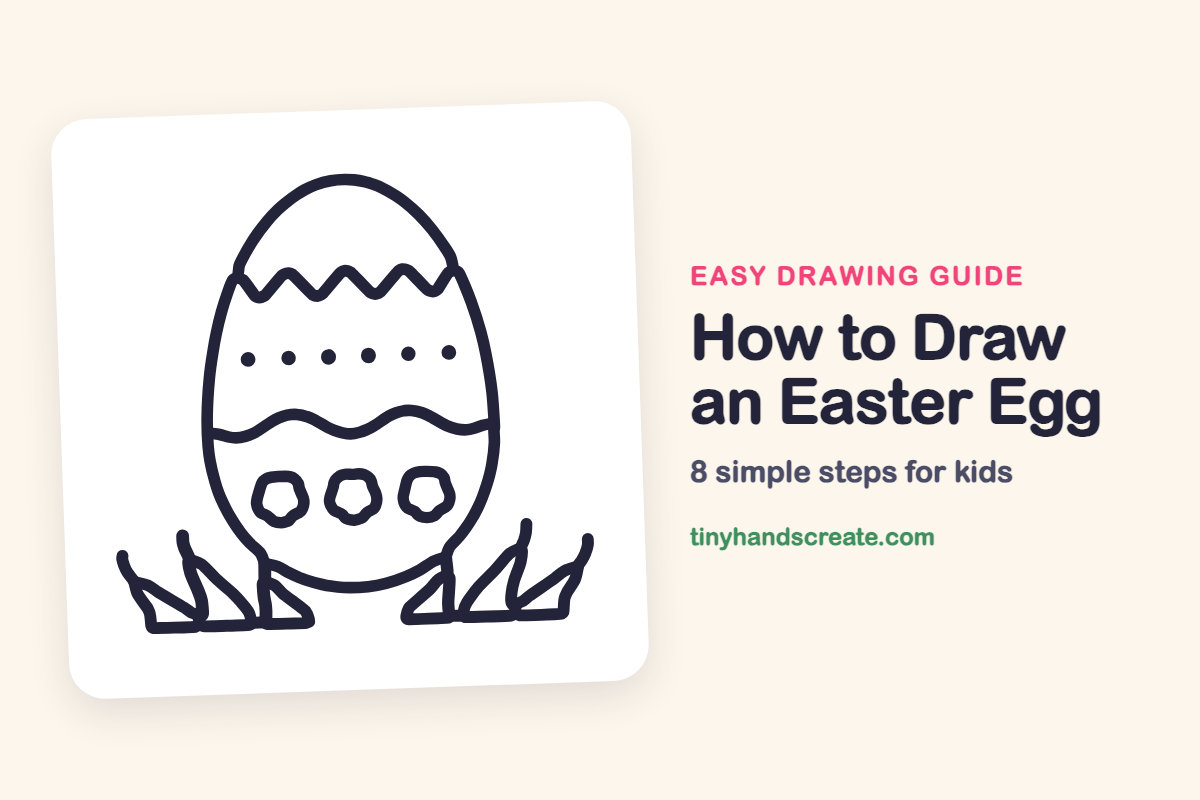
How to Draw an Easter Egg (Easy Step by Step)
A decorated Easter egg is a great first drawing because it is built from a few simple shapes: one big oval, a zigzag, a wavy line, some dots, and three little flowers. The patterns are easy to repeat, and two tufts of grass make the egg look like it is sitting in the yard waiting to be found.
- Easy
- 12 minutes
- 8 steps
You need: paper, a pencil, an eraser, and crayons or markers for coloring.
Start drawingIn this article (7 sections)
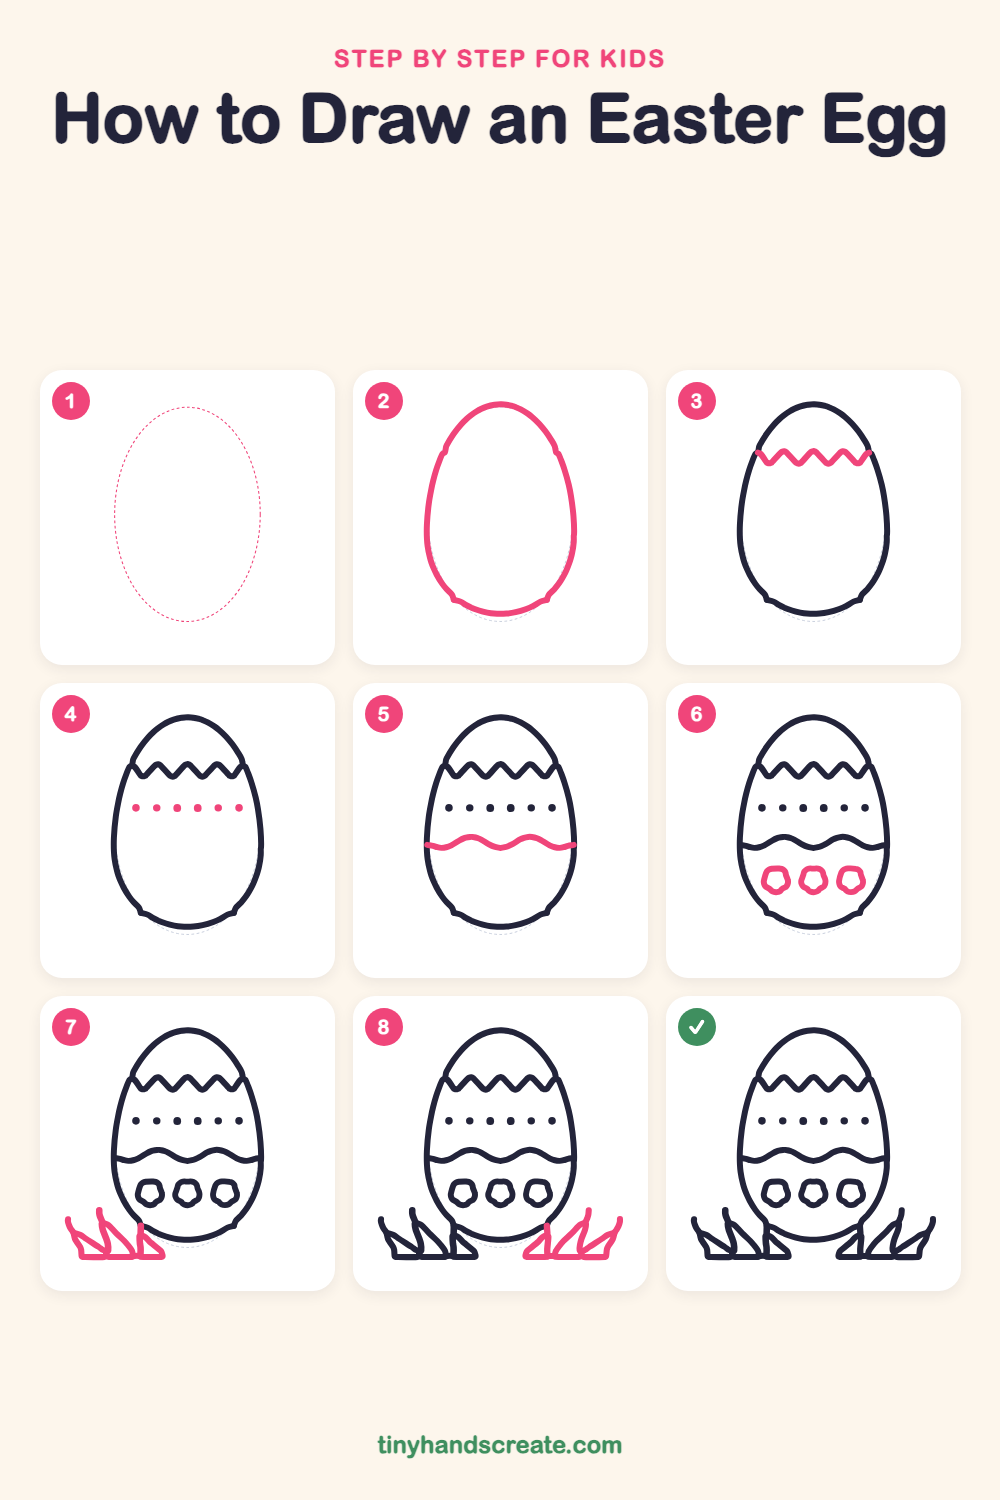
How to draw an Easter egg step by step
How to Draw an Easter Egg · tinyhandscreate.com
Step 1: Guide shapes
Lightly sketch this oval. It only shows where the big parts go, so press softly. You will erase it at the end.
Step 2: The egg
Draw a tall oval that is a little pointy at the top and rounder at the bottom. Make it big, so it fills most of the page.
Step 3: Zigzag band
Near the top, draw a zigzag line that starts at the left edge of the egg and goes up and down like little mountains until it reaches the right edge.
Step 4: Row of dots
Below the zigzag, draw a row of six small dots. Space them evenly across the egg.
Step 5: Wavy line
Draw a gentle wavy line across the middle of the egg, from the left edge to the right edge, like a calm ocean wave.
Step 6: Three flowers
Below the wavy line, draw three little flowers in a row. Make each one a small, round, bumpy shape, like a circle with soft bumps.
Step 7: Grass on the left
At the bottom left, draw three pointy grass blades that lean toward the egg. Close the bottom of the blades with a flat line along the ground.
Step 8: Grass on the right
Do the same on the bottom right, with three pointy blades that lean toward the egg. Finish them with a flat line along the ground.
All done!
Erase the guide shapes, go over your lines, then color it in.
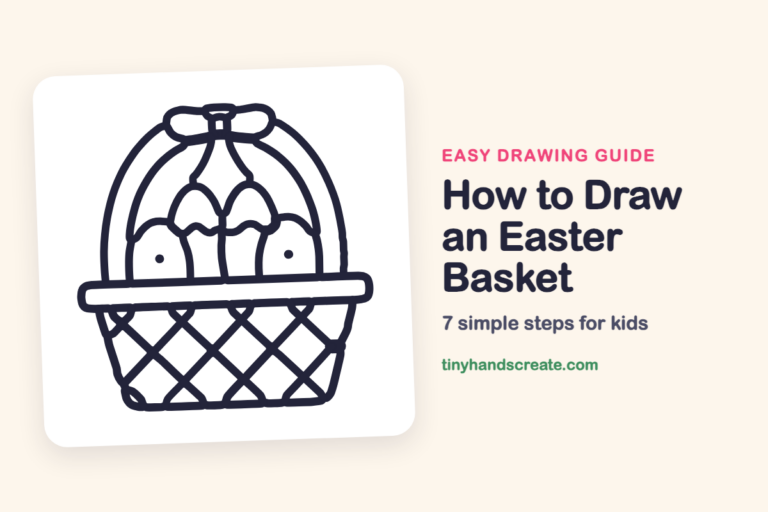
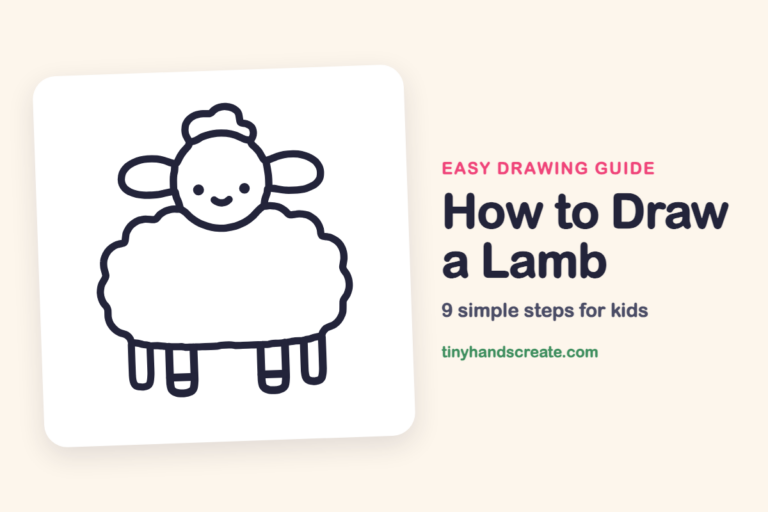
Finished your Easter egg? Keep the pencils out and learn how to draw an Easter basket or how to draw a lamb next.
Tips for drawing an Easter egg
- Sketch the egg as a light oval first and make the top a little narrower than the bottom. That is what makes it look like an egg and not a ball.
- For the zigzag, draw the points first and then connect them. Keeping the peaks the same height makes the band look neat.
- Make the grass blades different heights and let them lean toward the egg. Draw the flat line at the bottom of each tuft last so the blades all end on the ground.
Free Easter egg coloring page
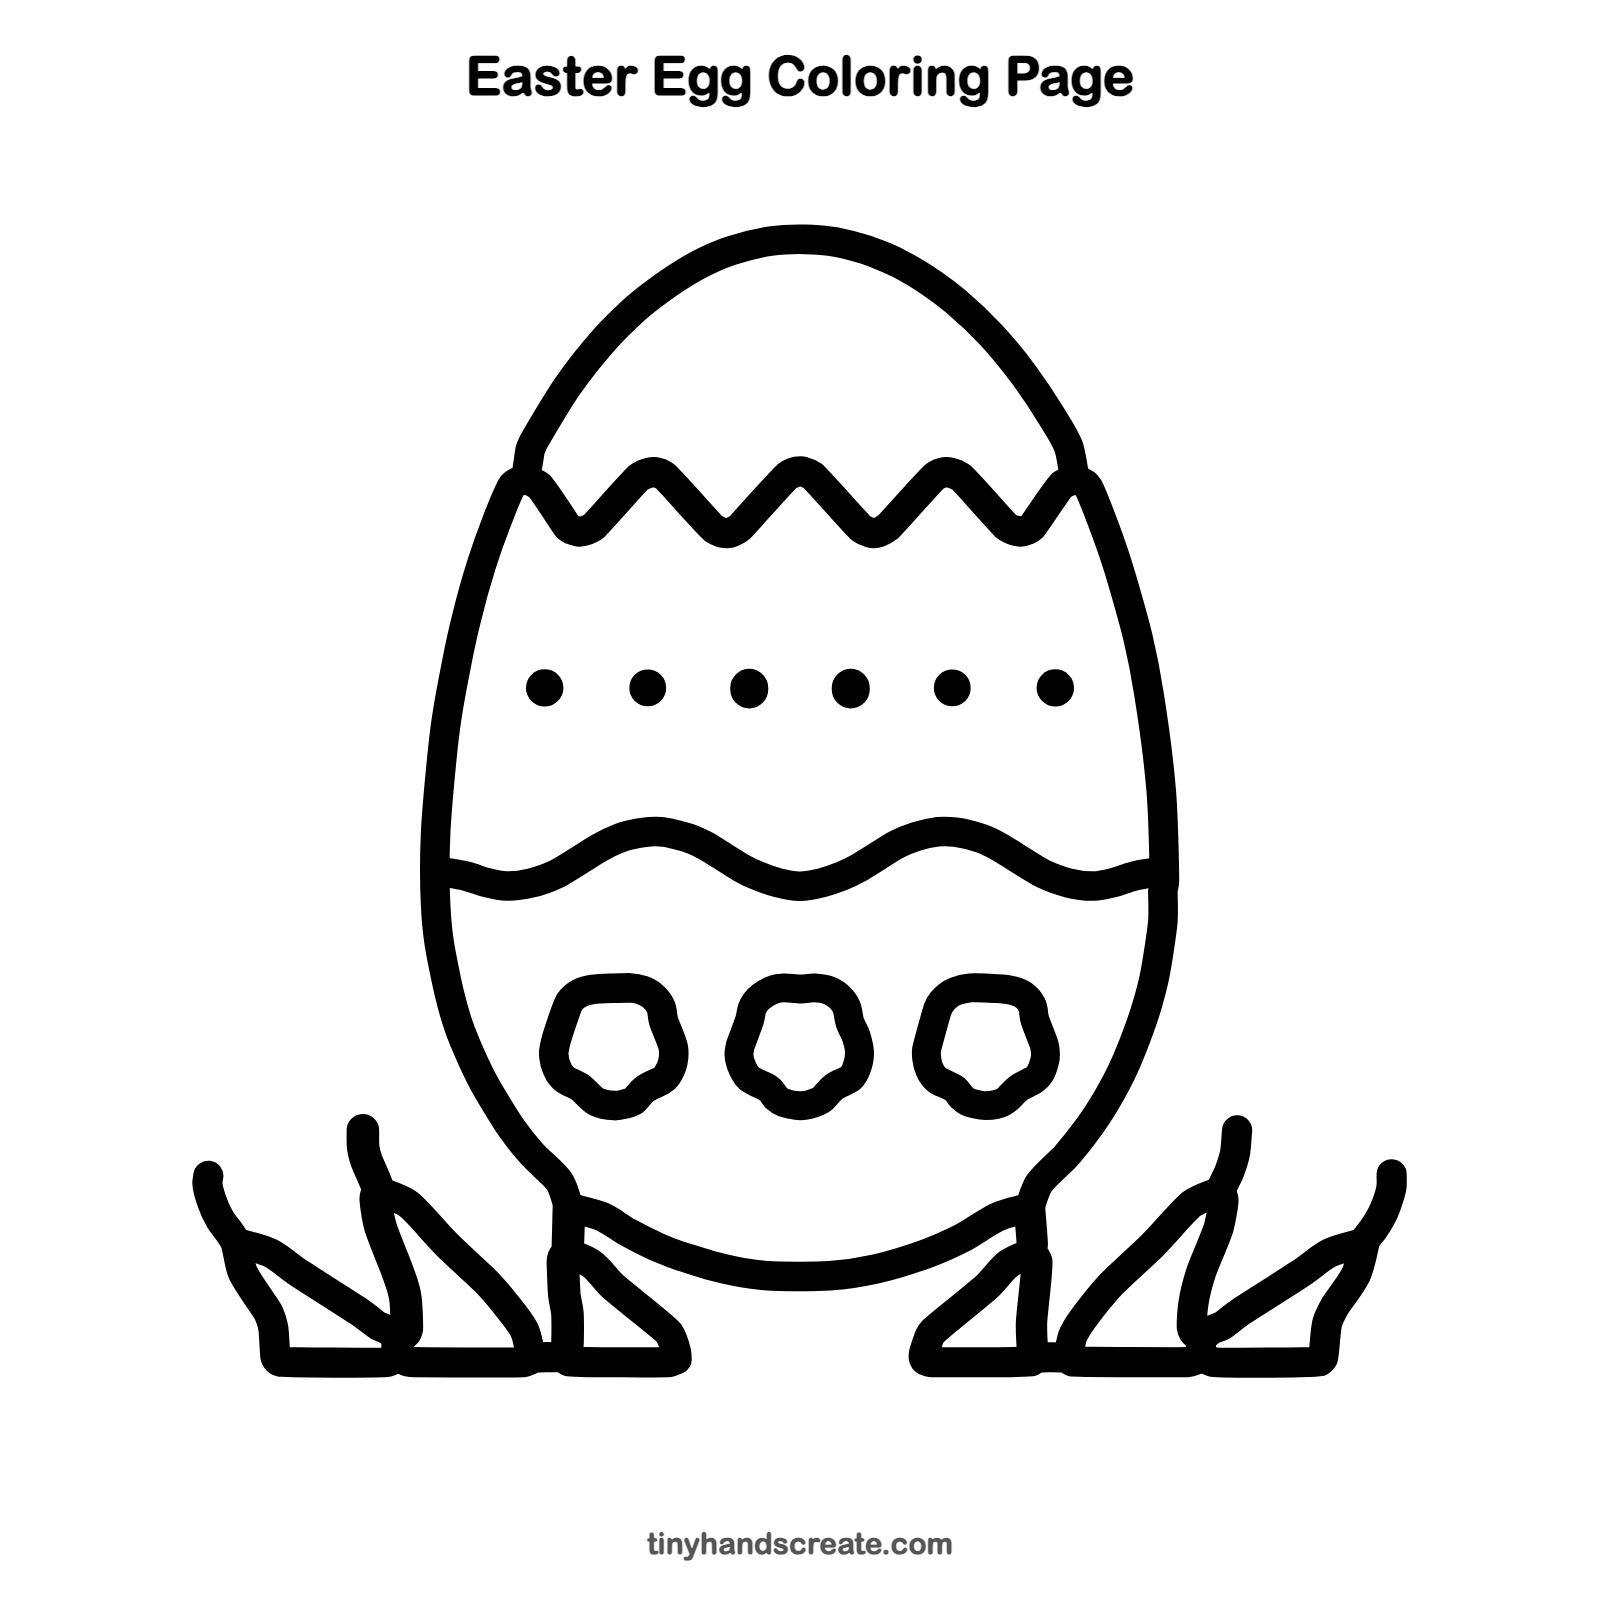
Want to go straight to coloring? Open this Easter egg coloring page at full size and print it. It is the same drawing you just learned, with clean lines ready for crayons or markers.
How to color your Easter egg drawing
Try a different bright color for each band, such as pink for the top, yellow for the middle, and purple for the bottom. For a twist, color the dots and flowers with glitter or stickers, and make the grass two shades of green.
Easter egg fun fact for kids
People have been decorating eggs for a very long time. Ostrich eggshells engraved with patterns, found in a cave in South Africa, are about 60,000 years old.
Questions about drawing an Easter egg
What shapes do I need to draw an Easter egg?
You need one tall oval for the egg, then a zigzag line, a wavy line, small dots, and three bumpy rounds for flowers. The grass is made from pointed blade shapes.
How do I make my Easter egg look more like an egg?
Make the top narrower and the bottom rounder, so it is a little pointy like a lightbulb. Drawing a light oval first and then tracing over it helps a lot.
How do I make my Easter egg patterns look neat?
Draw a light guide line across the egg for each band and keep your zigzag points and dots on it. Space the dots by eye, and erase the guide lines when you are done.