How to Draw a Poinsettia (Easy Step by Step)
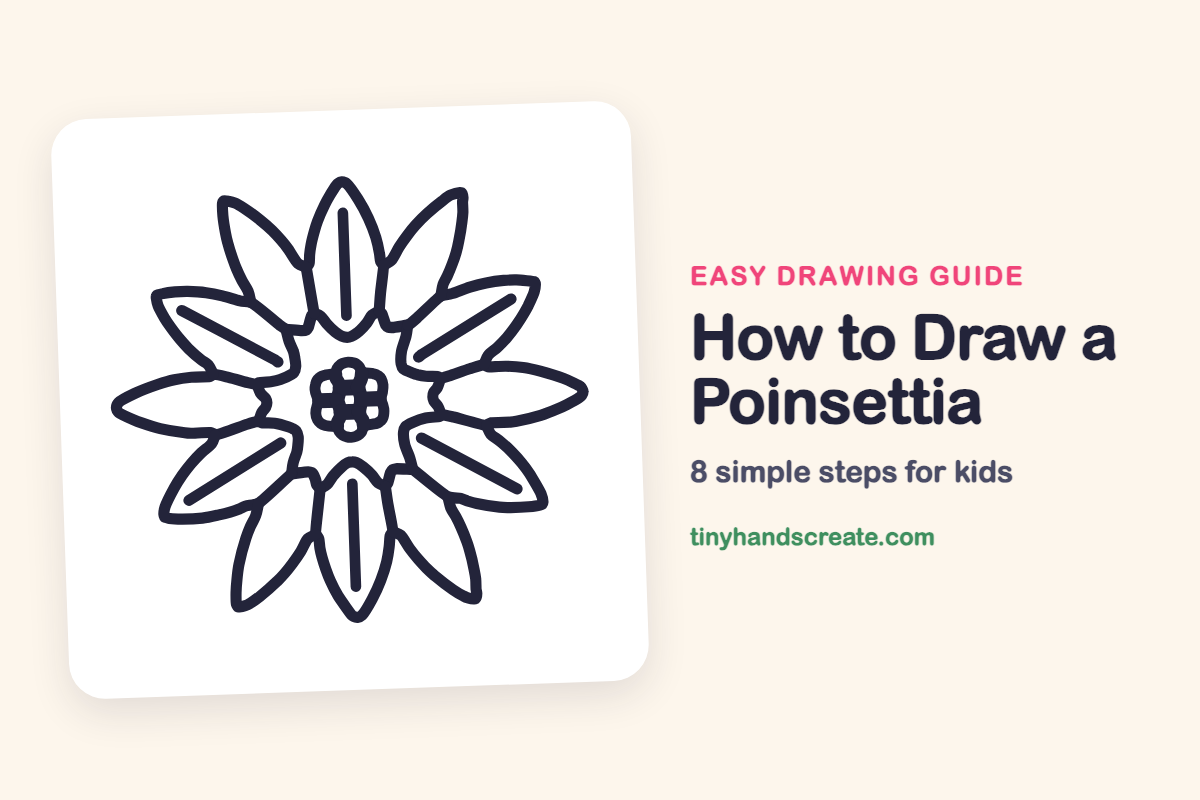
A poinsettia is a flower shape that looks like a big, cheerful star. It is built from simple leaf shapes that all spread out from one little center, so it is a great way to practice drawing the same shape again and again. You only need a bumpy circle, small circles, long skinny lemon shapes and a few straight lines.
- Easy
- 15 minutes
- 8 steps
You need: paper, a pencil, an eraser, and crayons or markers for coloring.
Start drawingIn this article (7 sections)
How to draw a poinsettia step by step
How to Draw a Poinsettia · tinyhandscreate.com
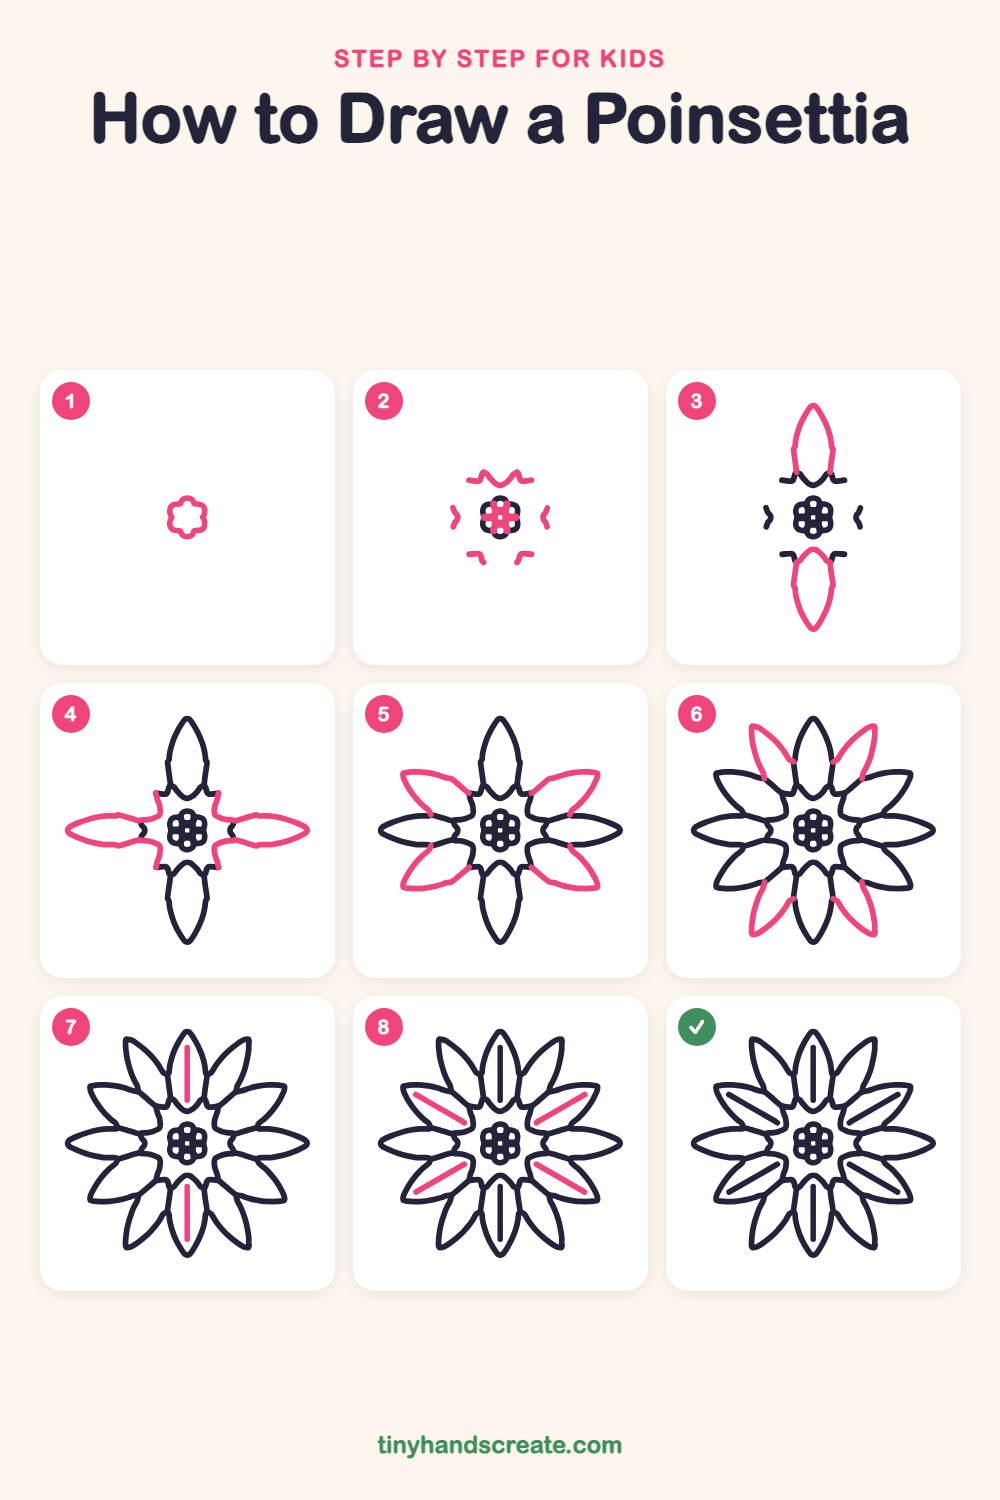
Step 1: Center flower shape
In the middle of your paper, draw a small, bumpy circle with six rounded bumps, like a tiny flower.
Step 2: Center dots and star corners
Inside the bumpy shape, draw six small circles clustered around one in the middle. Then add short curved marks above, below and on both sides, like the first bits of a ring around the center.
Step 3: Top and bottom petals
Draw a pointy leaf shape going straight up from the center ring. Draw a matching one going straight down. Each one looks like a long, skinny lemon.
Step 4: Left and right petals
Draw a leaf shape pointing out to the left and a matching one pointing out to the right. Connect the wavy lines around the center so the petals join the middle ring.
Step 5: Four slanted petals
Draw four leaf shapes that tilt toward the corners: two lean up and out, two lean down and out. Tuck each one in between the side petal and the top or bottom petal.
Step 6: Four more slanted petals
Add four more leaf shapes, two near the top and two near the bottom. Each one tucks in between a slanted petal and the top or bottom petal and points up or down at a slant.
Step 7: Up and down lines
Draw one straight line down the middle of the top petal. Do the same for the bottom petal, leaving a little space at both ends.
Step 8: Slanted lines
Add one straight line inside each of the four slanted petals on the left and right. Slant each line the same way its petal leans.
All done!
Go over your lines with a marker, then color it in.
Finished your poinsettia? Keep the pencils out and learn how to draw a fireplace or how to draw a Christmas cookie next.
Tips for drawing a poinsettia
- Draw the center first and keep the small circles about the same size, so the middle looks neat.
- Make each petal point away from the center, like the rays of the sun. Starting with the top and bottom petals helps you space the others evenly.
- Stop each straight line before it touches the petal outline. A small gap makes the petal look rounded and full.
Free poinsettia coloring page
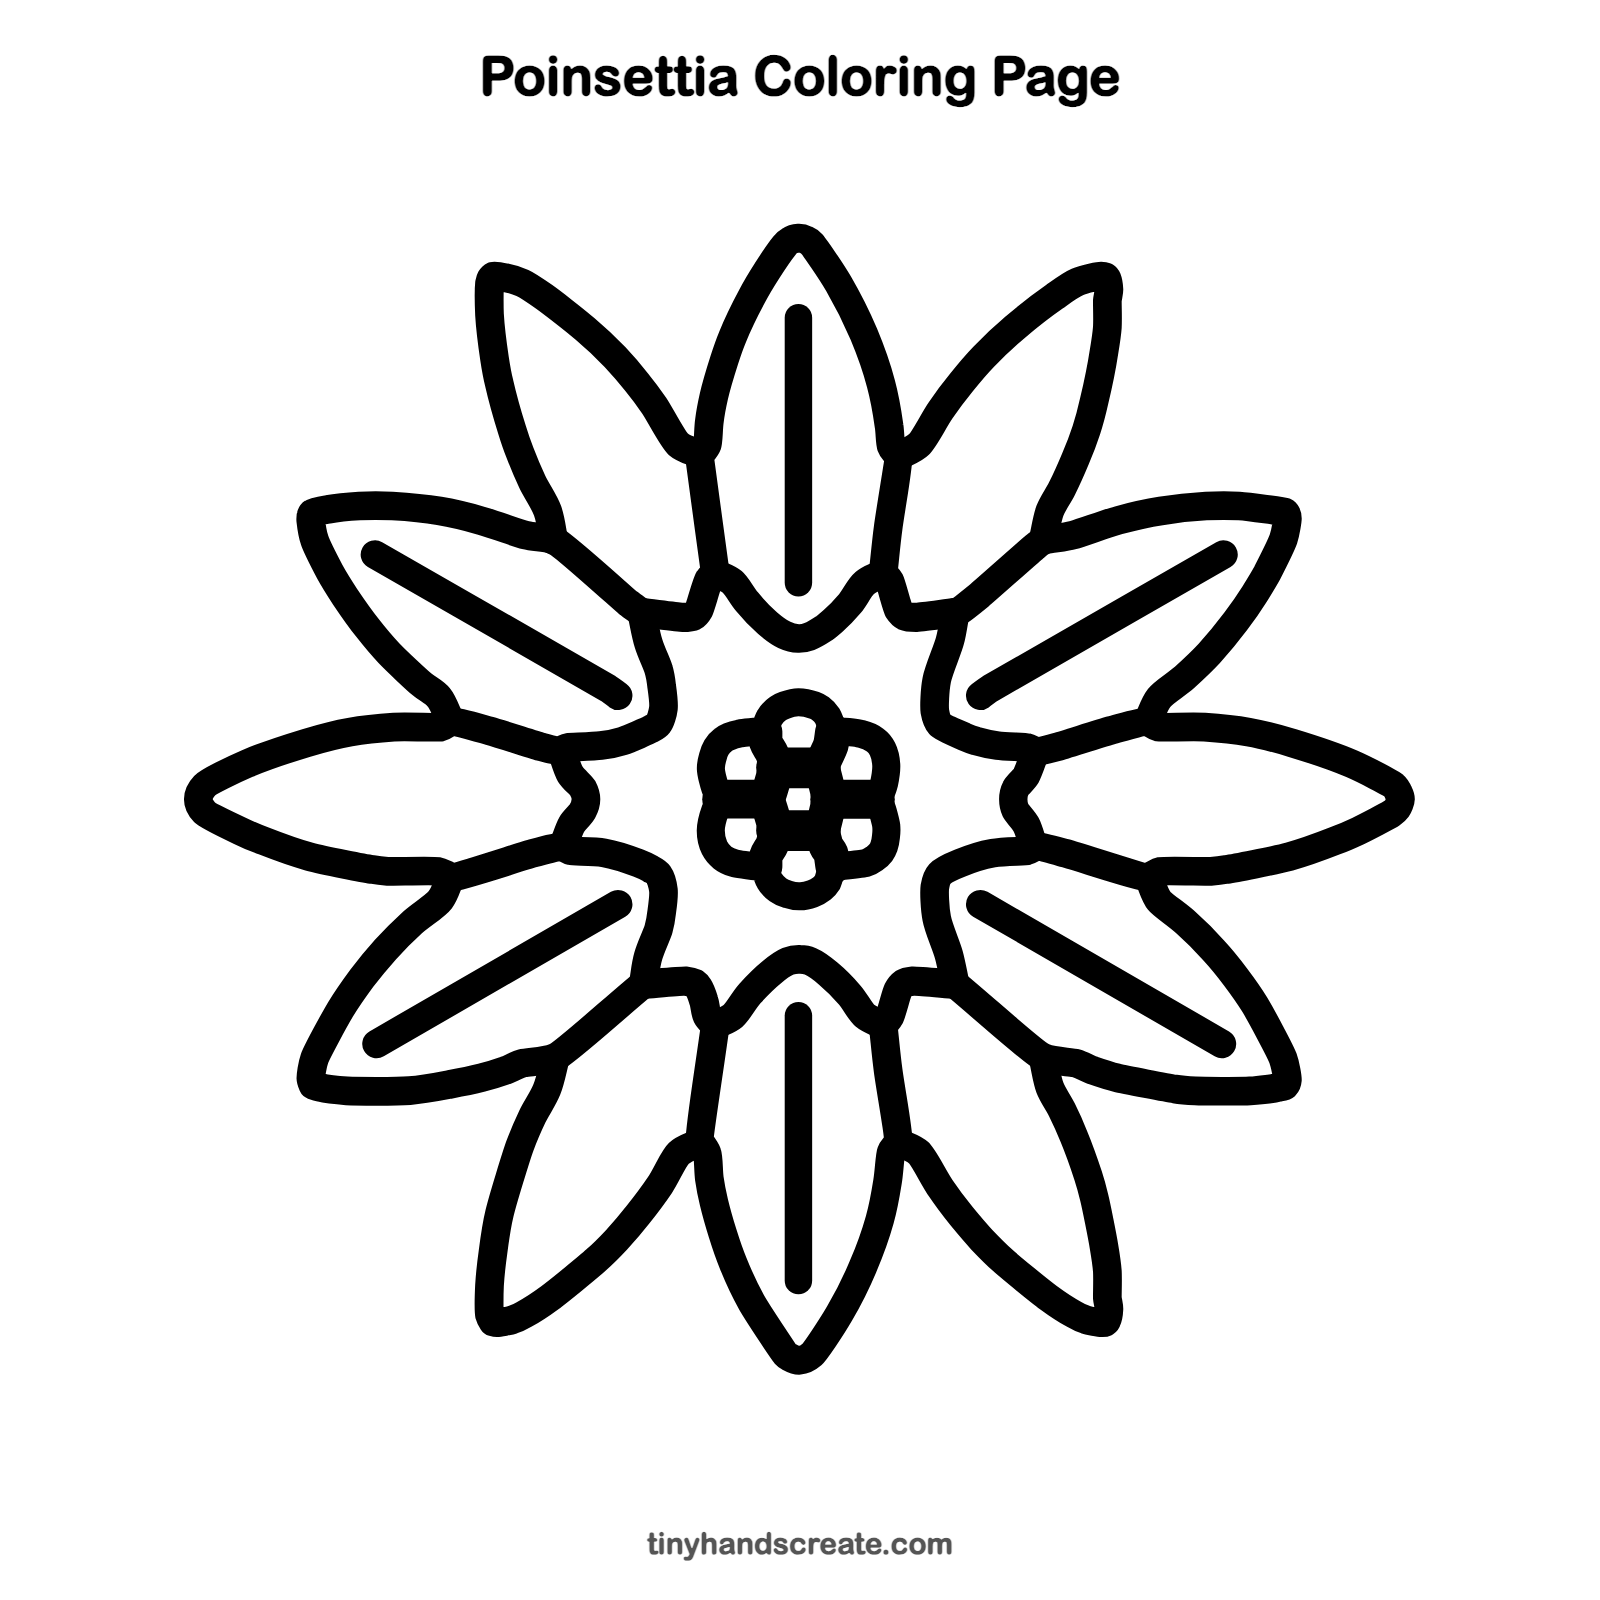
Want to go straight to coloring? Open this poinsettia coloring page at full size and print it. It is the same drawing you just learned, with clean lines ready for crayons or markers.
How to color your poinsettia drawing
Color the petals a bright Christmas red and the center a sunny yellow. For a creative twist, try pink, white or even rainbow petals.
Poinsettia fun fact for kids
The bright red parts of a poinsettia are not petals. They are special colored leaves called bracts, and the tiny yellow bits in the middle are the real flowers. The plant comes from Mexico, and many families put it out at Christmas.
Questions about drawing a poinsettia
What shapes do I need to draw a poinsettia?
You need a bumpy circle and small circles for the center, and long pointy leaf shapes for the petals. A few straight lines go down the middle of some petals.
How do I make my poinsettia look even?
Draw the top, bottom, left and right petals first. Then add the slanted petals in the gaps, so each one has about the same space.
How do I make my poinsettia look fuller?
Add a second set of slanted petals tucked between the first ones. Overlapping petals make the flower look big and lush.