How to Draw a Wrapped Candy (Easy Step by Step)
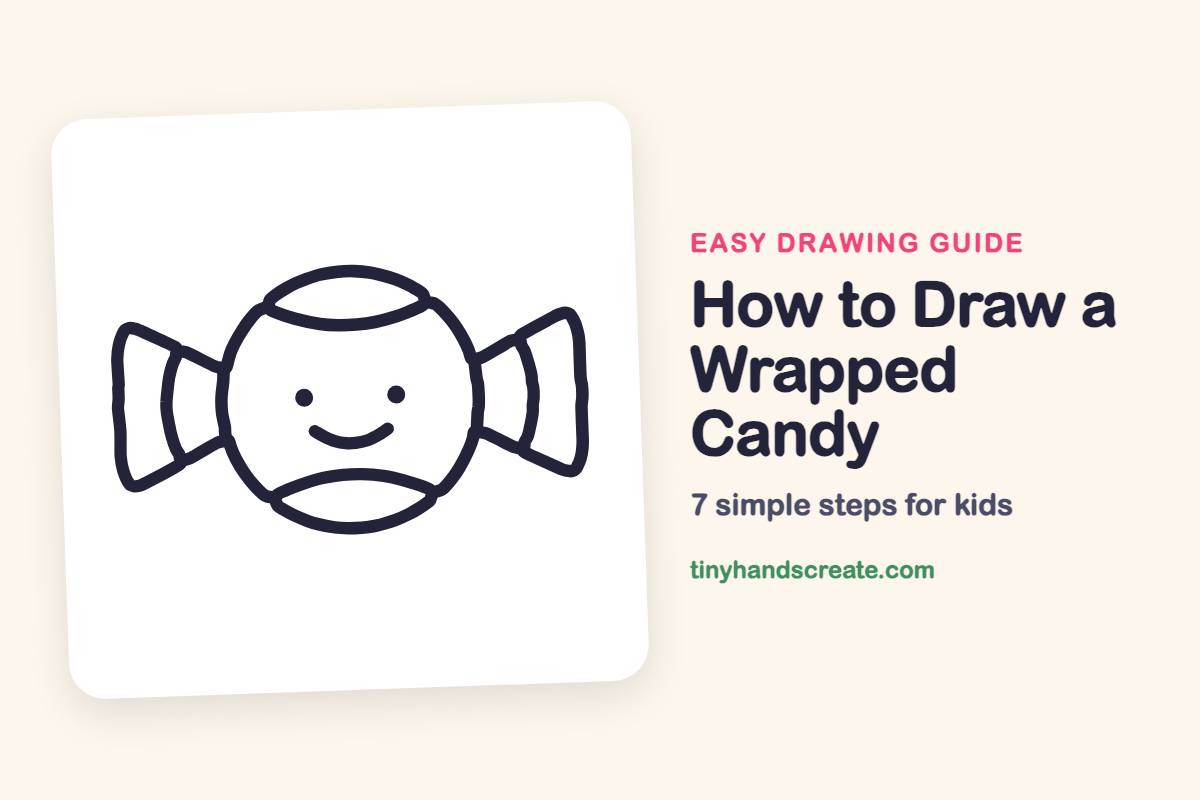
A wrapped candy is a fun first drawing because it is mostly one circle with a wrapper on each side. Add a little smiling face and your candy comes to life. You only need a circle, a few curved lines, and two dots.
- Easy
- 10 minutes
- 7 steps
You need: paper, a pencil, an eraser, and crayons or markers for coloring.
Start drawingIn this article (7 sections)
How to draw a wrapped candy step by step
How to Draw a Wrapped Candy · tinyhandscreate.com
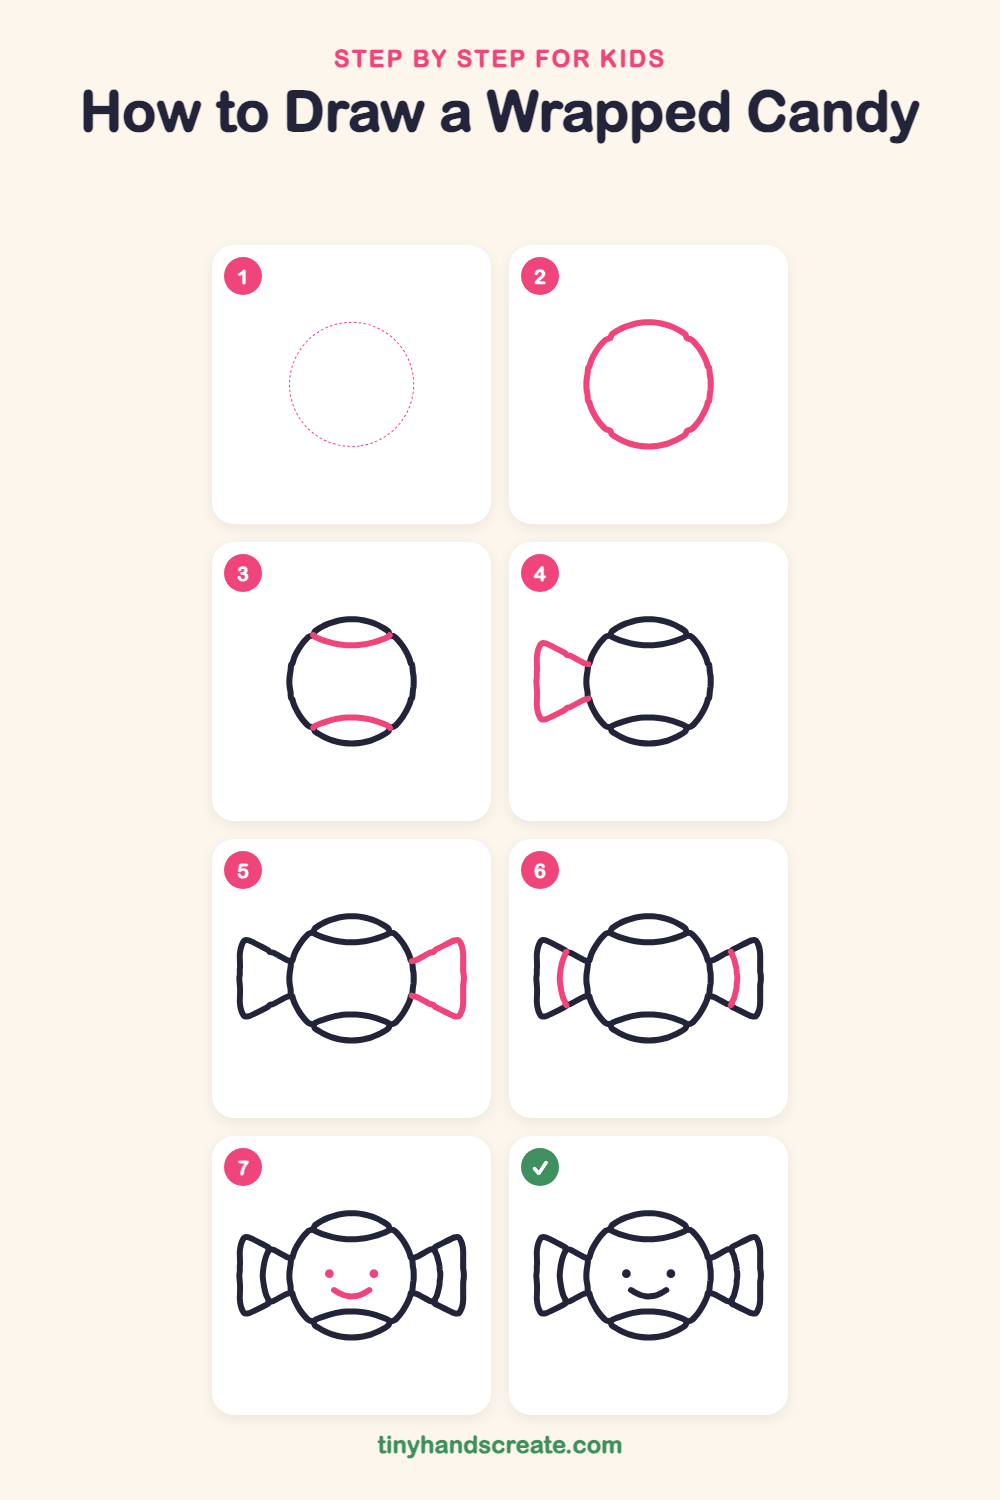
Step 1: Guide shapes
Lightly sketch this oval. It only shows where the big parts go, so press softly. You will erase it at the end.
Step 2: The round candy
Draw a big circle in the middle of your paper. This is the candy itself, so take your time and make it nice and round.
Step 3: Top and bottom curves
Near the top of the circle, draw a curved line that dips down like a smile, from one side of the circle to the other. Near the bottom, draw a curve that bows up like a hill, from one side to the other.
Step 4: The left wrapper
On the left side of the circle, start at the edge and draw one line going up and out and another going down and out, like a sideways triangle. Close them with a tall, slightly wobbly line at the far end.
Step 5: The right wrapper
Do the same on the right side. Start at the edge of the circle, draw two lines spreading outward, and close them with a tall line at the end so both sides match.
Step 6: The wrapper folds
Inside each wrapper, draw one curved line from the top line to the bottom line. It bows outward, away from the circle, like a fold in the paper.
Step 7: A happy face
Draw two small dots for eyes in the middle of the circle. Under them, draw a smiling curve that goes up at both ends.
All done!
Erase the guide shapes, go over your lines, then color it in.
Finished your wrapped candy? Keep the pencils out and learn how to draw a cute monster or how to draw a ghost next.
Tips for drawing a wrapped candy
- Draw the circle slowly. If it comes out a bit squashed, that is fine, because candies look friendly when they are not perfect.
- Make the two wrappers the same size. Try holding your pencil up to the paper to compare how far each wrapper sticks out.
- Keep the eyes and the smile in the middle of the circle, and leave a little gap between them so the face has room to smile.
Free wrapped candy coloring page
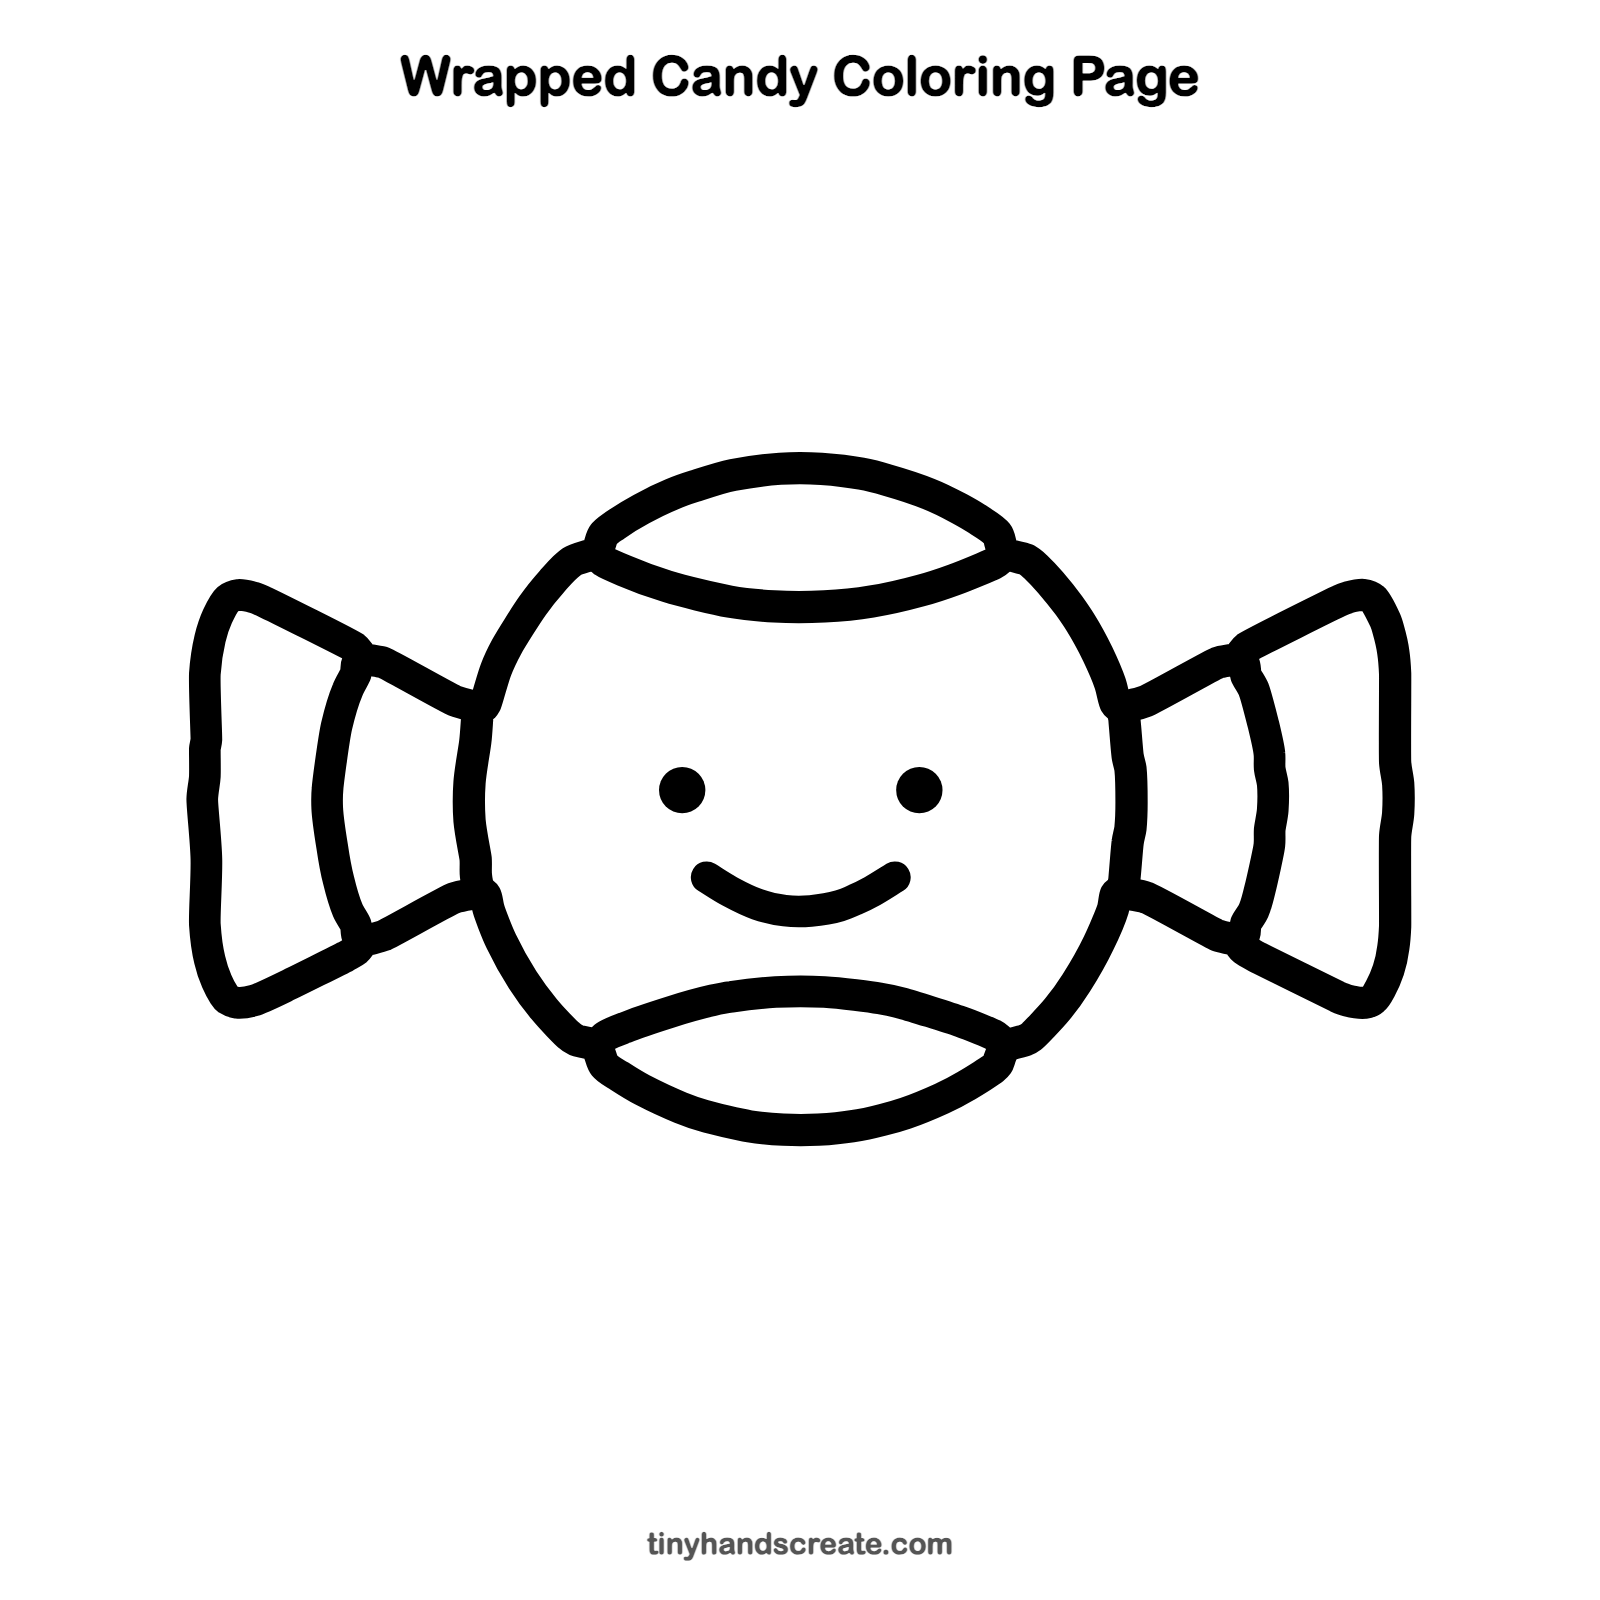
Want to go straight to coloring? Open this wrapped candy coloring page at full size and print it. It is the same drawing you just learned, with clean lines ready for crayons or markers.
How to color your wrapped candy drawing
Try pink, red, or orange stripes on the wrappers and a bright color inside the circle, like cherry red or lemon yellow. For a creative twist, color the candy in rainbow stripes or draw tiny polka dots on the wrapper.
Wrapped candy fun fact for kids
Many hard candies are wrapped in paper or plastic that is twisted at both ends, which keeps the candy clean until someone unwraps it.
Questions about drawing a wrapped candy
What shapes do I need to draw a wrapped candy?
You need one big circle for the candy and two sideways triangle shapes for the wrapper ends. A few curved lines and two dots finish the folds and the face.
How do I make my candy look cuter?
Give it a big smile and two round eyes. Keeping the face in the middle of the circle makes it look friendly.
How do I make the wrappers look twisted?
Draw a curved line inside each wrapper, from the top line to the bottom line. It bows outward, so the paper looks folded.