How to Draw a Sleeping Kid (Easy Step by Step)
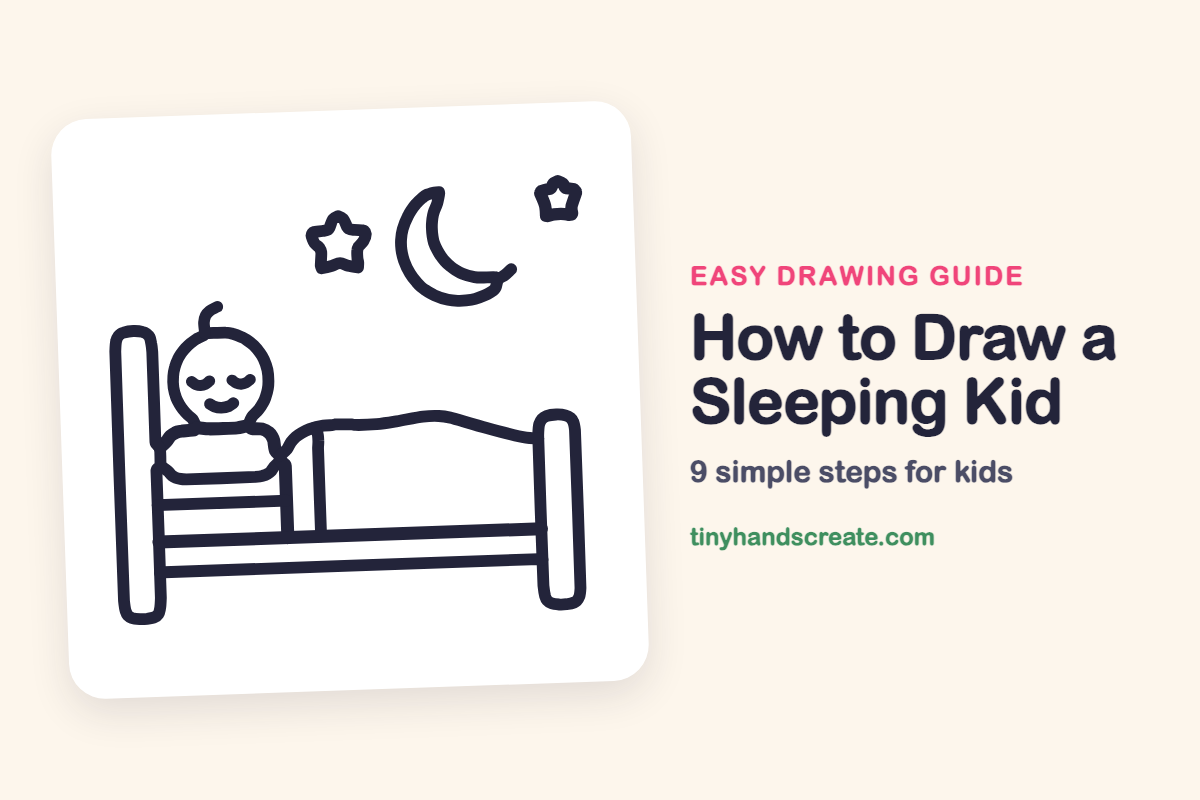
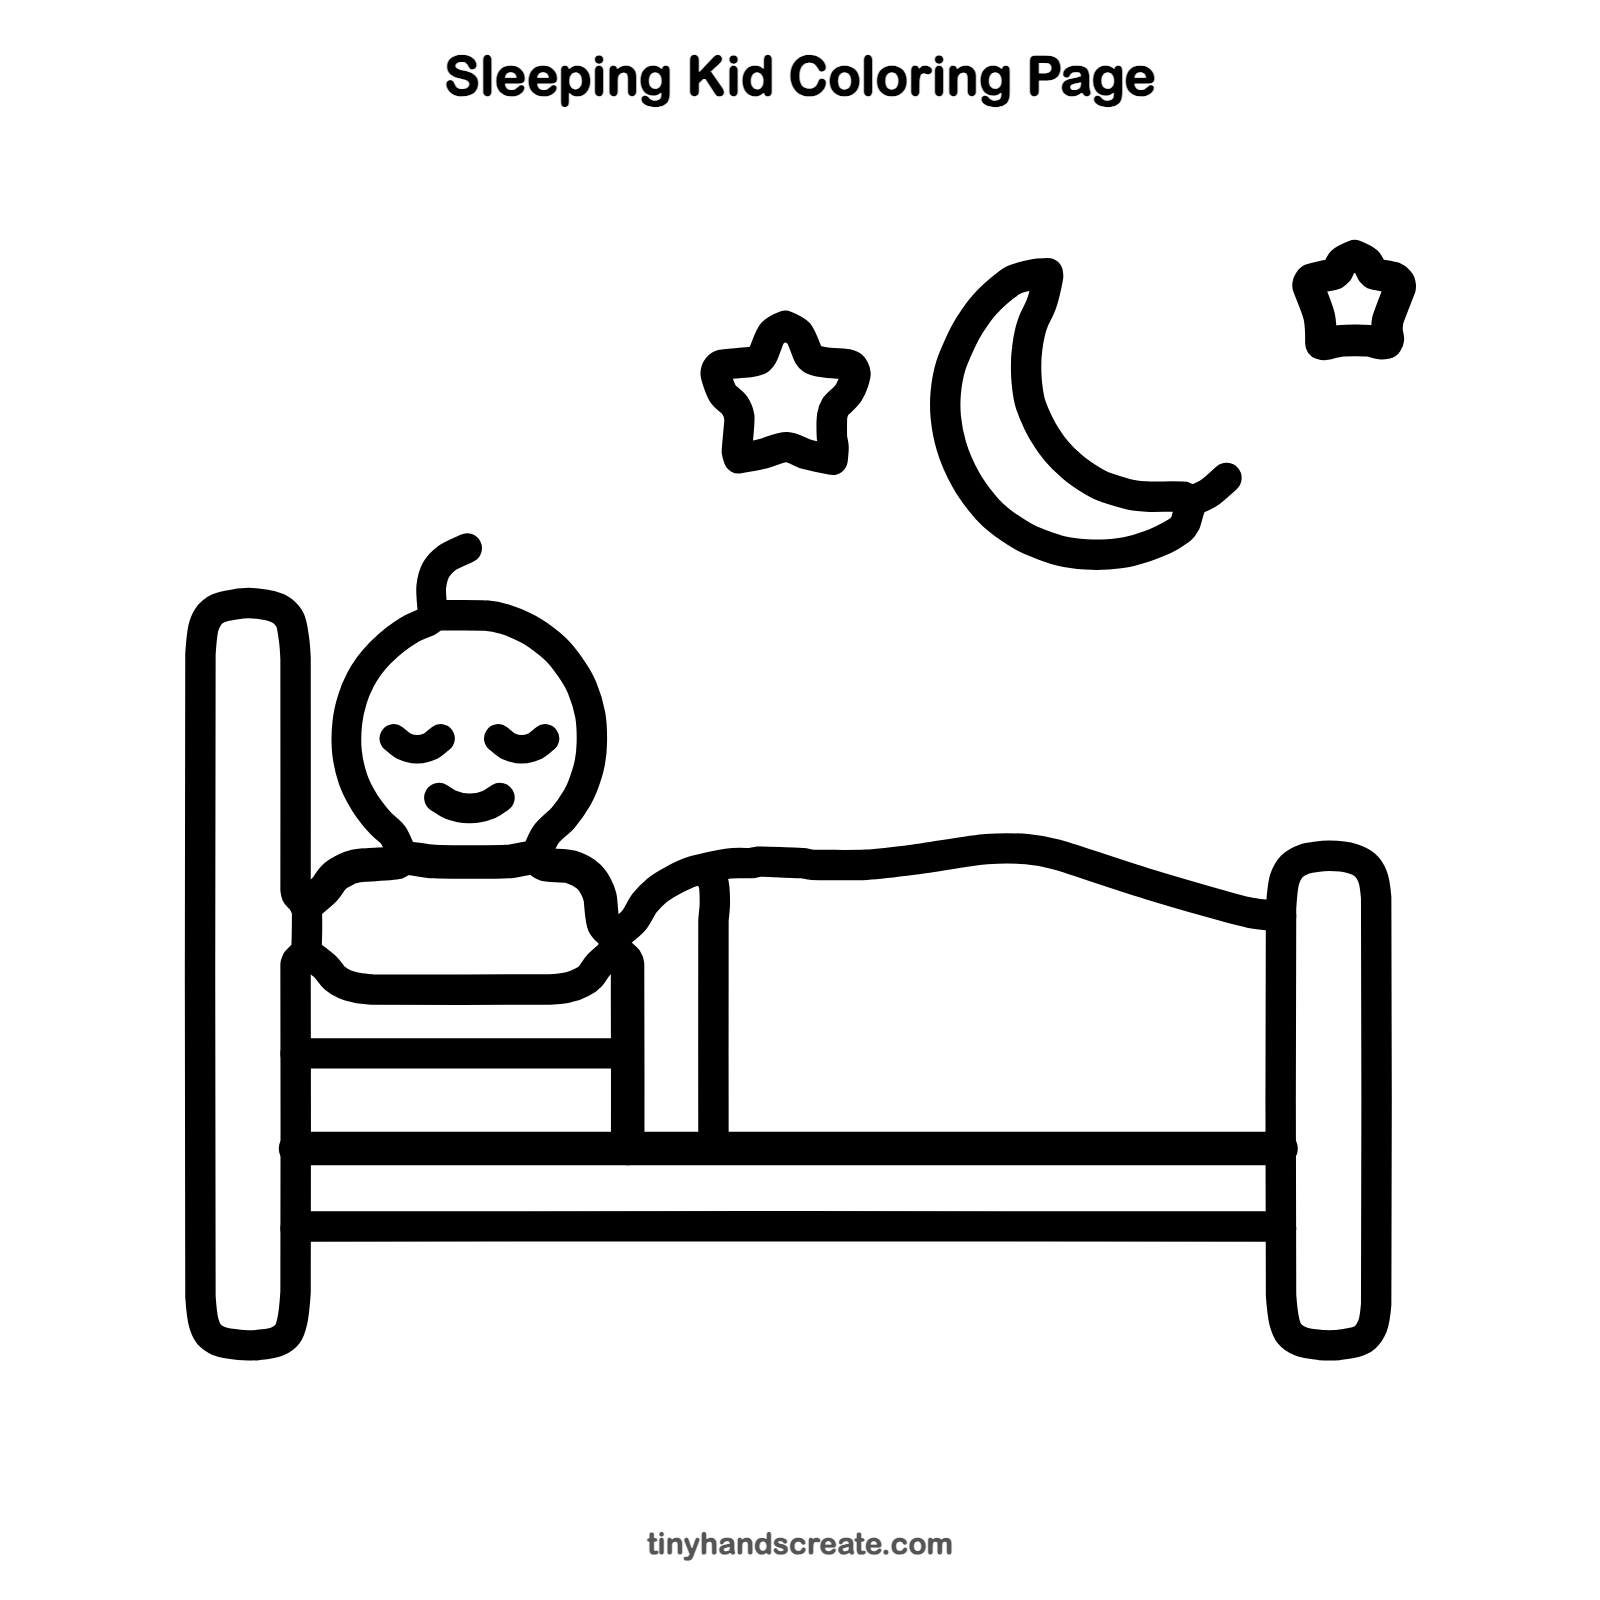
A kid tucked into bed under the moon and stars is a cozy scene to draw. It is built from a circle, rounded rectangles, a wavy blanket line, a crescent, and two stars. The closed eyes and tiny smile make the kid look peaceful and sleepy.
- Easy
- 15 minutes
- 9 steps
You need: paper, a pencil, an eraser, and crayons or markers for coloring.
Start drawing


In this article (7 sections)
How to draw a sleeping kid step by step
How to Draw a Sleeping Kid · tinyhandscreate.com
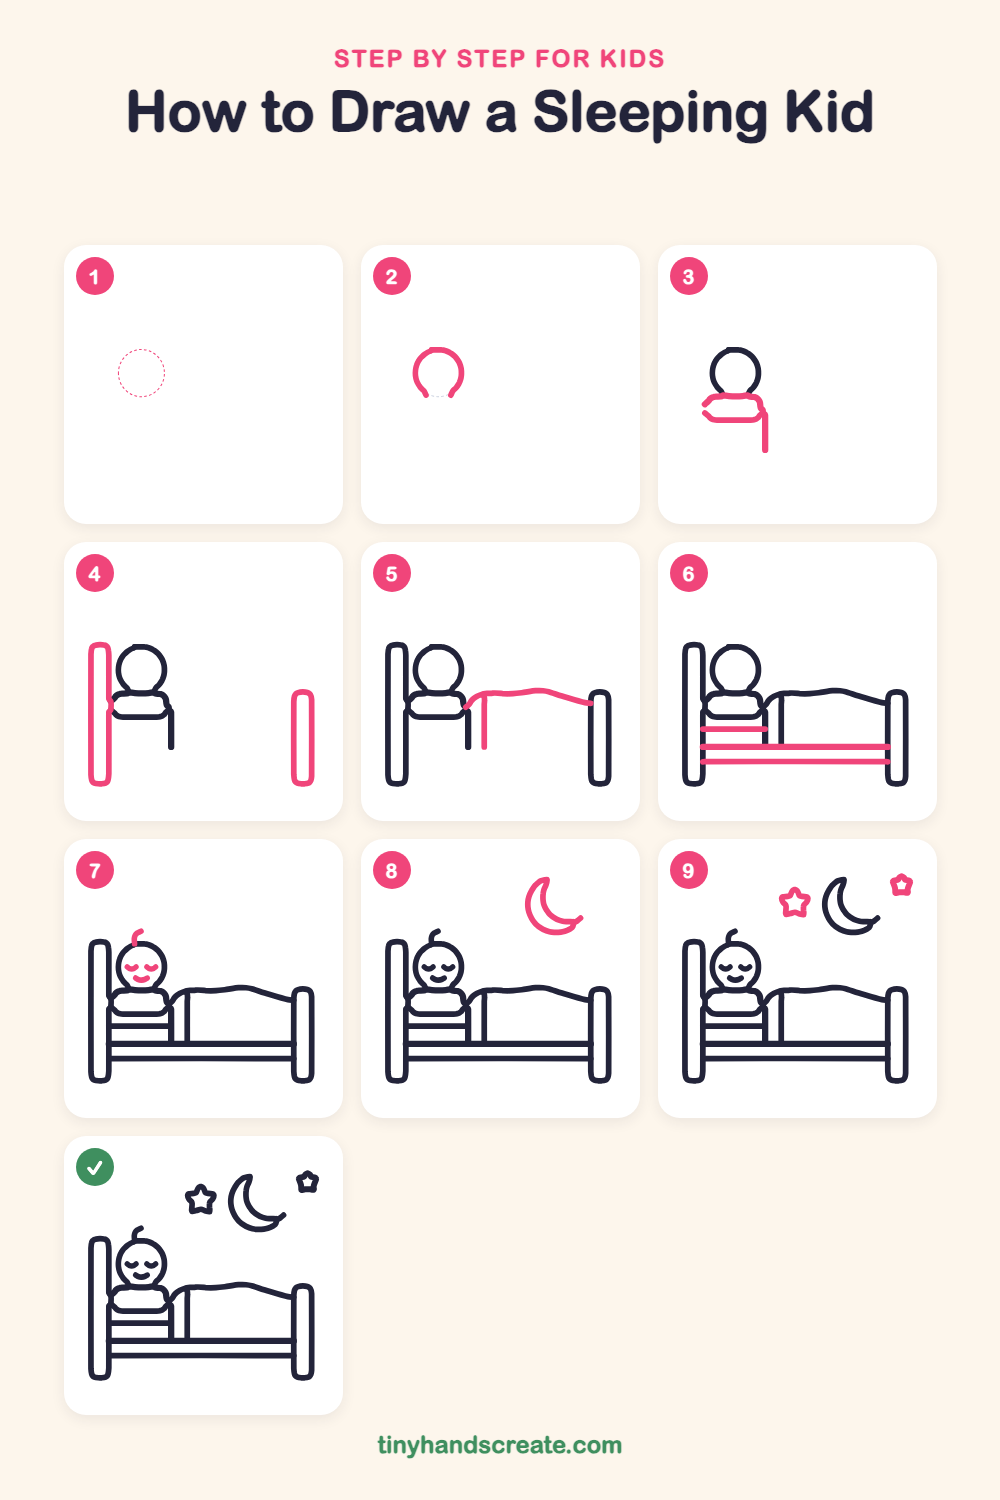
Step 1: Guide shapes
Lightly sketch this oval. It only shows where the big parts go, so press softly. You will erase it at the end.
Step 2: The round head
Draw a big circle for the head, a little left of the middle of your page. Stop a little early at the bottom so there is a small gap where the pillow will go.
Step 3: Pillow and side line
Under the head, draw a wide rectangle with soft, rounded corners for a puffy pillow. Then draw a short straight line going down from the right end of the pillow.
Step 4: Bed posts
Draw a tall, skinny rounded rectangle on the left side of the page. Then draw a matching one on the right side, a little shorter.
Step 5: The blanket
Start at the right end of the pillow and draw a long, gently wavy line across to the right bed post. Then draw a short straight line going down from near the left end of the wavy line.
Step 6: Bed rails
Draw two long straight lines from the left post to the right post, one above the other, near the bottom. Then add one short straight line under the pillow, from the left post across to the short line.
Step 7: Hair, eyes and smile
On top of the head, draw a small curly line like a tiny hook. Then add two little curved lines for closed eyes and a curved smile below them.
Step 8: The crescent moon
Up in the sky, above and to the right of the bed, draw a big letter C shape that curves open to the right. Then draw a second curve inside it, joining the tips, to make a crescent.
Step 9: Twinkly stars
Draw a star with five points to the left of the moon. Then draw a smaller star above and to the right of the moon.
All done!
Erase the guide shapes, go over your lines, then color it in.
Finished your sleeping kid? Keep the pencils out and learn how to draw a rocket or how to draw a shooting star next.
Tips for drawing a sleeping kid
- Draw the blanket line slowly and let it wiggle. A few gentle bumps make it look soft, like it is tucked over a sleeping body.
- Draw the head circle first and the pillow right below it, so the head looks like it is resting on the pillow.
- Draw the two bed posts as tall, skinny rounded rectangles. Make the right one a little shorter so the bed looks like it has a head end and a foot end.
Free sleeping kid coloring page
Want to go straight to coloring? Open this sleeping kid coloring page at full size and print it. It is the same drawing you just learned, with clean lines ready for crayons or markers.
How to color your sleeping kid drawing
Try a deep blue blanket, a yellow moon and stars, and a warm skin tone for the face. For a creative twist, color the whole sky dark purple so the moon and stars glow.
Sleeping kid fun fact for kids
Kids aged 6 to 12 need about 9 to 12 hours of sleep each night, which is why a cozy blanket and a bedtime story help so much.
Questions about drawing a sleeping kid
What shapes do I need to draw a sleeping kid?
You need a circle for the head, a rounded rectangle for the pillow, tall skinny rectangles for the bed posts, and a wavy line for the blanket. Straight lines make the bed rails, and a crescent and two stars finish the night sky.
How do I make the sleeping kid look cuter?
Draw the eyes as small curved lines and add a curved smile. A little curl of hair on top adds extra charm.
How do I draw a crescent moon?
Draw a big letter C, then draw a second, shallower curve inside it that joins the two tips. The space between the curves is the moon.