How to Draw a Liberty Bell (Easy Step by Step)
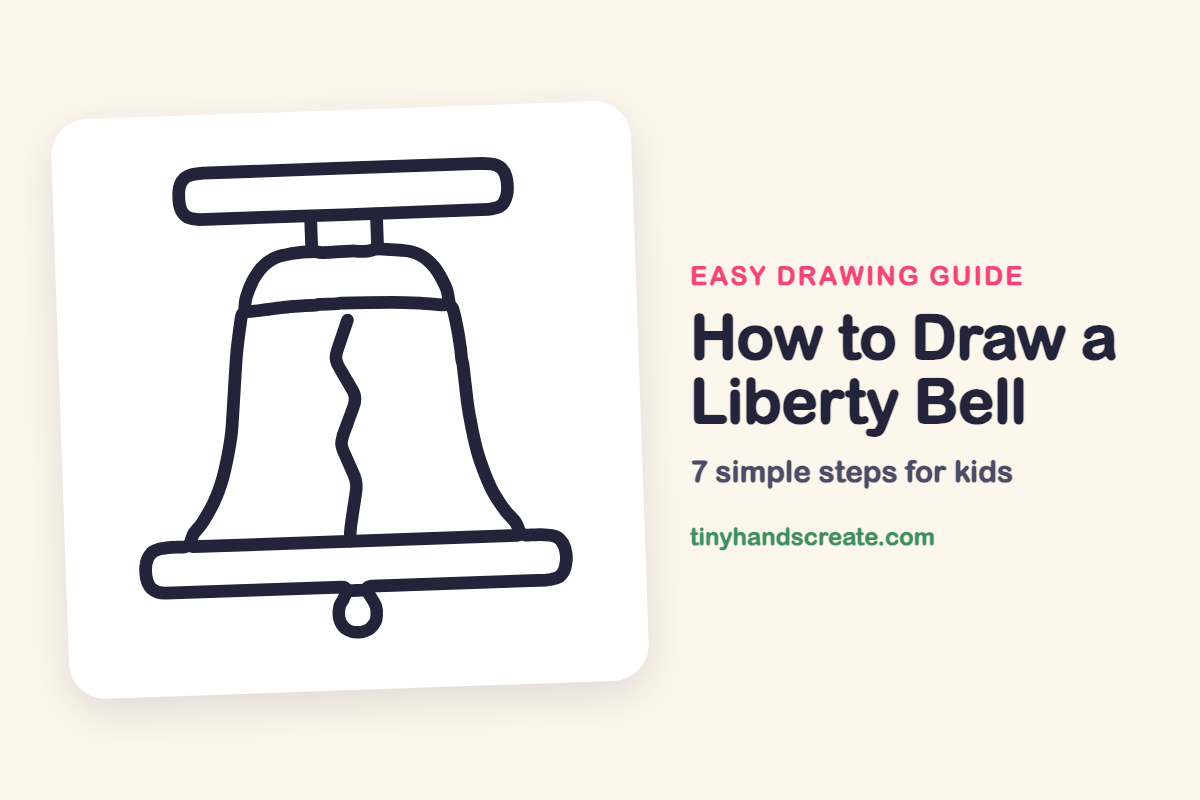
The Liberty Bell is a fun drawing because it is mostly simple shapes stacked together. You will draw a dome-and-skirt bell shape, two long rounded rectangles, a few short lines, and a small loop. The zigzag crack down the middle is the part everyone remembers.
- Easy
- 10 minutes
- 7 steps
You need: paper, a pencil, an eraser, and crayons or markers for coloring.
Start drawing


In this article (7 sections)
How to draw a liberty bell step by step
How to Draw a Liberty Bell · tinyhandscreate.com
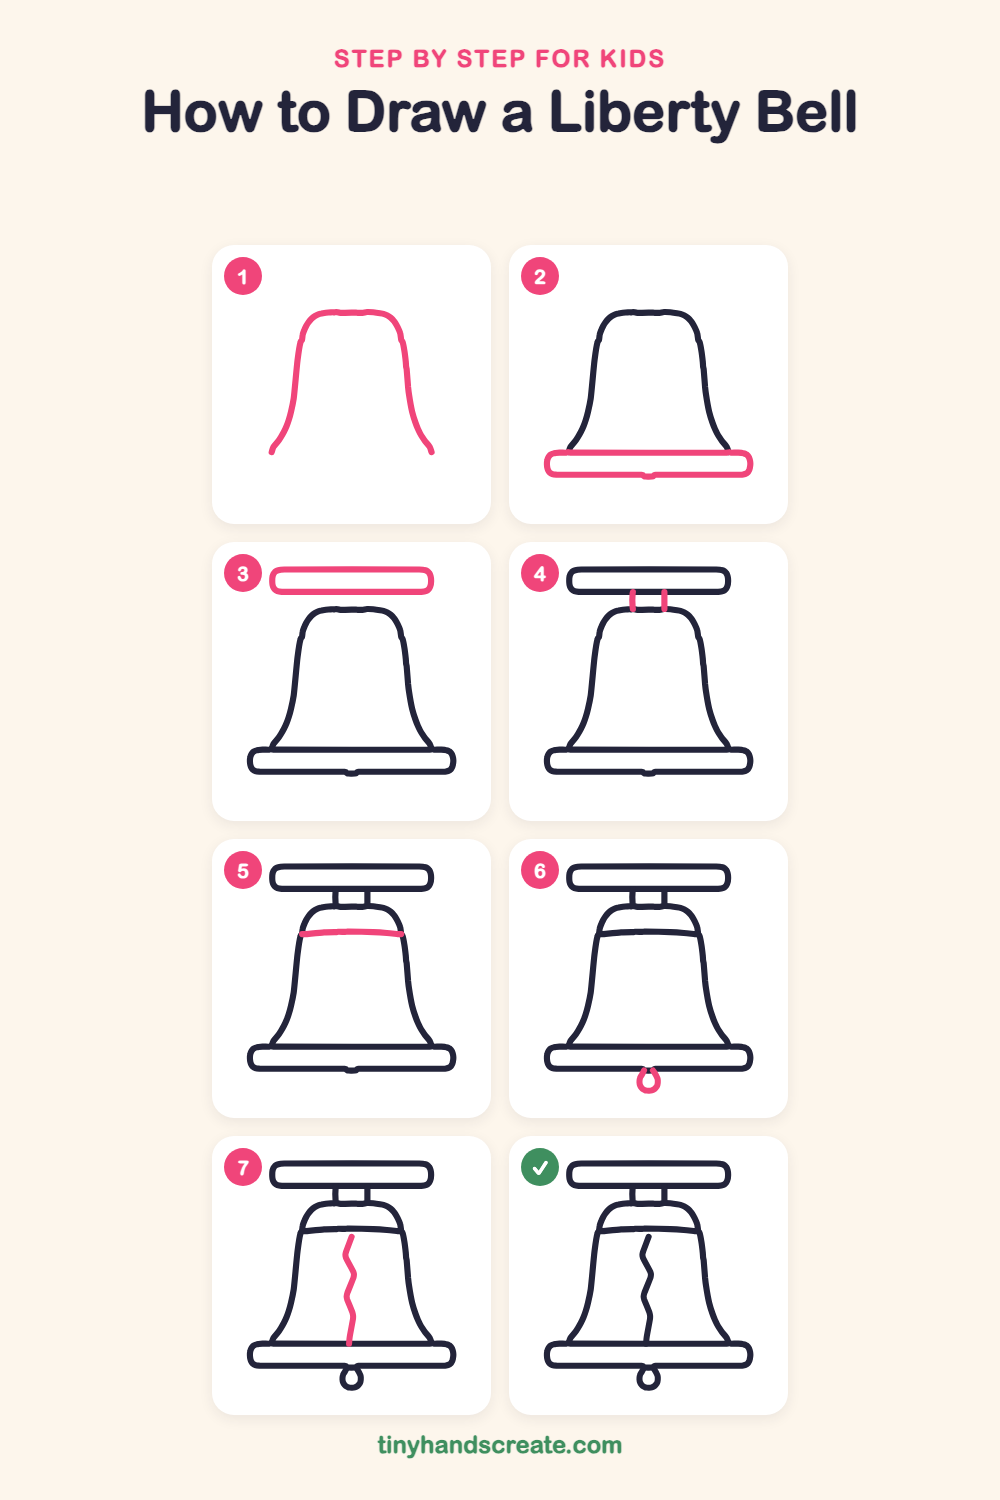
Step 1: The bell body
Start low on the left and draw a line that curves up and in, then rounds over the top like a dome. Bring it down the right side so both sides flare out at the bottom, and leave the bottom open.
Step 2: The bottom rim
Draw a long, flat rounded rectangle across the bottom of the bell. It should be wider than the bell, with the bottom ends of the bell sides tucked into its top edge.
Step 3: The top beam
Above the bell, draw a long, thin rounded rectangle, like a pill lying on its side. It should be a little narrower than the bottom rim.
Step 4: The two posts
Draw two short straight lines going down from the beam to the top of the bell. They make a little neck that holds the bell up.
Step 5: The bell stripe
Near the top of the bell, draw one almost flat, gently curved line from the left side to the right side.
Step 6: The clapper
Under the middle of the rim, draw a small loop shaped like a teardrop. It hangs down from the rim.
Step 7: The famous crack
Start just below the stripe in the middle of the bell. Draw a zigzag line of short straight lines that bend left and right until you reach the top of the bottom rim.
All done!
Go over your lines with a marker, then color it in.
Finished your liberty bell? Keep the pencils out and learn how to draw a rocket or how to draw a shooting star next.
Tips for drawing a liberty bell
- Sketch the bell body as a light, wide dome first, then trace over it. The sides should curve outward near the bottom like a skirt.
- Draw the two rounded rectangles with a ruler edge or a book as a guide so they stay flat. Make the bottom one a bit wider than the top one.
- For the crack, draw short straight zigzag lines instead of one wobbly curve. Start just below the stripe and let it end right at the bottom rim.
Free liberty bell coloring page
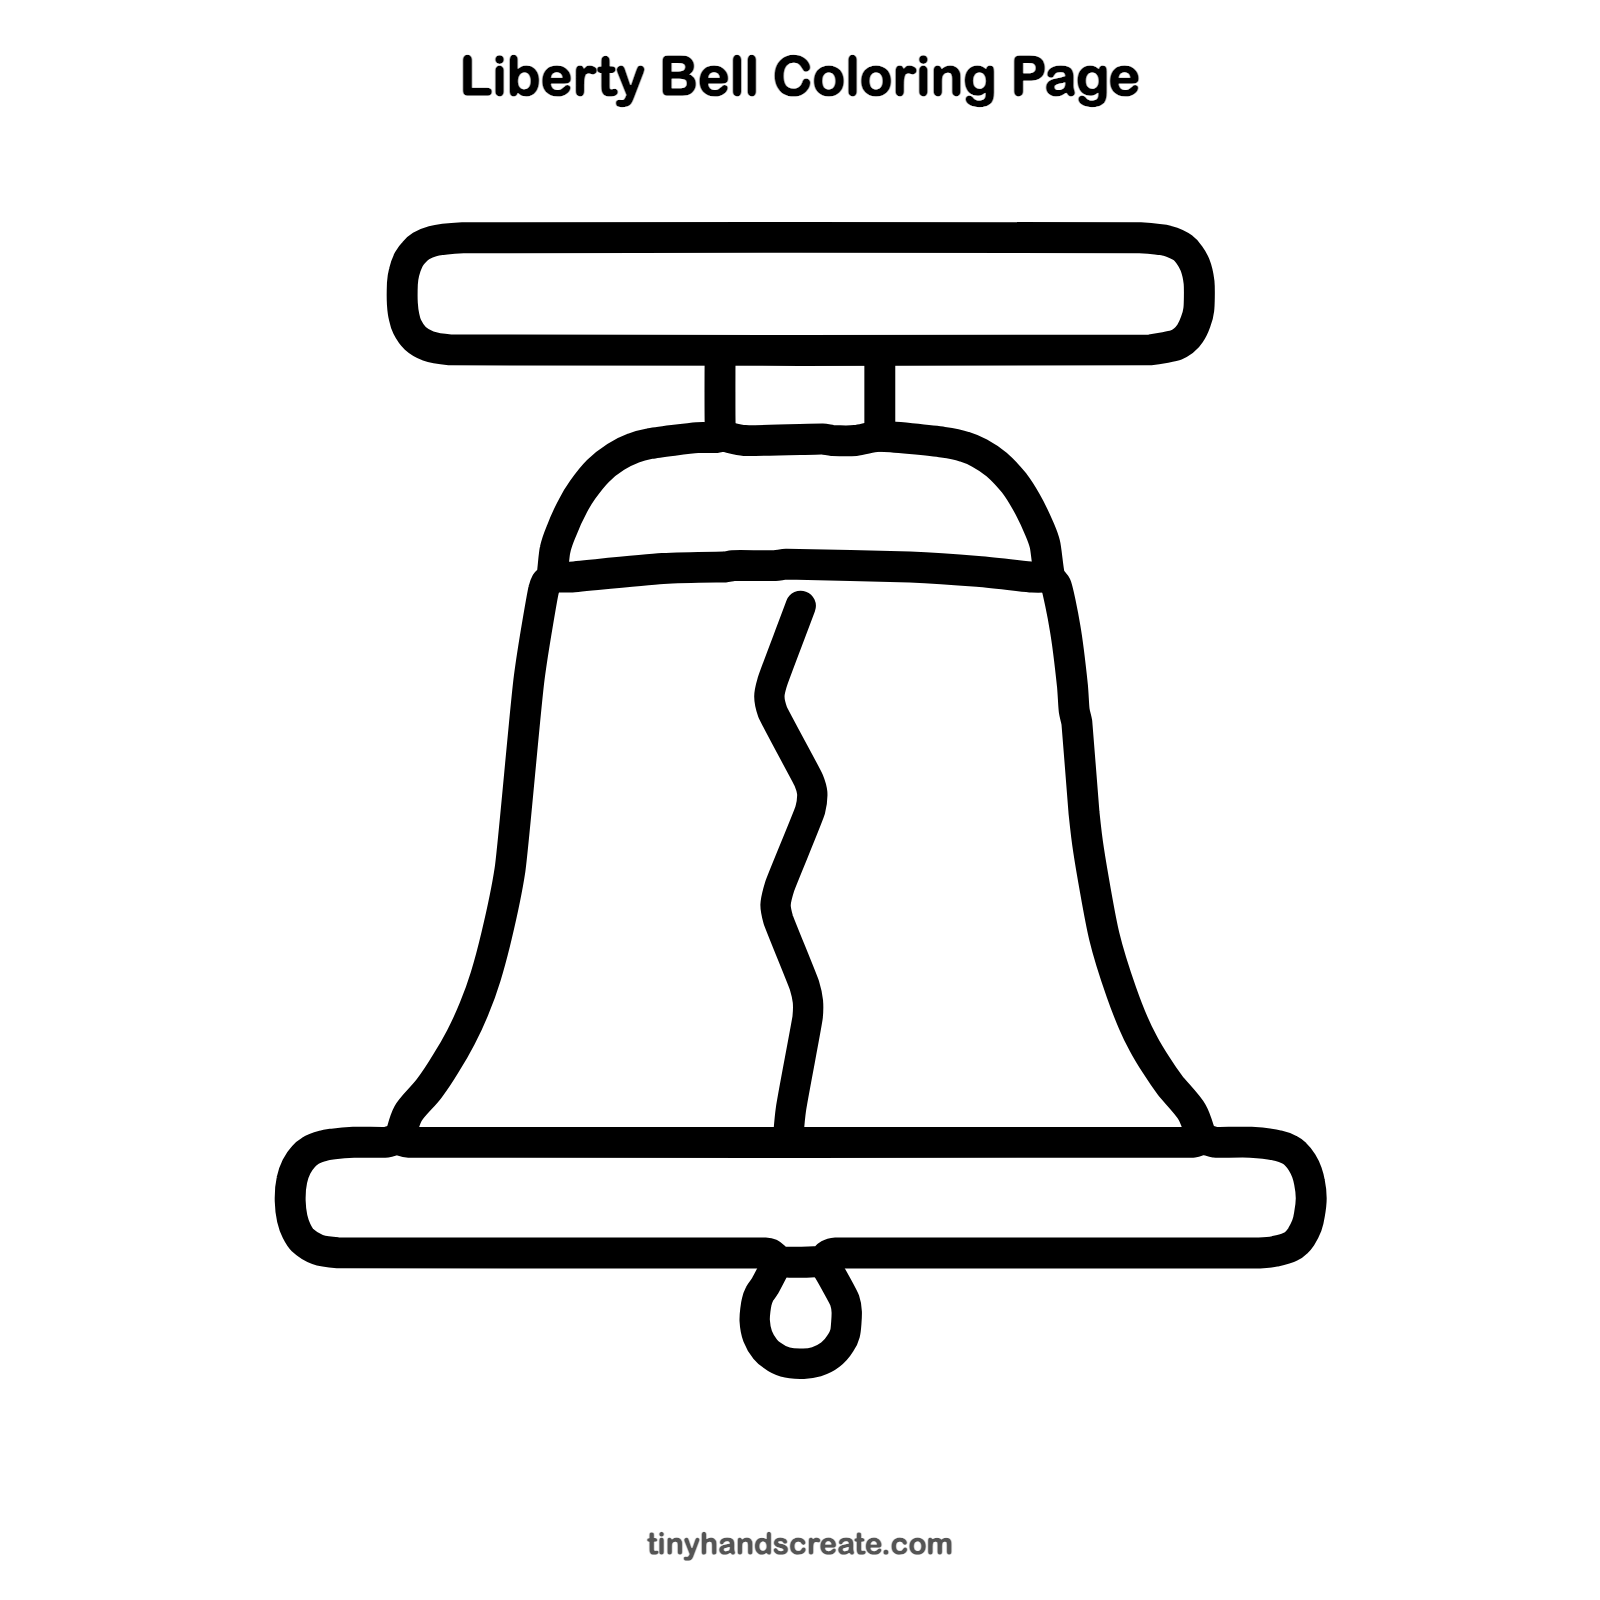
Want to go straight to coloring? Open this liberty bell coloring page at full size and print it. It is the same drawing you just learned, with clean lines ready for crayons or markers.
How to color your liberty bell drawing
Try golden yellow or copper brown for the bell and a darker brown for the beam and rim. For a creative twist, color the crack with a bright red marker.
Liberty bell fun fact for kids
The Liberty Bell hangs in Philadelphia, Pennsylvania. It was first made in London in 1752, and its famous crack is why it no longer rings.
Questions about drawing a liberty bell
What shapes do I need to draw a Liberty Bell?
You need a dome that flares out into a bell shape, two long rounded rectangles, two short straight lines, a gently curved line for the stripe, a small teardrop loop, and a zigzag line for the crack.
How do I draw the crack in the Liberty Bell?
Draw it as a zigzag with four or five short straight lines, starting just below the stripe and ending at the bottom rim. Keep it thin and a little jagged so it looks like a real crack.
How can I make my bell look balanced?
Draw a light vertical line down the middle first. Then make both sides of the bell match, and keep the beam and the bottom rim centered on that line.