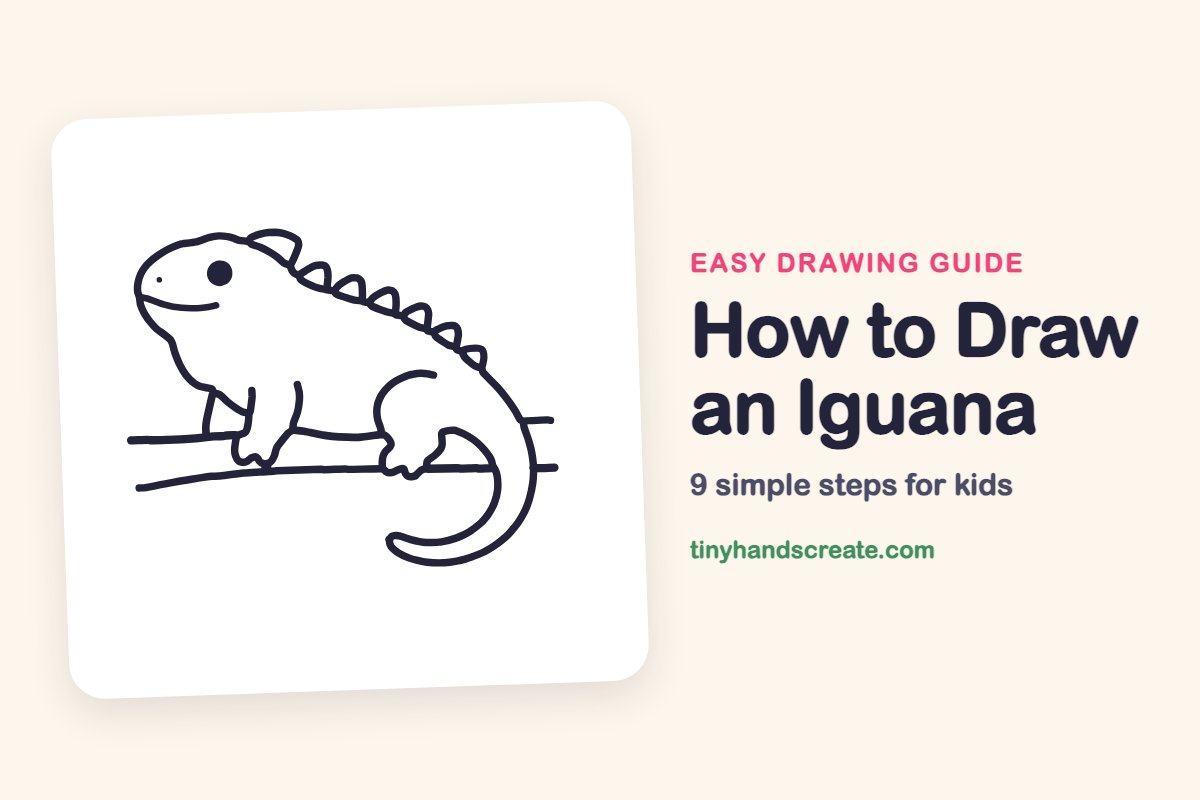
How to Draw an Iguana (Easy Step by Step)
The iguana is a cute reptile made from friendly curves, a circle and little bumps. You start with one long swoopy line for the head, back and tail, then add a branch, legs, a smiling face and a row of spikes. It is a great drawing for practicing curves.
- Medium
- 15 minutes
- 9 steps
You need: paper, a pencil, an eraser, and crayons or markers for coloring.
Start drawing


In this article (7 sections)
How to draw an iguana step by step
How to Draw an Iguana · tinyhandscreate.com
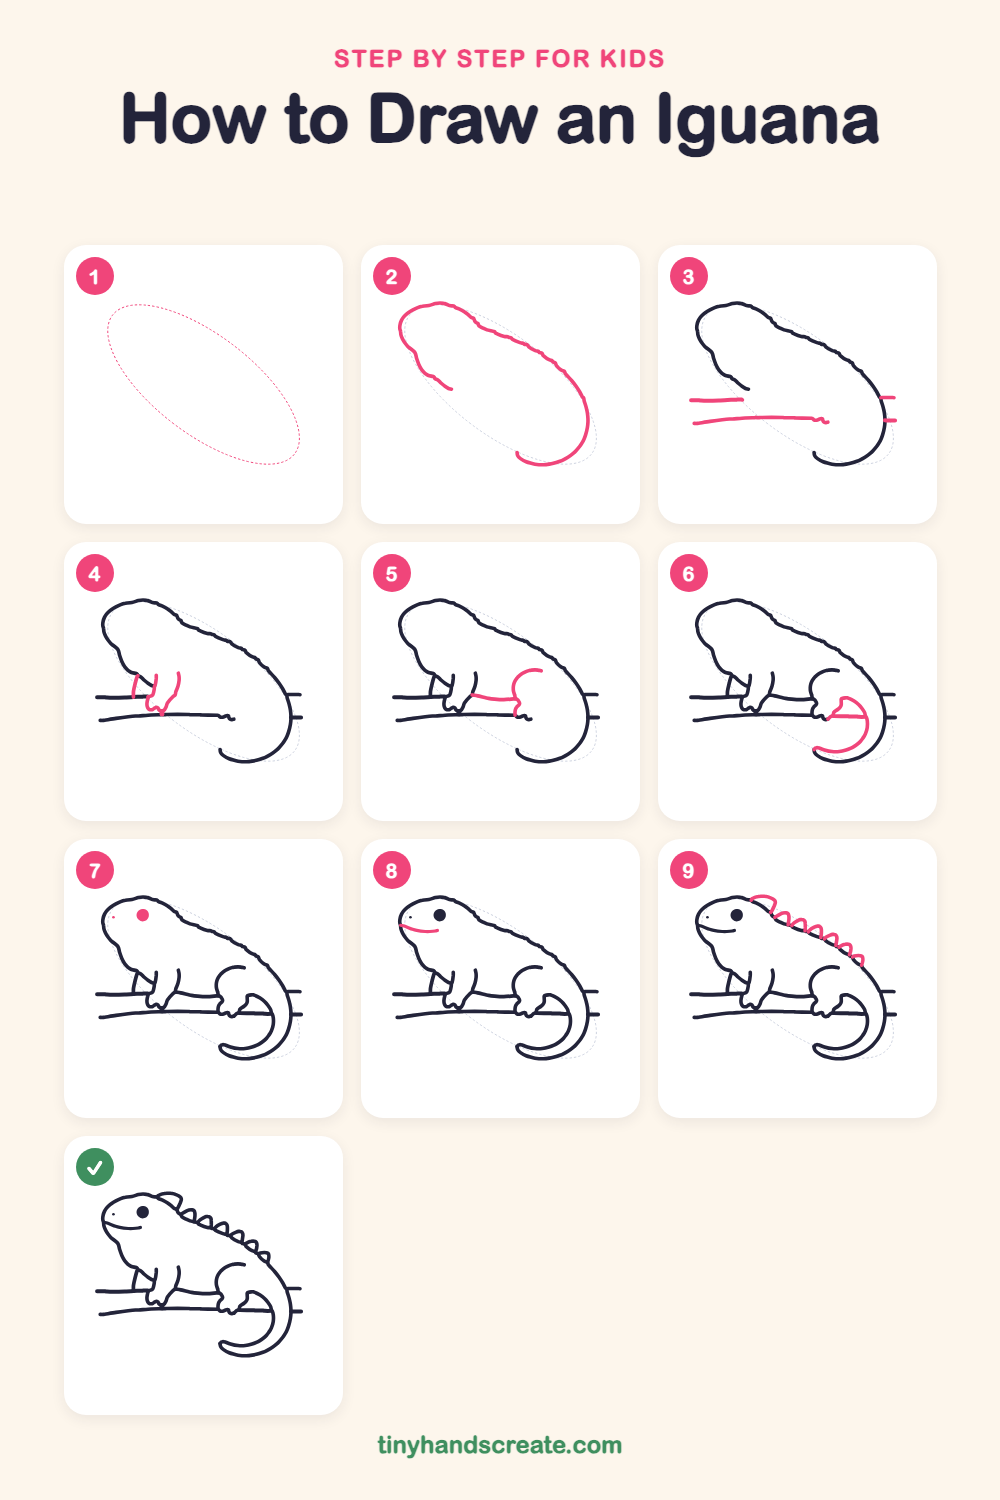
Step 1: Guide shapes
Lightly sketch this oval. It only shows where the big parts go, so press softly. You will erase it at the end.
Step 2: Head, back and tail
Draw one long curved line that starts under the chin, goes up and around the round head, then slopes down the back. Keep going until it curls into a hook at the tail tip.
Step 3: The branch
Draw two long, nearly flat lines on the left, one above the other, for the branch. Then add two short lines sticking out on the right side of the tail so the branch looks like it goes behind the iguana.
Step 4: The front leg
Draw two short lines hanging down from the chest for the front leg. Finish them with a little wavy foot with toes that rests on the branch.
Step 5: The back leg
Draw a curl shaped like a backward C on the side of the body for the thigh. Then draw a wavy line from the curl back to the front foot, ending in little toes on the branch.
Step 6: Inner tail line
Draw a curved line inside the tail that starts near the back foot and follows the outside curve down to the tail tip. Add a short straight line along the branch where the foot meets the tail.
Step 7: Eye and nose
Draw a big filled circle for the eye near the middle of the head. Add a tiny dot near the front for the nostril.
Step 8: The smile
Draw a short curve at the front of the face. Start at the tip of the nose and curve it down and to the right to make a happy smile.
Step 9: The spikes
Along the back, draw a row of small rounded bumps, starting with a bigger one on top of the head and getting smaller toward the tail.
All done!
Erase the guide shapes, go over your lines, then color it in.
Finished your iguana? Keep the pencils out and learn how to draw a fox or how to draw a hedgehog next.
Tips for drawing an iguana
- Draw the head, back and tail as one slow, continuous line. If you lift your pencil, start again right where you stopped.
- The curly back leg is the trickiest part. Think of a backward C for the thigh, then add the wavy foot below it.
- Make the spikes biggest near the head and smaller toward the tail, so they look like they are shrinking.
Free iguana coloring page
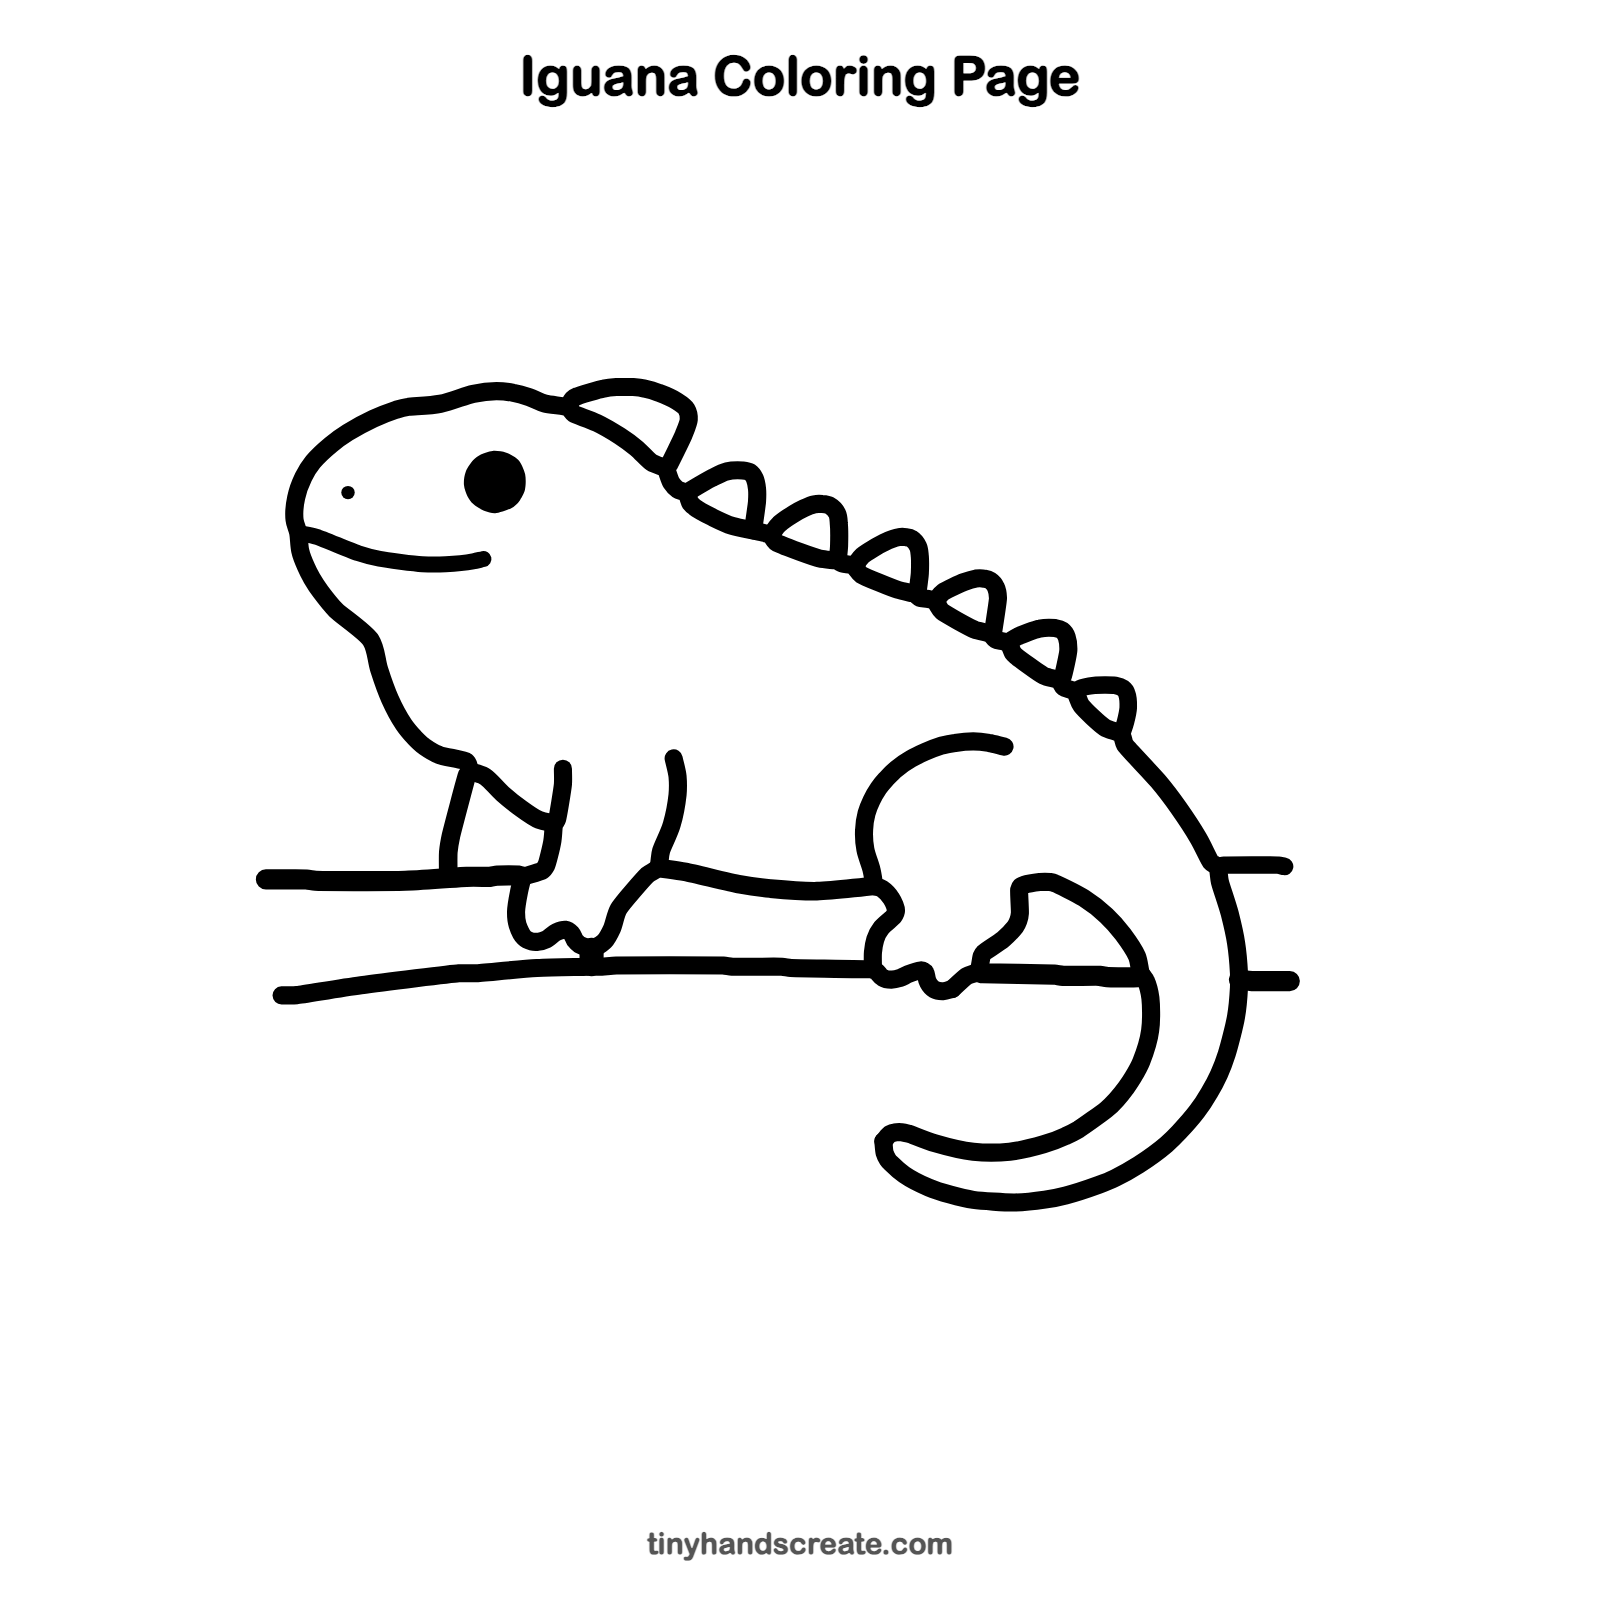
Want to go straight to coloring? Open this iguana coloring page at full size and print it. It is the same drawing you just learned, with clean lines ready for crayons or markers.
How to color your iguana drawing
Color the iguana bright green with a lighter belly and a brown branch. For a twist, give the spikes every color of the rainbow.
Iguana fun fact for kids
Many iguanas, including the green iguana, can drop their tails to escape a predator, and then they grow a new one.
Questions about drawing an iguana
What shapes do I need to draw an iguana?
You need long curves for the back and tail, a circle for the eye, and small rounded bumps for the spikes.
How do I make my iguana look cuter?
Make the eye big and round, and give the iguana a curved smile at the front of its face. A short, chubby body also looks friendlier.
How do I draw the iguana's tail?
Draw it as part of the long back line, curling into a hook at the end. Then add a second curved line inside to give it thickness.