How to Draw a Volleyball Net (Easy Step by Step)
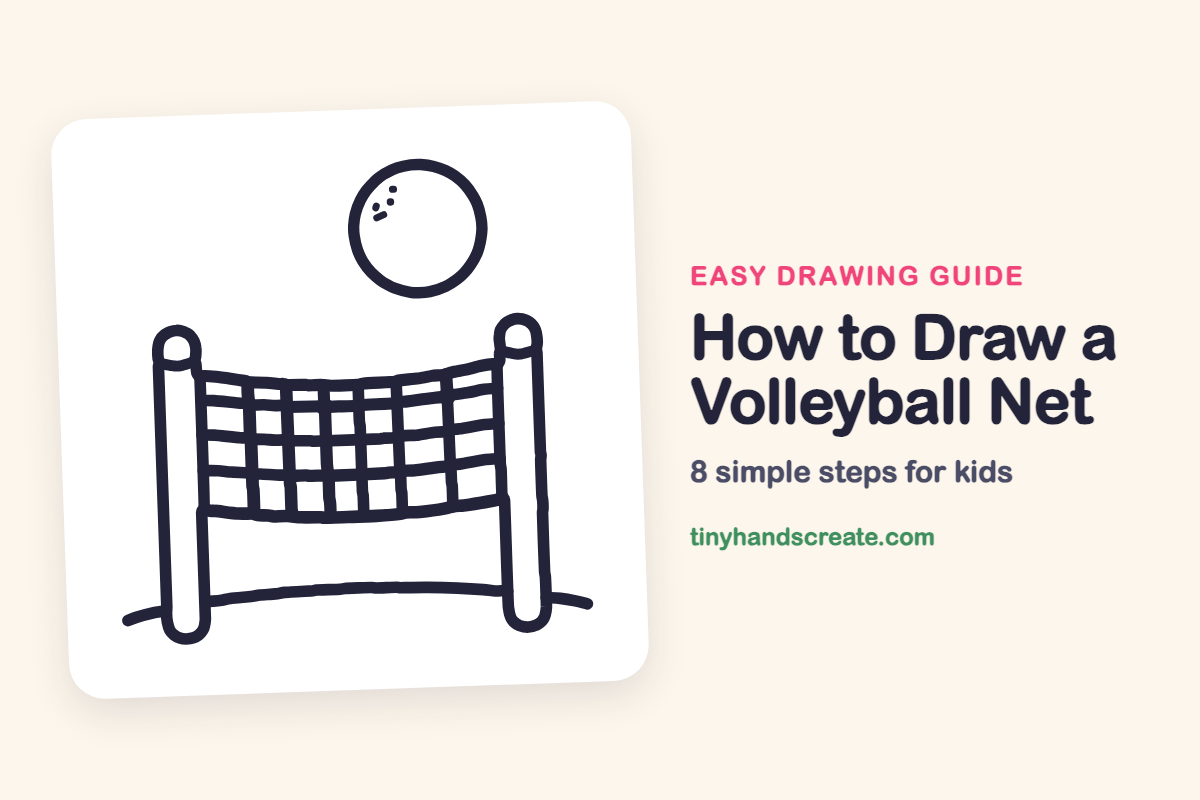
A volleyball net is a fun first drawing because it is mostly straight and gently curved lines. You start with a circle for the ball and two tall rounded rectangles for the posts. Then you fill the space between the posts with a grid of little squares.
- Easy
- 12 minutes
- 8 steps
You need: paper, a pencil, an eraser, and crayons or markers for coloring.
Start drawing


In this article (7 sections)
How to draw a volleyball net step by step
How to Draw a Volleyball Net · tinyhandscreate.com
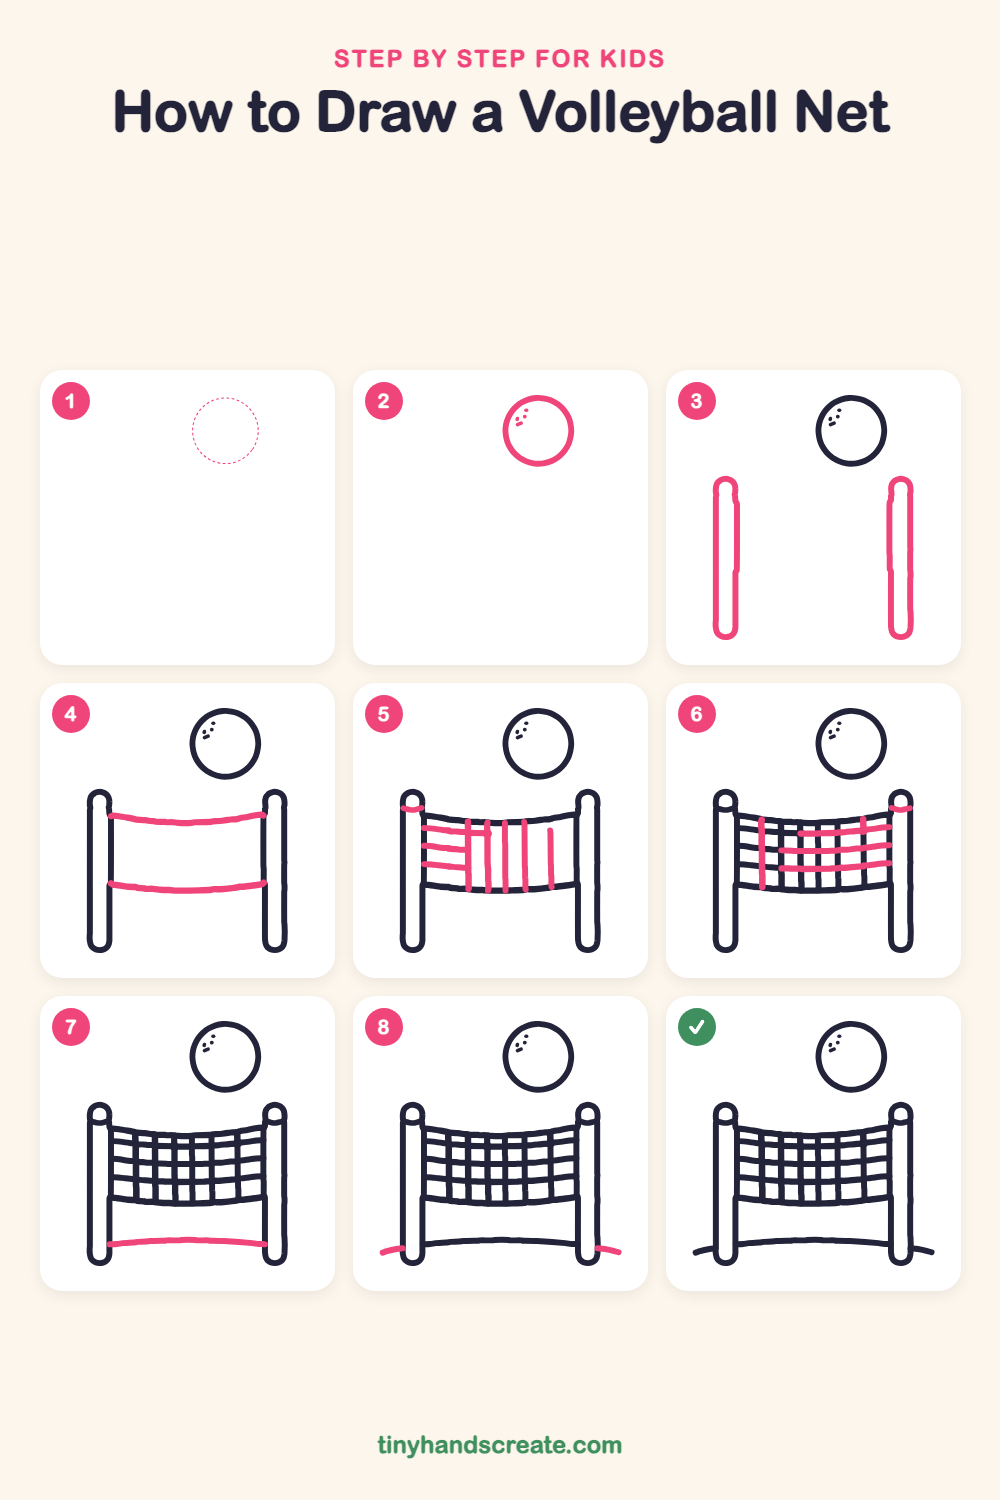
Step 1: Guide shapes
Lightly sketch this oval. It only shows where the big parts go, so press softly. You will erase it at the end.
Step 2: The volleyball
Draw a big circle up high in the top right, like a round sun. Then add a few tiny dashes near its upper left for a shiny spot.
Step 3: The two posts
Draw two tall, skinny rectangles with rounded tops and bottoms, one on the left and one on the right. Make them the same height and leave a wide gap between them.
Step 4: Top and bottom of net
Join the posts with a gently curved line near the top that sags a little in the middle. Draw another curved line below it, copying the same curve, to make the bottom edge of the net.
Step 5: Start of the grid
Draw a tiny curved cap across the top of each post. Then, on the left half of the net, draw some tall lines from the top edge down to the bottom edge, and three short side-to-side lines starting at the left post.
Step 6: Finish the grid
Add one more tall line at the far left. Then draw three curved side-to-side lines across the right half of the net, ending at the right post, so the lines cross and make little squares.
Step 7: The bottom rope
Near the bottom, draw a long, gently curved line between the two posts, below the net. It looks like a rope that holds the net steady.
Step 8: The ground lines
At the foot of each post, draw a short curved line that sticks out to the side and slopes down a little, like the edge of a sandy hill.
All done!
Erase the guide shapes, go over your lines, then color it in.
Finished your volleyball net? Keep the pencils out and learn how to draw a rocket or how to draw a shooting star next.
Tips for drawing a volleyball net
- Draw the two posts first and make them the same height. If they match, the net will look straight and even.
- Copy the sag of the top line when you draw the side-to-side lines. Curves that follow each other make the net look real.
- Try to space the tall lines evenly so the squares come out about the same size.
Free volleyball net coloring page
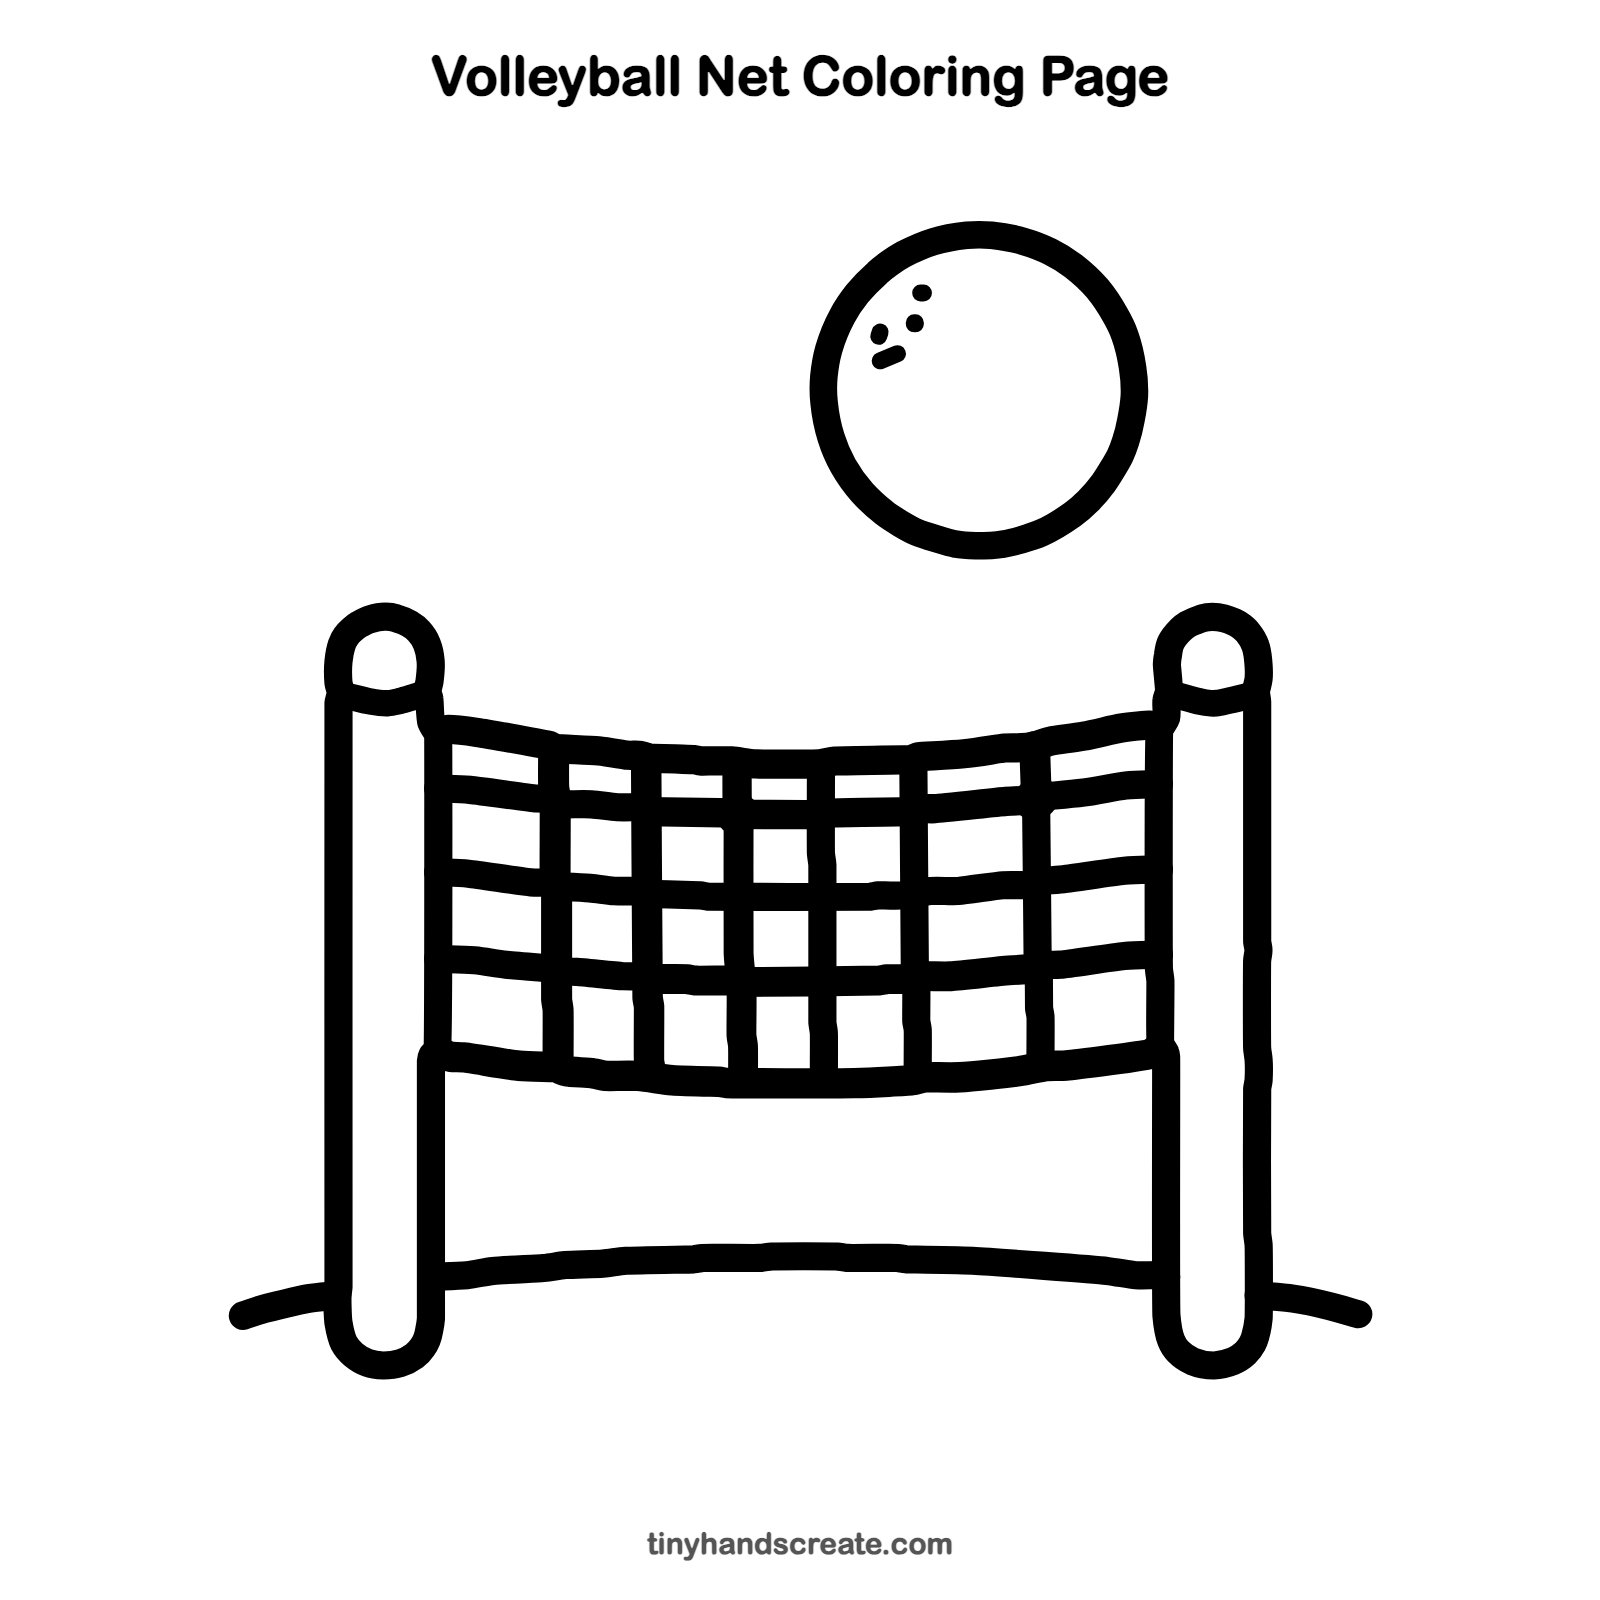
Want to go straight to coloring? Open this volleyball net coloring page at full size and print it. It is the same drawing you just learned, with clean lines ready for crayons or markers.
How to color your volleyball net drawing
Try a bright yellow and blue ball, tan posts, and a white net with a sandy beach under the ground lines. For a creative twist, color the sky orange like a sunset.
Volleyball net fun fact for kids
Volleyball was invented in 1895 by William G. Morgan, a teacher in Holyoke, Massachusetts. He wanted a game that was gentler than basketball, and he first called it mintonette.
Questions about drawing a volleyball net
What shapes do I need to draw a volleyball net?
You need a circle for the ball, two long rectangles with round ends for the posts, and straight and gently curved lines for the net. The crossing lines make small squares.
How do I make the net look even?
Draw the top and bottom curves first, then add the tall lines at equal spaces. Add the side-to-side lines last so every square is about the same size.
How do I draw a good circle for the ball?
Draw a light oval first and go around it a few times with a soft pencil. Then trace over the best part with a firm line and erase the rest.