How to Draw a Punching Bag (Easy Step by Step)
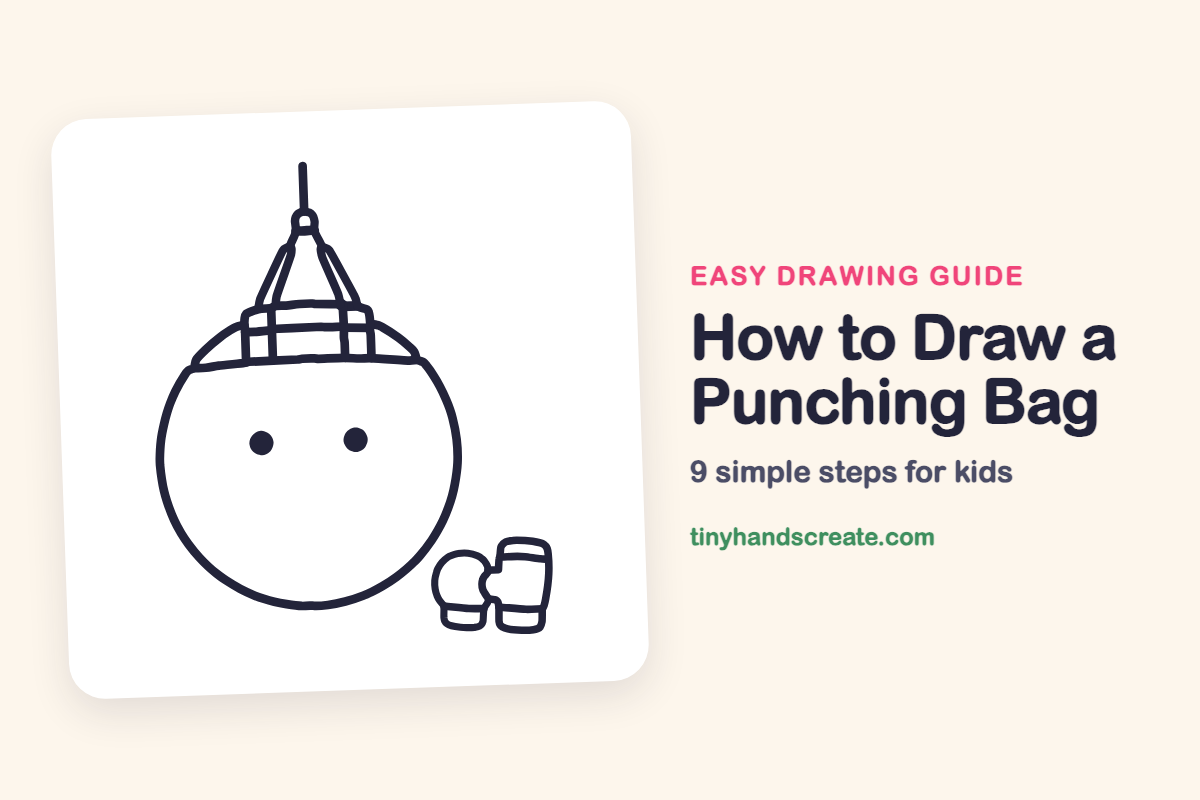
Learn to draw a fun punching bag with a friendly face using easy step-by-step instructions. You'll practice drawing circles and straight lines to create the bag, straps, and boxing gloves.
- Draw a large circle to form the main punching bag body.
- Use straight lines to create the straps, chains, and rope.
- Add two small boxing gloves to complete your drawing.
- Give your punching bag a silly, friendly face.
This post contains affiliate links. As an Amazon Associate I earn from qualifying purchases.
A punching bag with a face is a silly, friendly way to practice drawing circles. This one is built from one big circle, a few straight lines for the straps, chains and rope, and two little boxing gloves.
- Easy
- 12 minutes
- 9 steps
You need: paper, a pencil, an eraser, and crayons or markers for coloring.
Start drawing


In this article (7 sections)
How to draw a punching bag step by step
How to Draw a Punching Bag · tinyhandscreate.com
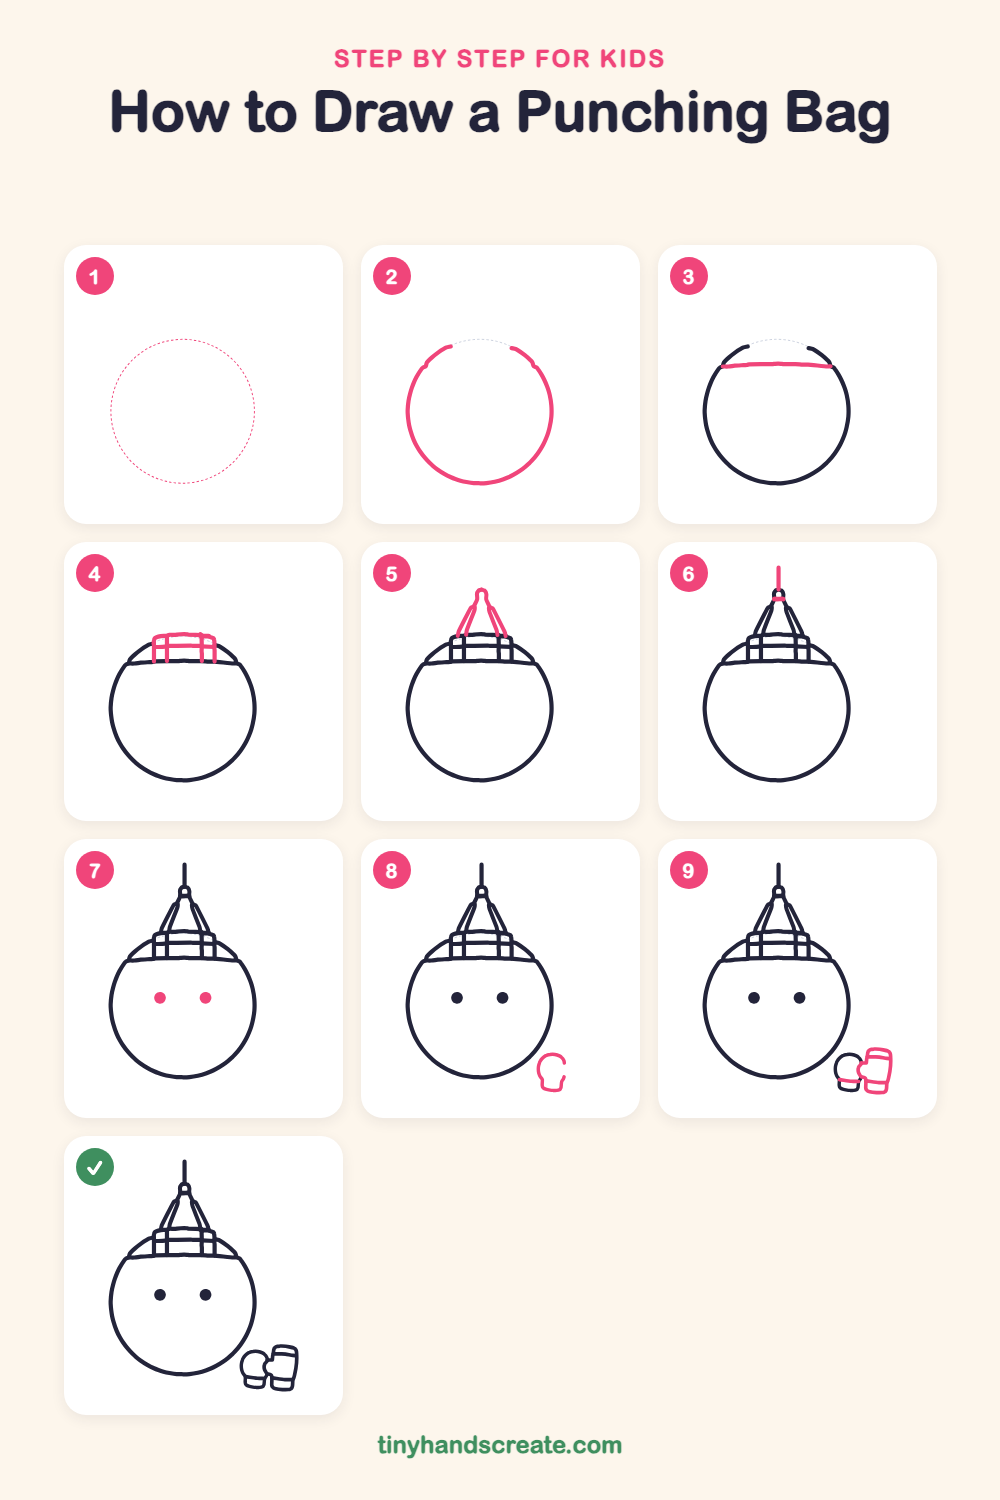
Step 1: Guide shapes
Lightly sketch this oval. It only shows where the big parts go, so press softly. You will erase it at the end.
Step 2: The round bag
Draw a big circle for the body of the punching bag. Stop just before you close it, so there is a small gap at the top.
Step 3: The top band
Draw a gently curved line across the top part of the circle, from one side of the gap to the other. This closes off a small cap on top of the bag.
Step 4: The top straps
On the cap, draw a small box shape made of two short up-and-down lines for straps. Add two thin lines across them, one near the top and one in the middle.
Step 5: The hanging chains
Above the straps, draw a tiny ring. Then draw four slanted lines from the straps up to the ring, leaning in toward each other like a tall, skinny triangle.
Step 6: The hanging rope
Draw a short band across the middle of the ring. Then draw a straight line going up from the ring.
Step 7: Two round eyes
Fill in two round dots in the middle of the bag for eyes. Space them apart so they sit evenly on each side of the center.
Step 8: The first glove
At the bottom right of the bag, draw a small rounded mitten shape, like a fist with a little thumb bump on its left side.
Step 9: The second glove
Next to the first glove, draw a taller rounded box with a bump on its left for the thumb. Then add a short cuff line across the bottom of the first glove.
All done!
Erase the guide shapes, go over your lines, then color it in.
Finished your punching bag? Keep the pencils out and learn how to draw a rocket or how to draw a shooting star next.
Tips for drawing a punching bag
- Draw the big circle lightly first and turn the paper as you go. Round shapes get smoother when you can move your hand around them.
- The four hanging chains should lean toward the same spot at the ring. Draw the two outer ones first, then tuck the inner ones inside.
- Keep the gloves small and draw them last. Start each one with a simple bean or box shape, then add the cuff line.
Free punching bag coloring page
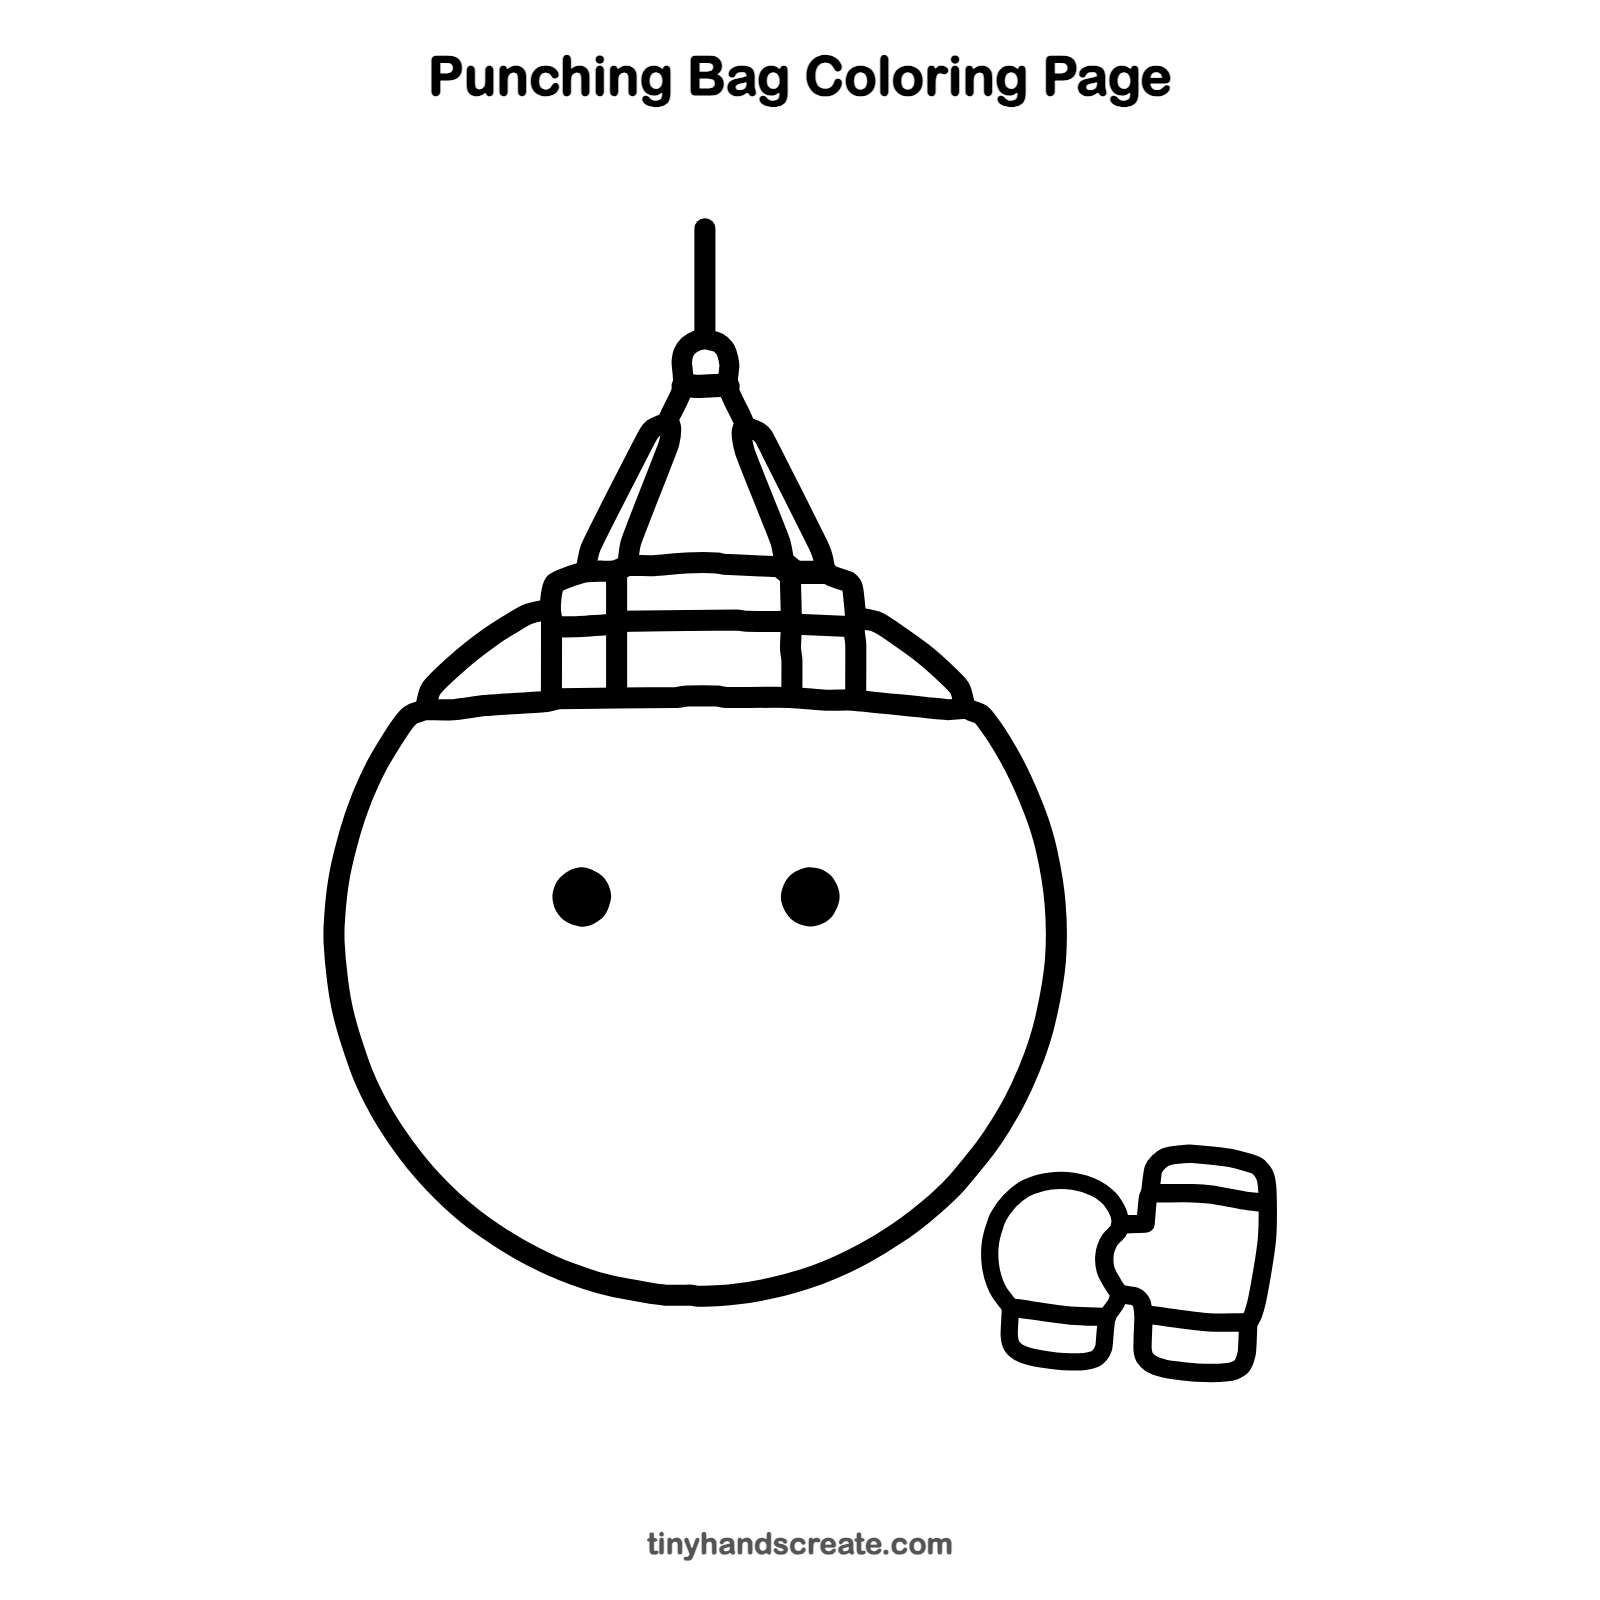
Want to go straight to coloring? Open this punching bag coloring page at full size and print it. It is the same drawing you just learned, with clean lines ready for crayons or markers.
How to color your punching bag drawing
Try a bright red bag with brown straps, and gloves in two different colors. For a fun twist, give the bag stripes of many colors.
Punching bag fun fact for kids
Boxers train on heavy bags so they can practice their punches without needing a partner.
Questions about drawing a punching bag
What shapes do I need to draw a punching bag?
You need one big circle, a few straight lines for the straps, chains and rope, and rounded mitten shapes for the gloves. Two small dots make the eyes.
How do I make my punching bag look cuter?
Add a smile or rosy cheeks next to the round eyes. You can also make the gloves a little bigger.
How do I draw a perfect circle?
Start with a light sketch and go around it a few times, keeping your arm loose. Then trace over the best line with a darker pencil.