How to Draw a Cool Face (Easy Step by Step)
This post contains affiliate links. As an Amazon Associate I earn from qualifying purchases.
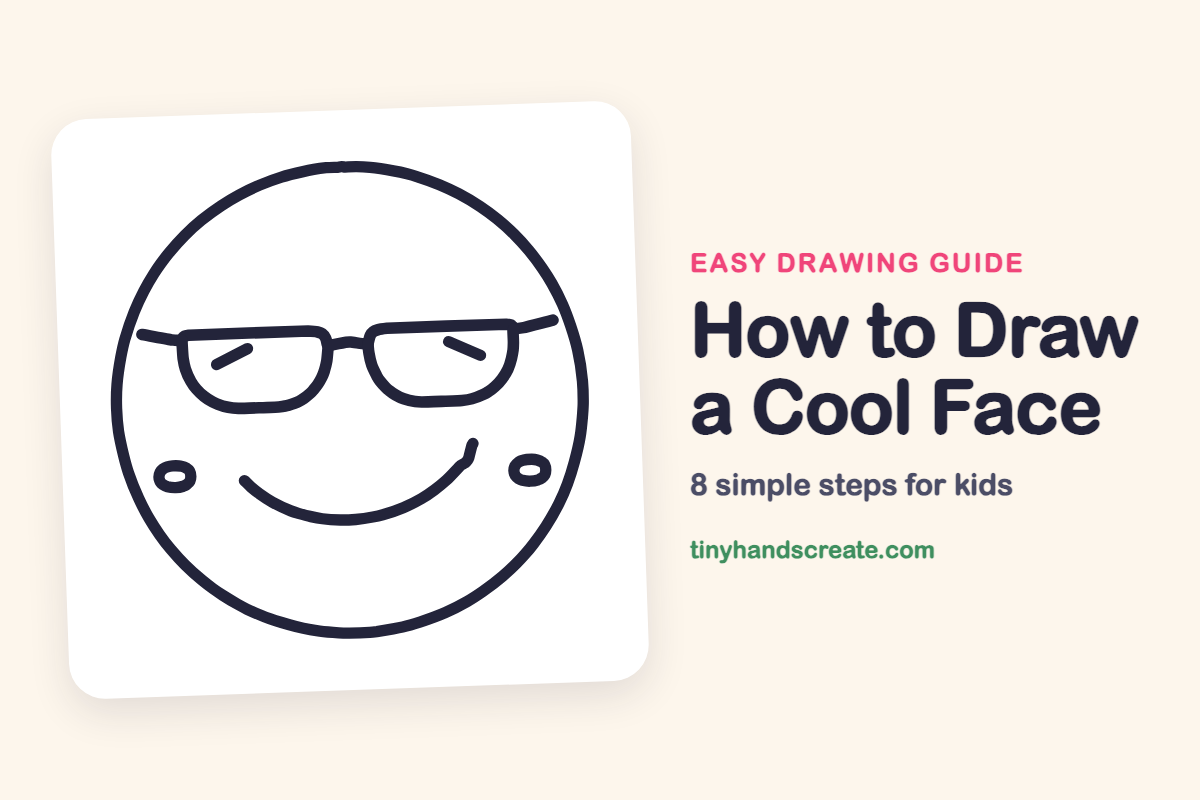
A cool face with glasses is a fun first drawing because it is made from a handful of simple shapes. You start with a big circle, add two lenses with a bridge between them, and finish with two small cheeks and a curvy smile. Everyone can give their face a different mood.
- Easy
- 10 minutes
- 8 steps
You need: paper, a pencil, an eraser, and crayons or markers for coloring.
Start drawing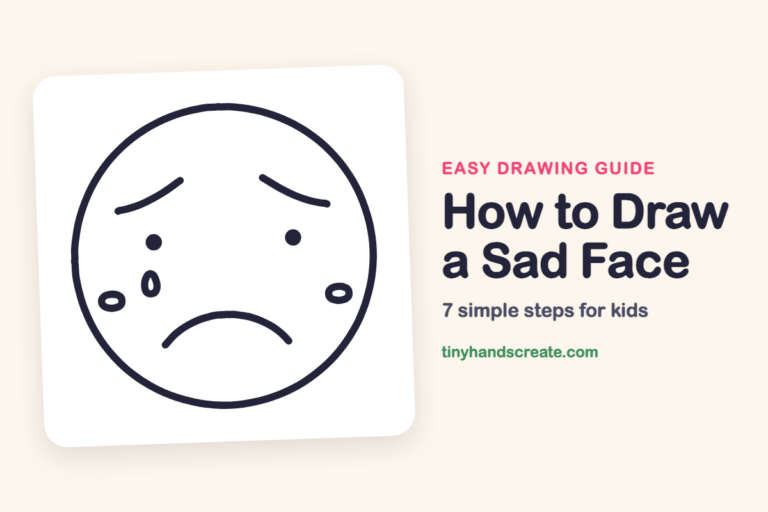
In this article (7 sections)
How to draw a cool face step by step
How to Draw a Cool Face · tinyhandscreate.com
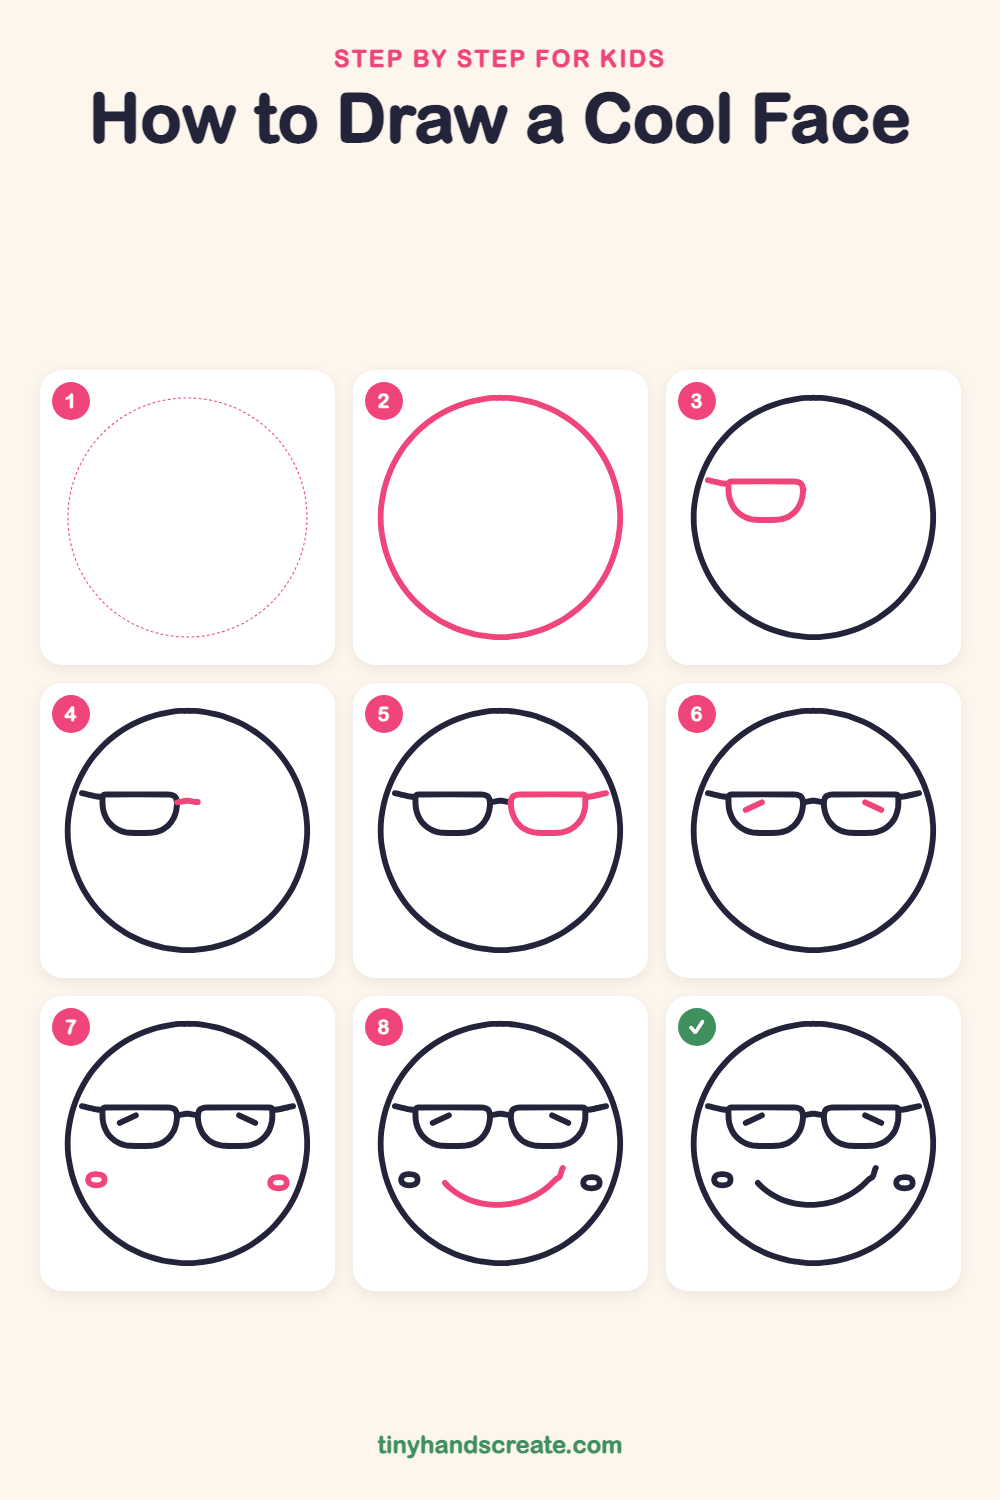
Step 1: Guide shapes
Lightly sketch this oval. It only shows where the big parts go, so press softly. You will erase it at the end.
Step 2: The round face
Draw a big circle for the face. Take your time and keep the line smooth all the way around.
Step 3: The left lens
Near the top left of the face, draw a short flat line going across, then curve it down and around into a rounded bucket shape, like a half circle with a flat top. Add a tiny arm line sticking out from the left end of the flat top toward the edge of the face.
Step 4: The nose bridge
At the right end of the left lens's flat top, draw a very short line going to the right. This will be the start of the bridge between the two lenses.
Step 5: The right lens
A little farther right, draw another flat top with a rounded bottom, the same size as the first lens, so the bridge connects the two. Add a short arm line from its right end toward the edge of the face.
Step 6: Sleepy eyes
Inside each lens, draw one short slanted line for a relaxed, cool eye. Make the ends closest to the nose a little higher than the outer ends.
Step 7: Little cheeks
Draw a small oval on each side of the face, low down near the edge. Draw a tiny oval inside each one.
Step 8: A big smile
Between the cheeks and below the glasses, draw a wide curve like a bowl, starting on the left. Finish it with a little flick up on the right for a cool smirk.
All done!
Erase the guide shapes, go over your lines, then color it in.
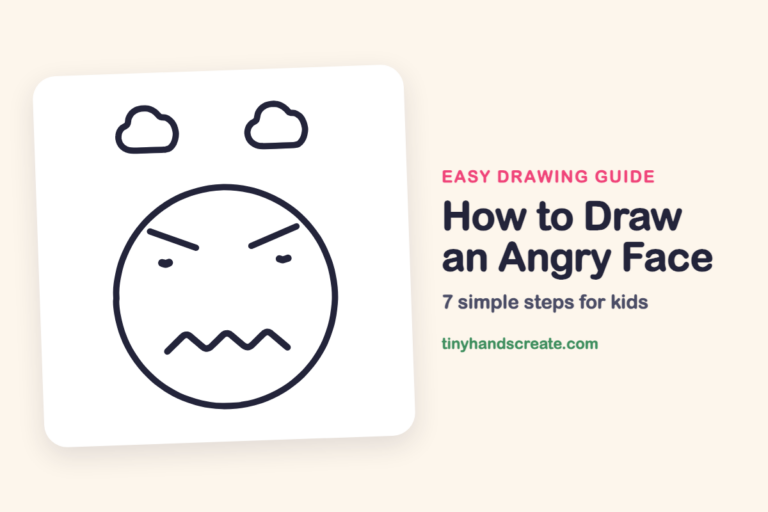
Finished your cool face? Keep the pencils out and learn how to draw a sad face or how to draw an angry face next.
Tips for drawing a cool face
- Draw the circle in one slow, steady motion, and turn your paper as you go if that helps.
- The glasses are the trickiest part. Make the flat tops line up across the face, and draw both lenses about the same size.
- For the smile, start at the left and curve down and up like a bowl. Add the little flick at the end last.
Free cool face coloring page
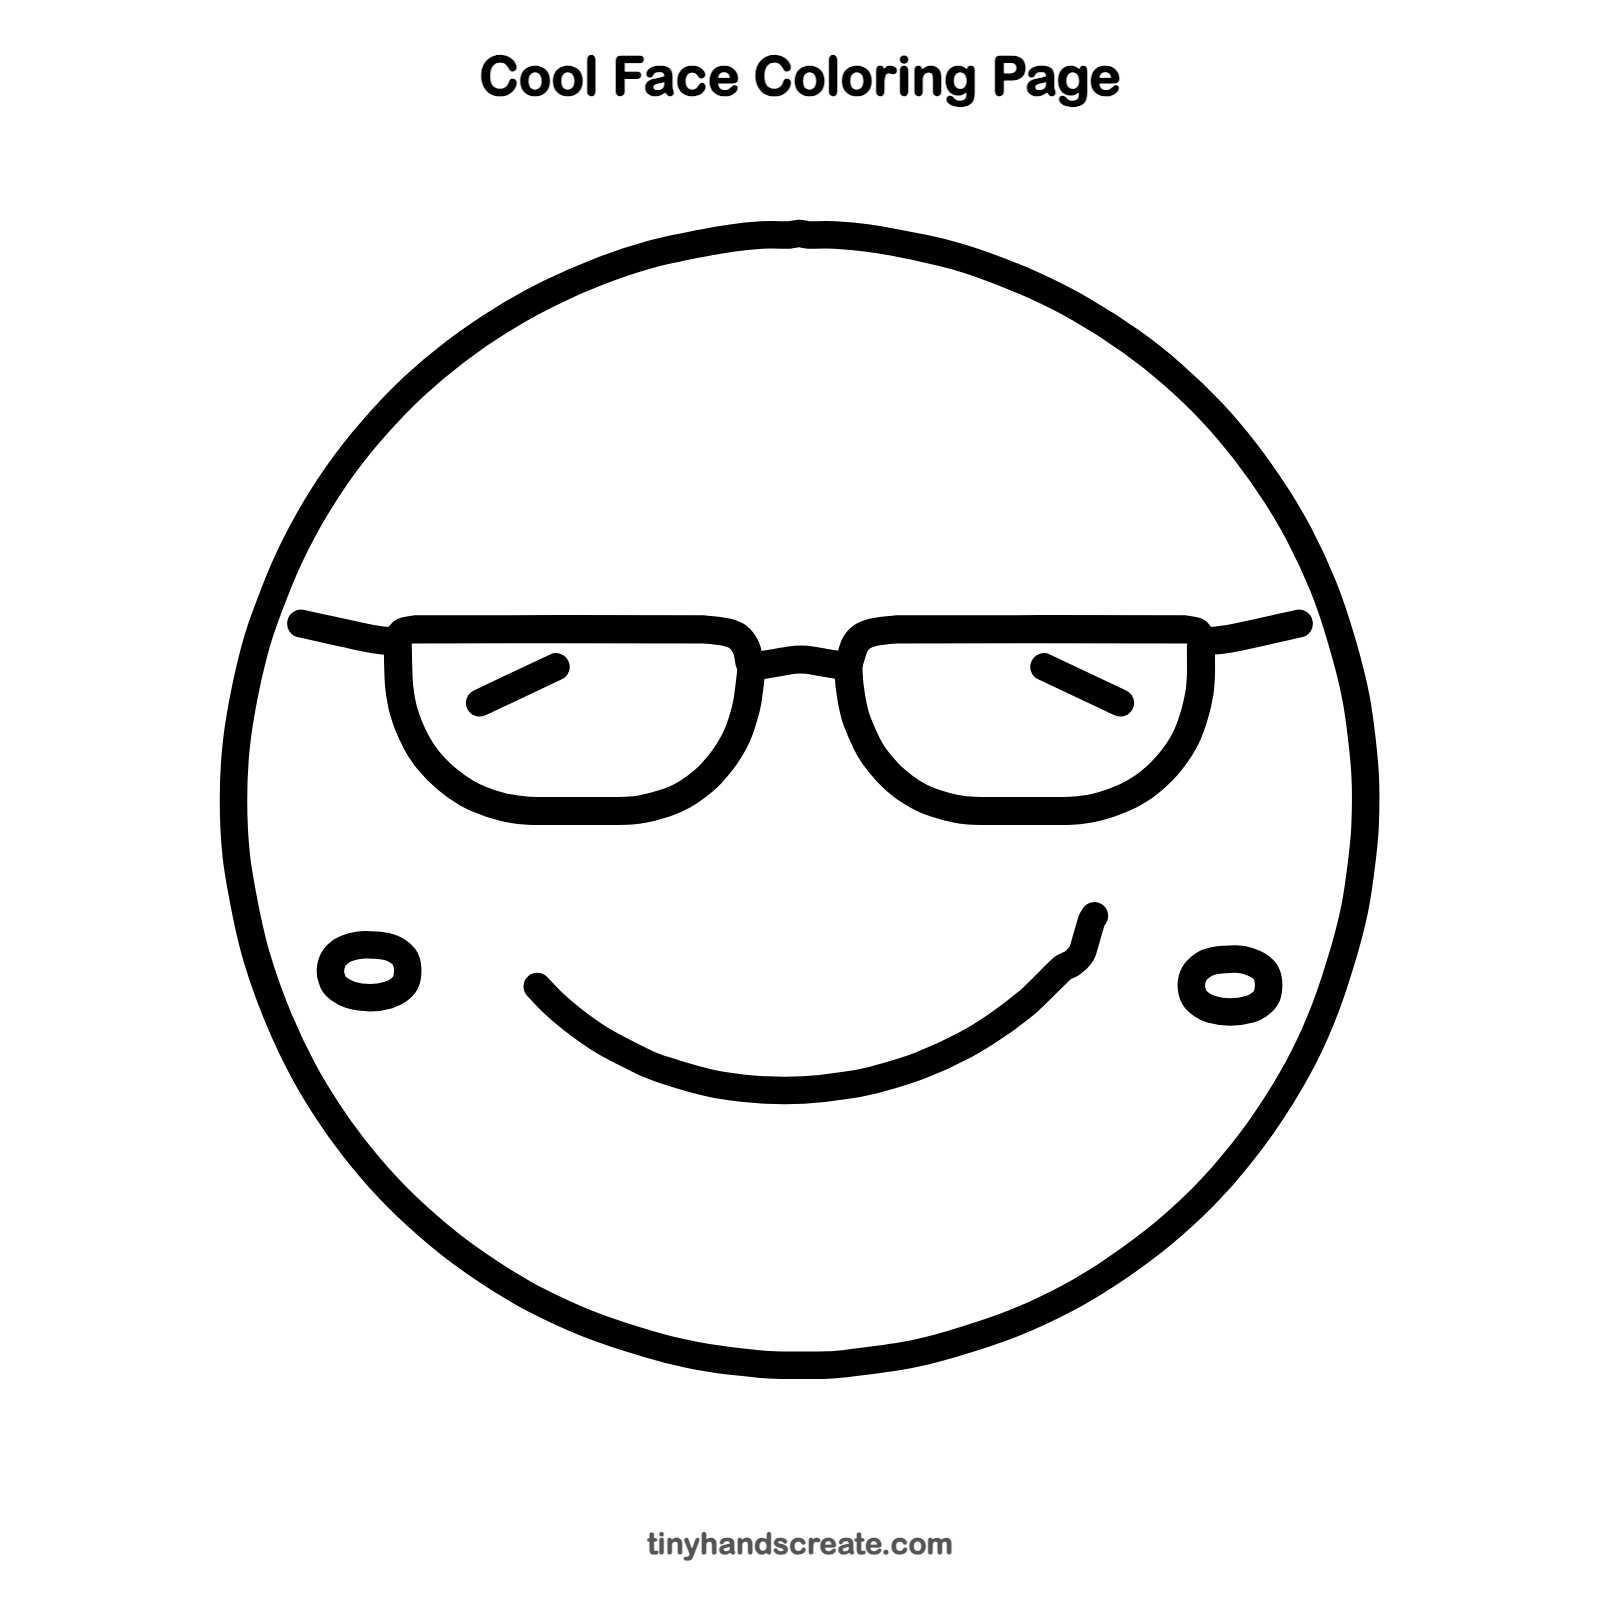
Want to go straight to coloring? Open this cool face coloring page at full size and print it. It is the same drawing you just learned, with clean lines ready for crayons or markers.
How to color your cool face drawing
Try black or dark blue for the lenses, yellow for the face, and pink for the cheeks. For a creative twist, color the lenses like a sunset.
Cool face fun fact for kids
Long ago, Inuit people made snow goggles from materials like bone, ivory or wood, with thin slits to see through. The slits cut down the glare from bright snow.
Questions about drawing a cool face
What shapes do I need to draw a cool face?
You need a big circle for the face, two bucket shapes with flat tops for the glasses lenses, two small ovals for cheeks, and a curved line for the smile.
How do I make the glasses look even?
Make the flat tops line up across the face and draw the second lens the same width as the first. Compare the two lenses when you finish.
How do I make my cool face look more fun?
Change the smile into a bigger grin or a sideways smirk. You can also add a hat or some hair around the top of the face.