How to Draw a Tree Frog (Easy Step by Step)
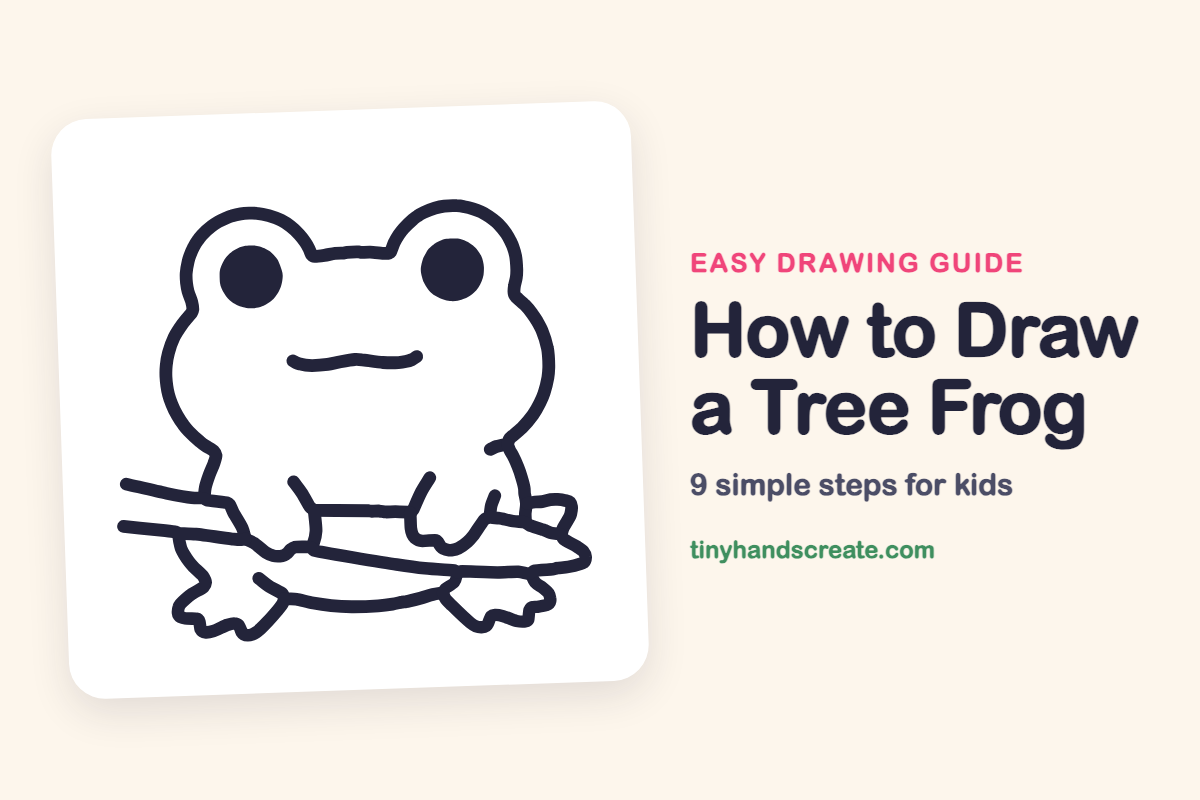
This little tree frog is fun to draw because it is made almost entirely of round shapes. You start with a wide head and two eye bumps, add big round eyes and a smile, and finish with a leaf and a twig. It is a great first drawing for beginners.
- Easy
- 15 minutes
- 9 steps
You need: paper, a pencil, an eraser, and crayons or markers for coloring.
Start drawing


In this article (7 sections)
How to draw a tree frog step by step
How to Draw a Tree Frog · tinyhandscreate.com
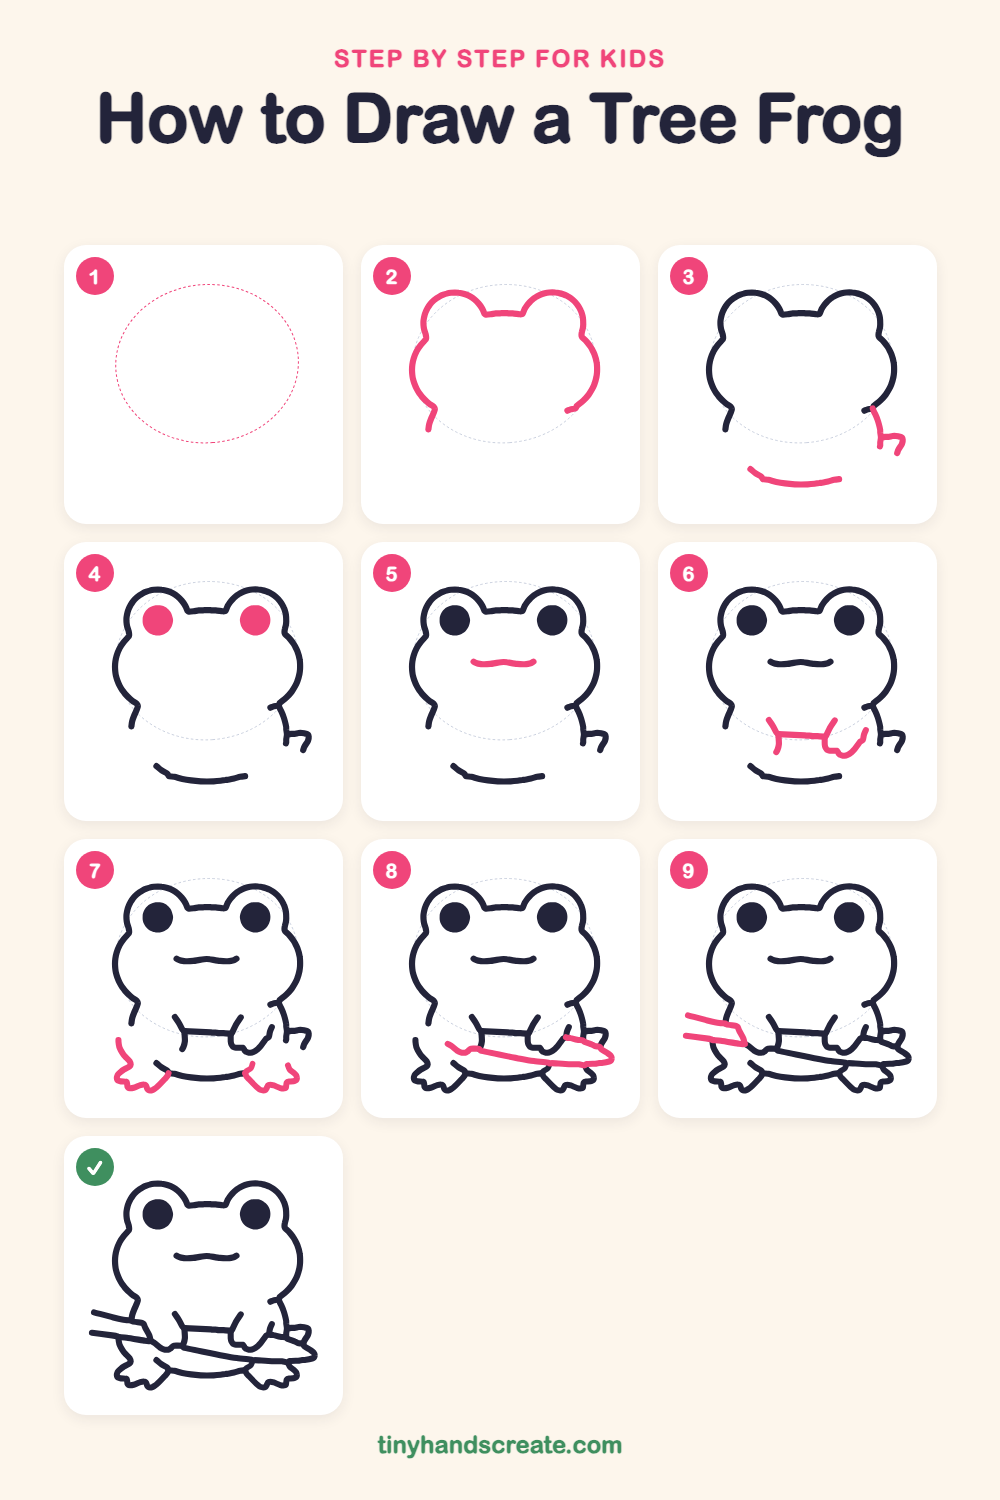
Step 1: Guide shapes
Lightly sketch this oval. It only shows where the big parts go, so press softly. You will erase it at the end.
Step 2: Head and eye bumps
Draw a wide, round shape for the head, but leave the bottom open. Add two round bumps on top for the eyes, with a little dip in the middle between them.
Step 3: Side and bottom lines
Draw a short hooked line going down on the right side, under the head. Then draw a gentle curved line below the head, like a smile, for the bottom of the body.
Step 4: Big round eyes
Fill each head bump with a big, solid black circle. Keep both circles about the same size.
Step 5: A happy smile
Draw a short, wavy smile in the middle of the face, with a tiny bump in the center. Keep it small and low, between and below the eyes.
Step 6: Arms and hands
Draw two short arms in the middle of the body, joined by a straight line across the chest. Give the right hand a few small bumps for fingers.
Step 7: Froggy feet
Draw a foot on each side at the bottom of the body. Make each one wide and flat with three or four rounded toes.
Step 8: The leaf
Draw a long leaf across the frog's lap. Start with a pointed tip on the left, curve it along the top to a rounded end on the right, and bring it back along the bottom.
Step 9: The twig
Draw two long, nearly straight lines going out to the left of the frog, side by side. Join them with a short slanted line at the right end, near the leaf.
All done!
Erase the guide shapes, go over your lines, then color it in.
Finished your tree frog? Keep the pencils out and learn how to draw a fox or how to draw a hedgehog next.
Tips for drawing a tree frog
- Make the head wider than it is tall. A wide, round shape gives the frog its friendly, squishy look.
- Draw the two eye bumps at the same height, then put a big black circle in each one. Matching eyes are the trickiest part, so lightly mark both spots first.
- Draw the leaf after the arms and feet. Let its lines pass over the hands and feet so it looks like the frog is sitting behind it.
Free tree frog coloring page
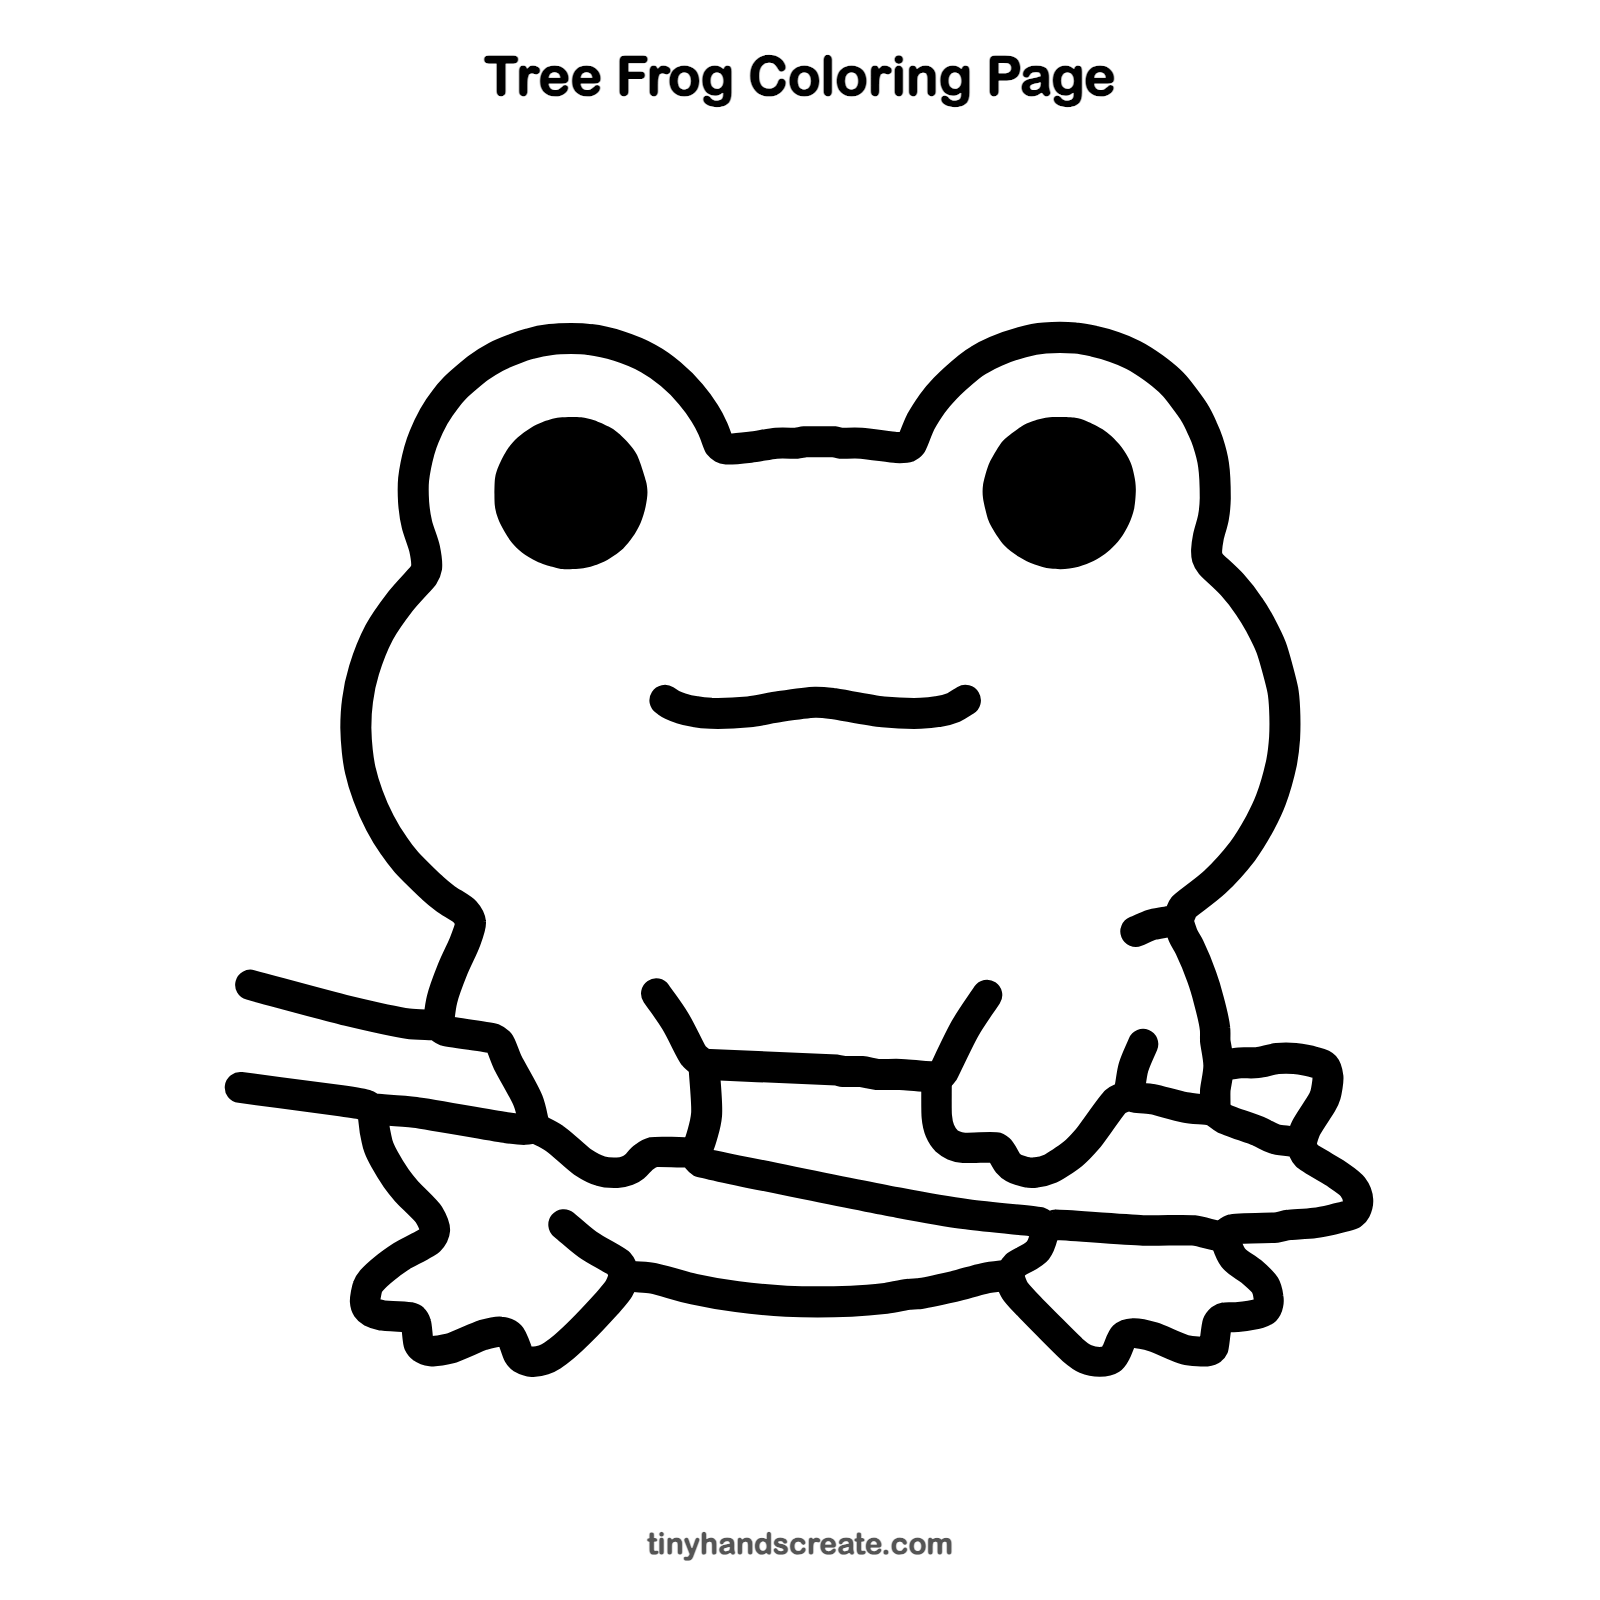
Want to go straight to coloring? Open this tree frog coloring page at full size and print it. It is the same drawing you just learned, with clean lines ready for crayons or markers.
How to color your tree frog drawing
Color the frog a bright leaf green and make the leaf a darker green. Color the twig brown. For a creative twist, give your frog red toes.
Tree frog fun fact for kids
Many tree frogs have sticky pads on the tips of their toes. The pads help them cling to leaves and climb smooth branches.
Questions about drawing a tree frog
What shapes do I need to draw a tree frog?
You need a wide, round shape for the head with two bumps on top, and two circles for the eyes. The leaf is just a long, pointed oval, and the toes are small rounded bumps.
How do I make my frog look cuter?
Make the eyes big and round, and keep the smile small and low on the face. A wide head makes the frog look extra cute.
How do I draw frog feet?
Start with a flat, wide shape at the bottom of each side of the body. Then add three or four rounded bumps along the edge for toes, and make them about the same size.