DIY Friendship Bracelets for Kids: Easy Patterns and Techniques for Beginners
Learn to make DIY friendship bracelets with your kids, covering age-appropriate patterns, essential supplies, and safety tips. This guide helps you master basic knots and three easy patterns, perfect for beginners aged 6 and up.
- Match bracelet type to age: floss knots for 6+, beads for 5+ (supervised), yarn for 3-4.
- Gather basic supplies like floss, tape, and scissors; a variety pack of floss costs under $10.
- Prioritize safety: supervise bead use, never put cord around necks, and remove bracelets for sleep.
- You'll learn two core knots to create three easy patterns, including diagonal stripe and chevron.
This post contains affiliate links. As an Amazon Associate I earn from qualifying purchases.
Last week I found four inches of hot pink floss wedged between the couch cushions. My daughter swore it was “definitely a bracelet.” It was a tangle, and it stayed one until I showed her a single knot, slowly, three times in a row.
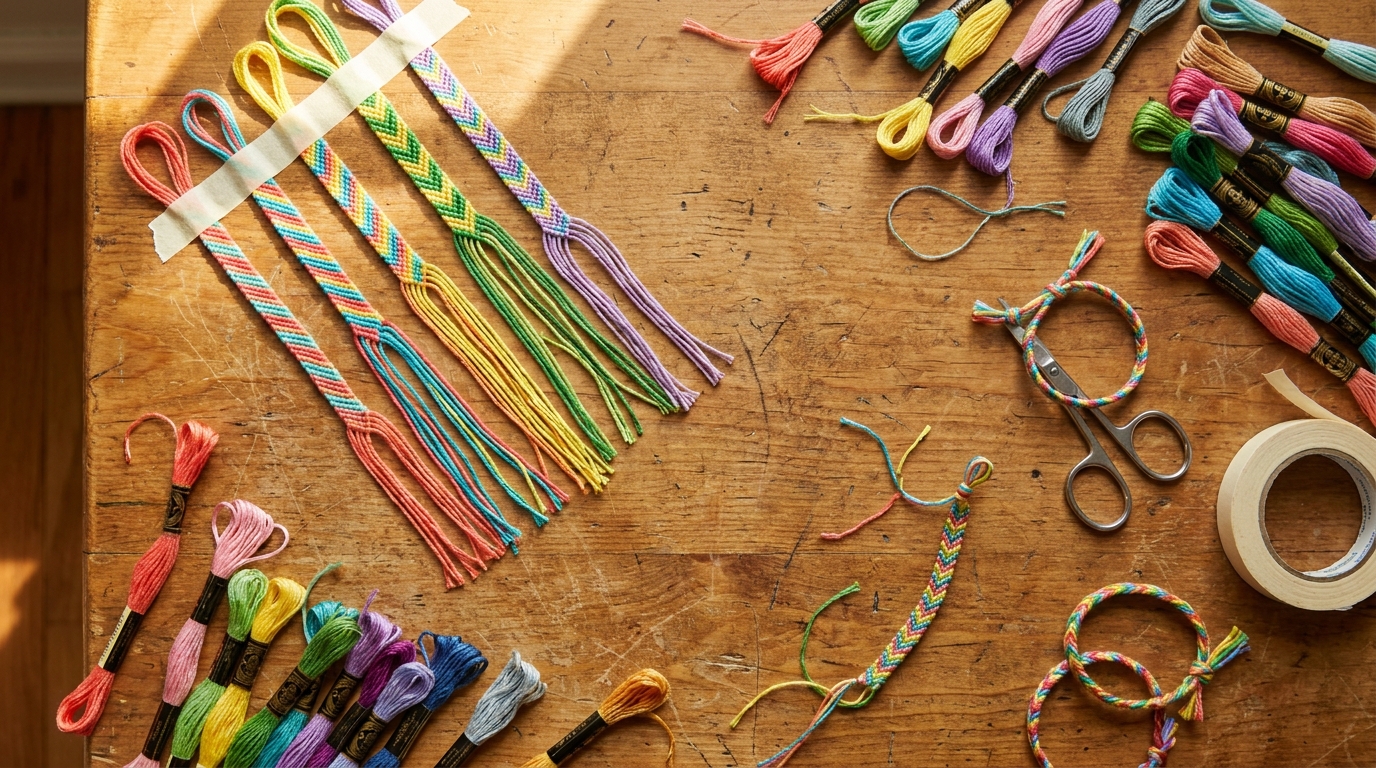
Friendship bracelets are cheap, portable and endlessly repeatable, and most kids 6 and up can master them with the right first lesson. This guide covers ages, supplies, the two knots behind most classic patterns, three patterns with steps, and fixes for the knotted mess that will happen at your table.
Free printable · 6 pages
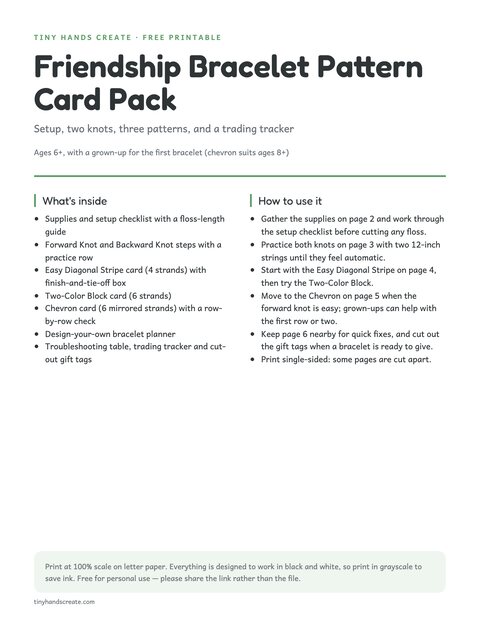
Friendship Bracelet Pattern Card Pack
A supplies and setup checklist, forward and backward knot steps with a practice row, pattern cards for the easy diagonal stripe, two-color block and chevron, a design-your-own page, a troubleshooting table, and a trading tracker with cut-out 'Made just for you' gift tags.
Free. Your download link appears right here. You'll also join the Daily Printable Drop. Unsubscribe anytime. Privacy
In this article (12 sections)
- What Age Can Kids Make Friendship Bracelets?
- Friendship Bracelet Supplies
- How to Tie Forward and Backward Knots
- How to Keep Friendship Bracelet Floss From Tangling
- Easy Friendship Bracelet Patterns for Beginners
- Easy Diagonal Stripe Friendship Bracelet (Start Here)
- How to Finish and Tie On a Friendship Bracelet
- Two-Color Block Friendship Bracelet Pattern
- Chevron Friendship Bracelet Pattern
- Friendship Bracelet Troubleshooting: Quick Fixes
- Trading, Gifting and Storing Friendship Bracelets
- Frequently Asked Questions
What Age Can Kids Make Friendship Bracelets?
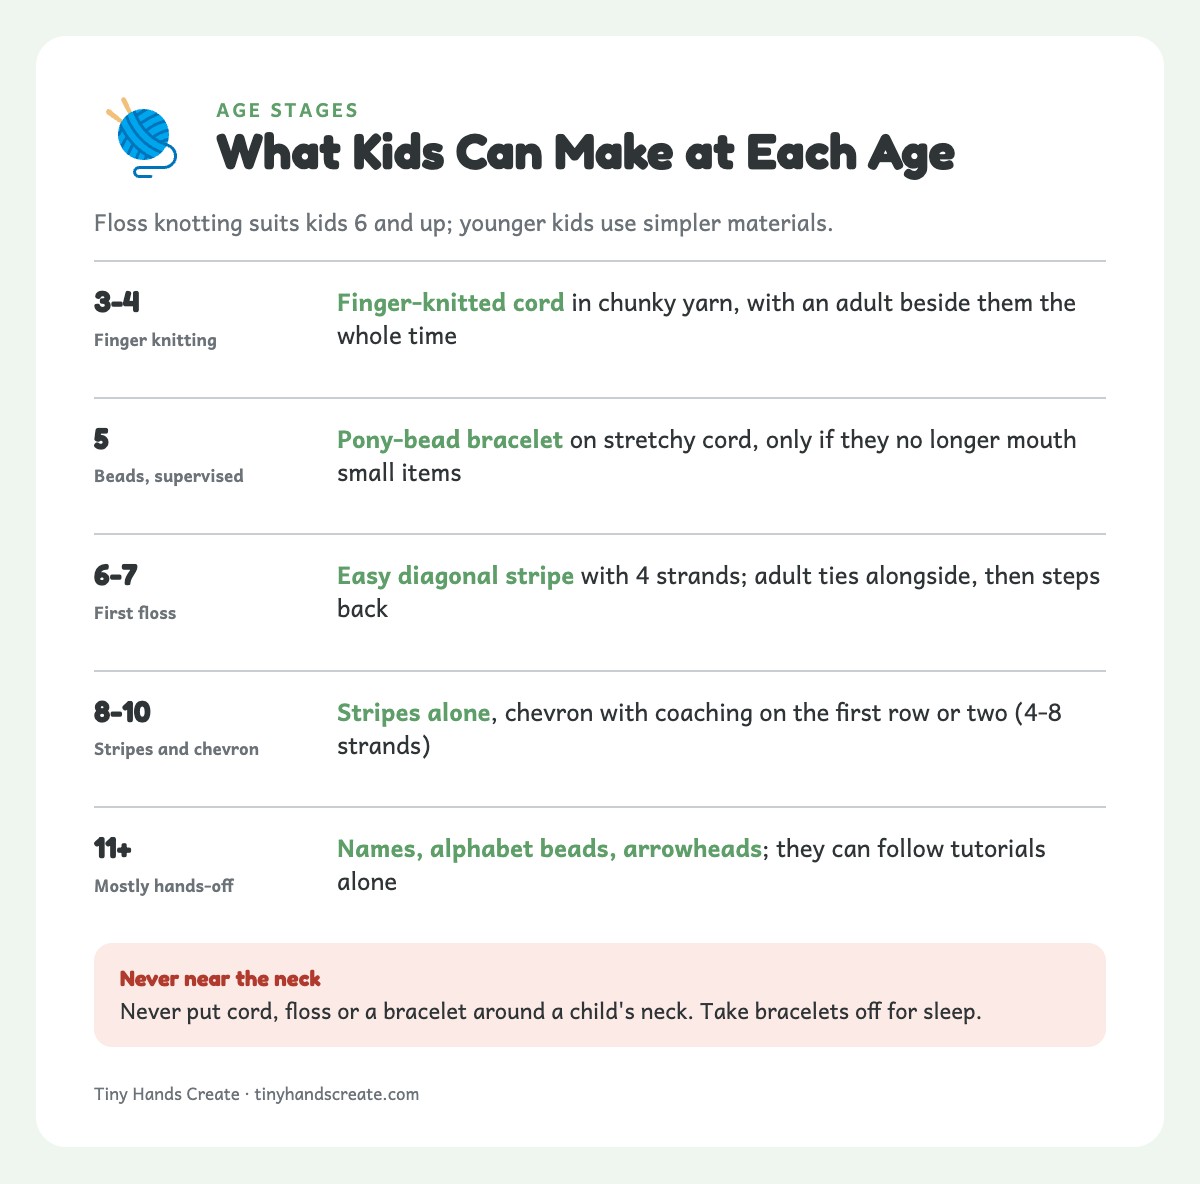
Floss knotting suits kids 6 and up. Younger kids can still make a bracelet in a simpler way.
| Age | What to make | Materials | Adult role |
|---|---|---|---|
| 3-4 | Finger-knitted cord | Chunky yarn (see yarn crafts for kids) | Sits beside them the whole time. The cord is only worn on the wrist, with an adult watching, and never goes around the neck. |
| 5 | Beaded bracelet | Pony beads on stretchy cord, only for kids who no longer put small items in their mouths | Supervises and counts the beads out and back in. |
| 6-7 | Easy diagonal stripe | 4 strands of floss | Ties alongside for the first bracelet, then steps back. |
| 8-10 | Stripes alone, chevron with coaching | 4-8 strands of floss | Helps with the first row or two of a chevron. |
| 11+ | Names, alphabet beads, arrowhead variations | Floss and beads | Mostly hands-off; they can follow tutorials alone. |
Safety firstPony beads are small enough to choke on. Beads start at age 5, only for kids who no longer put small things in their mouths, with an adult counting them out and back in. Kids 3-4 use yarn only with an adult sitting right beside them, and finished cord is worn only while an adult is watching. Never put cord, floss or a bracelet around a child’s neck. Take bracelets off for sleep, and remove one right away if it catches on something. Store floss, cord and beads in a lidded container away from toddlers and pets, and sweep up snipped ends after every session.
For a mixed-age group, such as a party or a cousin sleepover, put older kids on chevrons at the main table. Give younger ones yarn finger knitting with an adult beside them, and keep any bead table for kids 5 and up, with an adult watching. If a toddler is in the room, leave the beads out entirely. A threading activity with big lacing cards is a safer stand-in for the little ones.
Friendship Bracelet Supplies
The supply list is short, and the whole kit fits in a shoebox.
| Item | Why You Need It | Budget Tip |
|---|---|---|
| Embroidery floss (6-strand cotton) | The classic material. It holds knots well and comes in every color. | Buy variety packs of 30-50 skeins; craft stores run these under $10. |
| Masking or painter’s tape | Anchors the bracelet to a table or clipboard while working. | Any roll you already own works. |
| A clipboard or binder clip | Holds the top knot steady so kids aren’t fighting the whole bracelet. | Skip it if you’re working at a table with tape. |
| Small scissors | For trimming ends and cutting floss to length. | Blunt-tip kid scissors work fine. |
| A ruler or yardstick | Measures floss so you don’t run short mid-pattern. | Optional, but it saves frustration. |
You do not need a bracelet-making kit, a fancy board or beads for a first attempt. Those are upgrades for once a kid is hooked. If you like low-cost, use-what-you-have projects, this one shares the mindset of Earth Day Crafts for Kids: 15 Projects Made Entirely from Recycled Materials. Friendship bracelets are about as zero-waste as crafting gets, since short scraps become bookmark tassels or bag charms.
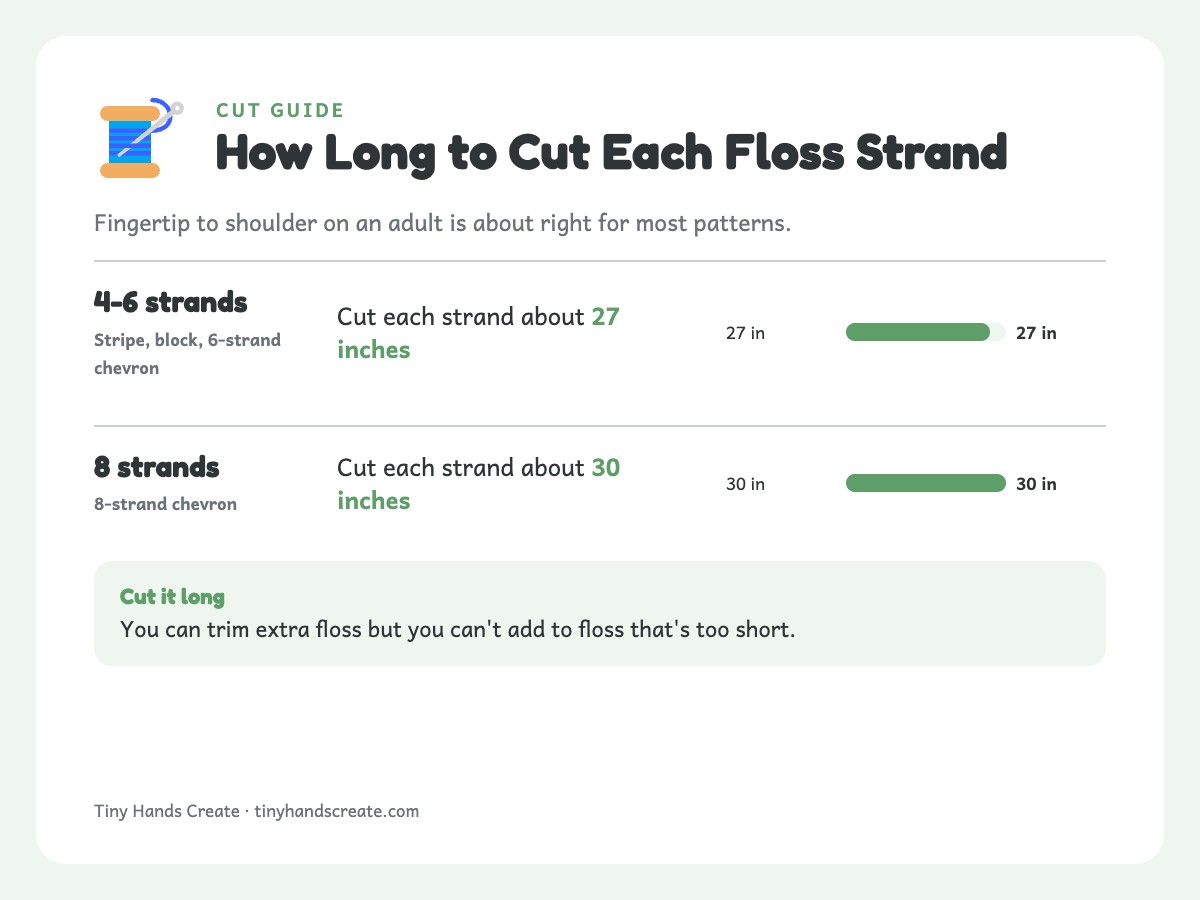
TipFloss math: cut each strand 27-30 inches, roughly fingertip to shoulder on an adult. Chevrons and 8-strand patterns need the longer end. When in doubt, cut it long, because you can trim extra floss but you can’t add to floss that’s too short.
How to Tie Forward and Backward Knots
Most classic friendship bracelet patterns are built from two knots. Once a kid has these down, every pattern in this guide is within reach.
The Forward Knot (F)
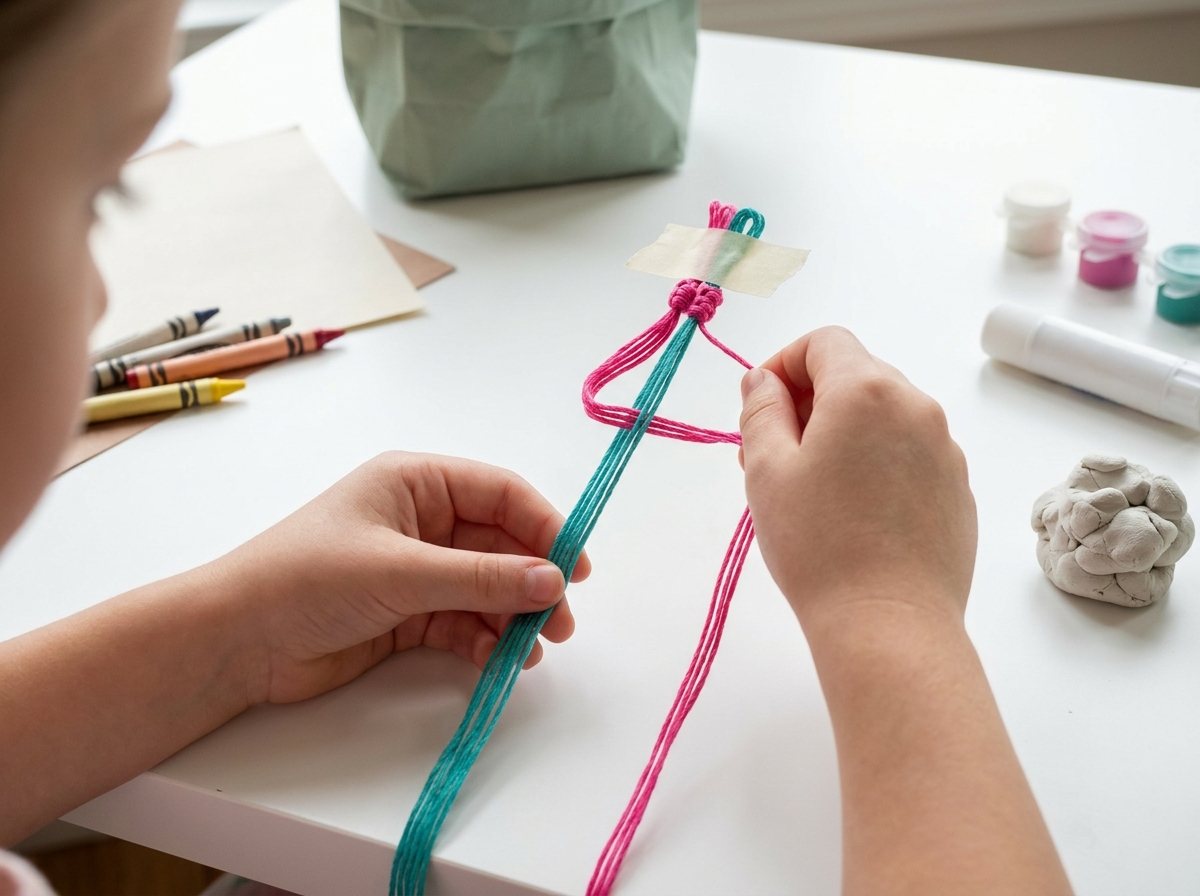
- Name the roles. The left string is the knotting string, and the right string is the anchor. Hold the anchor taut and pointing straight down with your other hand.
- Cross over. Lay the knotting string over the anchor toward the right. The two strings now look like a number 4, with a small gap inside the 4.
- Go under and up through. Bring the end of the knotting string behind (under) the anchor, then up through the gap in the 4.
- Pull up snug. Keep the anchor taut and pull the knotting string straight up. The loop slides up the anchor and sits snug against the row above. That is half a knot.
- Do it again. Tie a second loop with the same two strings, exactly the same way: cross over, go under and up through, pull up. Two loops make one complete forward knot. The knotting string now sits on the right and the anchor on the left.
The Backward Knot (B)
This is the forward knot’s mirror image. The right string is now the knotting string and the left string is the anchor.
- Cross over. Hold the left string (the anchor) taut. Lay the right string (the knotting string) over it toward the left, so the two form a backward 4 with a small gap inside.
- Go under and up through. Bring the end of the knotting string behind (under) the anchor, then up through the gap in the backward 4.
- Pull up snug. Keep the anchor taut and pull the knotting string straight up so the loop sits snug against the row above. That is half a knot.
- Do it again. Tie a second loop with the same two strings, exactly the same way. The knotting string now sits on the left and the anchor on the right.
Good to knowOne knot = two loops. Forward knot: the left string ties over the right one and ends up on the right. Backward knot: the right string ties over the left one and ends up on the left. Whenever a pattern says “knot,” it means the full two-loop knot.
TipDirection matters more than speed. A knot pulled sideways will slide loose or bunch up, and it’s a common reason a bracelet looks messy. Pull straight up toward the ceiling and check that the knot sits flush before the next one. I have kids say “up, not sideways” out loud the first few times. It sounds silly, but it works.
Practice first. Cut two 12-inch strings in different colors so the knot shape is easy to see. Tape them down and have your child tie forward knots for a minute or two.
Check each knot as you go. A finished knot is a small bump in the knotting string’s color, sitting on the anchor, and the two strings have swapped sides. Stop once the knot feels automatic, then try a few backward knots. That short warm-up saves a lot of frustrated unraveling later.
How to Keep Friendship Bracelet Floss From Tangling
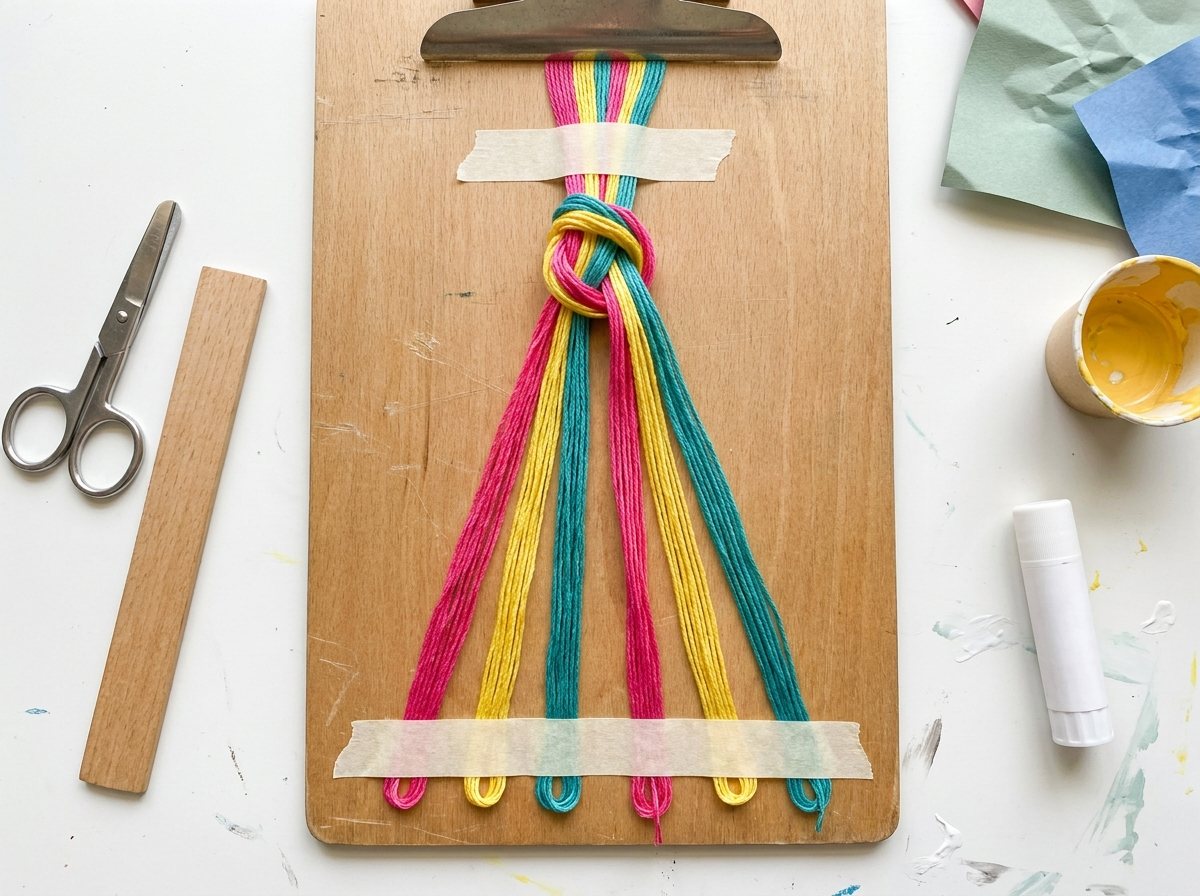
Embroidery floss has one design flaw: it wants to tangle, and it wants to do it the second you look away. A few setup habits make the difference between a calm 20-minute craft session and a floor covered in what looks like a yarn explosion.
- Tape it down first. Gather the strands and tie one overhand knot about 3 inches from the top, leaving tails for tying on later. Tape the knot firmly to a table edge or clipboard so both hands are free for knotting.
- Fan the strands out in pattern order before you tape, left to right. Adults skip this step and kids need it most.
- Corral loose ends. A second small piece of tape across the bottom ends keeps the working strands from sliding around while you’re only partway through.
- Expect floss on the floor. Sweep up snipped ends promptly. For groups, borrow the “set boundaries first” logic from Mess-Free Art Activities for Toddlers: 15 Creative Projects with Zero Cleanup, with a tray, a placemat and a cutting zone.
- Work in short bursts for younger kids. Keep a first attempt to 15-20 minutes, because tired fingers make sloppy knots. A half-finished bracelet is less discouraging than an hour of gritted teeth.
Before you start:
- Cut the floss to length.
- Fan the strands out in pattern order.
- Tape or clip the top knot down.
- Put scissors within reach.
- Lid the bead bowl, if beads are in use.
Easy Friendship Bracelet Patterns for Beginners
| Pattern | Strands | Floss length | Color order | Knots | Knotted length | Age |
|---|---|---|---|---|---|---|
| Easy diagonal stripe | 4 | 27 in | A, B, A, B | Forward only | About 5-6 in, plus tails. | 6+ |
| Two-color block | 6 | 27 in | A, A, A, B, B, B | Forward only | About 5-6 in, plus tails. | 6+ |
| Chevron | 6 or 8 | 27 in (30 in for 8 strands) | A, B, C, C, B, A (mirrored) | Forward and backward | About 5-6 in, plus tails. | 8+ |
Easy Diagonal Stripe Friendship Bracelet (Start Here)
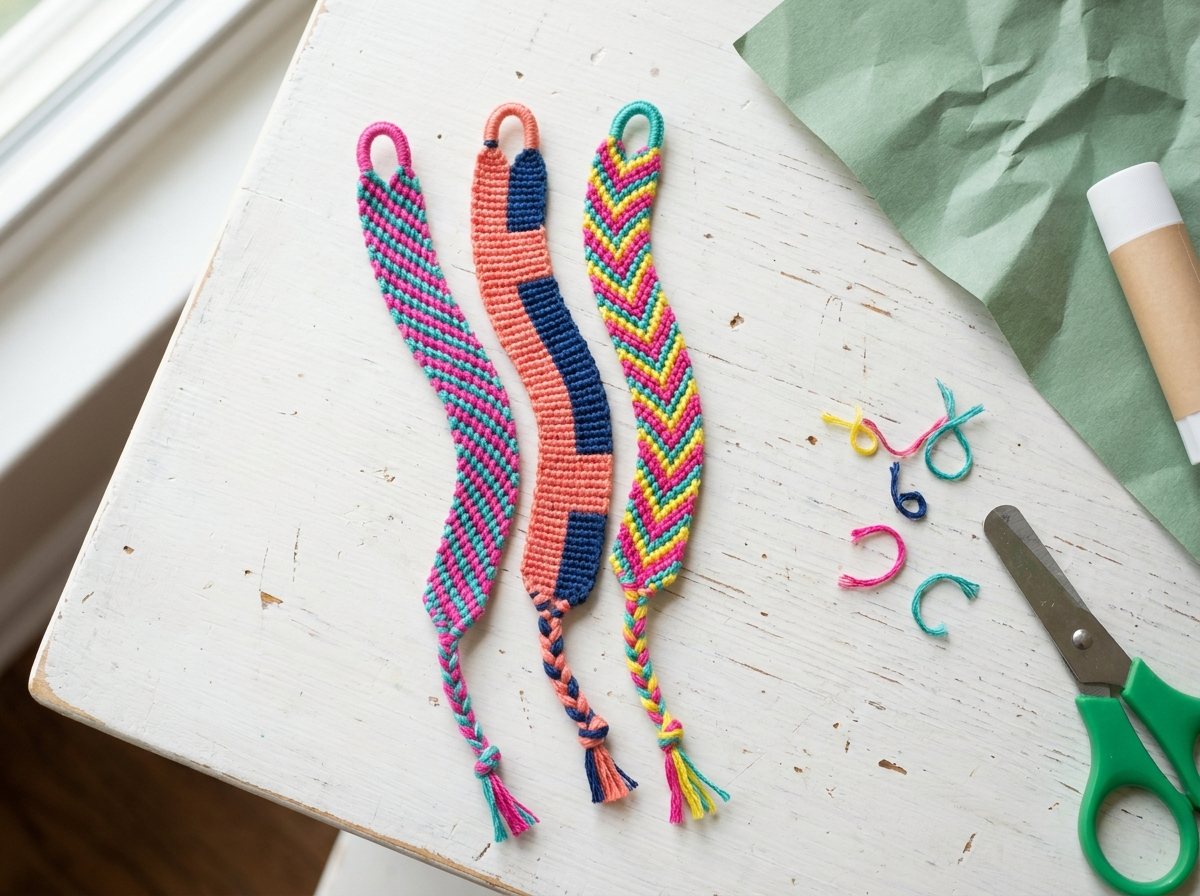
Teach this pattern first. It uses only the forward knot, it looks satisfying almost immediately, and a 6-year-old can finish one. The result is a row of slanted stripes that alternate between your two colors.
What you need: 4 strands of floss, each cut to about 27 inches. Two colors with 2 strands each works well, or use 4 colors for a rainbow effect.
Steps
- Set up. Tape your four strands down in this order: Color A, Color B, Color A, Color B. For a rainbow version, line up four colors in the order you want them to stripe.
- Pick the lead. The leftmost string (the first A) is the lead, and it does all the knotting for this row. Tie a forward knot (two loops) with the lead over the B string just to its right. The lead is now in spot 2.
- Carry it across. Each knot moves the lead one spot to the right. Keep using the same lead and tie a forward knot over the next string to its right, then the next, until it has knotted over all three other strings.
- Check row one. The lead now sits on the far right edge. You should see a slanted line of three A knots, and the strands now read B, A, B, A from left to right (B, C, D, A for a rainbow).
- Start the next row. The string now on the far left (B) becomes the new lead. Knot it over each string to its right the same way until it reaches the right edge. That row makes a B stripe.
- Repeat. Always lead with the leftmost string and use only forward knots. The stripes alternate A, B, A, B and run on a clean diagonal. After 3 rows, check that they all slant the same way.
- Check the length. Stop when the knotted part reaches about 5-6 inches, or wraps the wrist with a small gap left for the tie. Then follow the finishing steps below.
TipMeasure rather than count rows. The row count depends on how snug the knots are, so hold the bracelet around the wrist every few rows. Knotting uses up floss fast, so if the tails below the work get shorter than about 6 inches, stop and finish.
This pattern is forgiving because the diagonal stripe hides small mistakes, so it builds confidence instead of frustration.
How to Finish and Tie On a Friendship Bracelet
These steps work for all three patterns in this guide.
- Knot the end. Tie one overhand knot across all the strands, right below the last row.
- Trim evenly. Cut the tails to 4-6 inches, all the same length.
- Braid. Split the strands into three groups and braid 3-4 inches, then tie an overhand knot at the end of the braid.
- Tie on. Untape the top. The tails above the top knot are the other half of the tie. Wrap the bracelet around the wrist and tie the braided tails to the top tails with a bow or a square knot. Leave room to slip a finger underneath.
Two-Color Block Friendship Bracelet Pattern
This is not a new technique. It is the same forward-knot method with a different color layout. The result is the same diagonal, but with wider bands of color instead of thin alternating stripes. Each row takes a little longer, since six strands mean five knots per row instead of three.
What you need: 6 strands, 3 of Color A and 3 of Color B, cut to about 27 inches each. More strands need a bit more length.
Steps
- Set up. Tape the strands left to right: A, A, A, B, B, B.
- Knot across. Just like the easy diagonal stripe, the leftmost string is the lead. It forward-knots over every string to its right until it reaches the right edge, which is 5 knots.
- Next lead. The new leftmost string becomes the lead and knots across the same way.
- Check the bands. The first 3 rows are led by A strands, so they make one wide A band. The next 3 rows are led by B strands and make a wide B band, and then it repeats. Grouping the colors instead of alternating them is the only difference from the stripe.
This makes a great second bracelet, because a kid who just learned the forward knot has nothing new to learn. They get to see how changing the color order changes the final look. The knot technique and the color layout are two separate decisions, and mixing them is most of the hobby.
Chevron Friendship Bracelet Pattern
The chevron is the pattern most kids ask to learn next, because it looks the most impressive: a symmetrical V or arrow running down the center. It uses both knots, so it’s a “you’ve graduated” pattern.
What you need: 6 or 8 strands in mirrored colors, cut to about 27 inches for 6 strands or 30 inches for 8. With 6 strands, use A, B, C, C, B, A. With 8 strands, use A, B, C, D, D, C, B, A.
Steps
- Set the strands. Tape them in mirrored order, A, B, C, C, B, A for 6 strands, so the left half matches the right half in reverse. The two outside A strands are your first knotting strings.
- Work in from the left. The outside left strand (A) is the knotting string. Tie a forward knot (two loops) over B, then over C, and over D if you’re using 8 strands. Stop there: A now sits just left of center. That’s 2 knots with 6 strands, 3 with 8.
- Work in from the right. The outside right strand (the other A) is the knotting string. Tie a backward knot (two loops) over B, then over C, and over D with 8 strands. It now sits just right of center. Again, that’s 2 knots with 6 strands, 3 with 8.
- Close the V. The two A strands now sit side by side in the middle, and the C strands have moved out beside them. Tie one forward knot with the left A over the right A. That single knot forms the point of the V. The two A strands swap places, but since they match, nothing looks different.
- Check row one. The strands now read B, C, A, A, C, B from left to right (B, C, D, A, A, D, C, B with 8 strands), with a V of A knots across the top.
- Repeat from the edges. The two outside strands (both B now) become the new knotting strings. Repeat steps 2-4 with them to tie a B V just below the A V. The C strands lead the row after that, then the A strands again.
Use this row-by-row check for a 6-strand chevron. After every third row, the strands are back in their starting order, which makes mistakes easy to catch.
| Row | Knotting strings | Order after the row | V color |
|---|---|---|---|
| 1 | A and A | B, C, A, A, C, B | A |
| 2 | B and B | C, A, B, B, A, C | B |
| 3 | C and C | A, B, C, C, B, A | C |
| 4 | A and A | B, C, A, A, C, B | A |
This pattern takes patience. Kids 8-10 usually need an adult beside them for the first row or two, and many kids 11 and up can work alone. It also looks like more effort went into it, which makes it a favorite for trading. Finish it with the same steps as the stripe.
Friendship Bracelet Troubleshooting: Quick Fixes
Every kid hits the same handful of snags. Here’s the quick fix for each one.
| Problem | Likely Cause | Fix |
|---|---|---|
| Knots keep sliding loose or coming undone | Pulled sideways instead of straight up, or only one loop tied. | Re-teach “up, not sideways.” Check that every knot has two loops before moving to the next string. |
| Pattern looks lumpy or uneven | Knots pulled too tight in some spots and too loose in others. | Aim for steady, moderate tension, not white-knuckle tight. |
| Floss keeps tangling below the work area | Loose ends not secured. | Add a second piece of tape across the bottom ends, or clip them with a binder clip. |
| Lost track of which string is which color | No fixed anchor point. | Tape the top knot to a clipboard or table edge instead of holding it. |
| Bracelet is too short or too long | Didn’t check the fit while knotting. | Hold the bracelet around the wrist every few rows. Cut floss a little long, because you can trim it but not extend it. |
| Chevron V looks lopsided or the colors are out of order | A wrong knot on one half, a missing second loop, or a row started from the wrong strands. | Forward knots on the left half, backward knots on the right. Compare the strand order to the row-by-row table and undo back to the last row that matched. |
| Kid wants to quit halfway through | Fatigue, frustration or a pattern that was too advanced. | Stop for the day and tape the work down so it doesn’t unravel. Try a simpler pattern next time. |
TipLet them make an ugly first bracelet. Uneven knots, a pattern that drifts to one side and tension that loosens halfway through don’t matter on a first attempt. Building the muscle memory is the real goal. The pretty bracelet is usually number three or four, not number one.
Trading, Gifting and Storing Friendship Bracelets
Many kids treat a bracelet as a gift, so asking for it back is considered rude. If your kid wants to trade, make a few extras in advance.
A friendship bracelet also makes a sweet locker or backpack accessory. For more first-week projects, see Back-to-School Crafts for Kids: DIY Backpack Tags, Pencil Toppers, and Locker Decor. Making a gift for a teacher? A hand-tied bracelet fits right alongside the ideas in 10 Heartfelt DIY Teacher Gifts Kids Can Actually Make Themselves.
Storing Floss
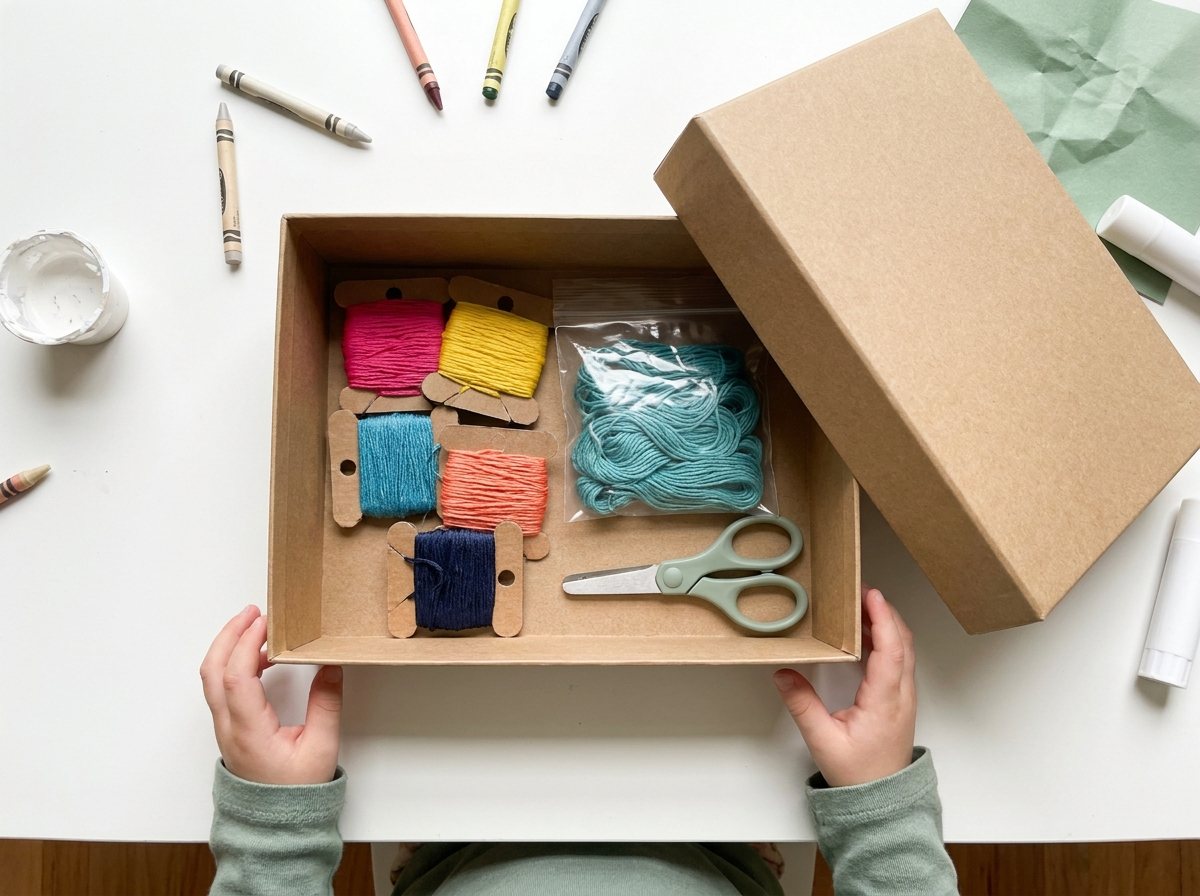
A little organization keeps floss from tangling between sessions:
- Cardboard floss bobbins keep colors separate. Wind each color around a notched cardboard rectangle, and use scraps from Cardboard Box Crafts for Kids: 25 Amazing Creations from Free Materials.
- A pencil box or shoebox with a lid keeps loose floss, scissors, and works-in-progress contained between sessions.
- Zip-top bags, one per color, are the low-effort version. They’re easy for a kid to manage alone.
Frequently Asked Questions
What age can kids start making friendship bracelets?
Most kids can start floss knotting around age 6. Kids 3-4 can finger knit with chunky yarn while an adult sits beside them. Pony beads start at age 5, with an adult watching, and only for kids who no longer put small things in their mouths.
How long does it take to make a friendship bracelet?
A simple diagonal stripe usually takes a beginner 20-40 minutes, spread across one or two sessions since young hands tire out. A chevron can take an hour or more for a first attempt. Experienced kids get much faster with practice.
What’s the easiest friendship bracelet pattern for a total beginner?
The easy diagonal stripe is the easiest, since it uses only the forward knot repeated in the same direction, row after row. It’s forgiving of uneven tension and looks good even with a beginner’s imperfect knots.
How much embroidery floss do I need for one bracelet?
Cut each strand about 27 inches for 4-6 strand patterns and about 30 inches for an 8-strand chevron. That’s roughly fingertip to shoulder on an adult if you don’t have a ruler handy. It’s always better to cut a bit long and trim the excess than to run short mid-pattern.
My child’s bracelet keeps coming undone — what’s going wrong?
Usually it’s direction or a missing second loop. Pull each knot straight up, and make sure every forward or backward knot has two loops.
Do you need a special board or kit to make friendship bracelets?
No. Tape and a table edge, or a plain clipboard, work as well as a dedicated board. Kits are a nice upgrade once a kid is hooked.
How do you finish and tie off a friendship bracelet?
Tie one overhand knot below the last row, trim the tails to 4-6 inches and braid 3-4 inches of them. Then tie the braid to the top tails around the wrist, leaving room for a finger underneath.
What’s the friendship bracelet etiquette kids should know?
Many kids treat a friendship bracelet as a gift, so asking for it back is considered rude. It’s fine to take one off for sports, swimming, sleep or school rules.