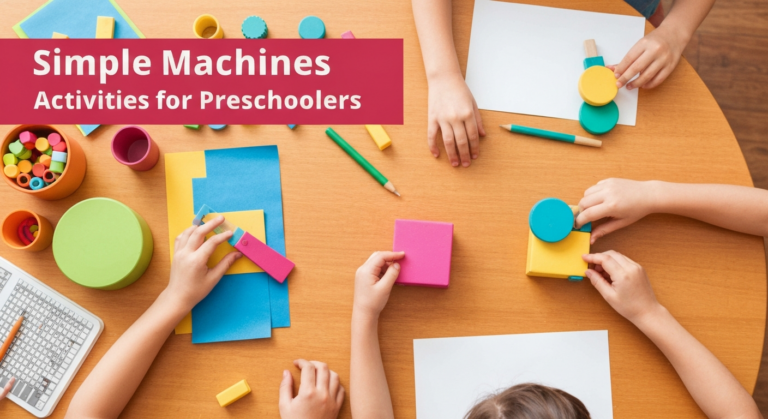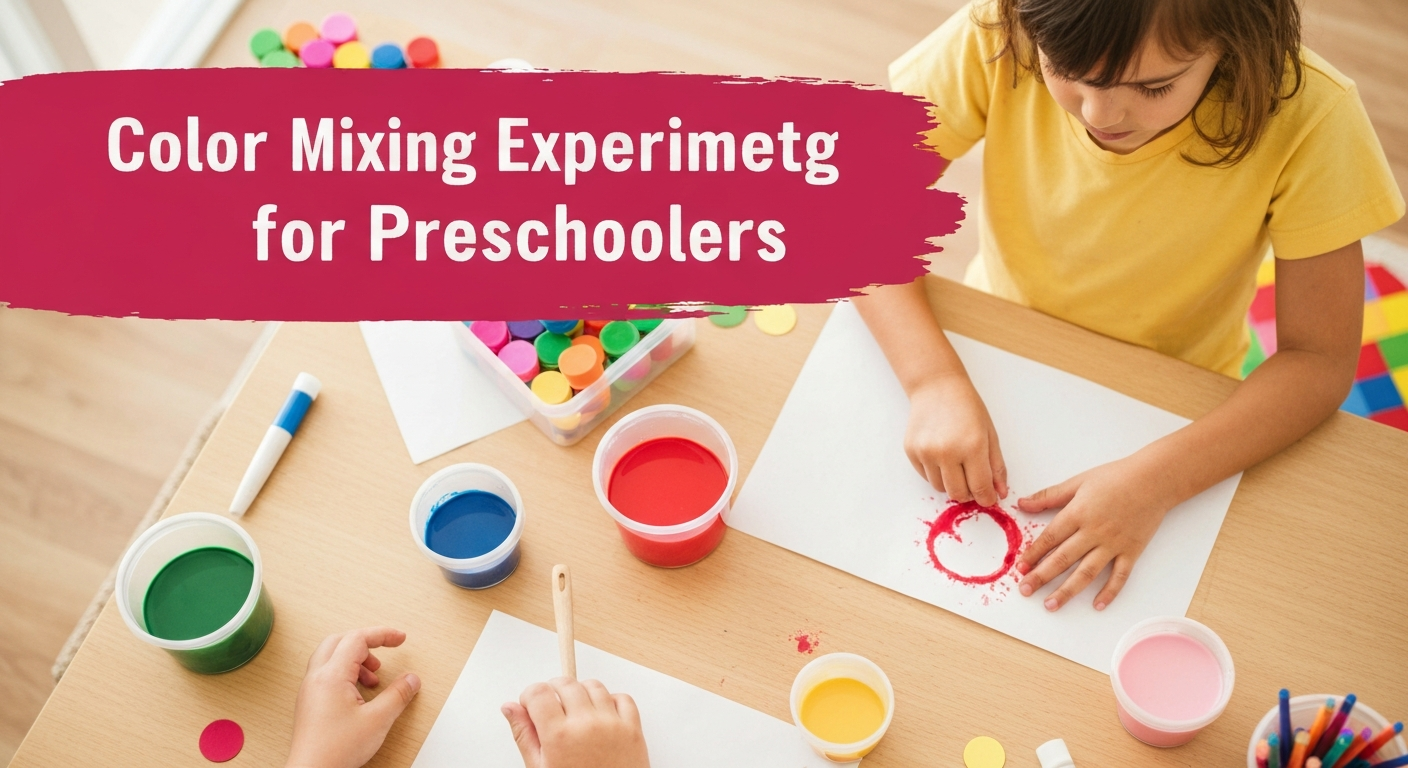
Color Mixing Experiments for Preschoolers
Discover how color mixing can be a powerful science experiment for preschoolers, engaging their senses and scientific thinking. You'll learn to introduce primary colors and find simple, engaging experiments for your child.
- Treat color mixing as a science experiment, not just art.
- Introduce primary colors (red, yellow, blue) as "boss colors."
- Focus on three key primary color combinations first.
- Try ziplock bag color mixing for a mess-free, vivid experiment.
- Use discovery bottles for contained, slow-motion color blending.
The Gasp That Started My Favorite Science Unit
I will never forget the look on four-year-old Maya’s face when she squeezed yellow paint into blue and watched green appear for the first time. Her eyes went wide, her jaw dropped, and she whispered, “It’s MAGIC.” She called every other child over to see, and for the next forty-five minutes, my entire class mixed colors with the intensity of research scientists. That single moment taught me that color mixing is not just an art activity. It is a child’s first real science experiment, complete with hypotheses, tests, and results that genuinely surprise them.
Color mixing experiments are one of the most powerful teaching tools in early childhood education because they engage multiple senses, produce instant visible results, and naturally prompt scientific thinking. Children predict, observe, record, and discuss. And they do it all while having the time of their lives getting gloriously messy. Here are my favorite color mixing experiments, organized from simplest to most complex, along with the materials and setup tips that make each one work beautifully.
Understanding Primary and Secondary Colors First
Before diving into experiments, take a moment to introduce the concept of primary colors in a way preschoolers can grasp. I always tell my students: “There are three boss colors that cannot be made by mixing anything else together. They are red, yellow, and blue. But when two boss colors get together, they create a brand new color.”
The three key combinations to explore:
- Red + Yellow = Orange
- Yellow + Blue = Green
- Red + Blue = Purple
I recommend focusing on these three combinations first and letting children discover each one through hands-on experimentation before introducing more complex mixing like creating brown, pink, or different shades. Mastering the basics gives children a foundation of confidence and understanding that makes advanced mixing feel like an exciting next level rather than an overwhelming leap.
Beginner Experiments: Minimal Mess, Maximum Wonder
These experiments are perfect for children ages 2 through 4 or for any setting where you need to keep mess contained.
Ziplock Bag Color Mixing
Materials: Gallon-size ziplock bags, primary-colored paint (red, yellow, blue), painter’s tape
Place two generous dollops of different primary colors inside a ziplock bag. Squeeze out the air and seal it completely. Reinforce the seal with painter’s tape across the top. Tape the bag to a window at child height so light shines through. Let your child press, squish, and push the paint around inside the bag. They watch the two colors swirl and merge into a new color without ever touching the paint directly.
Why it works: The backlit window makes the color transformation vivid and dramatic. The contained mess means even the most paint-averse parent can relax. Make three bags, one for each primary combination, and tape them in a row for a complete color mixing investigation station.
Color Mixing Discovery Bottles
Materials: Clear plastic water bottles, water, food coloring, vegetable oil, clear glue or corn syrup (optional for slow-motion mixing)
Fill a bottle halfway with water tinted one primary color. Slowly add water tinted a second primary color. Cap the bottle tightly and let your child shake, tilt, and swirl. For a slow-motion version, fill the bottle one-third with corn syrup tinted blue, one-third with water tinted yellow, and leave the top third as air space. The different densities create mesmerizing layered mixing when tilted.
Ice Cube Color Mixing
Materials: Ice cube trays, food coloring, water, a white tray or baking sheet, salt (optional)
Make ice cubes in primary colors by adding food coloring to water before freezing. Place two different colored ice cubes next to each other on a white tray. As they melt, the colors flow together and create a new color where they meet. Sprinkle salt on the ice to speed up melting and create interesting texture. This experiment teaches color mixing while also introducing concepts about states of matter and temperature.
Intermediate Experiments: Getting Hands Messy
These projects embrace the glorious mess of hands-on color exploration and are best done at an art table with smocks and a plastic tablecloth.
Walking Water Rainbow
Materials: 6 clear cups or glasses, water, red, yellow, and blue food coloring, paper towels
This is one of the most visually stunning experiments you can do with preschoolers. Arrange six cups in a row. Fill cups 1, 3, and 5 with water. Add red food coloring to cup 1, yellow to cup 3, and blue to cup 5. Cups 2, 4, and 6 stay empty. Fold paper towels into strips and drape one end in a full cup and the other end in the neighboring empty cup, creating bridges between each cup.
Over the next one to four hours, the colored water climbs up the paper towels through capillary action and drips into the empty cups. Cup 2 receives red and yellow water, creating orange. Cup 4 receives yellow and blue, creating green. Cup 6 receives blue and red, creating purple. Children can check back throughout the day and witness the slow, magical transformation.
Fizzing Color Mix
Materials: Baking soda, white vinegar, food coloring, a muffin tin or ice cube tray, pipettes or eyedroppers
Fill each well of a muffin tin with baking soda. Prepare small cups of vinegar tinted with primary colors using food coloring. Give children pipettes or eyedroppers, my favorite fine motor tool, and let them drop colored vinegar into the baking soda. It fizzes and bubbles dramatically. When they drop two different colors into the same well, the fizzing reaction mixes the colors before their eyes.
This experiment is extraordinary because it combines color mixing with a chemical reaction. The fizzing captures attention so completely that children will repeat this for 20 to 30 minutes without stopping. The pipettes build the pincer grasp needed for writing.
Shaving Cream Color Swirl
Materials: White shaving cream (non-menthol), food coloring or liquid watercolors, toothpicks or craft sticks, a tray or table surface
Spread a thick layer of shaving cream on a tray. Drop dots of primary-colored food coloring across the surface. Give children toothpicks or craft sticks to swirl, drag, and mix the colors through the cream. The white cream makes the colors vivid and the swirling patterns are endlessly beautiful. Press a piece of white paper on top, lift it off, and scrape away the cream to reveal a marbled color print.
Advanced Experiments: Deep Color Exploration
These activities push color mixing into deeper scientific territory and are perfect for children ages 4 through 6 who have mastered the basics.
Chromatography Experiment
Materials: Coffee filters or white paper towels, washable markers in various colors (especially brown, black, green, and purple), cups of water, clothespins
Draw a thick line of color about one inch from the bottom of a coffee filter strip. Clip the strip to a pencil with a clothespin and rest the pencil across a cup so the very bottom edge of the filter touches the water but the marker line stays above the waterline. As water travels up the filter, it separates the marker ink into its component colors. Children discover that brown marker is actually made of red, blue, and yellow. Green separates into blue and yellow. Purple separates into red and blue.
This experiment reveals that many colors are mixtures of hidden colors, which genuinely blows preschool minds. It also introduces the real scientific technique of chromatography in an accessible way.
Color Mixing Journal
Materials: Small blank journal or stapled pages, paint, brushes, and pencils
Give each child a color mixing journal. On each page, they paint a small swatch of one color on the left, a plus sign in the middle, a swatch of a second color, an equals sign, and then the resulting mixed color on the right. Over days and weeks, their journal fills with documented experiments. Encourage children to try mixing three colors, adding white for tints, and adding black for shades.
This journal becomes a reference guide they created themselves and teaches early documentation and recording skills that mirror real scientific practice.
Mess Management and Cleanup Strategies
Color mixing experiments are inherently messy, but smart setup makes cleanup painless rather than dreaded.
- Lay down protection first: A dollar-store plastic tablecloth or an old shower curtain under the work area catches 90 percent of spills.
- Use smocks every time: Food coloring stains fabric permanently. Old adult t-shirts worn backwards are the best free smocks available.
- Keep a wet towel station: Place a stack of damp washcloths nearby so children can wipe hands between experiments without running to the sink constantly.
- Choose washable options when possible: Washable liquid watercolors and washable tempera paint clean up far more easily than food coloring. Reserve food coloring for experiments where its intense pigment is necessary, like the walking water demonstration.
- Make cleanup part of the experiment: Washing paint trays in a tub of soapy water is itself a color mixing moment. Watch the rinse water change colors as you clean.
Color mixing experiments spark a scientific mindset in children long before they can spell the word science. Every time they predict what two colors will make and then test their prediction, they are practicing the scientific method. Every time they discover an unexpected result, they are learning that experiments do not always go as planned, and that is what makes them exciting. Set up one of these experiments today and watch your little scientist’s face light up when the magic of color unfolds right in their hands.