How to Draw a Kid in a Robot Costume (Easy Step by Step)
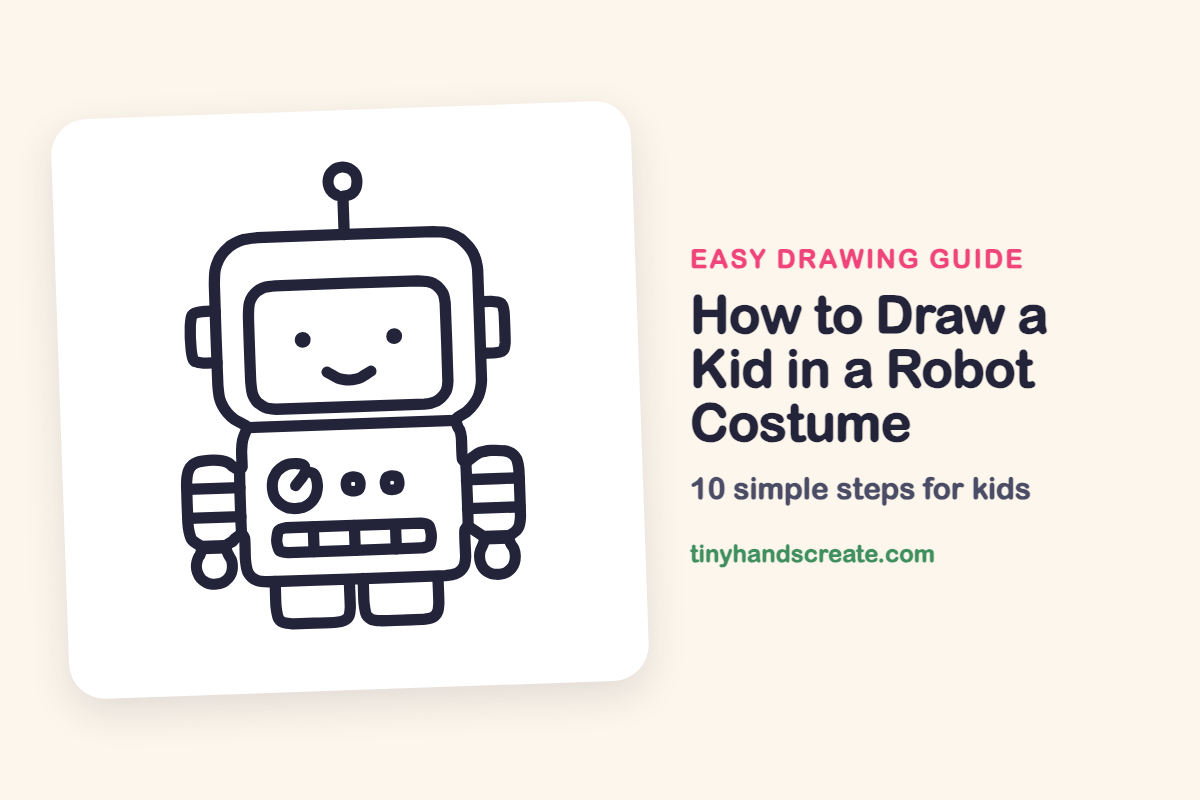
A kid in a robot costume is a friendly drawing made almost entirely from rectangles and circles. The helmet, body, arms and feet are all rounded boxes, so it is a great way to practice straight lines and soft corners. The smiley face and chest buttons are what give it so much personality.
- Easy
- 15 minutes
- 10 steps
You need: paper, a pencil, an eraser, and crayons or markers for coloring.
Start drawingIn this article (7 sections)
How to draw a kid in a robot costume step by step
How to Draw a Kid in a Robot Costume · tinyhandscreate.com
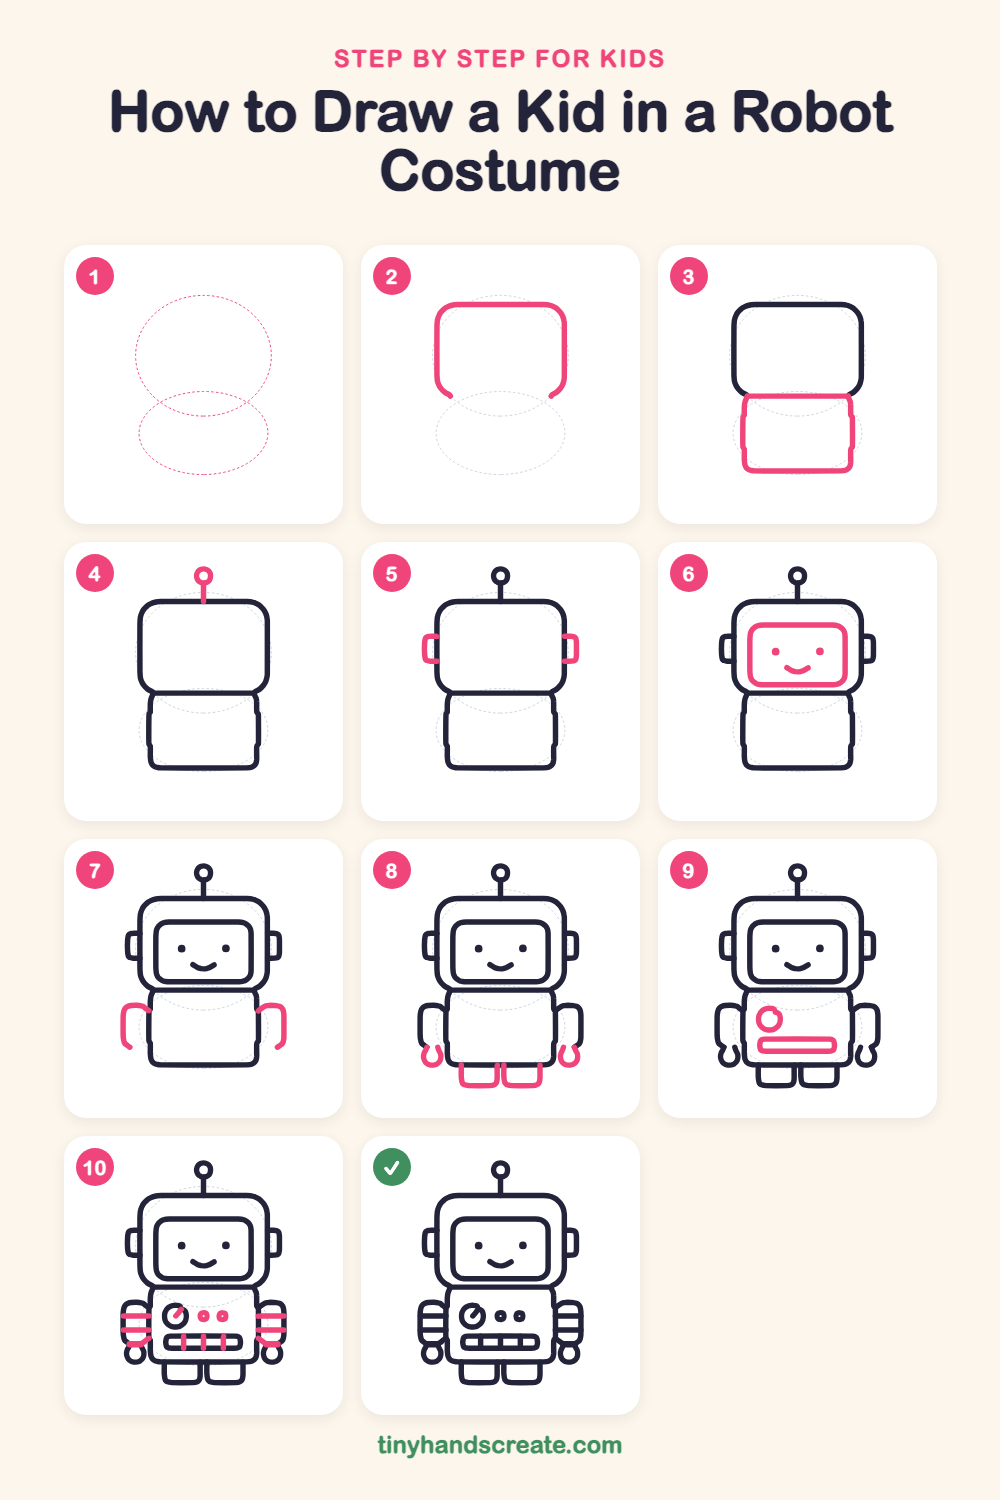
Step 1: Guide shapes
Lightly sketch these 2 ovals. They only show where the big parts go, so press softly. You will erase them at the end.
Step 2: The helmet head
Draw a big rounded square for the robot helmet, like a TV with soft corners. Leave the bottom open, with the two sides curling in a little at the ends.
Step 3: The body box
Under the helmet, draw a smaller rounded box for the costume body. Its top edge is a straight line across the open bottom of the helmet.
Step 4: Antenna
Draw a short straight line going up from the middle of the top of the helmet. Put a small circle on top, like a lollipop.
Step 5: Ear pieces
On each side of the helmet, draw a little rounded bracket shape, like a headphone. Start and end each one on the helmet line.
Step 6: Visor and smile
Inside the helmet, draw a wide rounded rectangle for the visor window. Then add two dots for eyes and a small curved smile underneath.
Step 7: Blocky arms
Beside the body, draw a tall rounded bracket shape on each side for the arms. Start each one near the top of the body and curve it down along the side.
Step 8: Hands and feet
Draw a small U-shaped loop hanging from the bottom of each arm for a hand. Then draw two short boxes with no top under the body for the feet.
Step 9: Dial and speaker
On the chest, draw a small circle for the dial. Then draw a long rounded bar below it for the speaker.
Step 10: Buttons and stripes
Add a little line inside the dial like a clock hand, and two small round buttons beside the dial, each with a tiny dot in the middle. Finish with two stripes across each arm and short lines dividing the speaker.
All done!
Erase the guide shapes, go over your lines, then color it in.
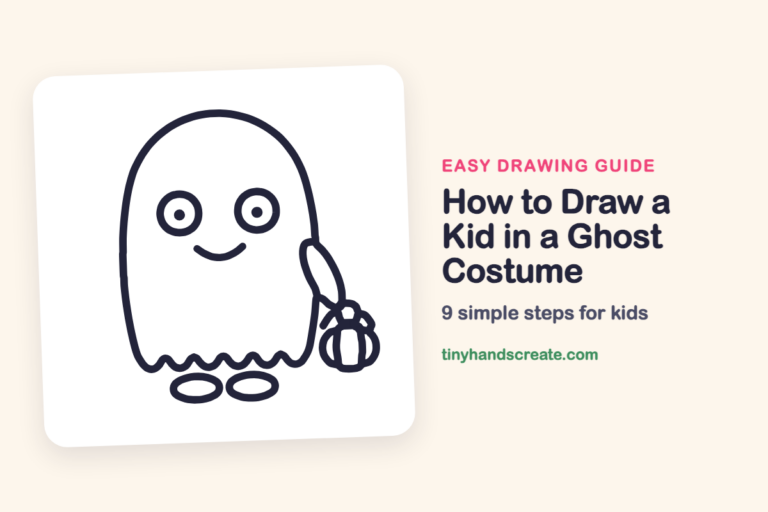
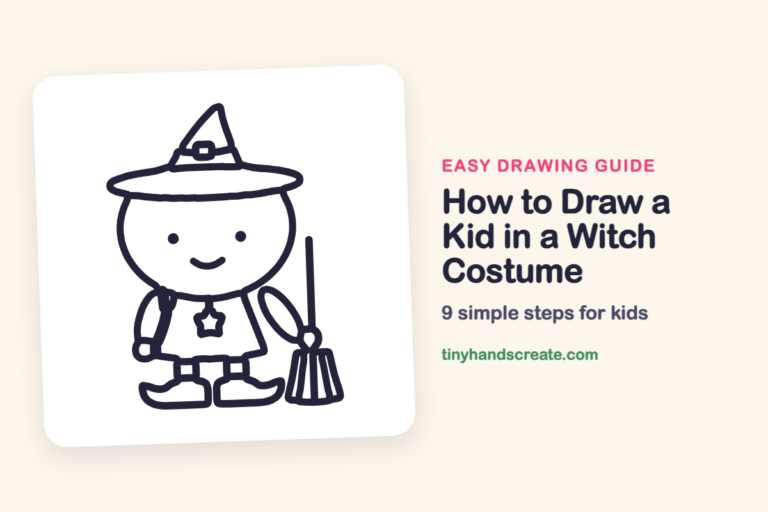
Finished your kid in a robot costume? Keep the pencils out and learn how to draw a kid in a ghost costume or how to draw a kid in a witch costume next.
Tips for drawing a kid in a robot costume
- Draw the helmet and body as light boxes first, then round off the corners. It is easier to soften a square than to draw a perfect rounded one.
- Keep the visor window about the same distance from the helmet edge on every side. An even border makes the helmet look neat.
- The stripes on the arms are the trickiest part. Draw two straight lines across each arm and stop them right at the edges.
Free kid in a robot costume coloring page
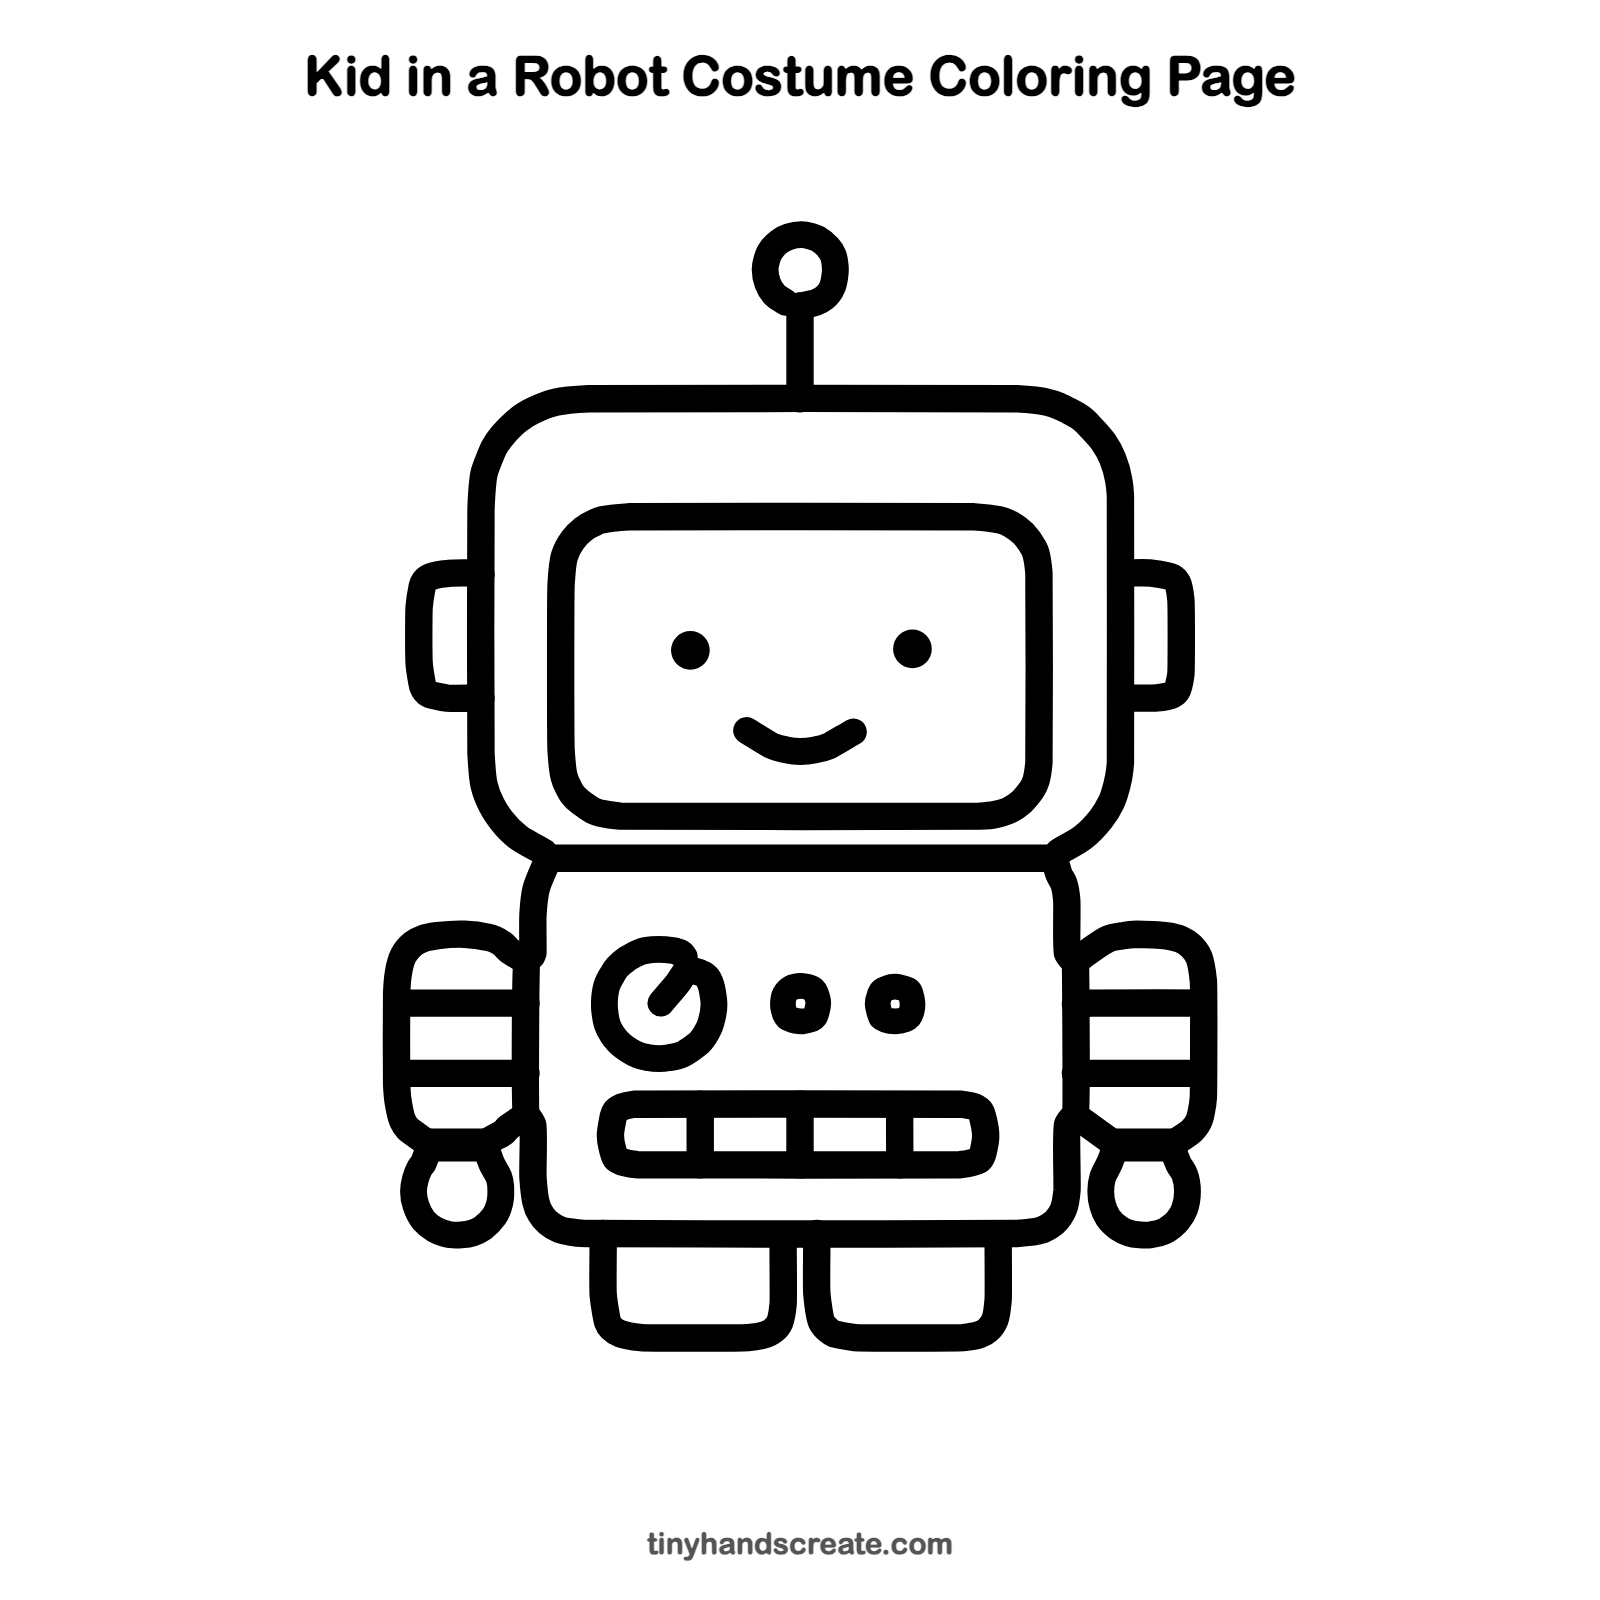
Want to go straight to coloring? Open this kid in a robot costume coloring page at full size and print it. It is the same drawing you just learned, with clean lines ready for crayons or markers.
How to color your kid in a robot costume drawing
Try silver or light blue for the costume, with a bright yellow antenna and red buttons. For a creative twist, give the visor a glowing rainbow screen or add your own name on the chest.
Kid in a robot costume fun fact for kids
The word robot comes from the Czech word robota, which means forced labor or hard work. It became popular after Karel Capek used it in his 1920 play R.U.R.
Questions about drawing a kid in a robot costume
What shapes do I need to draw a kid in a robot costume?
You need rounded rectangles for the helmet, body, visor, arms and feet. Circles make the antenna, dial and buttons, and small loops make the hands.
How do I make my robot look cuter?
Make the head big and the body small, and give it two dot eyes with a curved smile. Round corners also make it look friendlier.
How can I make the robot's arms look even?
Draw one arm first, then match the second arm to it at the same height and width. Checking both sides as you go keeps them balanced.