How to Draw a Roast Turkey (Easy Step by Step)
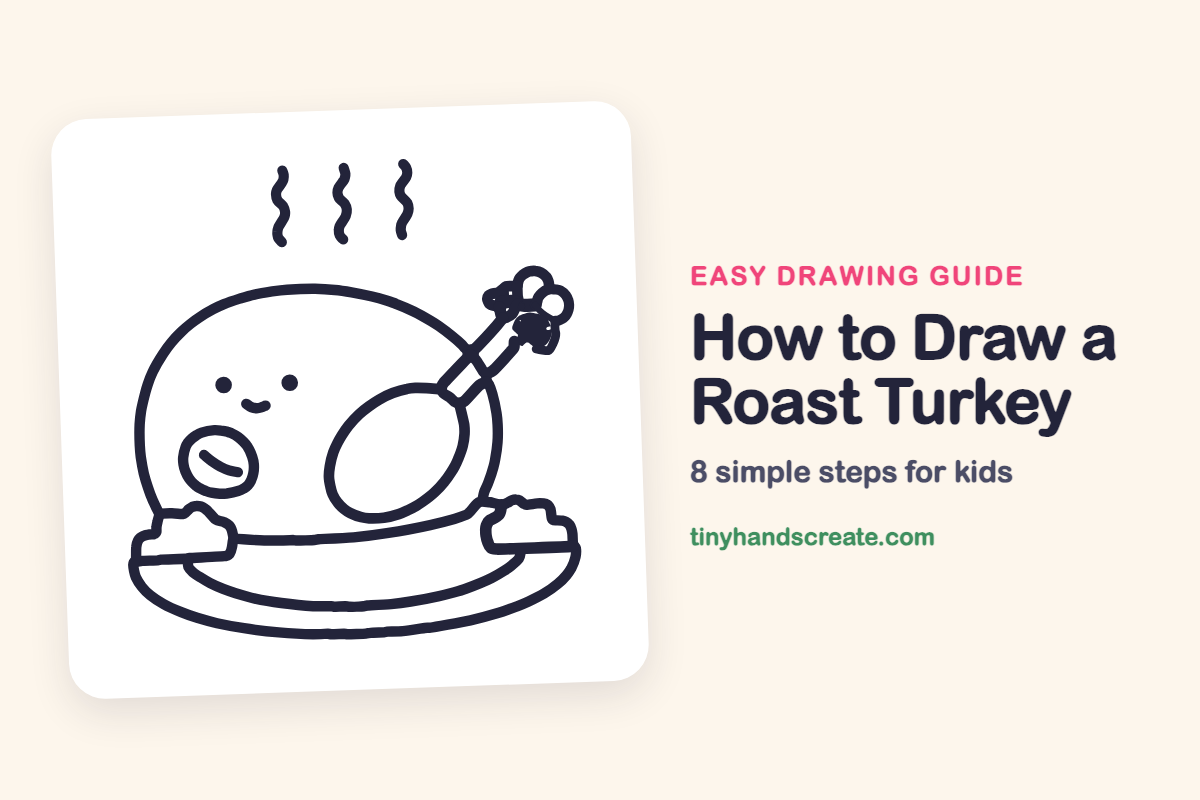
This cute roast turkey sits on a plate with a smiling face and steam rising above it. It is built from simple shapes: a big dome, an oval drumstick, a small oval wing, and a wide flat plate. Kids can have fun giving a dinner table star its own personality.
- Medium
- 15 minutes
- 8 steps
You need: paper, a pencil, an eraser, and crayons or markers for coloring.
Start drawingIn this article (7 sections)
How to draw a roast turkey step by step
How to Draw a Roast Turkey · tinyhandscreate.com
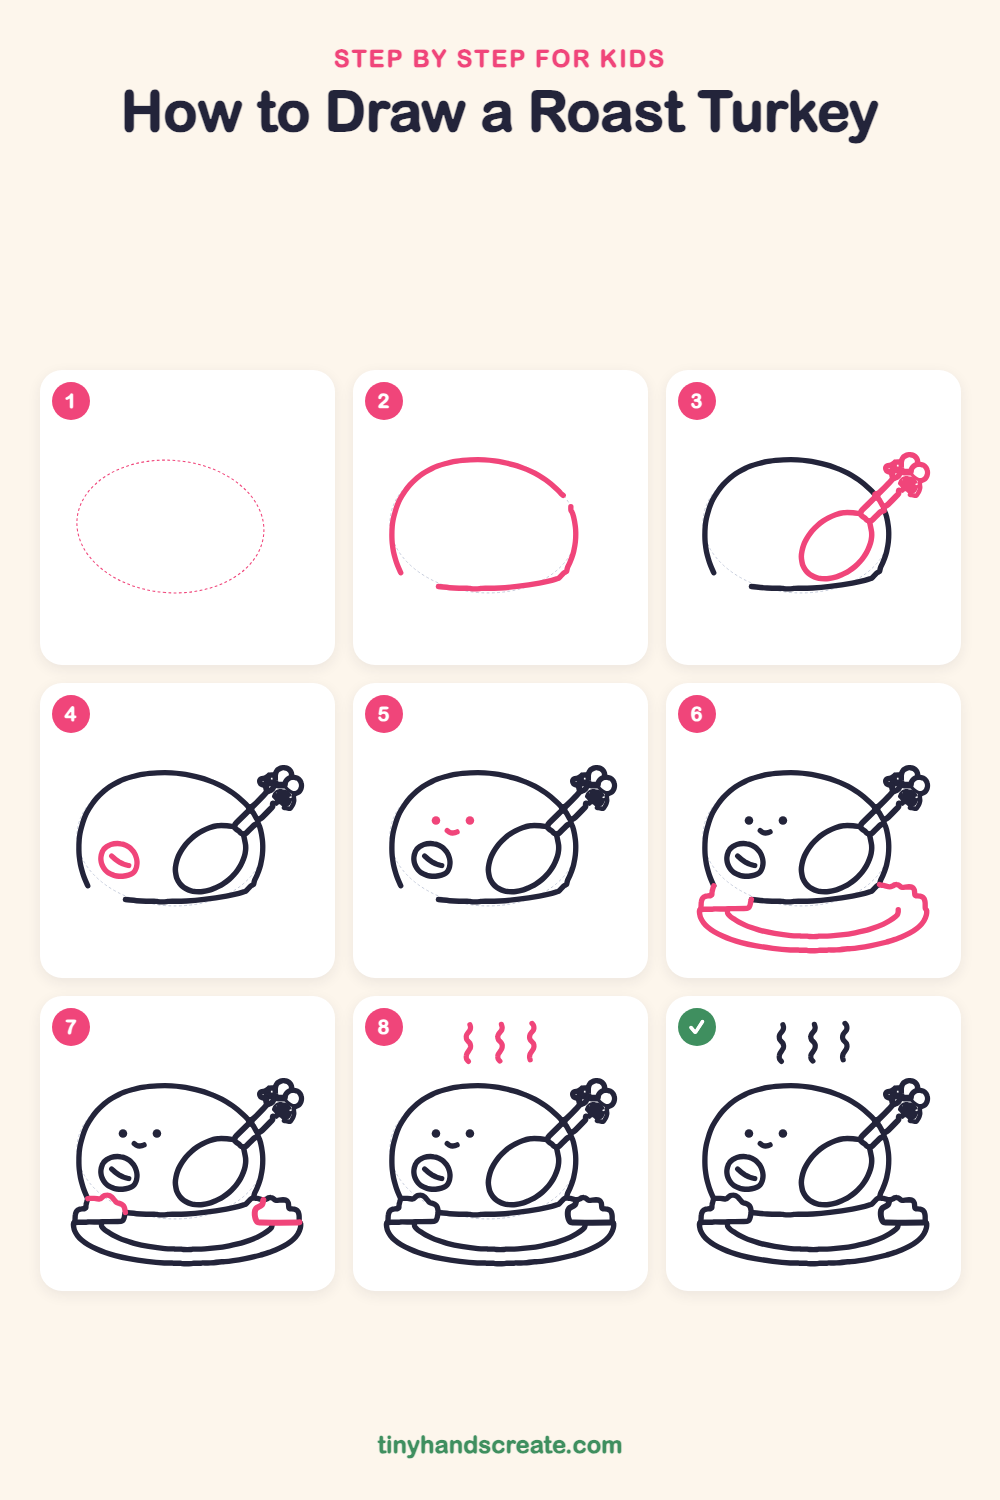
Step 1: Guide shapes
Lightly sketch this oval. It only shows where the big parts go, so press softly. You will erase it at the end.
Step 2: The round body
Draw a big dome like a half circle, with a gently curved line across the bottom to close it. Make it wide and tall so it fills most of the page.
Step 3: The drumstick
On the right side of the body, draw a big tilted oval. From its top, draw two straight lines going up and to the right, then finish with a few small bumpy circles at the end for the bone.
Step 4: The little wing
On the left side of the body, draw a small oval. Inside it, add one short curved line like a smile lying on its side.
Step 5: The happy face
Near the top left of the body, draw two small dots for eyes. Add a tiny curved smile between them and just below.
Step 6: The serving plate
Under the turkey, draw a wide, flat oval for the plate. Inside it, add a smaller curved line along the top edge. Then add a short flat ledge on the left and right ends where the plate meets the turkey.
Step 7: The fluffy trimmings
On the left and right ends of the plate, draw a small bumpy lump with a few rounded bumps on top. Sit each lump on the flat ledge so it looks tucked against the turkey.
Step 8: Wavy steam
Above the turkey, draw three wiggly lines that go up like snakes. Keep them about the same height and space them evenly so the steam looks like it is rising.
All done!
Erase the guide shapes, go over your lines, then color it in.
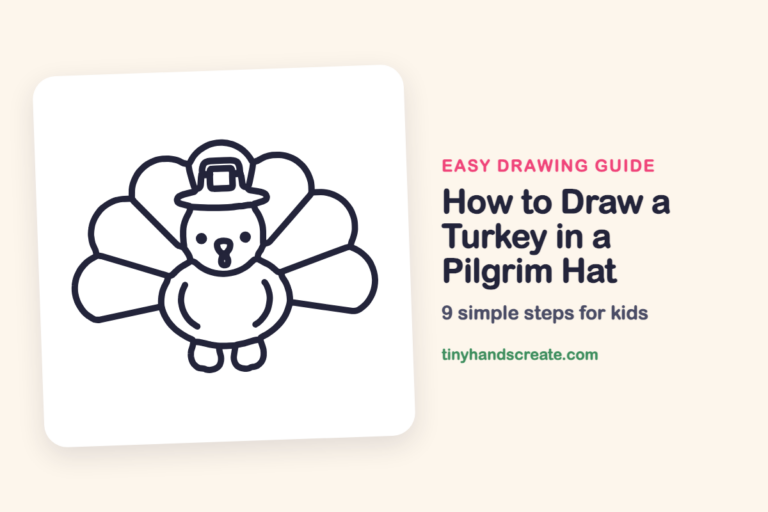
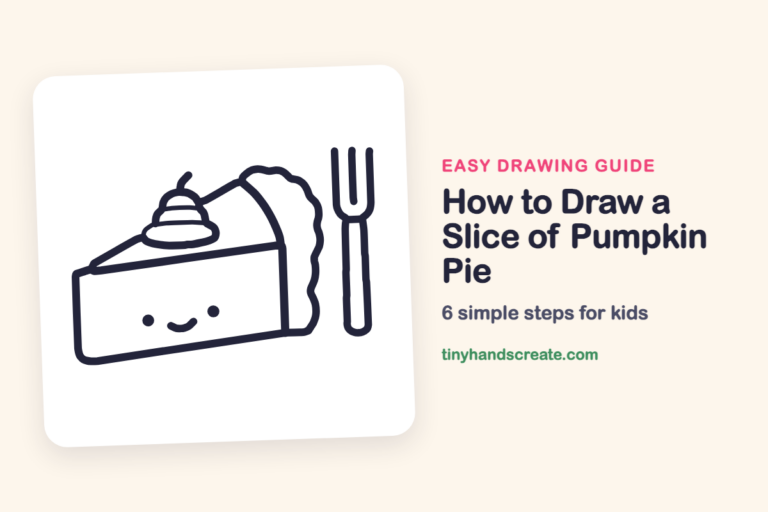
Finished your roast turkey? Keep the pencils out and learn how to draw a turkey in a pilgrim hat or how to draw a slice of pumpkin pie next.
Tips for drawing a roast turkey
- Draw the body dome large and light first. Everything else sits on or around it, so a good dome makes the rest easy.
- The drumstick bone end is the trickiest part. Think of it as a few small circles clustered together and do not worry about making them perfect.
- Keep the face small near the top left. Tiny dots and a small smile look much cuter than big ones.
Free roast turkey coloring page
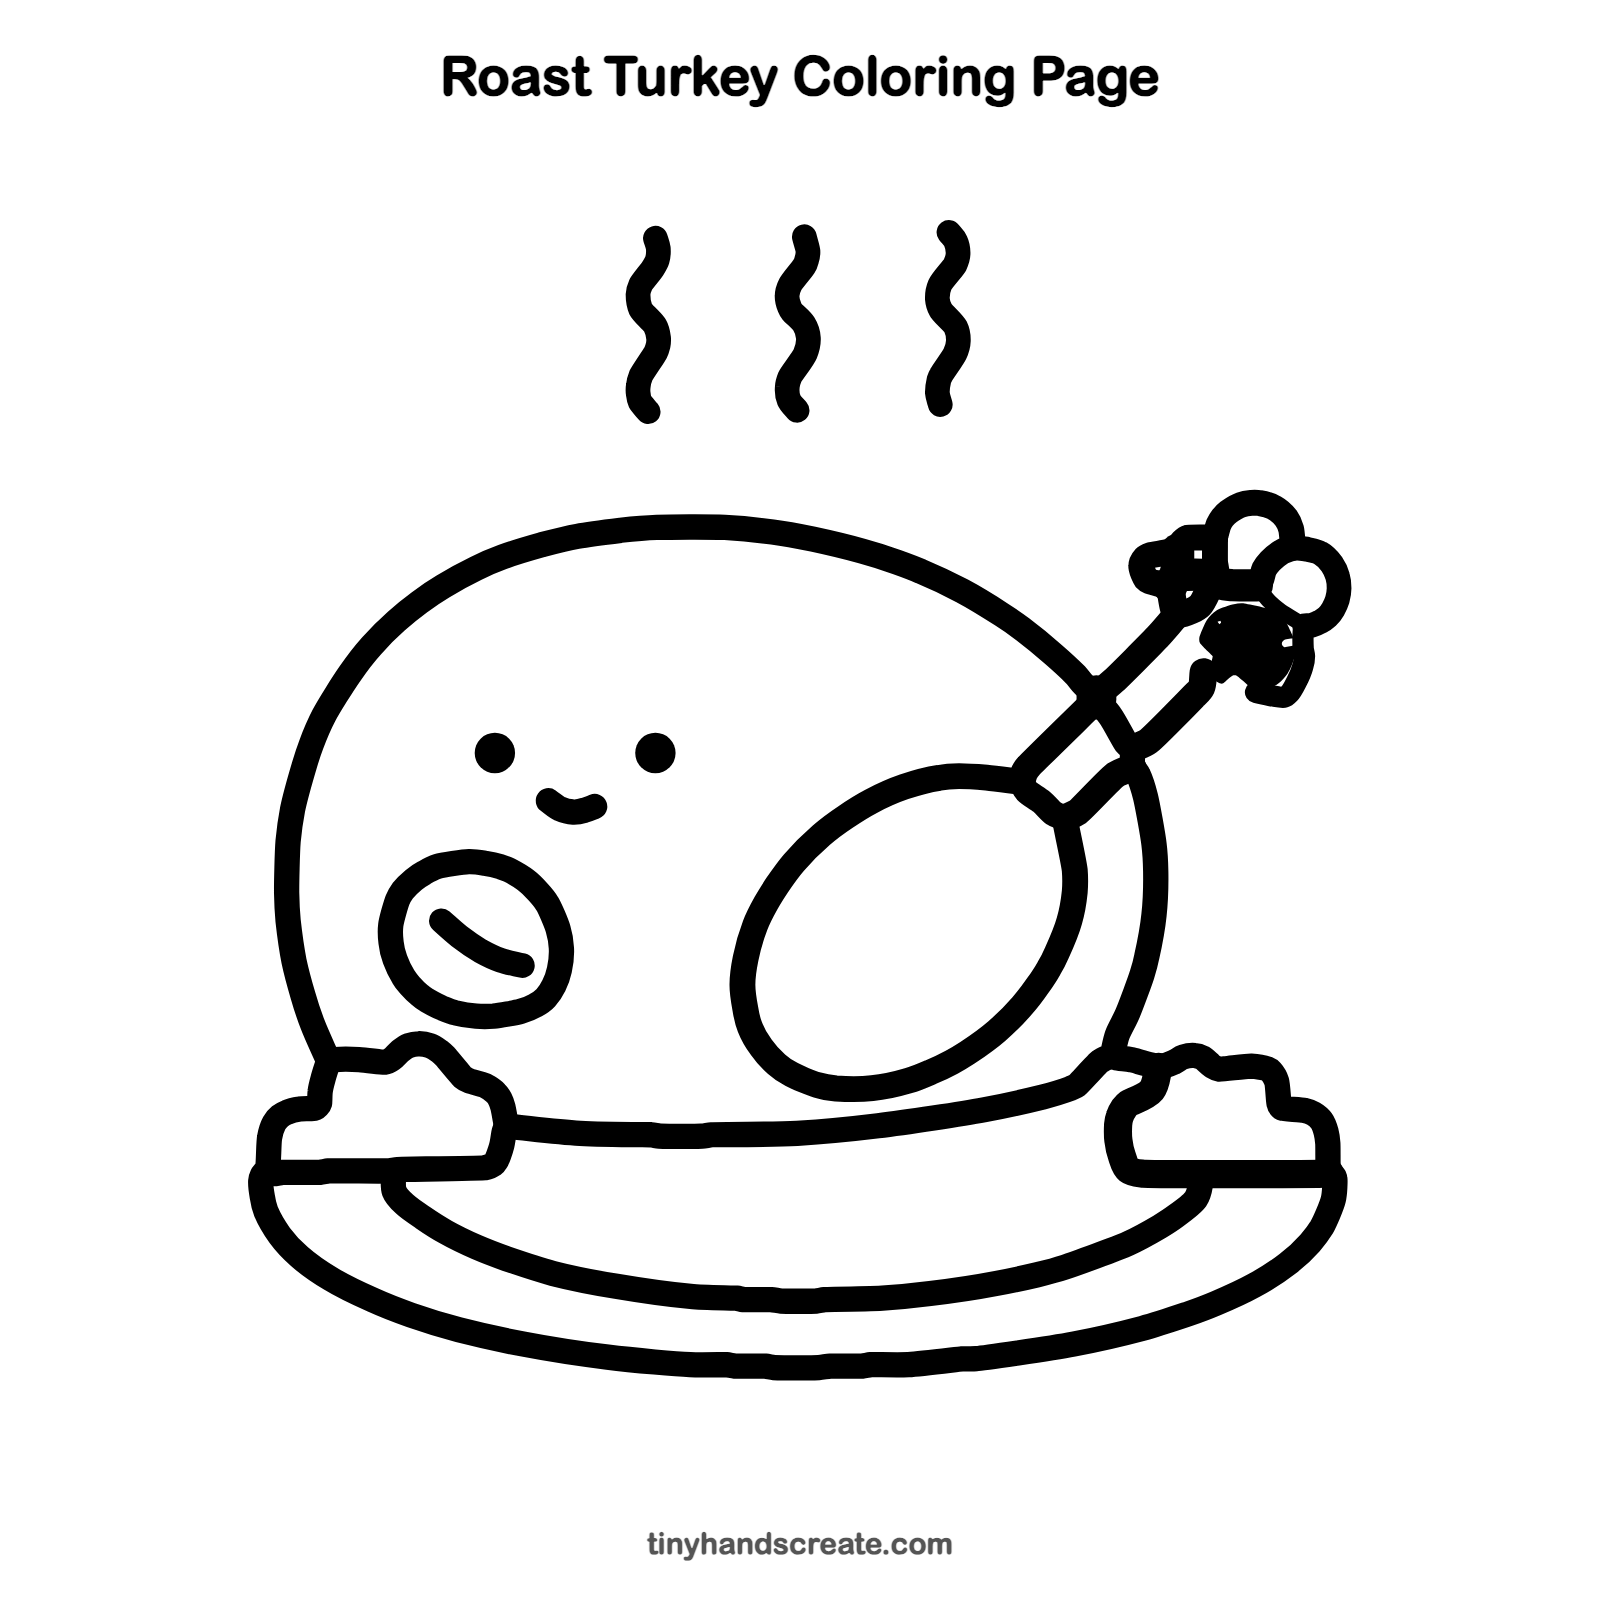
Want to go straight to coloring? Open this roast turkey coloring page at full size and print it. It is the same drawing you just learned, with clean lines ready for crayons or markers.
How to color your roast turkey drawing
Color the body golden brown with a lighter tan on the wing and drumstick, and make the plate blue or white. The little lumps on the plate can be green or orange, and the steam can be light gray.
Roast turkey fun fact for kids
Wild turkeys can fly short distances, and they sleep up in trees at night. A male turkey makes the famous gobble sound, but a female turkey does not gobble.
Questions about drawing a roast turkey
What shapes do I need to draw a roast turkey?
You need a big dome for the body, ovals for the drumstick and wing, and a wide flat oval for the plate. Small bumpy lumps sit on the plate ends, and wavy lines make the steam.
How do I make my turkey look cuter?
Keep the eyes as small dots and place them a little apart with a tiny smile between and below them. Small features make the face look sweet.
How long does it take to draw a roast turkey?
Most kids finish in about 15 minutes. Take your time with the drumstick bone and the plate, since they have the most small parts.