How to Draw a Sea Otter (Easy Step by Step)
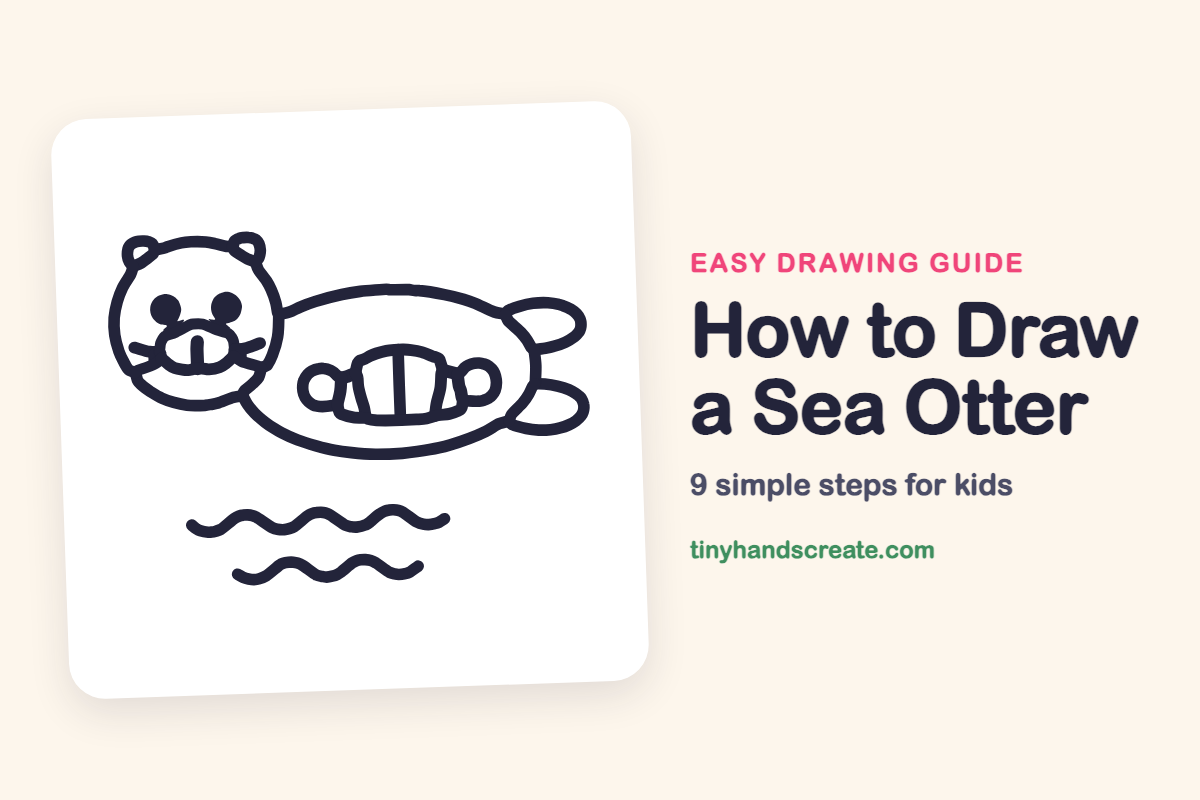
A sea otter is a happy, floating friend, and you can draw one with just a circle and a few simple curves. This one has a round head, a long body, and a flat tail. Wavy lines under it show that it is relaxing in the water.
- Easy
- 12 minutes
- 9 steps
You need: paper, a pencil, an eraser, and crayons or markers for coloring.
Start drawingIn this article (7 sections)
How to draw a sea otter step by step
How to Draw a Sea Otter · tinyhandscreate.com
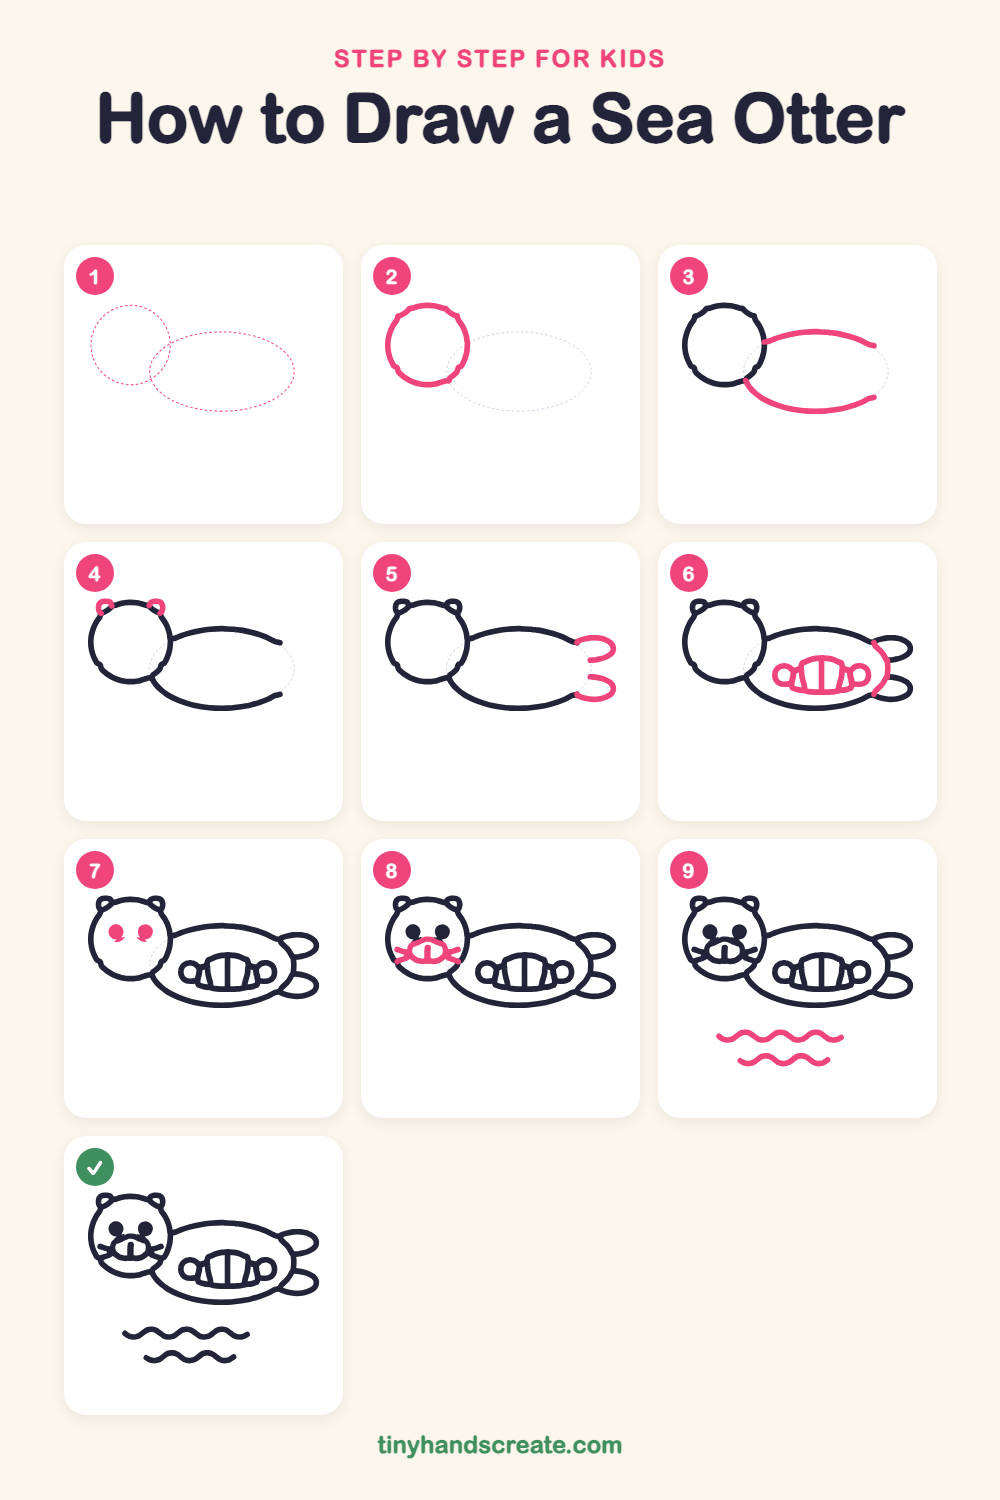
Step 1: Guide shapes
Lightly sketch these 2 ovals. They only show where the big parts go, so press softly. You will erase them at the end.
Step 2: The round head
Draw a big circle on the left side of your paper. This is the otter's head.
Step 3: The body outline
Start at the right side of the head and draw a long curve going right, like the top of a hill. Then start lower on the head and draw another long curve going right for the bottom of the body. Leave the right end open.
Step 4: Two little ears
Add a small curved bump on each side of the top of the head. They look like two tiny half circles.
Step 5: The tail
At the open right end of the body, draw two soft loops, one above the other. They make a wide, flat tail, like a pair of leaves.
Step 6: Paws and tummy
Draw a rounded shape in the middle of the body with a straight line down the middle and a curved line on each side. Add a small circle on each end of it for the paws. Then draw a curved line at the right end of the body to close it in.
Step 7: Eyes
Draw two small, solid dots on the face, side by side. Leave a space between them.
Step 8: Muzzle and nose
Under the eyes, draw a wide, rounded muzzle like a small bean. Put a little nose in the middle with a short line down from it, then add short whisker lines sticking out on each side.
Step 9: Wavy water
Under the otter, draw two rows of wavy lines. Make the waves go up and down like gentle hills.
All done!
Erase the guide shapes, go over your lines, then color it in.
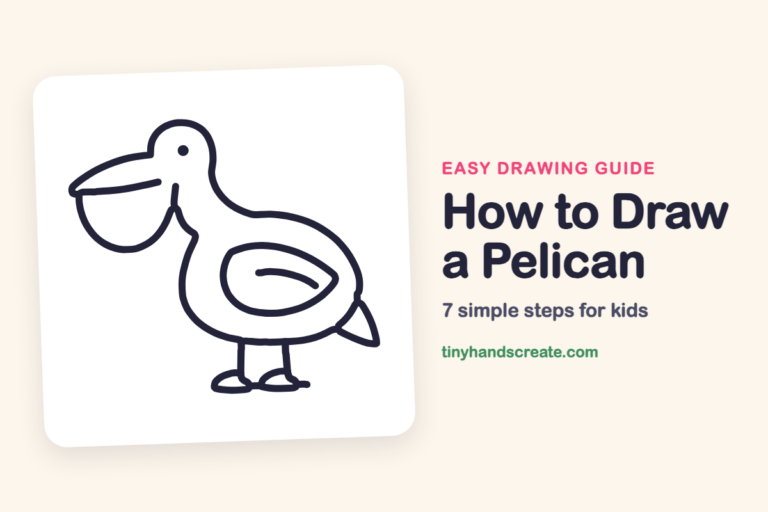
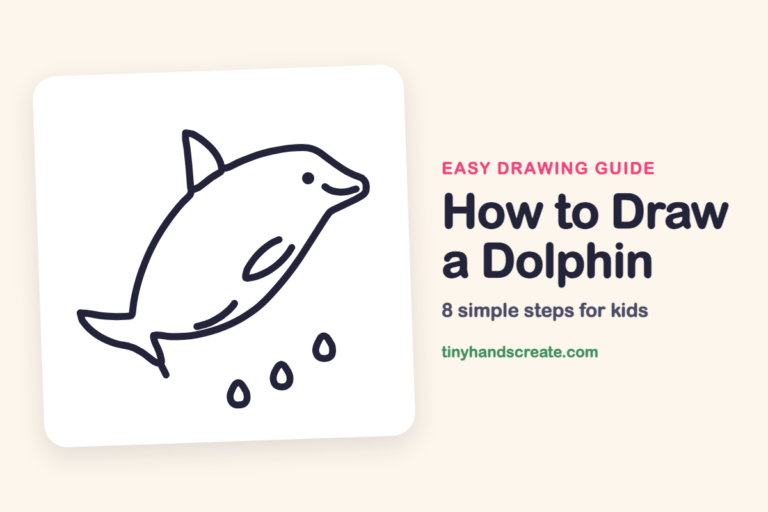
Finished your sea otter? Keep the pencils out and learn how to draw a pelican or how to draw a dolphin next.
Tips for drawing a sea otter
- Draw the head circle first and leave room on the right. The body curves need space, and they start from the right side of the head.
- The muzzle is the trickiest part. Start with a wide bean shape, then put the nose in the middle and add the whiskers last, so they do not get crowded.
- For the waves, make each hill about the same size. Try wiggling your pencil up and down in one smooth line instead of lifting it for every bump.
Free sea otter coloring page
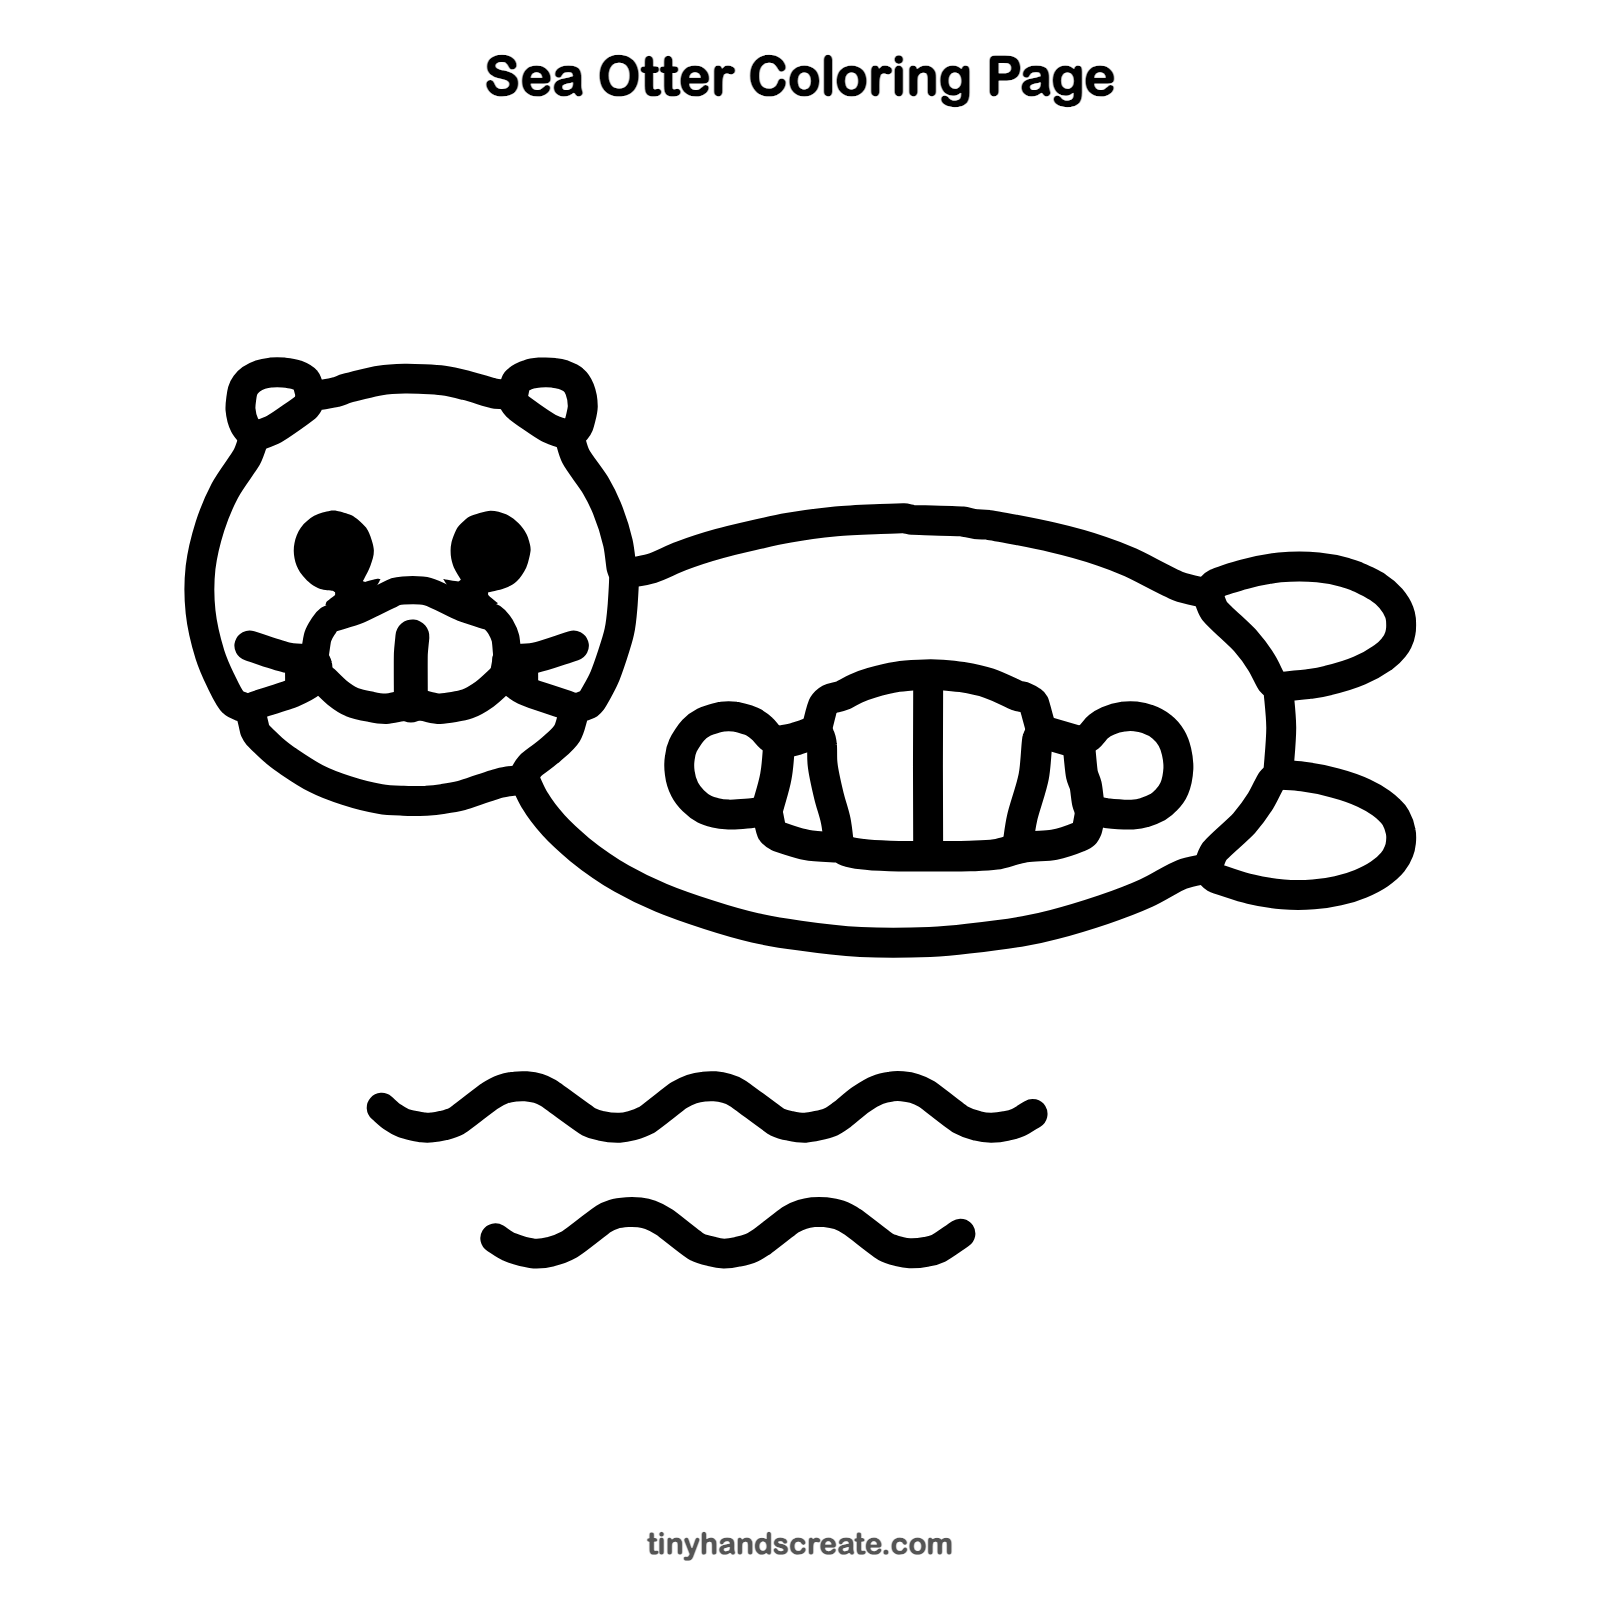
Want to go straight to coloring? Open this sea otter coloring page at full size and print it. It is the same drawing you just learned, with clean lines ready for crayons or markers.
How to color your sea otter drawing
Color the body and head a warm brown, with a lighter tan muzzle and tummy, and a dark nose. For a creative twist, color the water in rainbow stripes, or give your otter a favorite blue for the waves.
Sea otter fun fact for kids
Sea otters sometimes hold hands while they sleep on the water, so they do not drift apart. A group of resting otters is called a raft.
Questions about drawing a sea otter
What shapes do I need to draw a sea otter?
You need a big circle for the head, two long curves for the body, and two small loops for the tail. Small circles make the paws, little bumps make the ears, and dots make the eyes.
How do I make my otter look cuter?
Keep the eyes as small, round dots with a good space between them. A bean-shaped muzzle, a tiny nose, and a few whiskers make the otter look friendly.
How do I draw the water under the otter?
Draw a wavy line that goes up and down like gentle hills. Add a second, shorter row below it so the water looks like it goes on and on.