How to Draw a Potion Bottle (Easy Step by Step)
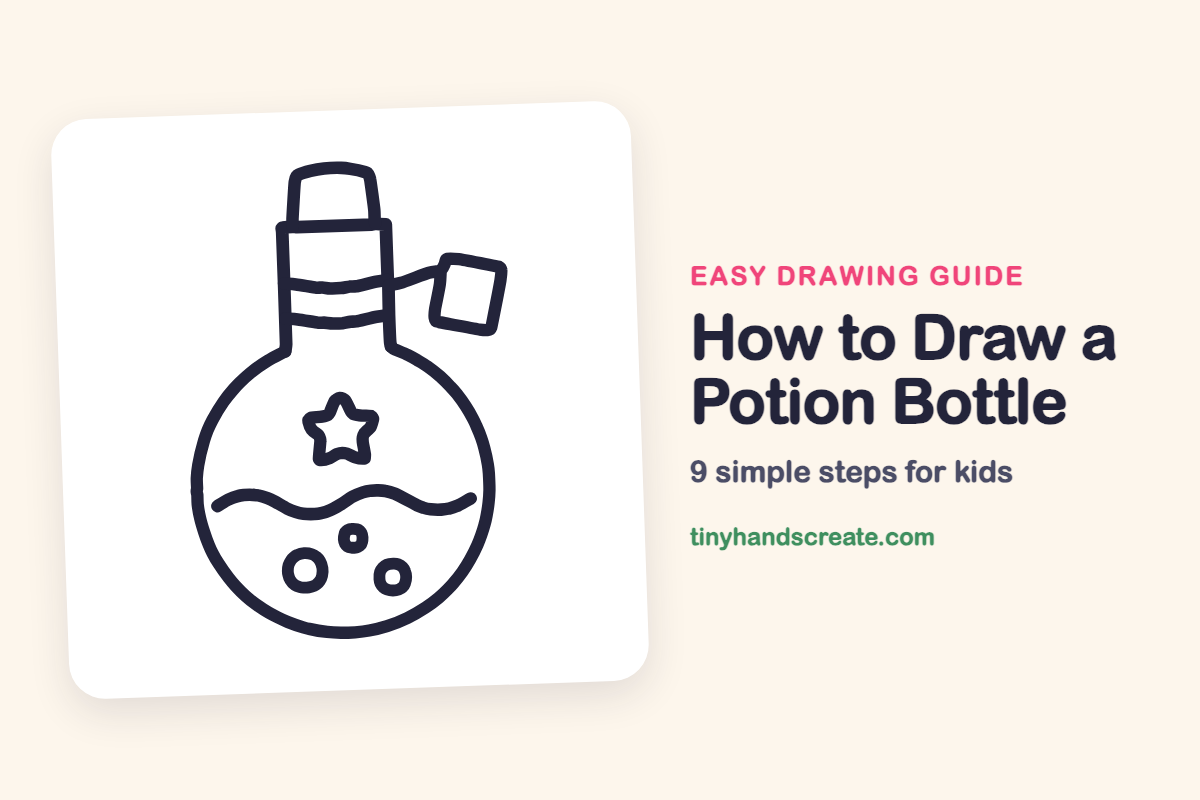
A potion bottle is a fun drawing because it looks magical but is built from very simple shapes. You only need a big circle, a few straight lines, a wavy line, a star, a small square, and some little circles. Once you can draw these, you can invent your own potions.
- Easy
- 10 minutes
- 9 steps
You need: paper, a pencil, an eraser, and crayons or markers for coloring.
Start drawingIn this article (7 sections)
How to draw a potion bottle step by step
How to Draw a Potion Bottle · tinyhandscreate.com
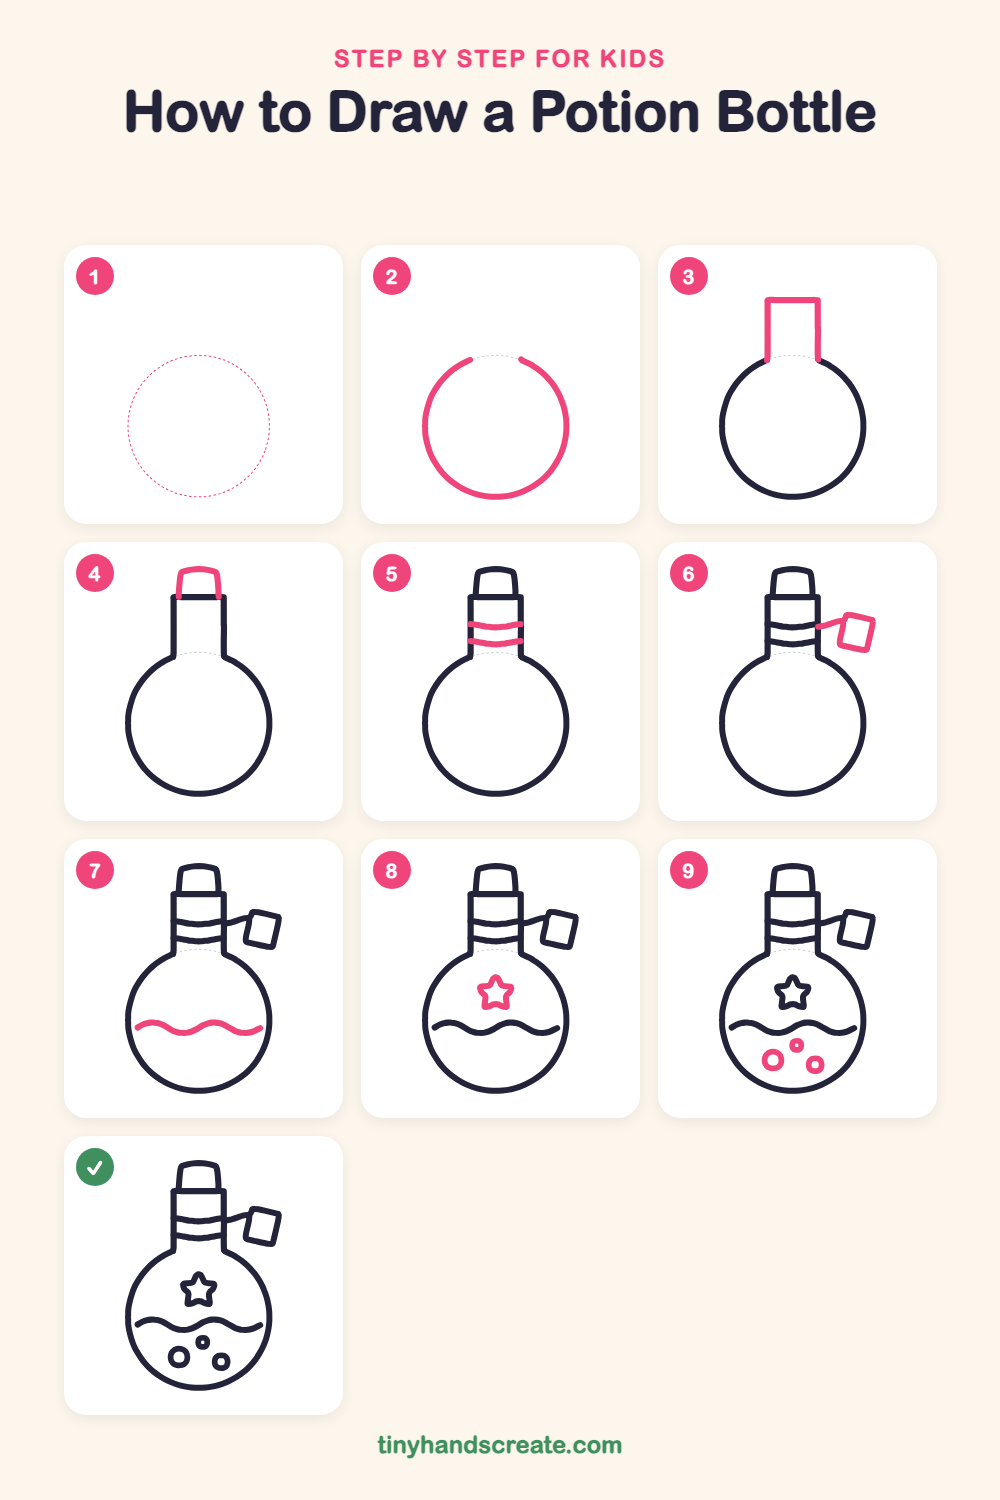
Step 1: Guide shapes
Lightly sketch this oval. It only shows where the big parts go, so press softly. You will erase it at the end.
Step 2: The round flask
Start with a big circle for the bottom of the bottle. Leave a small gap at the top where the neck will join in.
Step 3: The tall neck
Draw two straight lines going up from the two ends of the gap in the circle. Close the top of the neck with a flat line straight across.
Step 4: The cork
On top of the neck, draw a short cork. Make its sides lean in a little as they go up, and round off the top corners.
Step 5: Neck ribbons
Draw two gently curved lines across the neck, one below the other. They look like ribbons wrapped around the bottle.
Step 6: The hanging tag
From the right side of the neck, draw a short string that slants up and out. At the end of the string, add a tilted square tag.
Step 7: The potion wave
Inside the round flask, draw a long wavy line across the lower part, from one side of the circle to the other. This is the top of the potion.
Step 8: A magic star
Above the wave, draw a small star with five points. Start at the top point and zigzag around until you are back where you began.
Step 9: Bubbles
Under the wavy line, draw three small circles of different sizes. Spread them out so they look like they are floating in the potion.
All done!
Erase the guide shapes, go over your lines, then color it in.
Finished your potion bottle? Keep the pencils out and learn how to draw a candy apple or how to draw a werewolf next.
Tips for drawing a potion bottle
- Draw the big circle slowly. If it comes out a little wobbly, that is fine, because the neck and the potion line will draw the eye away from it.
- Make the two neck lines go straight up and keep them the same distance apart, so the neck does not lean.
- For the wavy potion line, make smooth hills and valleys, like a gentle sea. Draw it in one slow stroke without lifting your pencil.
Free potion bottle coloring page
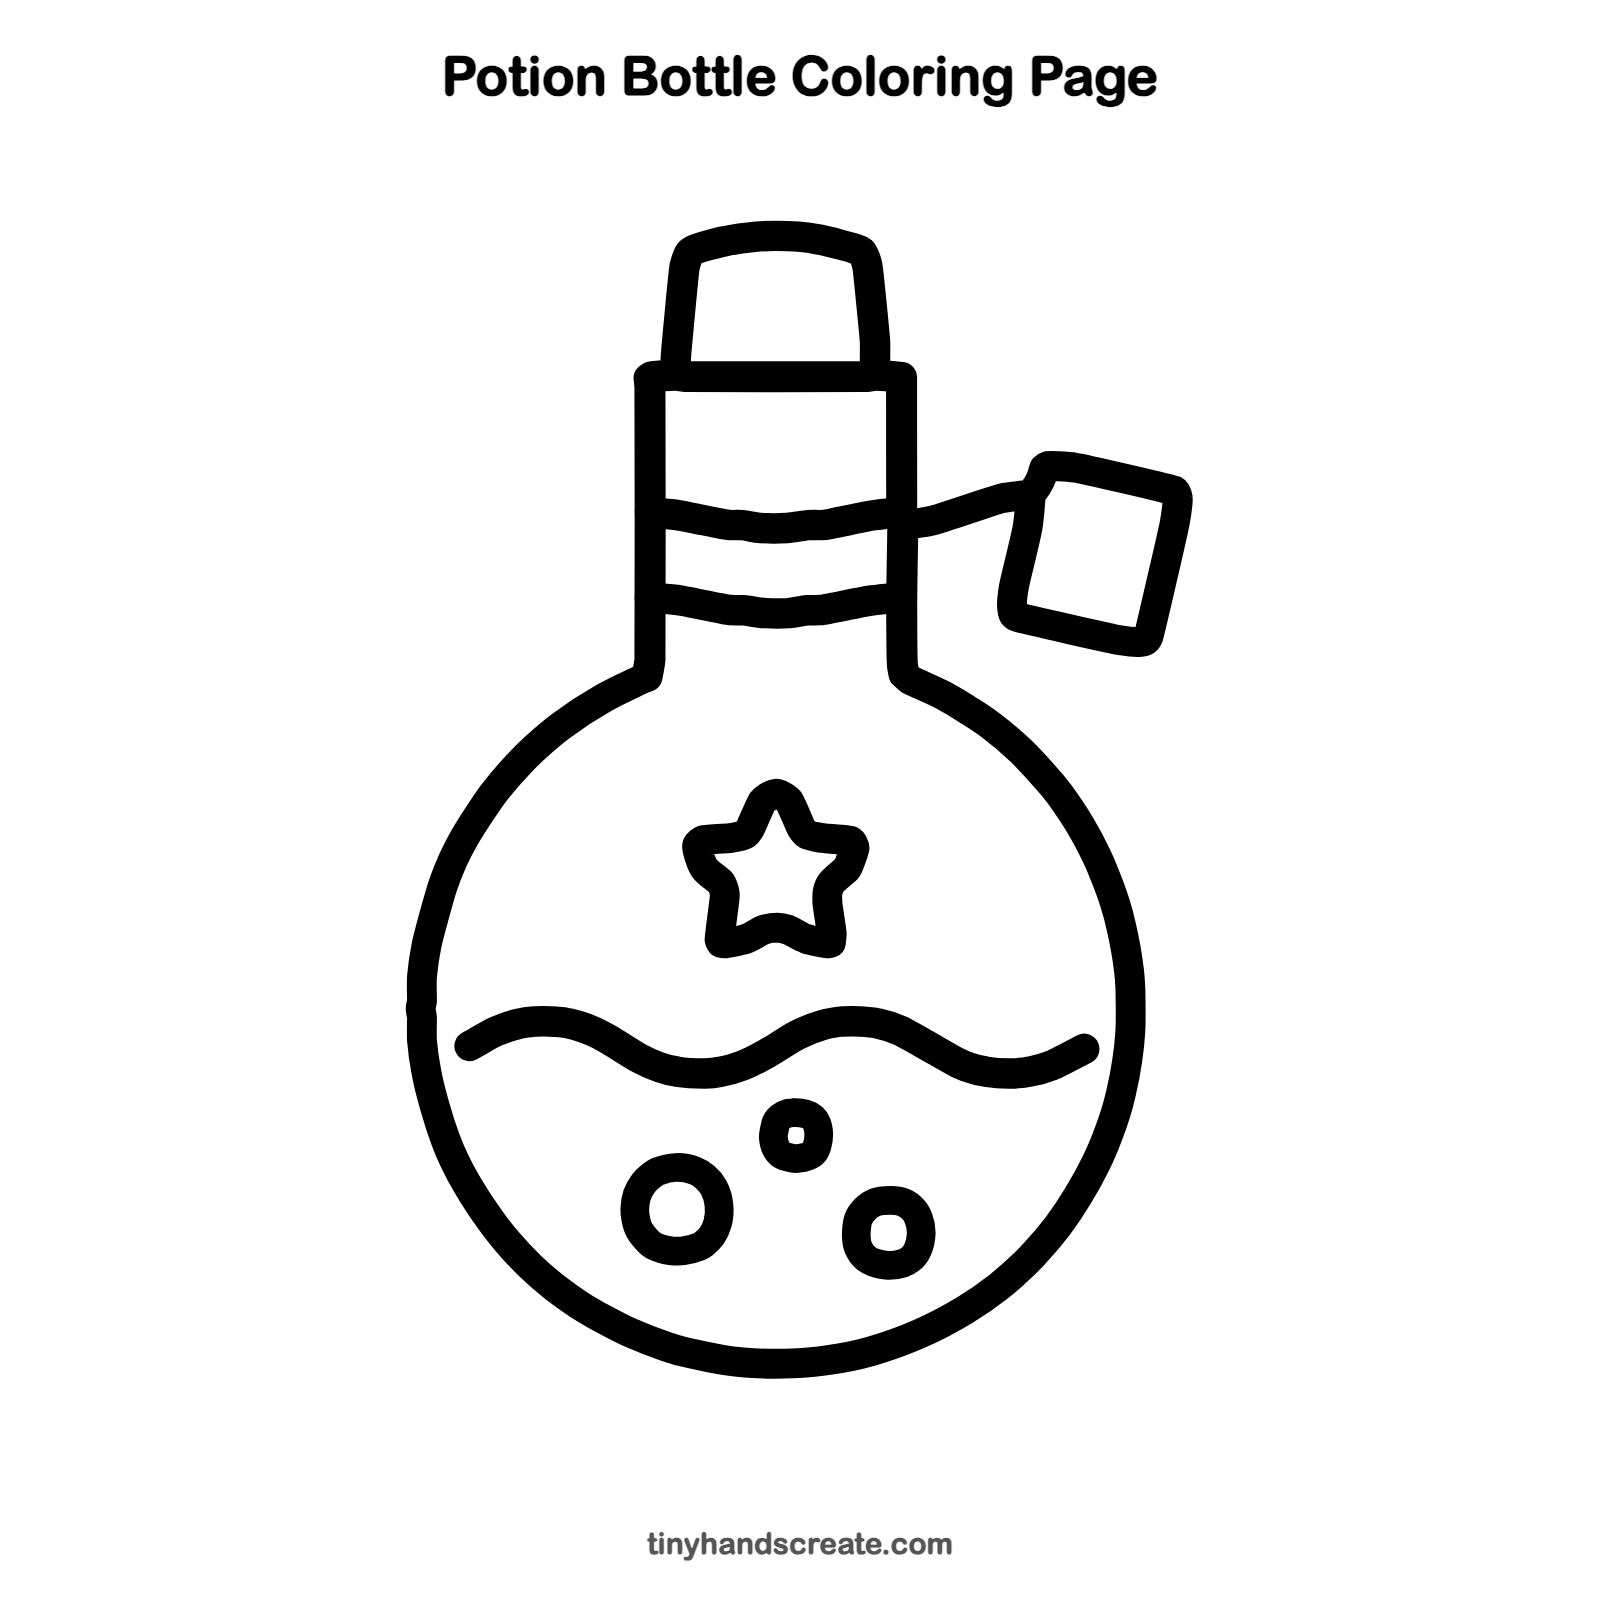
Want to go straight to coloring? Open this potion bottle coloring page at full size and print it. It is the same drawing you just learned, with clean lines ready for crayons or markers.
How to color your potion bottle drawing
Color the potion a bright purple, green, or pink, and leave the glass above it light. For a creative twist, make the star glow yellow and give each bubble a different color. The cork can be brown and the tag any color you like.
Potion bottle fun fact for kids
Round-bottomed glass flasks like this one are still used in science labs today to mix and heat liquids. Long ago, people also kept medicine and perfume in small glass bottles sealed with a cork.
Questions about drawing a potion bottle
What shapes do I need to draw a potion bottle?
You need one big circle for the flask, two straight lines and a flat line for the neck, and a small rounded cork on top. Two curved lines, a tilted square tag, a wavy line, a star, and a few little circles finish it.
How do I make my potion bottle look magical?
Add a star on the front and some bubbles in the potion. A hanging tag on a string also makes it look like a real potion from a story.
How do I draw a round bottle that is not wobbly?
Go around the circle slowly with a light hand and keep your eyes on the line just ahead of your pencil. A tiny wobble will just look hand drawn.