How to Draw a Witch Hat (Easy Step by Step)
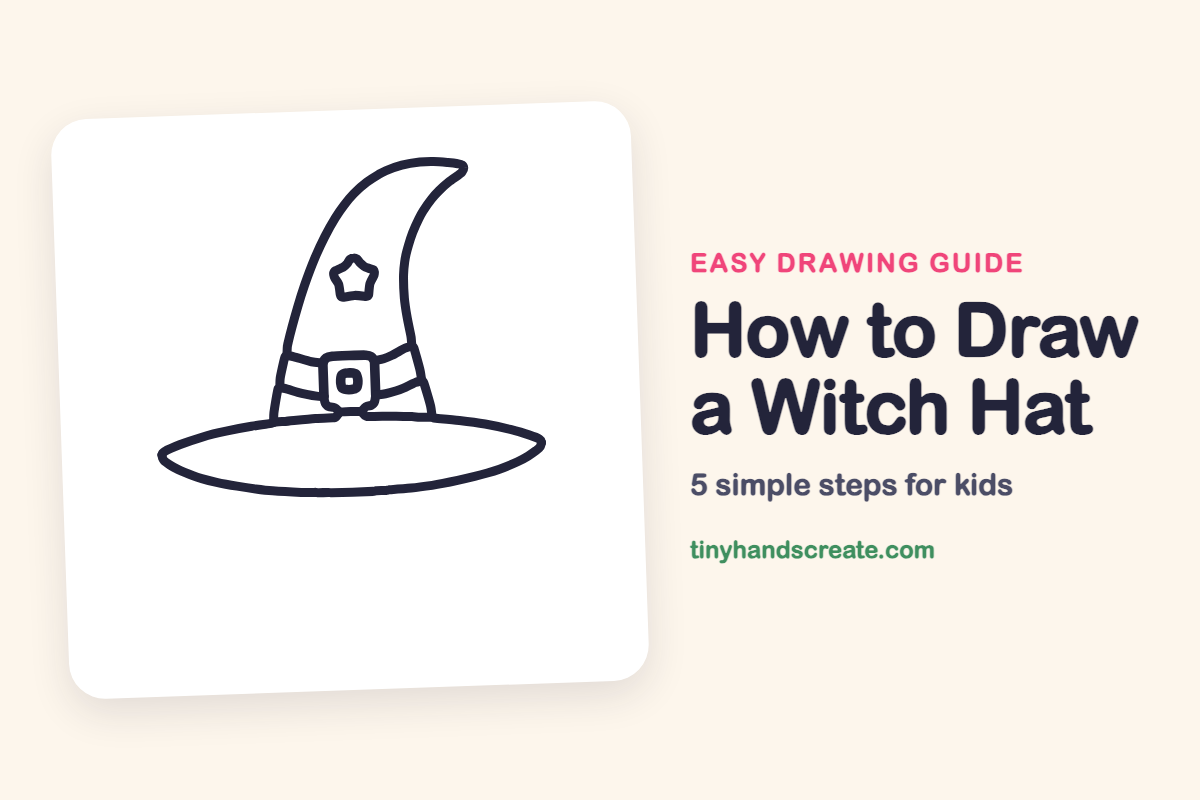
A witch hat is a fun first drawing because it is built from just a few simple shapes: a flat oval for the brim, a tall curved cone with a bendy tip, and a ribbon with a square buckle. A little star on the cone finishes it off.
- Easy
- 10 minutes
- 5 steps
You need: paper, a pencil, an eraser, and crayons or markers for coloring.
Start drawingIn this article (7 sections)
How to draw a witch hat step by step
How to Draw a Witch Hat · tinyhandscreate.com
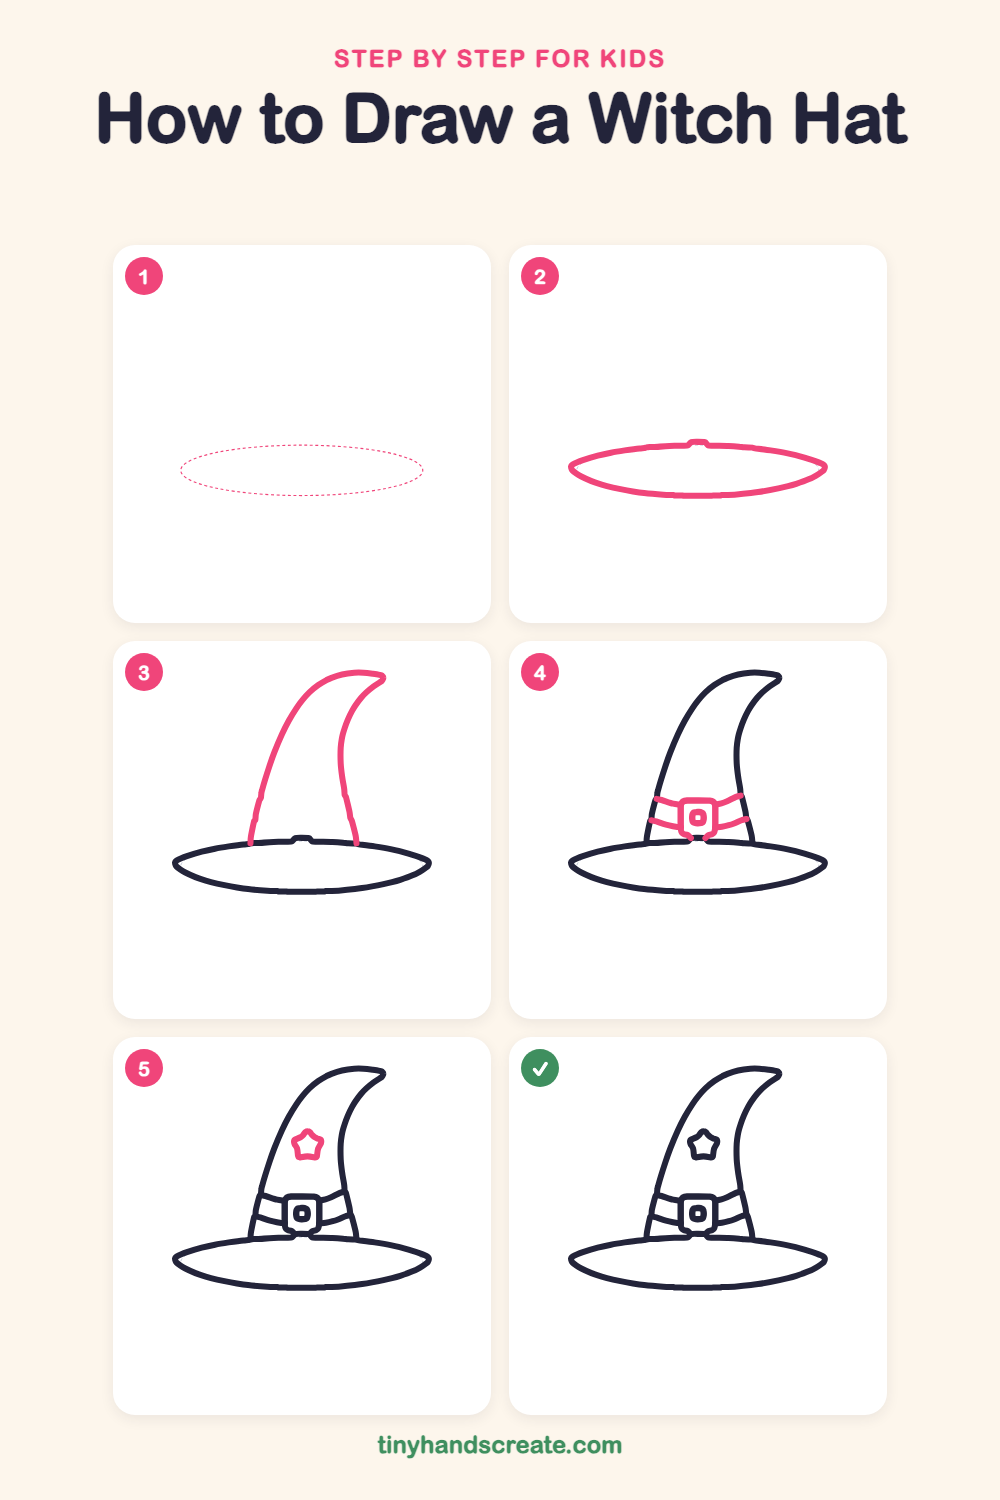
Step 1: Guide shapes
Lightly sketch this oval. It only shows where the big parts go, so press softly. You will erase it at the end.
Step 2: The hat brim
Draw a wide, flat oval, like a squished circle with slightly pointy ends on the left and right. This is the brim the hat sits on.
Step 3: The tall cone
Start on the top edge of the brim, a little left of the middle, and draw a long curved line up to a point. Hook the tip over to the right, then bring a curvy line back down to the brim on the right side.
Step 4: The hat band
Near the bottom of the cone, draw two gently curved lines straight across it, one above the other, like a ribbon. Then draw a small square buckle in the middle of the ribbon, with a tiny square inside it.
Step 5: The star
On the upper part of the cone, draw a small star with five soft, rounded points. Keep it small so it fits on the hat.
All done!
Erase the guide shapes, go over your lines, then color it in.
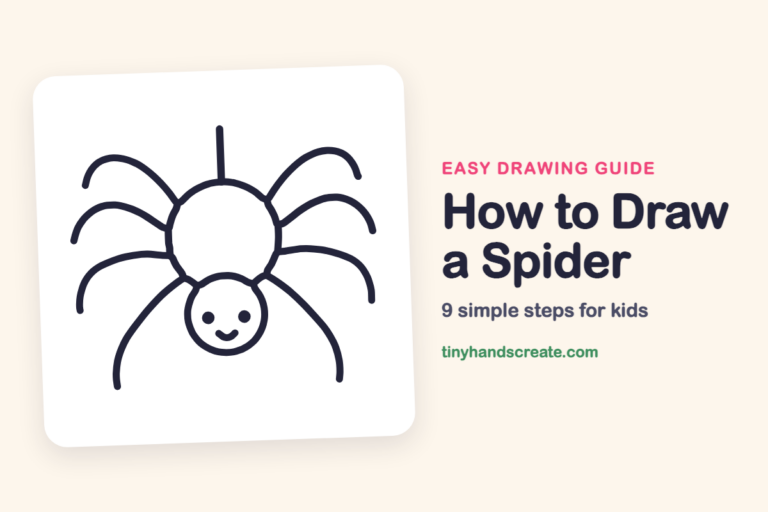
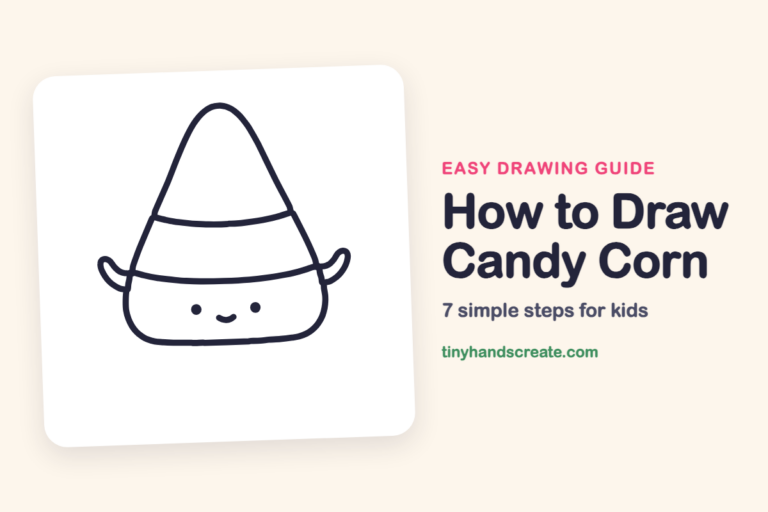
Finished your witch hat? Keep the pencils out and learn how to draw a spider or how to draw candy corn next.
Tips for drawing a witch hat
- Draw the brim first as a wide, flat oval so the cone has a base to sit on. If the oval looks too round, squash it flatter.
- The curl at the tip is the trickiest part. Draw the left side up in one smooth sweep, hook the tip over to the right, then come back down.
- Draw the two band lines so they run across the cone, then put the square buckle right in the middle of the ribbon.
- Keep the star small and draw it last, so you know there is room for it.
Free witch hat coloring page
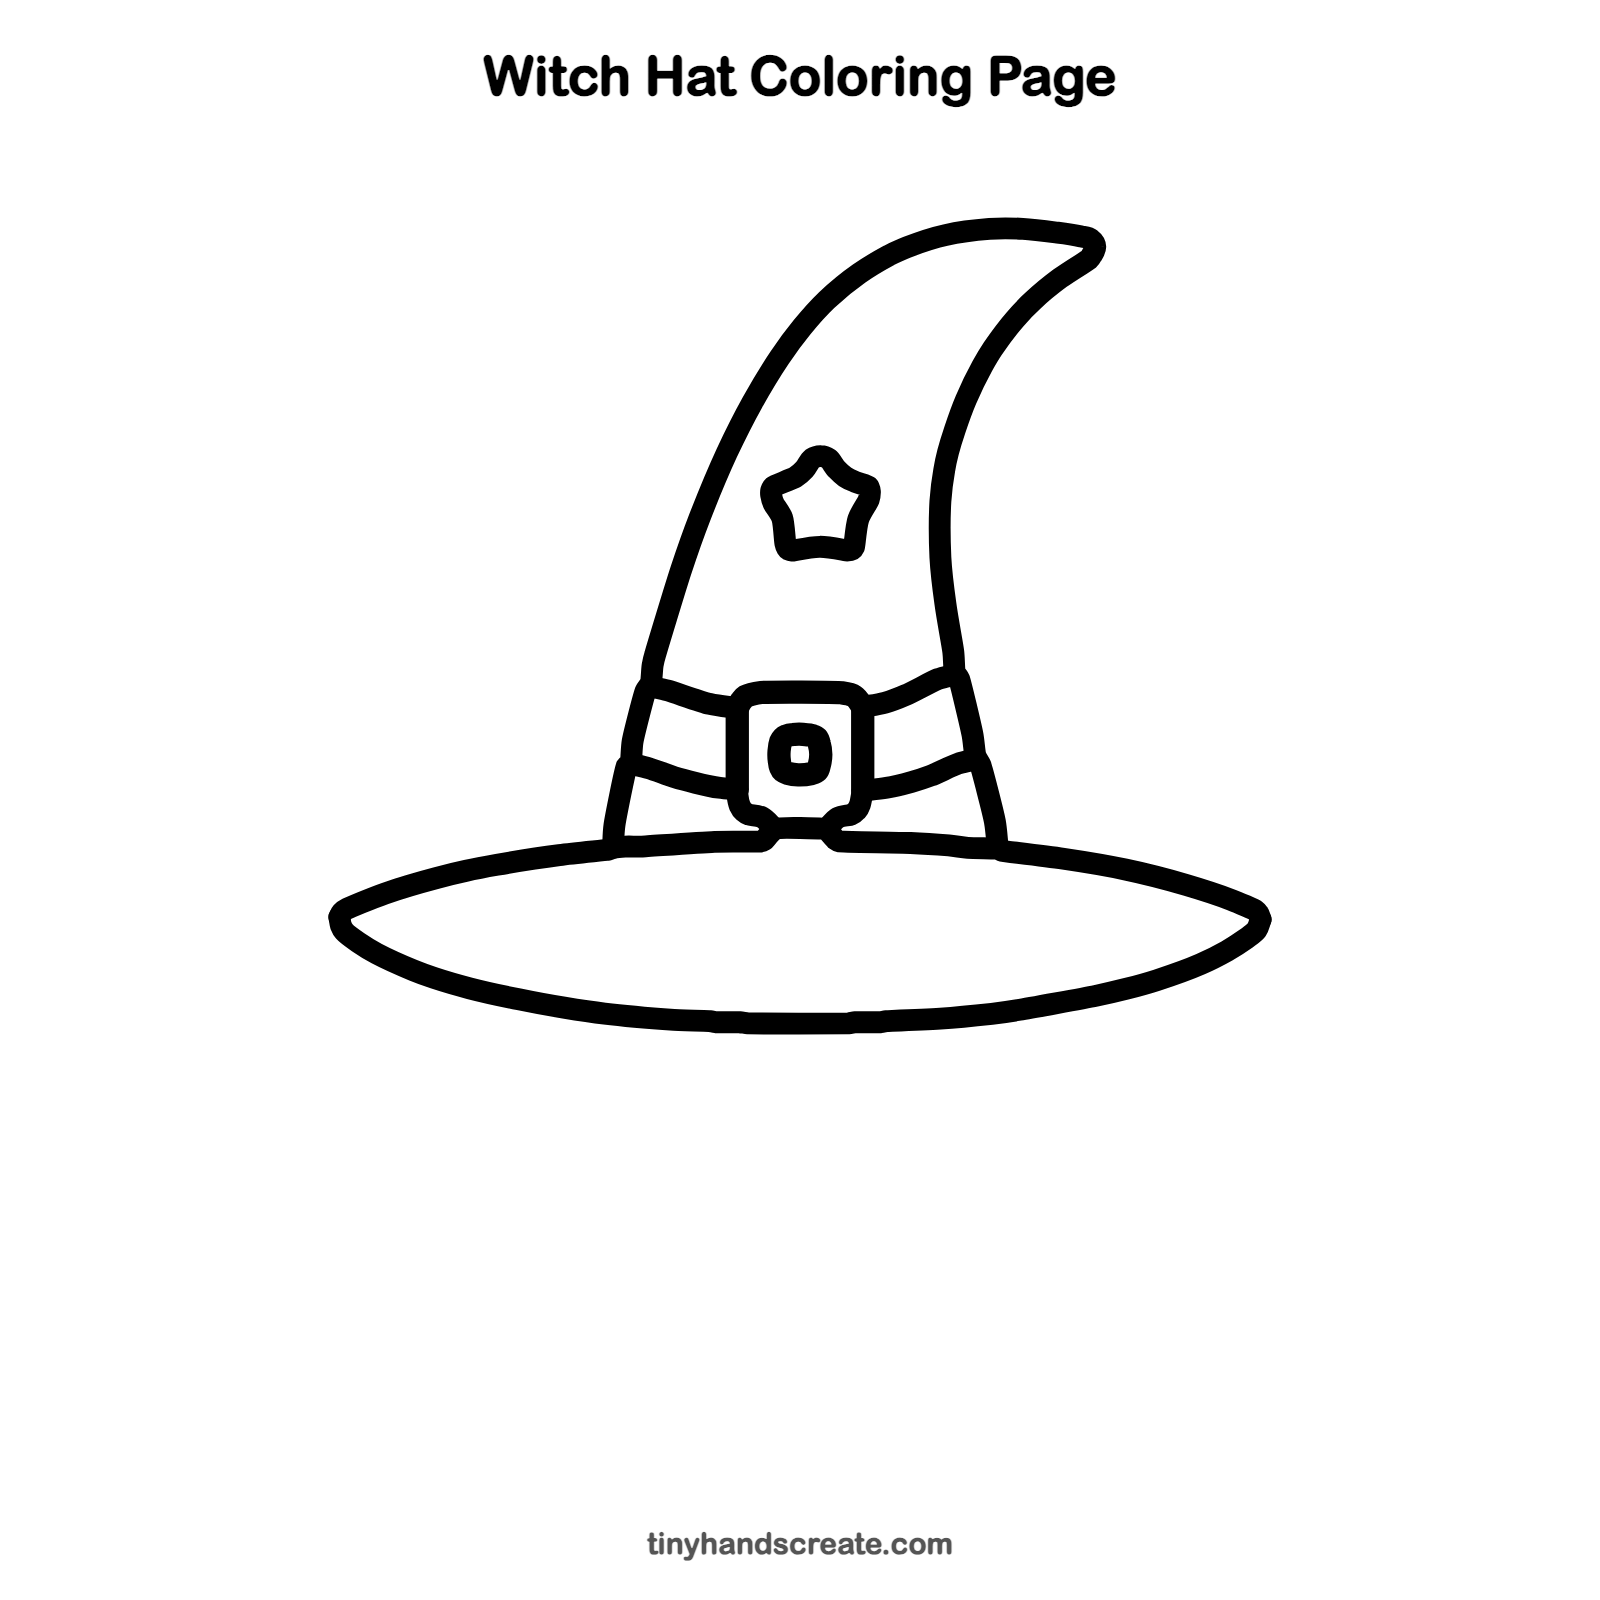
Want to go straight to coloring? Open this witch hat coloring page at full size and print it. It is the same drawing you just learned, with clean lines ready for crayons or markers.
How to color your witch hat drawing
Purple or black hats look classic, with a yellow buckle and star. For a twist, color the hat in rainbow stripes or add polka dots and glitter.
Witch hat fun fact for kids
The word witch comes from the Old English word wicce, which was used for a woman who practiced magic.
Questions about drawing a witch hat
What shapes do I need to draw a witch hat?
You need a wide oval for the brim, a tall curved cone for the top, and a small square for the buckle. A little star finishes it off.
How do I make the tip of the witch hat bend?
Draw the left side of the cone as one long curve going up. At the top, hook the tip over to the right, then draw the other side back down to the brim.
How do I make my witch hat look cuter?
Make the brim extra wide and the tip extra bendy. You can also color the hat in bright colors and add glitter.