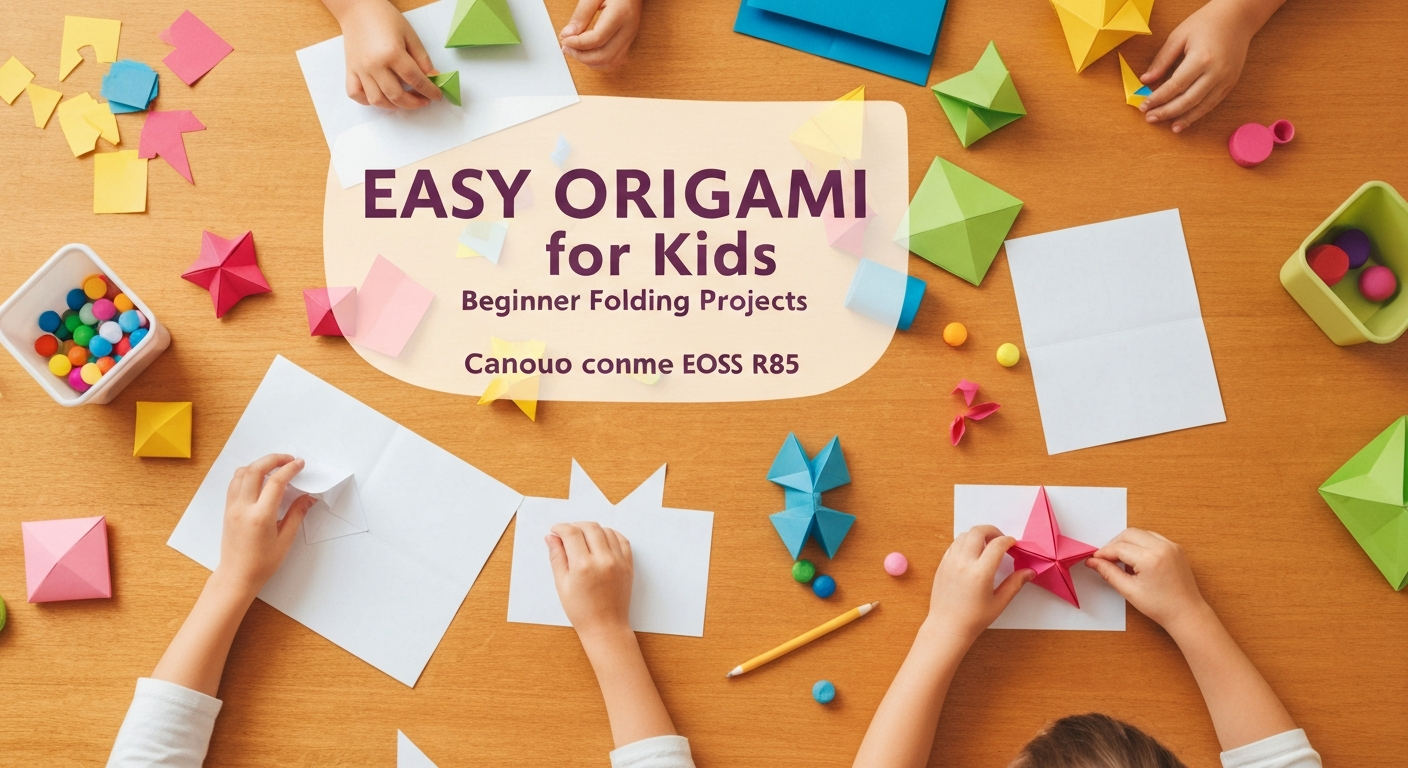
Easy Origami for Kids: Beginner Folding Projects
Discover how origami boosts your child's cognitive and fine motor skills, from spatial reasoning to patience. You'll learn essential supplies, setup tips, and find five easy beginner projects to start folding today.
- Boost your child's spatial reasoning, fine motor skills, and math understanding.
- Choose standard origami paper or cut printer paper into squares for beginners.
- Set up a hard, flat surface and use larger paper for younger children.
- Demonstrate each fold step-by-step to guide your child effectively.
- Start with simple projects like the Classic Cup, requiring only 3 folds.
I’ll never forget the look on a five-year-old’s face when she folded her first paper crane and held it up to the classroom window so the sunlight glowed through its wings. “It’s flying!” she whispered, completely enchanted. That moment captures exactly why origami is such a powerful activity for kids — it transforms a flat, ordinary sheet of paper into something three-dimensional and magical, using nothing but their own two hands. No glue, no scissors, no batteries required. Just paper, patience, and the quiet thrill of watching a shape emerge fold by fold.
Why Origami Is a Powerhouse Activity for Kids
Origami isn’t just paper folding — it’s a full-body cognitive workout disguised as a craft. When children follow folding sequences, they’re exercising spatial reasoning, sequential thinking, and working memory all at once. Each fold requires precise hand movements that strengthen the same fine motor muscles children need for writing, buttoning shirts, and tying shoes.
Research has consistently shown that origami supports mathematical understanding in young children. The concepts of symmetry, geometry, fractions (folding a square in half creates two rectangles), and spatial transformation are embedded in every single project. Kids who practice origami regularly develop stronger abilities in:
- Fine motor precision — pressing creases strengthens hand muscles and finger dexterity
- Following multi-step directions — each project builds sequencing skills
- Bilateral coordination — both hands must work together to hold and fold
- Focus and patience — completing a model requires sustained attention
- Geometric vocabulary — triangle, square, rectangle, diagonal, corner, edge
- Self-confidence — finishing a model provides a tangible sense of accomplishment
The best part? Origami is one of the most affordable crafts you can do. Standard origami paper costs a few dollars for a hundred sheets, and many beginner projects work perfectly with regular printer paper cut into squares.
Getting Started: Essential Supplies and Setup Tips
Before diving into projects, let’s talk about setting your child up for success. A few simple preparations make the difference between a frustrating experience and one that sparks a lifelong love of paper folding.
Paper Choices for Beginners
Best papers to start with:
- Standard origami paper (kami) — 6-inch squares, colored on one side and white on the other, which helps kids see which side is which during folding
- Regular printer paper — cut into squares, slightly thicker than kami, which can actually be easier for beginners because it holds creases well
- Construction paper — works for simple projects but can be too thick for models with many folds
- Newspaper — great for practice and for large-format projects like hats and boats
Setup for Success
- Work on a hard, flat surface — a table or clipboard works much better than a carpeted floor
- Use a bone folder or the back of a spoon for children who struggle with pressing sharp creases
- Start with larger paper (8-inch squares) for younger children and move to standard 6-inch as their skills improve
- Demonstrate each fold first, then let the child try, then demonstrate the next fold — don’t rush ahead
- Keep a finished model next to the workspace so children can see what they’re working toward
Five Beginner Origami Projects Kids Can Actually Finish
These projects are arranged from simplest to most complex. Each one uses standard square paper and requires no cutting or gluing. I’ve tested every single one with kids ages 4 through 8, and they all produce satisfying results even when the folds aren’t perfectly precise.
1. The Classic Cup (Ages 3+, 3 Folds)
This is the perfect first origami project because it only takes three folds and the finished product actually works — you can pour water into it and drink (briefly, before it soaks through, which kids find hilarious).
- Start with a square, colored side down. Fold it in half diagonally to make a triangle.
- Take the right corner and fold it across to the left side, about two-thirds of the way. Crease firmly.
- Fold the left corner across to the right side to match. You should see a cup shape forming.
- Fold the top front flap down to create the rim. Flip over and fold the back flap down too.
Open it up, pour in some water, and watch your child’s amazement when paper becomes a functioning cup. This project teaches diagonal folds and the concept of symmetry.
2. The Jumping Frog (Ages 4+, 8 Folds)
This is the project that hooks kids on origami forever. When you press down on the frog’s back and release, it actually hops across the table. Use green paper for a realistic frog, or let kids go wild with any color they want.
- Start with a rectangle (half a square works, or use a standard index card).
- Fold the top right corner to the left edge, crease, and unfold. Repeat with the top left corner to the right edge.
- Flip over and fold the top edge down where the diagonal creases cross. Unfold.
- Push the sides in to collapse the top into a triangle shape.
- Fold the triangle flaps up to the top point to create front legs.
- Fold both sides into the center line.
- Fold the bottom up to meet the triangle’s base.
- Fold the bottom half back down to create the spring. Flip over.
Press the frog’s back and slide your finger off to make it jump. Kids can have frog races, set up obstacle courses, and try to land frogs in a bowl target. This builds sequential memory and the ability to follow complex multi-step instructions.
3. The Paper Boat (Ages 4+, 7 Folds)
The newspaper boat is a classic for good reason — it floats, it’s satisfying to make, and it uses a rectangular sheet, so you don’t even need to start with a square. Use printer paper, newspaper, or wrapping paper.
- Fold a rectangle in half (short edge to short edge, book-style).
- Fold both top corners down to the center crease to form a triangle.
- Fold the bottom front strip up. Flip and fold the back strip up.
- Tuck the corner flaps around to make a clean triangle hat shape.
- Open the hat and flatten it into a square (diamond shape).
- Fold the bottom front flap up to the top. Flip and repeat.
- Open the triangle and gently pull the two top points outward. The boat blooms open.
Test your boats in the bathtub, a kiddie pool, or a baking pan filled with water. Challenge kids to see whose boat holds the most pennies before sinking. This project develops the ability to visualize 3D shapes from flat folds.
4. The Fortune Teller / Cootie Catcher (Ages 5+, 5 Folds)
Every generation rediscovers this playground favorite, and making one is a wonderful origami lesson in itself. After folding, kids get to write fortunes, colors, or numbers inside — combining origami with creative writing.
- Start with a square. Fold in half both ways (horizontally and vertically), crease, and unfold.
- Fold all four corners into the center point.
- Flip over. Fold all four new corners into the center point again.
- Fold in half to crease, unfold. Fold in half the other way, crease, unfold.
- Slide thumbs and forefingers under the four square flaps and push inward to pop the fortune teller into its 3D shape.
Write numbers on the outer flaps, colors on the inner flaps, and silly fortunes underneath. This is the ultimate recess craft and a fantastic way to practice precision folding and symmetry.
5. The Simple Butterfly (Ages 5+, 6 Folds)
This butterfly looks impressive but is surprisingly manageable for kindergarteners. The secret is the accordion fold in the middle that creates the wing texture.
- Start with a square, colored side up. Fold diagonally both ways, crease, unfold.
- Fold in half horizontally, crease, unfold. Fold in half vertically, crease, unfold.
- Collapse into a preliminary base (a small square with open edges at the bottom).
- Fold the top front flaps down slightly, about one-third of the way, to create wing angles.
- Flip over and fold the bottom point up past the top edge, pressing firmly so it stays.
- Fold the whole model in half vertically, then let it spring open. The wings spread apart naturally.
Thread a piece of string through several butterflies to create a gorgeous garland for a child’s room. Or tape them to popsicle sticks for puppet shows. This project introduces the preliminary base fold that’s used in hundreds of advanced origami models.
Turning Origami Into Extended Learning Activities
Once your kids are hooked on folding, you can extend the learning in dozens of directions. Here are some of my favorite ways to keep the origami momentum going.
Origami Storytelling
Fold several different models — a dog, a cat, a house, a boat, a tree — and use them as characters and props for storytelling. Tape them to a large piece of butcher paper and have your child draw a scene around them. This bridges origami into narrative skills, creativity, and visual art.
Origami Math
Use folding to explore fractions: fold a square into halves, quarters, eighths. Count edges and corners. Compare the area of a folded triangle to the original square. Ask questions like, “If we fold this square in half, how many layers thick is it? What if we fold it in half again?”
Origami Nature Journal
Fold origami animals and glue them into a nature journal next to drawings or photographs of real animals. Write (or dictate) fun facts about each creature. This turns origami into a cross-curricular project spanning science, writing, and art.
Troubleshooting Common Origami Frustrations
Even with the best preparation, origami can sometimes lead to tears — and not just from the kids. Here are solutions to the most common problems families encounter.
“My folds aren’t straight!” — This is completely normal for beginners. Remind children that practice makes progress, not perfection. Using larger paper helps enormously because there’s more room for error. A bone folder or the handle of a butter knife helps press crisp creases.
“I can’t remember the steps!” — Visual step-by-step diagrams are essential. Print out origami instructions with large, clear illustrations and keep them at the workspace. Better yet, fold along with your child so they can watch your hands in real time.
“It doesn’t look like yours!” — Resist the urge to fix your child’s folds. A lopsided frog that hops is still a triumph. Celebrate the effort and the process. Over time, precision improves naturally with practice. Focus on one fold at a time rather than the final result.
“I’m bored of the same projects!” — Once kids master the basics, challenge them with timed folding races, blindfolded folding of simple models, or teaching a younger sibling. You can also introduce patterned paper, metallic foil origami sheets, or glow-in-the-dark paper to keep the excitement fresh.
Building an Origami Habit at Home
The families I’ve seen get the most from origami are the ones who make it a routine rather than a one-off craft session. Here are practical ways to weave paper folding into your weekly rhythm.
- Origami Tuesday: Pick one day a week to learn a new model together. Keep a collection of finished pieces on a shelf or string them into a mobile.
- Travel origami kit: Keep a small ziplock bag of origami squares in your car or purse for restaurants, waiting rooms, and road trips. It’s screen-free entertainment that fits in a pocket.
- Gift origami: Instead of store-bought bows, fold origami flowers, stars, or animals to top birthday presents. Kids love contributing to gift wrapping.
- Origami challenge jar: Write project names on slips of paper, drop them in a jar, and let your child draw one randomly each week.
The real magic of origami isn’t in the finished models — it’s in the transformation that happens inside the child. Watching a flat square become a jumping frog teaches something no flashcard or worksheet ever could: that with patience, attention, and your own two hands, you can turn something ordinary into something extraordinary. And that’s a lesson worth folding into every childhood.
Crafty Mama
Crafty Mama is a former elementary art teacher turned stay-at-home parent who believes every child is creative — they just need the right invitation. She develops age-appropriate activities, crafts, and projects that spark imagination while keeping mess (and parent stress) to a minimum.