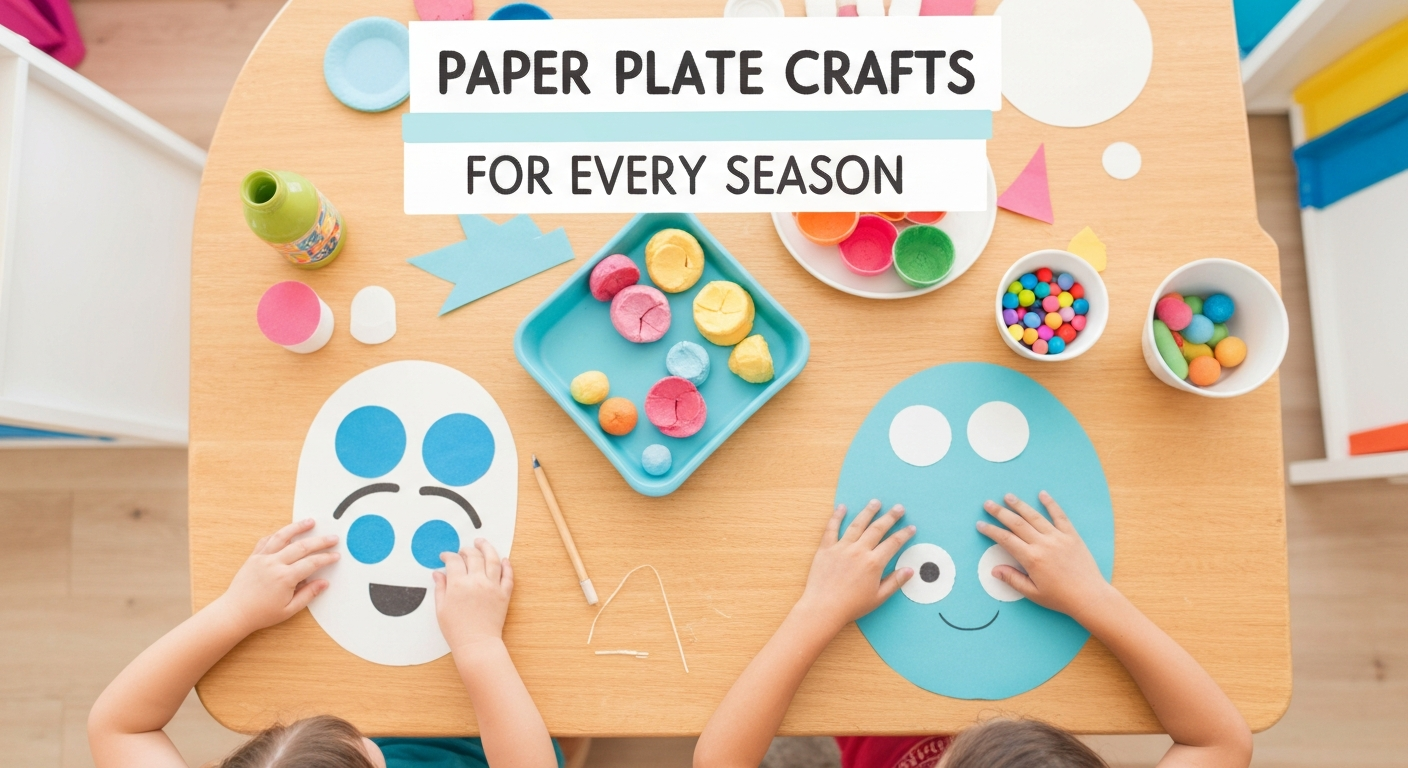
Paper Plate Crafts for Every Season
Discover why paper plates are the perfect, developmentally ideal base for year-round preschool crafts. You'll learn essential supplies and get specific seasonal project ideas, starting with spring crafts.
- Utilize paper plates for crafts; their circular shape provides a great starting point for young children.
- Leverage paper plates' sturdiness for mixed media and their flexibility for 3D creations.
- Stock essential craft supplies like paint, googly eyes, and glue for year-round paper plate fun.
- Engage fine motor skills with spring crafts like the Paper Plate Butterfly, offering kinetic play.
- Practice repetition and sequencing with your child by creating a Paper Plate Flower Garden.
I once calculated that over my twelve years of teaching preschool, I went through approximately 14,000 paper plates — and fewer than 200 of those ever held actual food. The rest became lions, snowmen, ladybugs, rainbows, turkeys, monsters, suns, flowers, masks, and at least one very ambitious replica of the solar system. The paper plate is the unsung hero of early childhood crafting: it’s pre-cut into a perfect circle, sturdy enough to hold paint and glue without buckling, cheap enough to use without guilt, and shaped just right to become almost anything with a little imagination and a pair of safety scissors. If you have a stack of paper plates and a basic craft supply kit, you have a year’s worth of seasonal projects ready to go.
Why Paper Plates Make the Perfect Craft Base
Paper plates aren’t just convenient — they’re actually developmentally ideal for young crafters in ways that blank paper isn’t. Here’s why they work so well:
- The circular shape provides structure. A blank piece of paper can be intimidating for young children who don’t know where to start. A circle naturally suggests faces, animals, wheels, flowers, and other familiar shapes, giving children a creative starting point.
- Sturdy enough for mixed media. Paper plates can handle layers of paint, glue, tissue paper, pom poms, stickers, and more without warping or tearing — unlike regular paper that buckles under wet paint.
- Perfect for cutting practice. The rounded edge gives preschoolers a guideline for scissor practice. Cutting a paper plate in half, folding it, or cutting out the center are all achievable motor challenges.
- Built-in texture. The ridged rim of a standard paper plate adds visual interest and can represent hair, petals, sun rays, or manes without any additional materials.
- Three-dimensional possibilities. Paper plates can be folded, stapled, nested, and stacked to create 3D crafts — hats, baskets, masks, puppets — that flat paper can’t achieve.
Supplies to Keep on Hand
For a full year of paper plate crafting, keep these supplies stocked alongside your plate stash:
- White paper plates (standard size and small dessert size)
- Washable tempera paint and brushes
- Construction paper in assorted colors
- Googly eyes (multiple sizes)
- White school glue and glue sticks
- Safety scissors
- Markers, crayons, and colored pencils
- Pipe cleaners, pom poms, and craft sticks
- A stapler (for adult use)
- Yarn and ribbon
Spring Paper Plate Crafts
Spring is when the natural world comes alive, and paper plate crafts are perfect for capturing the season’s bursting colors and emerging creatures.
Paper Plate Butterfly
Materials: 1 paper plate, washable paint, construction paper, pipe cleaners, googly eyes, clothespin
Fold a paper plate in half — this creates two connected wings. Let your child paint both sides with bright spring colors. While the paint dries, have them decorate a wooden clothespin (the body) with markers or paint. Once dry, clip the clothespin onto the center fold of the plate. Glue on googly eyes and twist two pipe cleaners into antennae, tucking them into the clothespin. The finished butterfly’s wings can open and close when you squeeze the clothespin. This craft develops fine motor skills through painting, folding, and clothespin manipulation, and the kinetic element of the opening wings keeps children playing with their creation long after the glue dries.
Paper Plate Flower Garden
Materials: Several paper plates, paint, green construction paper, craft sticks, tape
Paint each plate a different flower color — pink, yellow, purple, red, orange. While they dry, cut leaf shapes from green construction paper. Tape a craft stick to the back of each painted plate as a stem, then tape leaves to the stems. “Plant” the flowers by poking the sticks into a block of florist’s foam, a shoe box filled with brown crumpled paper (dirt), or simply tape them to a wall in a row. Creating multiple flowers practices repetition and sequencing (paint, dry, attach stick, add leaves), and the garden display teaches the concept of an ensemble or collection.
Paper Plate Rainbow
Materials: 1 paper plate cut in half, paint in rainbow colors (red, orange, yellow, green, blue, purple), cotton balls, glue
Cut a paper plate in half to create a semicircle. Working with the flat (eating) side up, paint arched bands of color in rainbow order from the outer edge inward. Glue cotton ball “clouds” along the flat bottom edge. This is a color sequencing activity that reinforces the order of rainbow colors while practicing brush control within defined bands. Punch a hole at the top and thread yarn through for hanging.
Summer Paper Plate Crafts
Summer crafts celebrate sunshine, ocean life, and the carefree energy of warm weather play.
Paper Plate Sun
Materials: 1 paper plate, yellow and orange paint, yellow construction paper or tissue paper, scissors
Paint the entire plate bright yellow. While it dries, cut triangular “rays” from yellow and orange construction paper (or let children tear strips of yellow tissue paper for a softer look). Glue the rays around the back edge of the plate so they stick out like sun beams. Add a happy face with markers or cut-paper features. For a textured variation, use yellow handprints around the edge instead of paper rays — each child’s handprints create unique sun beams while producing a keepsake craft that captures their hand size at this age.
Paper Plate Aquarium
Materials: 2 paper plates, blue cellophane or plastic wrap, fish stickers or cut-paper fish, sand or brown paper, blue paint, scissors, stapler
Cut the center out of one paper plate to create a “frame.” Paint the other plate blue and let it dry. Glue sand or torn brown paper along the bottom of the blue plate for the ocean floor. Add fish stickers, cut-paper seaweed (green construction paper strips), and small shell stickers or real tiny shells. Tape blue cellophane over the frame plate, then staple it on top of the decorated plate to create a window effect. This layered craft teaches depth and perspective as children create a scene with foreground elements (the frame) and background elements (the ocean floor).
Paper Plate Watermelon
Materials: 1 paper plate cut in half, green and red paint, black beans or black construction paper dots
Paint the outer rim green and the inner area red. Once dry, glue black beans or black paper circles as seeds. This is one of the simplest paper plate crafts and works perfectly for toddlers as young as 18 months — they practice painting in defined areas and gluing individual pieces. The finished watermelon slice looks cheerful and summery hanging on the wall or refrigerator.
Fall Paper Plate Crafts
Autumn brings rich warm colors, harvest themes, and beloved animals that translate beautifully to paper plate art.
Paper Plate Owl
Materials: 1 paper plate, brown paint, construction paper (brown, orange, yellow), googly eyes, scissors, glue
Paint the plate brown. While it dries, cut two large circles from yellow paper and two smaller circles from brown paper — layer the brown on the yellow for big owl eyes, then add large googly eyes on top. Cut a small orange triangle for the beak and two leaf-shaped pieces from brown paper for wings. Fold the top third of the plate down to create the owl’s forehead and ear tufts. Glue on the eyes, beak, and wings. The fold technique transforms a flat circle into a dimensional character and teaches children how a single fold can completely change a shape’s appearance.
Paper Plate Turkey
Materials: 1 paper plate, fall-colored paint (red, orange, yellow, brown), construction paper, googly eyes
Paint the plate in sections of fall colors to represent tail feathers — like a color wheel of autumn. Or, for more texture, glue actual fall leaves to the plate. Cut a turkey body shape from brown construction paper (a simple bowling pin shape) and glue it to the center bottom of the plate, overlapping the edge. Add googly eyes, an orange paper beak, and a red paper wattle. This is the quintessential Thanksgiving craft and can be customized endlessly: use painted handprints for feathers, real feathers from the craft store, or tissue paper squares crumpled and glued in rows.
Paper Plate Apple
Materials: 1 paper plate, red or green paint, brown paper for stem, green paper for leaf, a white cupcake liner for the “core”
Paint the plate red (or green for a Granny Smith). Cut a short rectangle from brown paper for the stem and a leaf shape from green paper. Glue the stem to the top and the leaf beside it. For an interactive version, cut the plate in half and glue a white cupcake liner between the halves so it opens to reveal the “inside” of the apple with brown paper seeds. This opening/closing mechanism teaches children about the inside structure of familiar objects and adds a surprise element to the craft.
Winter Paper Plate Crafts
Winter crafts bring snowflakes, penguins, polar animals, and holiday sparkle to the craft table.
Paper Plate Snowman
Materials: 2-3 paper plates in graduating sizes (standard, dessert, and snack size), construction paper, buttons or pom poms, fabric scrap or ribbon for scarf
Stack and staple the plates from largest (bottom) to smallest (head), overlapping slightly. Decorate the face with googly eyes, an orange paper triangle nose, and marker dots for the mouth. Glue real buttons or paper circles down the front. Tie a fabric strip or ribbon between the head and body for a scarf. A real twig or brown pipe cleaner makes perfect stick arms. The graduated sizing introduces the math concepts of large, medium, and small while the multi-material decoration offers choices that develop decision-making skills.
Paper Plate Penguin
Materials: 1 paper plate, black and white paint (or black construction paper), orange paper, googly eyes
Paint the plate white in a large oval belly area and black around the outer edges and top. Cut two flipper shapes from black paper and glue them to the sides. Add googly eyes, an orange paper beak (a small diamond folded in half), and two orange paper feet at the bottom. The contrast between black and white sections teaches children about symmetry and visual balance, and the familiar penguin shape is satisfying to create.
Paper Plate Snowflake
Materials: 1 white paper plate, scissors, silver glitter, glue, hole punch
Fold the paper plate in half, then in half again, then into a triangle (like making a paper snowflake). Cut small shapes from the folded edges — triangles, curves, small rectangles. Unfold to reveal a symmetrical snowflake pattern. Brush with glue and sprinkle with silver glitter. Punch a hole at the top and thread fishing line or white yarn for hanging. The fold-and-cut technique teaches symmetry in the most hands-on way possible — children discover that cuts made on one side appear on every fold when opened. Every snowflake is genuinely unique.
Practical Tips for Paper Plate Craft Sessions
A few organizational strategies make paper plate crafting smoother and more enjoyable for everyone.
- Pre-cut what needs cutting. For toddlers and young preschoolers, pre-cut any construction paper pieces (eyes, beaks, wings, etc.) and let children focus on painting and gluing. Save independent cutting for children who’ve mastered safety scissors.
- Paint first, assemble second. Paint the base plate as one activity session, then assemble the craft in a second session after the paint dries. This respects short attention spans and prevents the frustration of gluing on pieces that slide off wet paint.
- Use a drying rack or clothesline. String a clothesline across a corner of the room and use clothespins to hang wet painted plates. This saves counter space and makes the drying plates a colorful display in themselves.
- Stock up at dollar stores. Paper plates, construction paper, googly eyes, and pipe cleaners are all available at dollar stores for a fraction of craft store prices. Buy in bulk at the start of each season.
- Display with pride. String finished crafts on a length of yarn across a wall for a seasonal garland, or use a large picture frame with clips to rotate featured pieces. Children craft more enthusiastically when they know their work will be displayed.
Paper plate crafts are the bread and butter of early childhood art — simple enough for the youngest crafters, versatile enough to grow with children through the preschool years, and satisfying enough to produce results that families genuinely want to display. A stack of plates and a few basic supplies are all you need to craft your way through every season, creating keepsake memories one circle at a time.