Fall Leaf Crafts for Preschoolers: 20 Easy Ideas
Fall Leaf Crafts for Preschoolers: 20 Easy Ideas
Fall is nature’s art supply store. Those brilliant red, orange, and yellow leaves scattered across yards and sidewalks are just waiting to become your preschooler’s next masterpiece.
Leaf crafts combine outdoor exploration with creative expression. The hunt for perfect leaves is half the fun—and the art that follows celebrates the season in ways no store-bought supplies can match.
These 20 fall leaf crafts are designed for preschool hands: simple enough to do independently with minimal frustration, beautiful enough to display proudly, and perfect for capturing autumn’s magic.
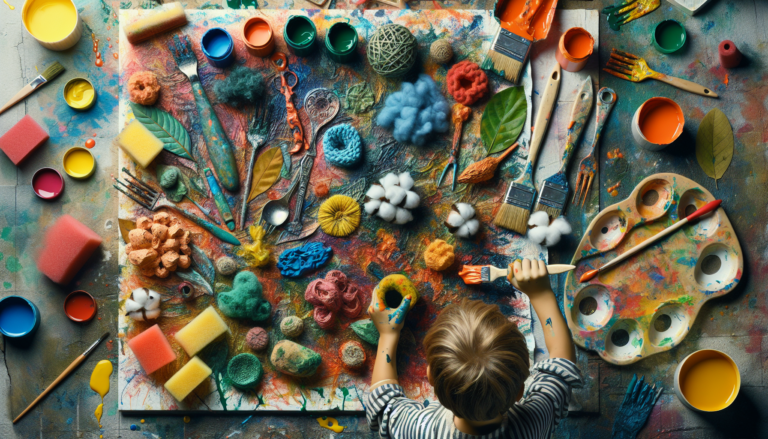
[Image placeholder: Child’s hands holding colorful fall leaves with craft supplies on table]
Gathering Your Leaves
Best Leaves for Crafting
Flat leaves: Easier to glue and press
Freshly fallen: More pliable than dried
Various sizes: Options for different projects
Different shapes: Maple, oak, birch create variety
Interesting colors: Red, orange, yellow, and even still-green
Preserving Leaves
For immediate use: Fresh leaves work great for most crafts
For pressing:
- Place leaves between paper towels
- Stack heavy books on top
- Wait 1-2 weeks
- Leaves will be flat and preserved
For flexibility:
- Mix 1 part glycerin with 2 parts water
- Soak leaves for 3-5 days
- Leaves stay pliable and won’t crumble
20 Fall Leaf Crafts
Simple Leaf Art
1. Leaf Rubbing
Supplies: Leaves, paper, crayons (paper removed)
How to: Place leaf under paper, vein side up. Rub crayon over paper to reveal leaf pattern.
Variation: Use fall-colored crayons on white paper, or try white crayon on colored paper.
2. Leaf Stamping
Supplies: Leaves, paint, paper
How to: Brush paint onto leaf back (where veins are raised). Press onto paper. Lift carefully.
Tip: Slightly thick paint works better than watery paint.
3. Leaf Sun Catchers
Supplies: Contact paper, leaves, frame (paper plate with center cut out)
How to: Place leaves on sticky side of contact paper. Cover with second piece. Attach frame around edges. Hang in window.
4. Leaf Painting
Supplies: Large leaves, paint, brushes
How to: Use leaves as canvases! Paint designs directly on leaf surface. Display in windows.
5. Leaf Resist Art
Supplies: Leaves, watercolor paper, watercolor paints, tape
How to: Tape leaves to paper. Paint all over with watercolors. Remove leaves when dry to reveal shapes.
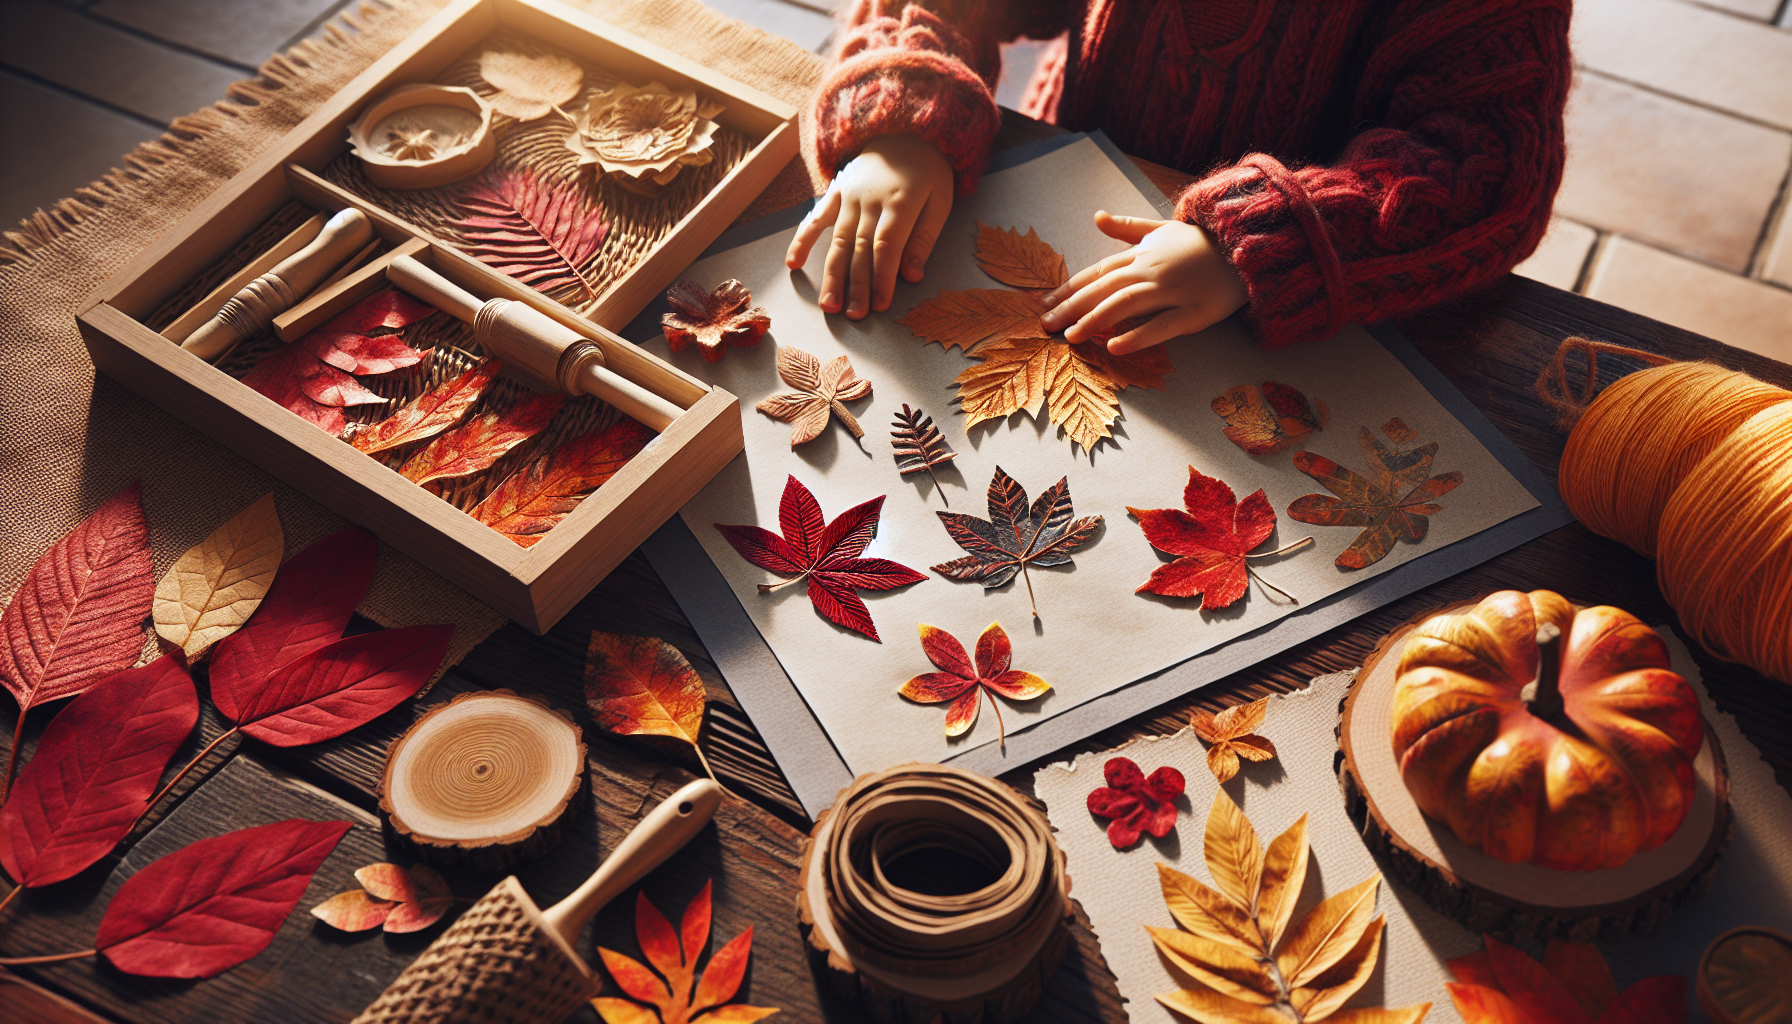
[Image placeholder: Colorful leaf rubbings arranged on paper]
Related: Nature Crafts for Kids
Leaf Creatures
6. Leaf Animals
Supplies: Various leaves, paper, glue, googly eyes, markers
How to: Arrange leaves to create animal shapes—fish, butterflies, birds, owls. Add eyes and details with markers.
Ideas:
- Small round leaf = face
- Long leaf = body
- Multiple leaves = peacock tail
7. Leaf People
Supplies: Long leaf (body), round leaf (head), paper, glue, markers
How to: Glue leaves as body and head. Draw arms, legs, face, and accessories.
8. Leaf Butterflies
Supplies: Two matching leaves, twig, glue, paper
How to: Glue twig as body. Glue matching leaves as wings on either side. Add antenna with markers.
9. Leaf Hedgehog
Supplies: Many small leaves, paper, glue
How to: Draw hedgehog body outline. Glue leaves in rows as “spines” starting from back, overlapping toward face.
10. Leaf Owl
Supplies: Various leaves, paper, glue, googly eyes
How to: Large leaf = body. Small leaves = wings. Tiny leaves = ears. Add large googly eyes and draw beak.
Leaf Collage and Patterns
11. Fall Tree Art
Supplies: Brown paper (trunk), leaves, large paper, glue
How to: Glue trunk to paper. Glue leaves as foliage, some falling to “ground” beneath tree.
12. Leaf Mandala
Supplies: Many leaves (various sizes), paper or outdoor space
How to: Arrange leaves in circular pattern, largest outside, smallest in center. Glue to paper or leave as nature art outdoors.
13. Leaf Sorting Collage
Supplies: Leaves sorted by color, sectioned paper, glue
How to: Sort leaves by color (red, orange, yellow). Glue each color group in its own section.
14. Rainbow Leaf Art
Supplies: Leaves arranged by color gradient, paper, glue
How to: Arrange leaves from lightest to darkest (or green to yellow to orange to red). Glue in a row or arc.
Related: Mess-Free Painting for Toddlers
Wearable and 3D Leaf Crafts
15. Leaf Crown
Supplies: Paper strip (crown base), leaves, glue or stapler
How to: Attach leaves overlapping around paper crown band. Fit to child’s head and secure.
16. Leaf Garland
Supplies: Leaves, hole punch, string or ribbon
How to: Punch holes in leaf stems. Thread onto string. Hang across window or mantel.
17. Leaf Mobile
Supplies: Stick, string, leaves
How to: Tie strings of varying lengths to stick. Attach leaf to end of each string. Balance and hang.
18. Leaf Bowl (with help)
Supplies: Leaves, mod podge, balloon
How to: Blow up balloon. Apply mod podge to balloon, then layer leaves. Add more mod podge over leaves. Let dry completely. Pop balloon—leaf bowl remains!
Note: Requires adult help with mod podge application.
Sensory and Interactive Leaf Crafts
19. Leaf Confetti
Supplies: Dry crunchy leaves
How to: Crunch leaves with hands into tiny pieces. Use as confetti for gluing or sensory play.
20. Leaf Sensory Bag
Supplies: Zip-lock bag, hair gel, small leaves, tape
How to: Put hair gel and small leaves in bag. Seal securely, tape edges. Squish and push leaves around!
Displaying Leaf Art
Ideas for Showcasing
- Frame pressed leaves or art
- Create a “fall gallery wall”
- Hang in windows for light
- Use as placemats (laminate first)
- Send to grandparents
- Create a fall craft book
Preserving Finished Artwork
- Laminate paper crafts
- Photograph and create a digital album
- Spray with clear sealant for 3D pieces
- Press between wax paper
Tips for Successful Leaf Crafts
For Younger Preschoolers (2-3)
- Pre-glue surfaces so they just press leaves on
- Choose simple projects (stamping, rubbing)
- Use larger leaves easier to handle
- Focus on process over product
For Older Preschoolers (4-5)
- Introduce more detailed projects
- Let them use glue independently
- Encourage their own creature designs
- Add writing (leaf labels, stories)
Managing the Mess
- Work on covered surface or outside
- Have wet wipes ready
- Wear smocks or old clothes
- Embrace leaf crumbles—they’re part of it!
FAQ
How do I keep leaves from crumbling during crafts?
Use fresh leaves for immediate projects. For preserved leaves, glycerin soaking keeps them pliable. Work gently with dried leaves.
What if we don’t have many colorful leaves in our area?
Work with what you have! Green leaves are beautiful too. Or supplement with store-bought craft leaves.
My preschooler gets frustrated with detailed leaf crafts. Help!
Keep it simple! Leaf stamping, rubbing, and sorting require minimal precision. Let them lead and keep expectations age-appropriate.
How can I extend leaf learning beyond crafts?
- Sort leaves by shape, size, or color
- Count leaves
- Identify tree types
- Observe leaf decay over time
- Discuss why leaves change color
Can we do these crafts with dried store-bought leaves?
Yes! Preserved craft leaves from stores work well, especially for projects requiring specific shapes or colors.
Conclusion
Fall leaf crafts connect preschoolers with the changing season while building creativity and fine motor skills. From simple rubbings to elaborate creatures, there’s a leaf craft for every skill level and interest.
Grab a basket, head outside, and collect nature’s free art supplies. Then bring the beauty of autumn indoors with these easy, joyful projects.
Happy crafting—and happy fall!
Related: Sensory Bin Ideas for Toddlers