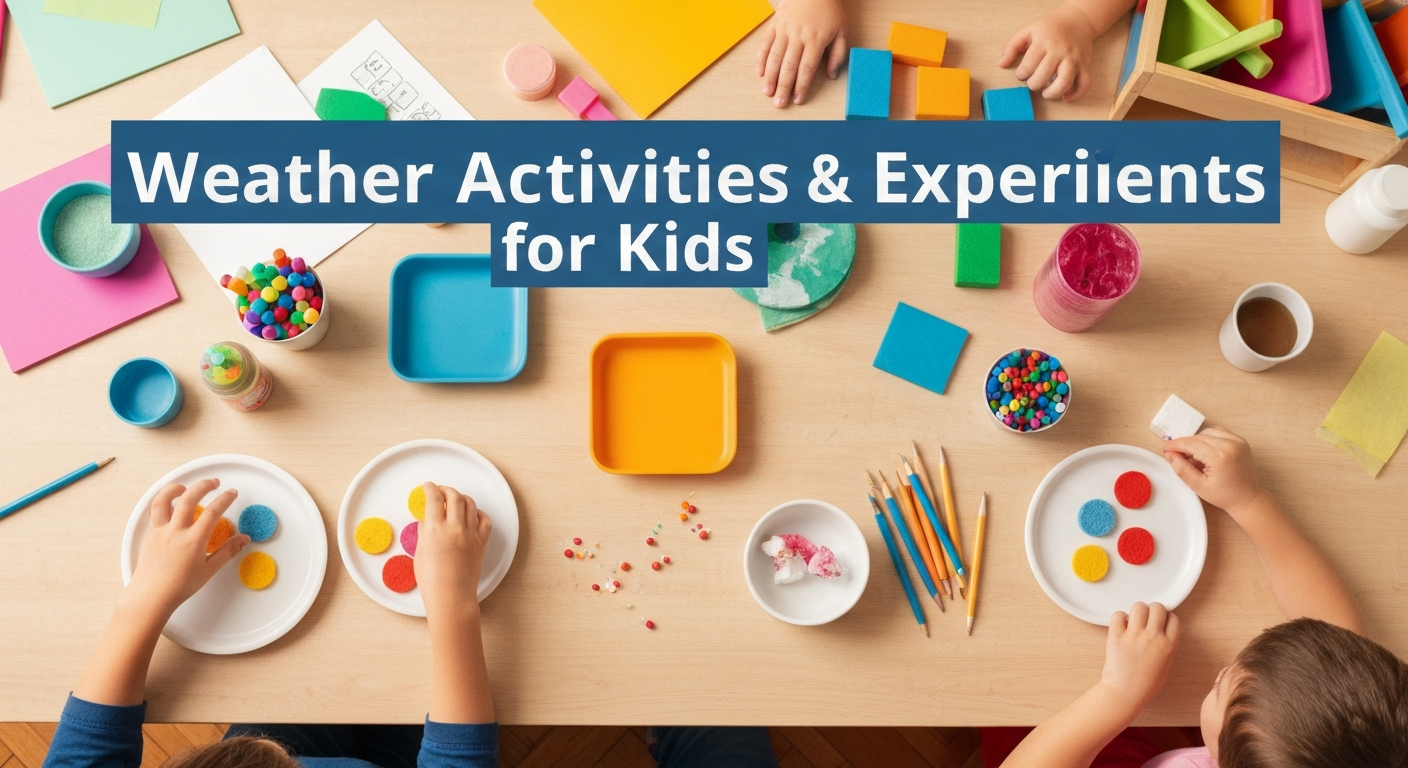
Weather Activities and Experiments for Kids
This article provides fun, hands-on weather activities and experiments, like building a rain cloud in a jar or a DIY windsock, to help your children understand the science behind what they experience daily.
- You can easily create a rain cloud in a jar using shaving cream and food coloring.
- Build a simple rain gauge to track rainfall and observe weather patterns.
- Engage kids with raindrop races on a window to teach observation and cause-effect.
- Construct a DIY windsock to make invisible wind visible and measurable for your child.
The Rainstorm We Built on the Kitchen Counter
It was pouring outside, field trip canceled, and my class of twenty preschoolers needed something big to match their disappointed energy. So I grabbed a clear glass jar, filled it with water, squirted shaving cream on top, and handed each child a pipette full of blue food coloring. “This is our cloud,” I said, pointing to the shaving cream. “Let’s see what happens when the cloud gets too heavy with water.” They squeezed the blue drops onto the shaving cream and watched, transfixed, as blue streaks began falling through the water below like rain. The room erupted. “IT’S RAINING IN THE JAR!” And just like that, a disappointing rainy day became the most memorable science lesson of the entire year.
Weather is one of those topics that captivates children naturally because they experience it every single day. They feel the wind, see the rain, shiver in the cold, and squint in the sunshine. Turning that daily experience into hands-on experiments and activities helps children understand the science behind what they feel, building early scientific thinking while satisfying their endless curiosity. Here are my favorite weather activities and experiments, tested across years of teaching and guaranteed to make little scientists out of your kids.
Rain Experiments
Rain is the weather event children encounter most, and it is also the easiest to recreate at home or in the classroom.
Rain Cloud in a Jar
Materials: A clear glass jar or large drinking glass, water, shaving cream, blue food coloring, pipettes or eyedroppers
Fill the jar three-quarters full with water. Spray a thick layer of shaving cream on top. This is the cloud. Give your child a pipette filled with water tinted with blue food coloring. They slowly drop the blue water onto the shaving cream cloud. At first, the shaving cream absorbs the water. But as it becomes saturated, blue streaks begin falling through into the clear water below, exactly like rain falling from a cloud that has become too heavy with moisture.
The science: Real clouds work similarly. Water vapor collects in clouds until the droplets become too heavy to stay suspended, and they fall as rain. This experiment makes that invisible process visible and tangible. Children can repeat it over and over, and it is just as magical every time.
Rain Gauge Construction
Materials: A clear plastic bottle (cut the top third off and invert it as a funnel), a ruler, permanent marker, tape, small rocks for weight
Cut the top off a plastic bottle and flip it upside down into the bottom portion to create a funnel. Place small rocks in the bottom for stability. Use a ruler and permanent marker to draw measurement lines up the side in half-inch or centimeter increments. Place the rain gauge outside before a storm and check the water level afterward. Record the measurement on a chart. Over weeks of data collection, children begin to see patterns and can compare rainfall amounts between storms.
Raindrop Races
Materials: A window on a rainy day, washable window markers
During a rain shower, stand at a window and pick two raindrops near the top. Use window markers to circle each drop with a different color. Watch which raindrop races to the bottom first. Discuss why some drops move faster: they might be bigger, heavier, or have a straighter path. This simple observation activity teaches children to observe carefully, make predictions, and notice cause and effect.
Wind Activities
Wind is invisible, which makes it fascinating and tricky for young children to understand. These activities make wind visible and measurable.
DIY Windsock
Materials: A toilet paper tube or paper towel tube cut in half, streamers or ribbon cut into 12-inch strips, tape or stapler, string, stickers and markers for decoration
Decorate the tube with stickers and markers. Tape or staple 5 to 8 streamer strips to one end of the tube so they hang down. Punch two holes at the opposite end and thread string through to create a hanger. Hang the windsock outside from a tree branch, porch railing, or fence. The streamers blow in the direction the wind is moving, and the angle of the streamers indicates wind strength. Children check the windsock daily and record whether the wind is calm, breezy, or strong.
Wind Painting
Materials: Cardstock or thick paper, washable tempera paint thinned with water, straws, pipettes
Drop small puddles of thinned paint onto paper using a pipette. Give your child a straw and have them blow the paint across the paper. The paint spreads in beautiful branching patterns that look like trees, lightning, or coral. Discuss how their breath is like wind pushing the paint. What happens when they blow hard versus gently? What happens when they blow from different directions? This is creative art meets physics.
Parachute Drop Experiment
Materials: Coffee filters, napkins, plastic bags, string, small toys or action figures, a step stool or staircase
Attach strings to different materials (coffee filter, napkin, cut piece of plastic bag) and tie them to a small toy. Drop each parachute from the same height and observe which one falls slowest. The material that catches the most air creates the most drag, slowing the fall. Children learn about air resistance in a way that is exciting and hands-on.
Sun and Temperature Experiments
The sun drives almost all weather patterns, and understanding its effects is fundamental to weather science.
Shadow Tracking
Materials: Sidewalk chalk, a sunny day, a fixed outdoor object (a stick pushed into the ground, a fence post, or your child standing still)
Go outside in the morning and trace the shadow of your chosen object with chalk. Label it with the time. Return every two hours throughout the day and trace the shadow again, labeling each tracing. By the end of the day, children can see how the shadow moved, changed direction, and changed length as the sun moved across the sky. The shortest shadow appears around noon when the sun is highest.
Extension: Discuss why shadows are long in the morning and evening but short at midday. Use a flashlight and a toy to demonstrate inside how the angle of light affects shadow length.
Sun Versus Shade Temperature Test
Materials: Two cups of water, a thermometer (or two if available), a sunny spot and a shady spot outside
Fill two identical cups with the same amount of water at the same temperature. Place one in direct sunlight and one in shade. Check the temperature every 15 minutes for an hour and record the readings on a simple chart. Children observe that the sun-exposed water gets warmer while the shaded water stays cooler. Discuss how this relates to why we feel hot in the sun and cooler in the shade.
DIY Sundial
Materials: A paper plate, a pencil or straw, playdough or clay to hold the pencil upright, markers
Push a pencil through the center of a paper plate so it stands straight up, securing it with playdough underneath. Place the plate outside in a sunny spot. Every hour, mark where the pencil’s shadow falls on the plate and write the time. After a full day, you have a working sundial. Children can use it the next day to tell time by where the shadow falls. This is one of the oldest technologies in human history, and building one connects children to that history.
Cloud Study and Water Cycle Activities
Clouds are endlessly fascinating to children who will lie on their backs and stare at them for ages. Channel that natural curiosity into real learning.
Cloud Identification Journal
Materials: A small notebook, crayons or colored pencils, a simple cloud identification chart
Teach children three basic cloud types: cumulus (fluffy cotton-ball clouds), stratus (flat, gray blanket clouds), and cirrus (thin, wispy, high-altitude clouds). Each day, go outside and look at the sky. Children draw the clouds they see and label the type. Over time, they notice patterns: certain cloud types appear before rain, clear skies feature certain cloud shapes, and clouds change throughout the day.
Water Cycle in a Bag
Materials: A gallon-size ziplock bag, water, blue food coloring, permanent marker, tape
Use a permanent marker to draw a simple landscape on the bag: a sun at the top, clouds in the middle, and water (a lake or ocean) at the bottom. Add a few tablespoons of blue-tinted water to the bottom of the bag. Seal it and tape it to a sunny window. Over several hours and days, the water evaporates, condenses as droplets on the inside of the bag (forming visible “clouds”), and eventually drips back down (“precipitation”). Children witness the complete water cycle happening inside a plastic bag on their window.
Creating a Home Weather Station
Bringing all of these experiments together into a daily routine creates a comprehensive weather study project. Here is how to set up a simple home weather station:
- Rain gauge placed outside in an open area
- Windsock hanging where children can observe it from a window
- Outdoor thermometer mounted at child-readable height on a shaded wall
- Cloud identification chart posted near a window
- Weather journal where children record daily observations: temperature, cloud type, wind strength, and precipitation
Each morning, make weather observation part of the routine. Children check each instrument, record their findings with drawings or simple writing, and predict what the weather will do later in the day. Then check their prediction in the afternoon. This daily practice builds scientific observation skills, data recording habits, and critical thinking about patterns and predictions.
Weather is the biggest, most visible science experiment happening around us every single day. When children learn to observe, measure, and understand it, they stop seeing rain as a ruined outdoor plan and start seeing it as an incredible natural process they can explain. That shift from passive experience to active understanding is what real science education looks like.
Crafty Mama
Crafty Mama is a former elementary art teacher turned stay-at-home parent who believes every child is creative — they just need the right invitation. She develops age-appropriate activities, crafts, and projects that spark imagination while keeping mess (and parent stress) to a minimum.