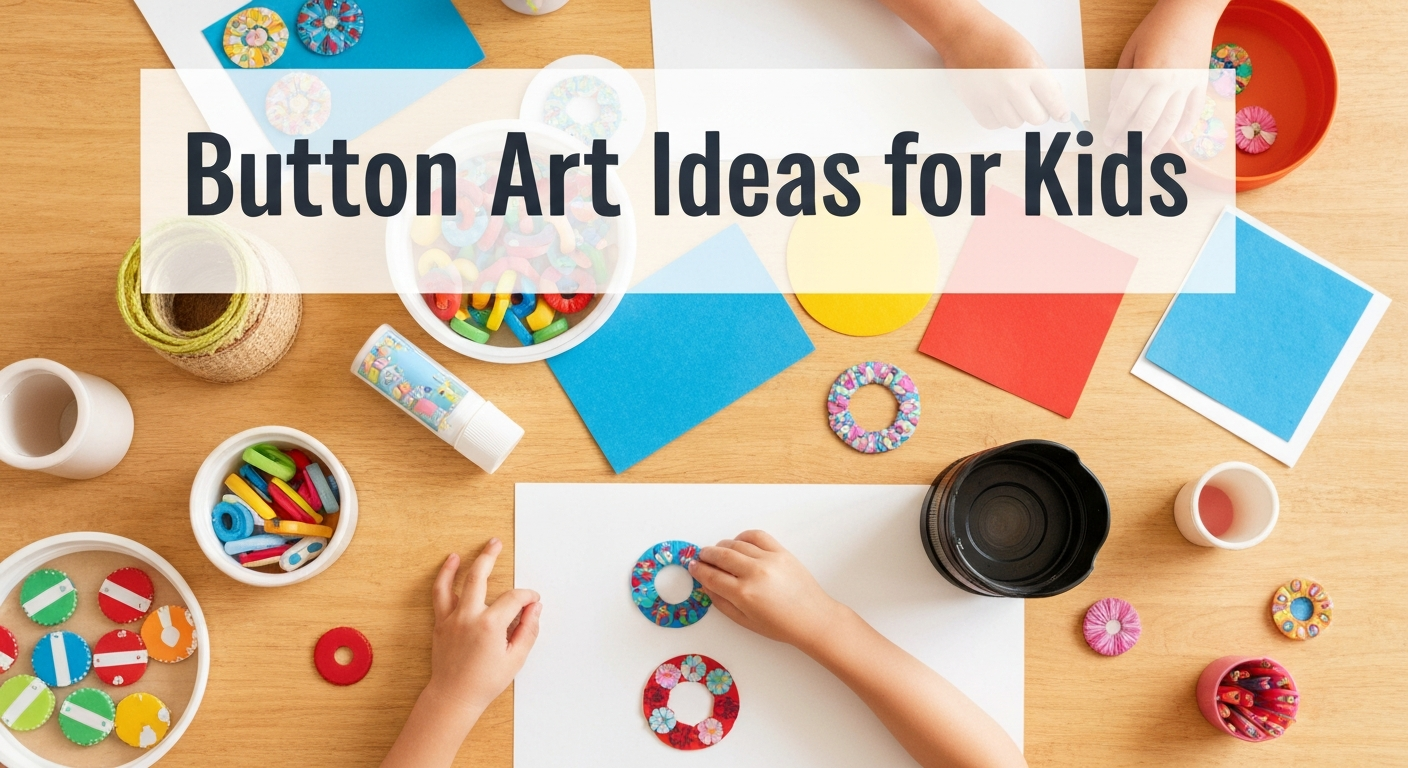
Button Art Ideas for Kids
You'll learn to create engaging button art projects for kids, from gathering essential supplies like various buttons and sturdy bases to specific project ideas that foster fine motor skills and creativity. Discover age-appropriate techniques and important safety considerations for button play.
- Gather assorted buttons, sturdy bases like cardstock or canvas, and various glues for your art station.
- Pre-sort buttons by color using trays to make projects smoother and less overwhelming for children.
- Supervise young children (under 3) due to choking hazards; use only large buttons (1 inch+) for toddlers.
- Engage young children (3-5) with structured projects like button caterpillars or flower gardens.
- Incorporate embellishments like yarn or fabric scraps for mixed-media button art designs.
My Grandmother’s Button Jar and the Art It Inspired
My grandmother kept an enormous glass jar of buttons on the lowest shelf in her sewing room, right at the perfect height for a curious four-year-old. I can still hear the satisfying clatter of pouring those hundreds of buttons onto the carpet and running my fingers through the pile, sorting by color, stacking by size, and lining them up in elaborate patterns that I called my “button gardens.” Years later, when I became a preschool teacher, a button jar was the first thing I put on my craft shelf. Buttons are tiny, tactile treasures that children are drawn to instinctively, and they happen to be one of the most versatile art supplies you can find.
Button art combines fine motor development, creative expression, and the meditative satisfaction of arranging small objects into something beautiful. The projects range from simple glue-and-press designs for toddlers to sophisticated mixed-media artwork for older children. And the best part? Buttons are incredibly cheap. A one-pound bag of assorted buttons from a craft store costs a few dollars and contains hundreds of pieces in every color, shape, and size imaginable. Here are the button art projects my students have loved the most.
Gathering Your Button Art Supplies
A well-stocked button art station makes it easy to pull out a project anytime creativity calls. Here is what to collect:
- Buttons: A large assorted bag is the best starting point. Look for variety in size, color, shape, and number of holes. Flat buttons work best for gluing. Shank buttons (with a loop on the back instead of holes) work better for sewing and threading projects.
- Glue: White school glue for younger children and craft glue or a low-temperature glue gun (adult supervised) for projects requiring stronger adhesion. Glue dots are another mess-free option that works well with buttons.
- Cardstock and canvas: Regular paper is too flimsy for button art because the weight of the buttons causes it to buckle. Use heavy cardstock, small canvas boards, or cardboard as bases.
- Sorting trays: Muffin tins, ice cube trays, or small bowls for sorting buttons by color before starting a project. Pre-sorting makes the creative process smoother and less overwhelming.
- Drawing tools: Pencils for sketching designs before gluing, and markers for adding details around button artwork.
- Additional embellishments: Yarn, ribbon, fabric scraps, sequins, and beads to incorporate into button designs for mixed-media projects.
Safety note: Buttons are a choking hazard for children under 3. Always supervise young children during button play and use only large buttons (1 inch or larger in diameter) with toddlers. For the youngest children, button sorting and sensory play under direct supervision is appropriate, but save the smaller buttons for children ages 4 and up.
Button Art Projects for Young Children (Ages 3-5)
Young children benefit from projects with clear structure and simple techniques. These designs use buttons as the primary art medium with minimal drawing required.
Button Caterpillar
Draw a gently curving line across a piece of cardstock with a pencil, this is the caterpillar’s path. Provide green buttons in graduating sizes from large to small. Children glue the buttons along the line starting with the largest as the head and ending with the smallest as the tail. Add googly eyes to the head button and draw tiny legs with a marker along the bottom of the body. This project teaches size sequencing, following a line, and fine motor control through gluing.
Button Flowers in a Garden
Draw three to five simple flower stems with leaves on cardstock using green markers. At the top of each stem, draw a small circle where the flower center will go. Children select colorful buttons and glue them in clusters around each center, arranging petal-colored buttons in a ring around a contrasting center button. Add a strip of brown or green paper along the bottom for soil. This is one of the prettiest button art projects and makes a gorgeous Mother’s Day or spring card.
Button Rainbow
Draw a large rainbow arc outline on white cardstock, with lines separating the color bands. Children sort buttons by color: red, orange, yellow, green, blue, and purple. They fill each band with buttons of the matching color, gluing them inside the lines. The finished rainbow is a stunning, textured piece of art that reinforces color recognition, sorting skills, and spatial awareness. Display it prominently since children are incredibly proud of this one.
Button Stamping with Paint
For an alternative to gluing, dip buttons into shallow trays of paint and press them onto paper as stamps. Different button sizes create different circle sizes. The texture of the button face, the holes, the rim, the raised patterns, creates unique prints each time. Children stamp freely or create patterns. Four-hole buttons pressed in paint and stamped make perfect tiny button prints that look adorable in rows.
Button Art Projects for Older Children (Ages 6-10)
Older children can plan more complex designs, work with smaller buttons, and combine buttons with other media for sophisticated artwork.
Button Monogram Art
Materials: A small canvas board (8×10 inches works well), a pencil, buttons in your child’s favorite color family, craft glue
Lightly pencil a large block letter on the canvas, the first initial of your child’s name. Fill the entire letter with buttons, starting with the largest buttons in the center and fitting smaller buttons into the gaps. Layer buttons on top of each other for a three-dimensional effect. Use a strong craft glue and let each section dry before moving to the next. The finished monogram is gallery-worthy wall art for a child’s bedroom. Choosing a single color family like all blues, all pinks, or all warm tones (reds, oranges, yellows) creates a cohesive, professional look.
Button Tree of Life
Draw or paint a tree trunk and bare branches on cardstock or canvas using brown paint or markers. The branches should spread wide, leaving plenty of space for a full canopy. Fill the canopy area with green buttons of varying shades and sizes, glued along and above the branches to create a lush, textured tree. For a four-seasons version, make four trees: green buttons for summer, red and orange for autumn, white and silver for winter, and pink with a few green for spring. Frame all four together.
Button Mosaic Portraits
Sketch a simple outline of a face, animal, or object on heavy cardstock. Fill the entire outline with buttons, choosing colors that match the subject. A blue whale filled with shades of blue buttons. An orange pumpkin filled with orange buttons. A multicolor hot air balloon with each section in a different color family. The mosaic effect of many buttons filling a shape creates artwork that looks impressive from across the room. This project teaches planning, color selection, spatial filling, and patience.
Button Jewelry
Thread buttons onto elastic cord, yarn, or thin ribbon to create necklaces, bracelets, and anklets. Alternate buttons with beads for variety. Stack two or three different-sized buttons together before threading to create dimensional flower-like elements. For a simple bracelet, thread 8 to 10 buttons on elastic cord and tie the ends. Children design patterns, choose color combinations, and create wearable art that they proudly give as gifts.
Button Sorting and Learning Activities
Before buttons become art, they are an extraordinary learning manipulative. These sorting and counting activities build foundational math and thinking skills.
Multi-Attribute Sorting
Dump a large collection of buttons onto a tray and challenge children to sort them in different ways:
- By color: All the red buttons here, all the blue buttons there
- By size: Small, medium, and large groups
- By number of holes: Two-hole buttons, four-hole buttons, shank buttons
- By shape: Round, square, flower-shaped, star-shaped
- By material: Plastic, wood, metal, fabric-covered
After sorting one way, ask children to re-sort using a different attribute. This is classification and categorization, which is foundational mathematical thinking. Then ask advanced questions: how many red buttons have four holes? This requires sorting by two attributes simultaneously, a higher-level thinking skill.
Button Counting and Estimation
Place a handful of buttons in a clear jar. Ask your child to estimate how many are inside without counting. Write down their estimate. Then pour the buttons out and count together. How close was the estimate? Repeat with different quantities. Over time, children develop remarkably accurate estimation skills. This is the foundation for number sense and mathematical reasoning.
Button Patterns
Create a pattern with buttons and ask your child to continue it: red, blue, red, blue, what comes next? Start with simple AB patterns, then advance to ABC, AAB, and AABB patterns. Use attributes beyond color: big, small, big, small or two-hole, four-hole, two-hole, four-hole. Creating and extending patterns is a pre-algebra skill that prepares children for mathematical thinking throughout school.
Display and Preservation Ideas
Button art deserves to be displayed, not tucked in a drawer. Here are ways to showcase your child’s creations:
- Frame it: Place button art in a shadow box frame that accommodates the three-dimensional buttons. These frames are available at craft stores and turn button projects into professional-looking wall art.
- Create a gallery wall: Dedicate a section of wall to rotating button art displays. Use removable adhesive strips to hang artwork at your child’s eye level.
- Gift it: Button art makes thoughtful, handmade gifts for grandparents, teachers, and friends. A button monogram of someone’s initial or a button flower bouquet card is a gift that recipients keep for years.
- Seal it: For button art that will be handled or displayed long-term, spray with a clear acrylic sealant (adult only) or brush on a coat of Mod Podge over the entire surface. This secures the buttons and prevents them from popping off over time.
Buttons transform from sewing notions into art supplies the moment a child picks one up and imagines what it could become. A flower, a scale on a fish, a wheel on a car, a spot on a ladybug. That imaginative leap, from “this is a button” to “this is part of my picture,” is creative thinking in its purest form. Fill a jar, pour them out, and let your child’s imagination take it from there.
Crafty Mama
Crafty Mama is a former elementary art teacher turned stay-at-home parent who believes every child is creative — they just need the right invitation. She develops age-appropriate activities, crafts, and projects that spark imagination while keeping mess (and parent stress) to a minimum.