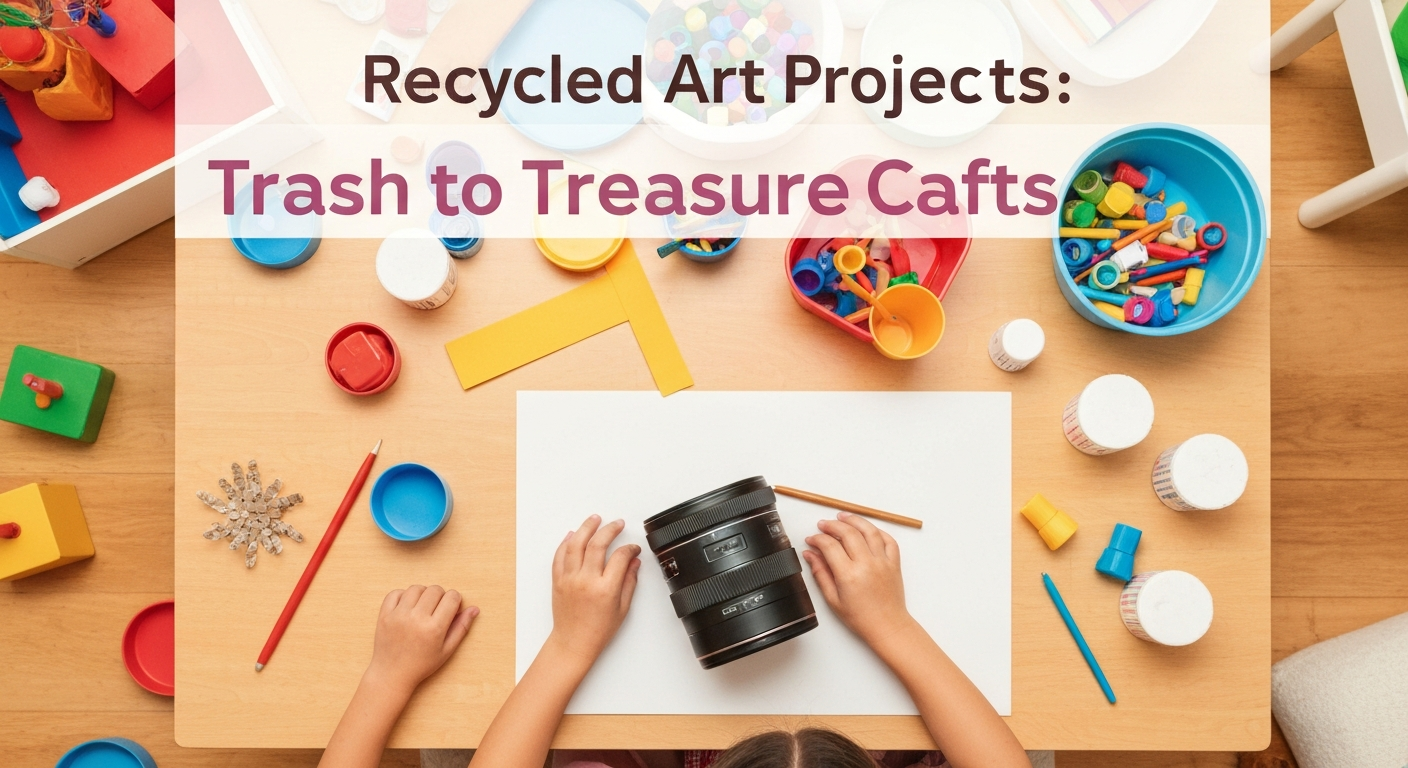
Recycled Art Projects: Trash to Treasure Crafts
Discover how to turn your recycling bin into a treasure trove for creative kids' art projects. You'll learn the developmental benefits of recycled art and how to build your own supply stash for fun, skill-building crafts.
- Boost your child's divergent thinking and problem-solving with recycled art.
- Start a dedicated bin to collect essential recycled art materials.
- Save cardboard tubes, egg cartons, and plastic bottles for crafts.
- Combine recyclables with basic supplies like glue, paint, and googly eyes.
My recycling bin used to be the most boring thing in my kitchen. Then I started teaching art to preschoolers on a shoestring budget, and suddenly that blue bin became the most exciting treasure chest in the house. Cereal boxes turned into castles. Egg cartons became caterpillars. Bottle caps became mosaic tiles. Toilet paper rolls became — well, pretty much everything. The truth is, some of the most creative, engaging, and developmentally rich art projects kids can make come from materials that were headed straight for the trash. And there’s something powerfully satisfying about showing a child that the “garbage” in their hand can become something beautiful.
Why Recycled Art Is More Than Just Crafting
Recycled art — sometimes called “junk art” or “upcycled crafts” — isn’t just a budget-friendly alternative to buying craft supplies. It’s a fundamentally different creative experience that builds skills store-bought kits simply can’t replicate.
When children work with recycled materials, they have to think like inventors and engineers. A popsicle stick has one obvious use, but a cardboard tube? That could be a telescope, a tunnel, a tree trunk, a rocket, a megaphone, or a caterpillar segment. The open-ended nature of recycled materials forces children to use creative thinking, problem-solving, and spatial reasoning in ways that following a pre-designed kit with labeled parts never does.
Key developmental benefits include:
- Divergent thinking: Finding new uses for familiar objects is a core creative skill
- Environmental awareness: Even young children begin to understand that trash can have a second life
- Fine motor skills: Cutting, tearing, gluing, and taping build hand strength and dexterity
- Planning and execution: Children must visualize what they want to build, then figure out how to make it happen with available materials
- Resourcefulness: Learning to work with what you have is a life skill that extends far beyond art class
Building Your Recycled Art Supply Stash
The first step to great recycled art is collecting the right materials. Start a dedicated bin in your home — a large cardboard box or plastic tub works perfectly — and get the whole family involved in filling it. Here’s what to save:
The Essential Collection
- Cardboard tubes: Toilet paper rolls and paper towel rolls (the backbone of recycled art)
- Cardboard boxes: Cereal boxes, shoe boxes, shipping boxes, cracker boxes
- Egg cartons: Both foam and cardboard types work for different projects
- Plastic bottles and caps: Water bottles, milk jugs, detergent bottles, all sizes of lids
- Cans: Clean tin cans with no sharp edges (press edges flat with pliers)
- Fabric scraps: Old t-shirts, socks without mates, worn-out dish towels
- Paper: Newspaper, magazines, junk mail, wrapping paper scraps, paper bags
- Miscellaneous: Corks, jar lids, berry containers, yogurt cups, popsicle sticks, old CDs
Supplies You’ll Need Alongside the Recyclables
- White school glue and glue sticks
- Painter’s tape and masking tape
- Scissors (child-safe and adult)
- Tempera paint, washable markers, and crayons
- Googly eyes (the secret weapon of recycled art)
- Pipe cleaners, yarn, and string
Trash-to-Treasure Projects for Every Age
These projects are organized from simplest to most complex. Each one uses materials from the recycling bin plus basic craft supplies. I’ve included age recommendations, but don’t let those limit you — kids will surprise you with what they can create when given the freedom to try.
Egg Carton Caterpillar (Ages 2+)
Materials:
- One row cut from a cardboard egg carton (4-6 cups)
- Tempera paint and brushes
- Googly eyes
- Pipe cleaners for antennae
- Pom poms or cotton balls for decoration
Cut a single row from the egg carton so you have a strip of connected cups. Let your child paint the outside in any colors they choose — rainbow caterpillars are a favorite. Once dry, glue googly eyes to one end and poke two pipe cleaners through the top for antennae. Add pom poms, stickers, or glitter glue for personality. The painting and gluing build fine motor control, while the creative choices let each child’s caterpillar be completely unique. Line up everyone’s caterpillars on a shelf for a colorful display.
Cardboard Tube Animals (Ages 3+)
Materials:
- Toilet paper or paper towel rolls
- Construction paper
- Scissors, glue, and tape
- Markers or paint
- Googly eyes
The humble cardboard tube is possibly the most versatile craft supply in existence. Standing upright, it becomes an owl, a fox, a penguin, or a bear. Cut slits in one end and fold them down for ears. Wrap it in brown paper for a tree trunk, orange paper for a fox, or black and white paper for a zebra. Cut wing shapes from construction paper and glue them to the sides for birds. The three-dimensional nature of tube crafts helps children think spatially and understand how flat shapes wrap around cylinders — early geometry in action.
Bottle Cap Mosaics (Ages 4+)
Materials:
- Plastic bottle caps in various colors (collect over time — ask friends and family to save theirs)
- A piece of cardboard for the base
- White school glue or hot glue (adult assistance for hot glue)
- A pencil to sketch the design first
Sketch a simple design on the cardboard — a flower, rainbow, heart, house, or the child’s name initial. Then fill in the shapes by gluing bottle caps in place, choosing colors to match the design. A sunflower might have a brown center surrounded by yellow caps with green cap stems. This project builds pattern recognition, color sorting, and planning skills and creates a sturdy, textured art piece that looks genuinely impressive hanging on a wall. For younger children, skip the design outline and let them create abstract mosaic patterns freely.
Cereal Box Monsters (Ages 3+)
Materials:
- An empty cereal box
- Paint or colored paper to cover it
- Assorted recyclables for features: bottle caps for eyes, pipe cleaners for arms, yarn for hair
- Scissors, glue, tape
Cover the cereal box with paint or glued-on paper. Cut a wide mouth hole on one side. Then let your child go wild adding features using whatever they find in the recycled art bin. Bottle cap eyes, cork noses, cardboard tube horns, yarn hair, fabric scrap clothes — the weirder, the better. Monster crafts are wonderful because there’s no “wrong” way to make one, which takes the pressure off perfectionistic children and lets creativity flow freely. These monsters also make fantastic puppets when you cut the bottom of the box open so a hand can fit inside.
Newspaper Wearable Art (Ages 4+)
Materials:
- Newspaper (several full sheets)
- Masking tape
- Scissors
- Stapler (adult use)
- Optional: paint, markers, stickers for decorating
Challenge kids to create wearable items from newspaper: hats, crowns, belts, vests, bracelets, even full “designer outfits.” Roll newspaper into tubes and tape them for crowns and bracelets. Fold large sheets into hats (the classic paper hat fold). Cut armholes in a folded sheet for a vest. Once the basic pieces are made, decorate with markers, paint, or glued-on paper shapes. Then hold a “recycled fashion show” where everyone models their creations. This project is fabulous for birthday parties, summer camps, or any group of kids who need a creative challenge.
Large-Scale Recycled Building Projects
Sometimes you need a project big enough to occupy kids for an entire afternoon. These large-scale building projects use bigger recyclables and result in impressive structures kids can actually play with.
Cardboard Box City
Materials:
- Multiple cardboard boxes of various sizes
- Paint, markers, or colored paper
- Scissors and box cutters (adult only)
- Tape and glue
- Small toy cars and people to populate the city
Cut doors and windows in boxes to create buildings. Stack smaller boxes on larger ones for multi-story structures. Paint or paper-cover each building. Add details: a clock face on the clock tower, a cross on the hospital, menu items drawn on the restaurant, books in the library window. Connect buildings with cardboard road strips. Add green tissue paper trees and cotton ball clouds. The city can grow over days or even weeks as you collect more boxes. This extended project teaches urban planning concepts, collaborative building, and sustained creative engagement.
Junk Robot Sculpture
Materials:
- A medium box for the body
- A small box for the head
- Cardboard tubes for arms and legs
- Bottle caps, jar lids, and old CDs for details
- Aluminum foil, metallic paint, or silver duct tape
- Buttons, wire, and any interesting small recyclables
Stack and tape the boxes for the body and head. Attach cardboard tube limbs. Then cover the whole thing in foil, metallic paint, or silver duct tape for that classic robot look. Add bottle cap buttons down the front, jar lid eyes, wire antennae, and CD chest plates. Every junk robot looks completely different depending on what materials are available, which is part of the magic. Building in three dimensions develops spatial reasoning and engineering thinking as children figure out how to make limbs stay attached and keep the structure balanced.
Tips for a Successful Recycled Art Practice
After years of running recycled art programs with kids, here are the practical insights that make the difference between a joyful creative session and a frustrating mess.
Clean before you stash. Rinse all containers, remove labels when possible, and make sure everything is completely dry before it goes in the collection bin. Nothing kills creative momentum like a sticky yogurt cup or a moldy milk jug.
Pre-cut for younger kids. Children under 4 often get frustrated when they can’t cut cardboard or poke holes in plastic. Do the structural cutting and poking in advance so they can focus on the creative assembly and decoration.
Embrace imperfection. Recycled art is inherently imperfect — the materials are irregular, the surfaces are unpredictable, and the results are always unique. This is a feature, not a bug. Encourage kids to see wonky structures as “character” rather than mistakes.
Set up a creation station. Designate a permanent or semi-permanent area where the recycled materials bin, glue, tape, scissors, and paint are all accessible. When children can access materials independently, they’re more likely to create spontaneously rather than waiting for a structured craft time.
Photograph and let go. Not every recycled creation needs to live on a shelf forever. Take a photo for the memories, display it for a few days, then let your child decide whether to keep it, take it apart, or recycle it again. This teaches that the value was in the making, not just the finished product — and it keeps your house from becoming a junk art museum.
The most beautiful thing about recycled art is the message it sends to children: creativity doesn’t require expensive supplies or perfect materials. It requires imagination. When a child looks at an egg carton and sees a dragon, or picks up a cardboard tube and sees a castle tower, they’re exercising the same creative muscles that inventors, artists, engineers, and innovators use every day. And that ability to see possibility in the ordinary? That’s a skill worth cultivating, one toilet paper roll at a time.
Crafty Mama
Crafty Mama is a former elementary art teacher turned stay-at-home parent who believes every child is creative — they just need the right invitation. She develops age-appropriate activities, crafts, and projects that spark imagination while keeping mess (and parent stress) to a minimum.