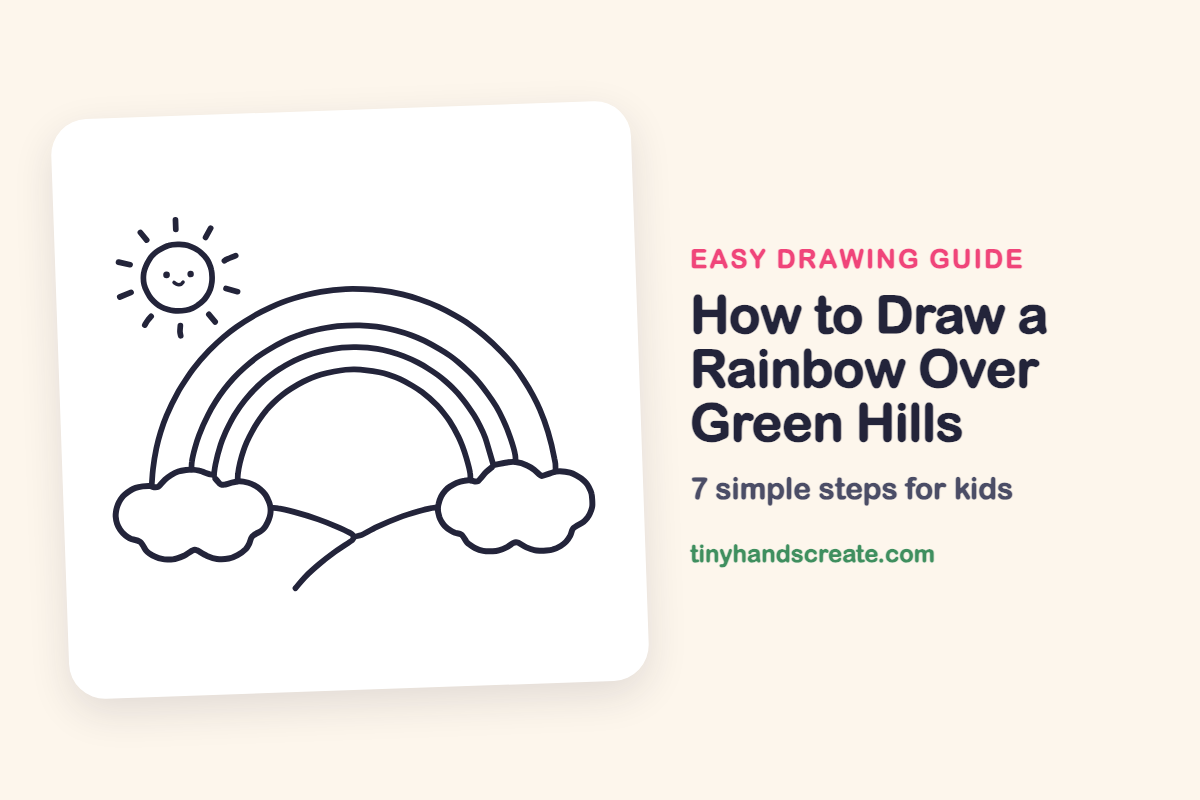
How to Draw a Rainbow Over Green Hills (Easy Step by Step)
A rainbow over green hills is a happy drawing that is made almost entirely of curves. You only need big arches, round bumpy clouds, a couple of swoopy hill lines, and a smiling circle for the sun. It is a great first drawing because nothing has to be exact to look cheerful.
- Easy
- 10 minutes
- 7 steps
You need: paper, a pencil, an eraser, and crayons or markers for coloring.
Start drawing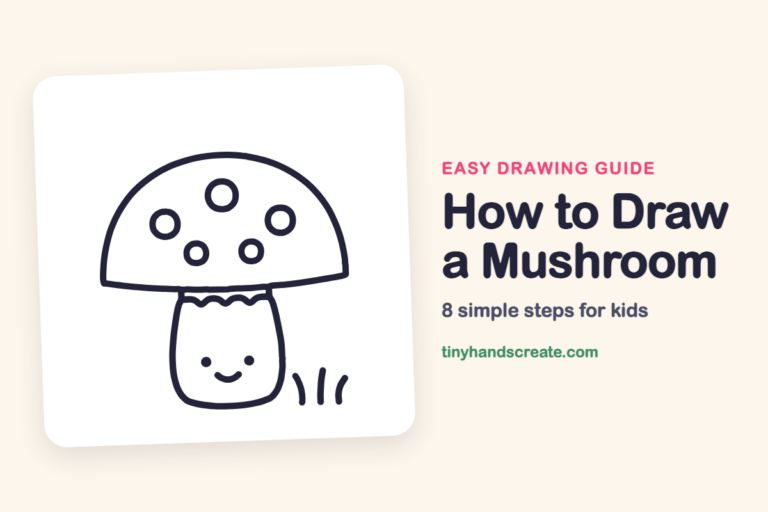
In this article (7 sections)
- How to draw a rainbow over green hills step by step
- Tips for drawing a rainbow over green hills
- Free rainbow over green hills coloring page
- How to color your rainbow over green hills drawing
- Rainbow over green hills fun fact for kids
- Questions about drawing a rainbow over green hills
- More easy nature drawings
How to draw a rainbow over green hills step by step
How to Draw a Rainbow Over Green Hills · tinyhandscreate.com
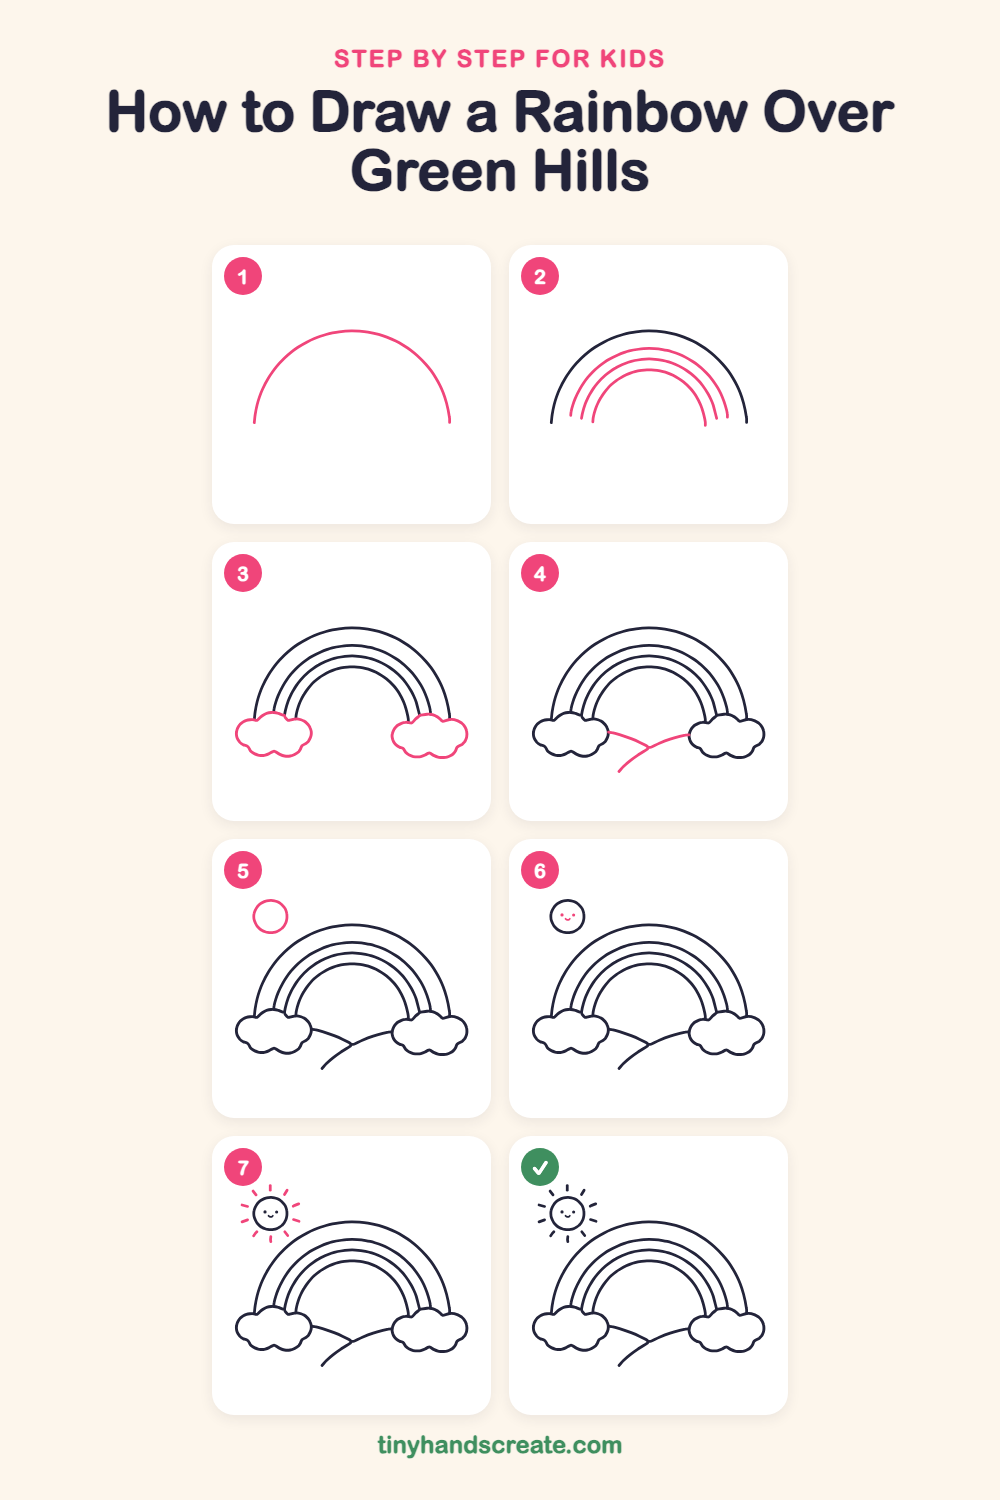
Step 1: Big rainbow arch
Start low on the left side and draw a big, wide upside-down U that curves over the top and comes back down on the right. This is the outside edge of your rainbow.
Step 2: Inner rainbow arches
Draw three more arches inside the first one, each a little smaller, like nesting bowls turned upside down. Keep the same space between every arch so the bands look even.
Step 3: Puffy clouds
At each end of the rainbow, draw a puffy cloud made of round bumps joined together. Let the rainbow ends tuck in behind the tops of the clouds.
Step 4: Two hill lines
Draw a short gentle curve going out from the left cloud toward the middle. Then draw a longer swoopy curve that starts low on the left, rises up, and ends at the right cloud, crossing the first curve.
Step 5: Sun circle
In the top left corner, draw a small round circle for the sun. Leave some space around it for the rays.
Step 6: Sun face
Inside the sun, draw two little dots for eyes and a small curved smile underneath them.
Step 7: Sun rays
Draw short straight lines all the way around the sun, spaced evenly like the spokes of a wheel. Keep them about the same length and the same distance from the circle.
All done!
Go over your lines with a marker, then color it in.
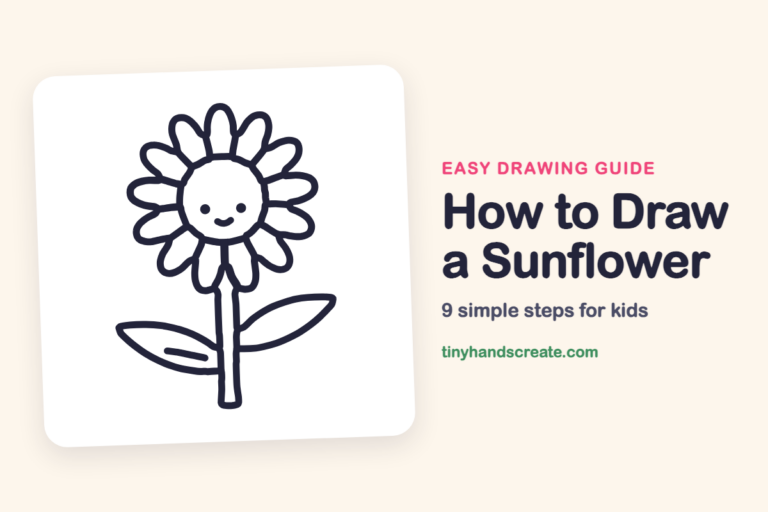
Finished your rainbow over green hills? Keep the pencils out and learn how to draw a mushroom or how to draw a sunflower next.
Tips for drawing a rainbow over green hills
- Draw the biggest arch first and the smaller arches inside it. If you start small, the outer arches will not fit on the page.
- Keep the space between the rainbow lines about the same width. Try using your thumb as a guide to measure the gap.
- For the clouds, draw a row of little round bumps side by side, then close the bottom with a gentle wavy line.
Free rainbow over green hills coloring page
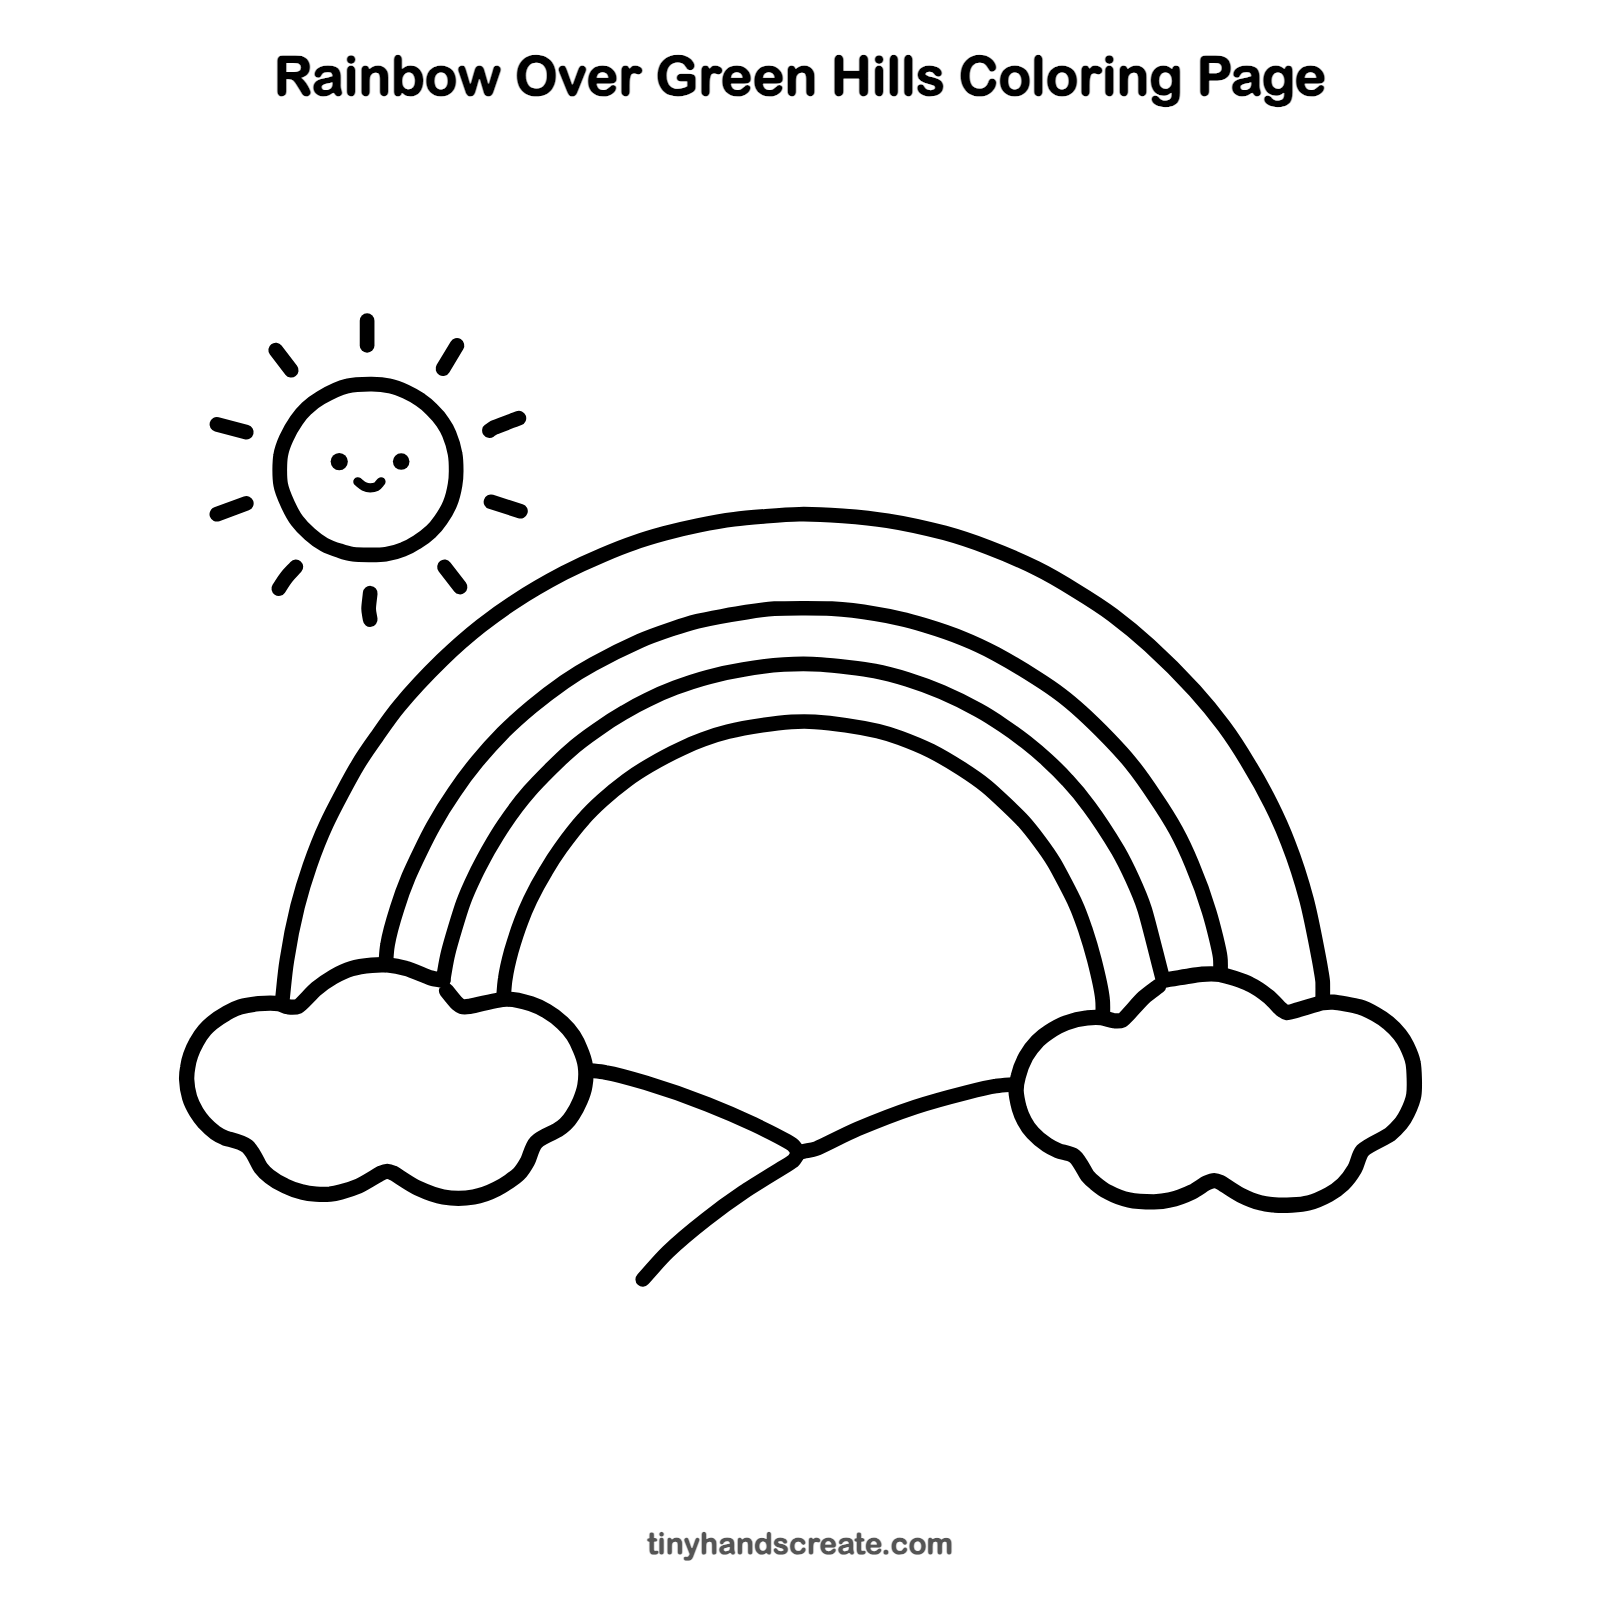
Want to go straight to coloring? Open this rainbow over green hills coloring page at full size and print it. It is the same drawing you just learned, with clean lines ready for crayons or markers.
How to color your rainbow over green hills drawing
Color the three rainbow bands red, yellow, and blue, or pick any colors you like. Paint the hills bright green and the sun yellow. For a creative twist, give the sun a pair of sunglasses.
Rainbow over green hills fun fact for kids
A rainbow is really a full circle of color. From the ground we only see the top part because the horizon gets in the way, but people in airplanes can sometimes see the whole circle.
Questions about drawing a rainbow over green hills
What shapes do I need to draw a rainbow?
You only need curved arches that look like upside-down U shapes, each one a bit smaller than the last. Add round bumps for the clouds and a circle for the sun.
How do I make my rainbow look even?
Draw the outer arch first, then draw each new arch inside it with the same gap. Light pencil lines first let you fix any wobbles before you go over them.
How do I make the sun look friendly?
Give it two small dot eyes and a curved smile, then add short rays all the way around. Keep the face small so it looks cute.