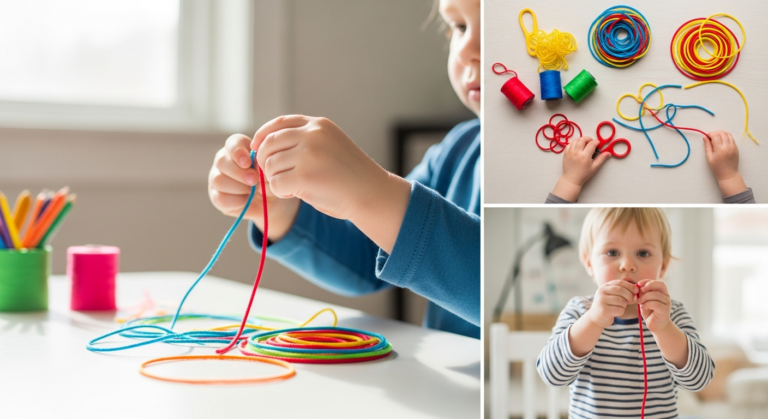
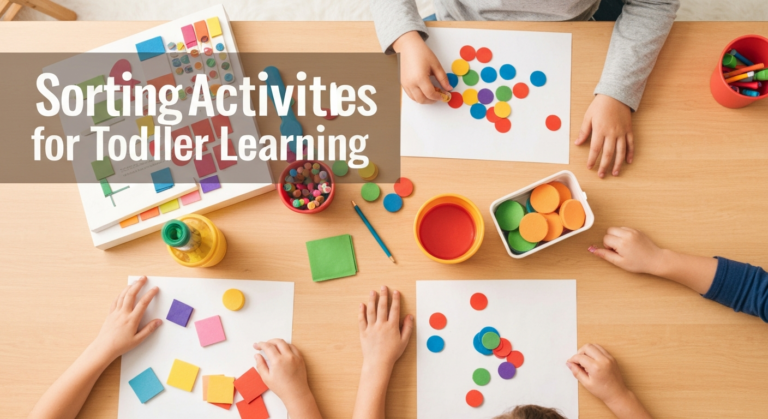
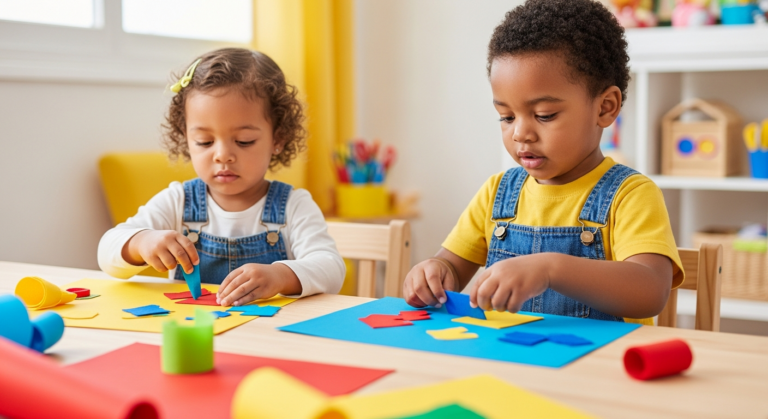
Process Art for Toddlers: 20 Activities That Focus on Creating, Not the Final Product
Discover 20 process art activities for toddlers (ages 2-5) that prioritize exploration over a perfect outcome. You'll learn how process art boosts problem-solving and find ideas with age, mess, and safety details to pick what fits your child.
- Focus on process art to prioritize your child's creative exploration over a perfect outcome.
- Use process art to help your toddler develop problem-solving, hand control, and confidence.
- Choose from 20 process art activities, each with age, mess, and safety notes for your child.
- Begin with low-mess options like Scribble Art or Giant Paper Exploration for easy setup.
- Ensure safety by supervising closely and avoiding small parts for children under four.
This post contains affiliate links. As an Amazon Associate I earn from qualifying purchases.
Process art is art where the doing matters more than the finished piece. There is no sample to copy, no right answer and no need for it to look like anything.
This page has 20 process art ideas for toddlers. Each one lists a minimum age, a mess rating and safety notes, so you can pick what fits your child today.
Picture this: your toddler paints for twenty minutes, then crumples the paper and asks for another sheet. That isn’t a failed project. It’s the shift that helped me stop caring about the fridge-worthy result, and the ideas below are built for it.
Short on time? Best first five (lowest mess, easiest setup):
- Scribble Art (#15), the simplest start at 2+.
- Giant Paper Exploration (#11), 2+.
- Standing/Vertical Drawing (#12), 2+.
- Texture Collage (#7), 3+.
- Nature Collage with contact paper (#17), 3+.
If you want more hands-on play after these, browse our low-mess sensory play ideas.
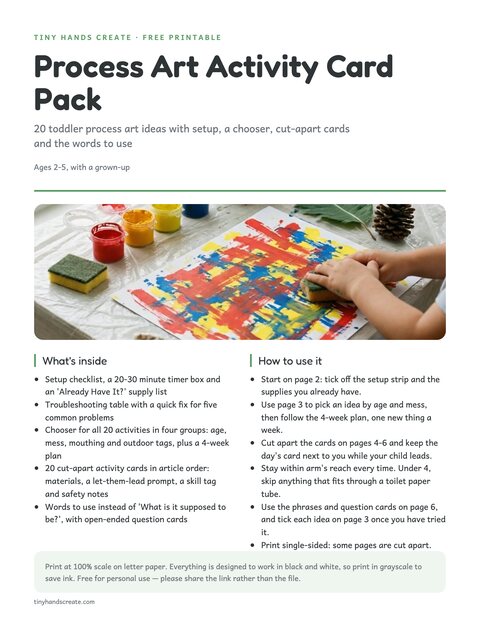
Free printable · 6 pages
Process Art Activity Card Pack
A setup and supplies checklist, a troubleshooting table, a pick-an-activity chooser with age, mess and mouthing tags, 20 cut-apart activity cards with materials and safety notes, and fridge phrases with open-ended question cards.
Free. Your download link appears right here. You'll also join the Daily Printable Drop. Unsubscribe anytime. Privacy
In this article (12 sections)
- What Is Process Art (And Why Does It Matter)?
- 20 Process Art Ideas for Toddlers (With Ages and Safety Notes)
- Paint Process Art for Toddlers
- Sensory Process Art for Toddlers
- Mark-Making Process Art for Toddlers
- Nature Process Art for Toddlers
- Process Art Setup and Supplies for Toddlers
- Common Process Art Problems (Mess, Short Attention, Brown Paint)
- Displaying and Documenting Process Art
- What to Say During Process Art Instead of “What Is It?”
- Frequently Asked Questions
- Getting Started with Process Art at Home
What Is Process Art (And Why Does It Matter)?
In process art, the child leads, experiments and makes the creative decisions.
Open-ended art gives toddlers many small decisions: which color, what happens if I mix these, what does this tool do. Those choices give them practice with problem-solving, cause and effect, and hand control. With no wrong way to do it, there is less to fail at, which makes art a low-pressure place to try things.
Craft projects aren’t evil. Following instructions to make something specific builds its own skills, like following directions and careful cutting. My rule of thumb is mostly process art with the odd structured craft, and never forcing a child to finish either. When you want a gentle step toward structure, try watercolor painting for kids or air-dry clay projects.
Good to knowIf your child shows ongoing frustration, anxiety, regression or distress during play, or has persistent attention difficulties, mention it to their pediatrician.
| Process art is | Process art is not |
|---|---|
| Open-ended, with no expected outcome. | A step-by-step craft project. |
| Child-directed and child-paced. | Copying a teacher’s example. |
| Focused on exploring and experimenting. | Coloring inside the lines. |
| Different every time, even with the same materials. | An activity with one “correct” result. |
| About the sensory experience as much as the look. | About making something recognizable. |
20 Process Art Ideas for Toddlers (With Ages and Safety Notes)
Safety firstSeven of these ideas work at 2+, most are 3+ and one is 4+. The table lists each minimum age. Stay within arm’s reach the whole time. For under 4, skip anything that fits through a toilet paper tube. Use non-toxic, washable children’s paint, and check for allergies first.
| # | Activity | Minimum age | Mess | Watch for |
|---|---|---|---|---|
| 1 | No-Brush Painting | 2+ | Medium | Large tools only |
| 2 | Paint on Unusual Surfaces | 2+ | Medium | Splinters, sharp edges |
| 3 | Squish Painting | 2+ | Low (bag) to medium | Plastic bag |
| 4 | Roll and Paint | 2+ | Medium | Ball size |
| 5 | Spray Bottle Art | 3+ | Medium | Paint mist; go outdoors |
| 6 | Shaving Cream Exploration | 3+ (no mouthing) | Medium | Not for eating; eyes |
| 7 | Texture Collage | 3+ | Low | Small loose pieces |
| 8 | Cloud Dough Creations | 3+ | Medium to high | Flour dust, raw flour |
| 9 | Oobleck Play | 3+ (close supervision) | High | Not for eating; slippery floors; drains |
| 10 | Playdough with Natural Items | 3+ | Low | Small items |
| 11 | Giant Paper Exploration | 2+ | Low | Non-toxic crayons |
| 12 | Standing/Vertical Drawing | 2+ | Low | Easel stability, blind cords |
| 13 | Chalk on Wet Paper | 3+ (no mouthing) | Low to medium | Chalk dust, mouthing |
| 14 | Tape Resist Art | 3+ | Low to medium | Tape in mouths |
| 15 | Scribble Art | 2+ (large crayons) | Low | Mouthing |
| 16 | Mud Painting | 3+ | High | Plain topsoil only (no potting mix), soil dust, handwashing |
| 17 | Nature Collage | 3+ | Low | Adult-checked plants only; small seeds |
| 18 | Flower Pounding | 4+ | Medium | Mallet, flower choice |
| 19 | Ice Painting | 3+ | Medium | Cube size, no mouthing |
| 20 | Shadow Tracing | 3+ | Low | Never look at the sun |
Want less mess? Try our mess-free art activities for toddlers or painting without brushes.
The table follows the four groups below: rows 1-5 are paint, 6-10 sensory, 11-15 mark-making and 16-20 nature.
Best for age 2: seven ideas work at 2+ with close supervision.
- No-Brush Painting (#1).
- Paint on Unusual Surfaces (#2).
- Squish Painting (#3).
- Roll and Paint (#4).
- Giant Paper Exploration (#11).
- Standing/Vertical Drawing (#12).
- Scribble Art (#15).
Every other idea is 3+, and Flower Pounding (#18) is 4+.
Paint Process Art for Toddlers
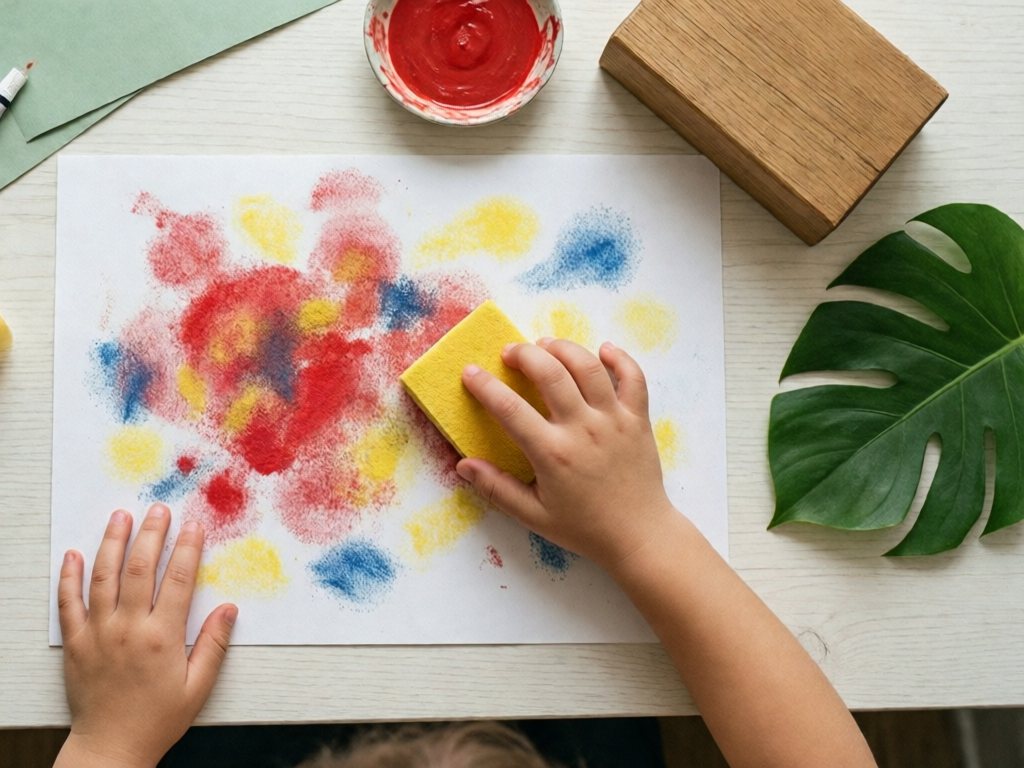
1. No-Brush Painting
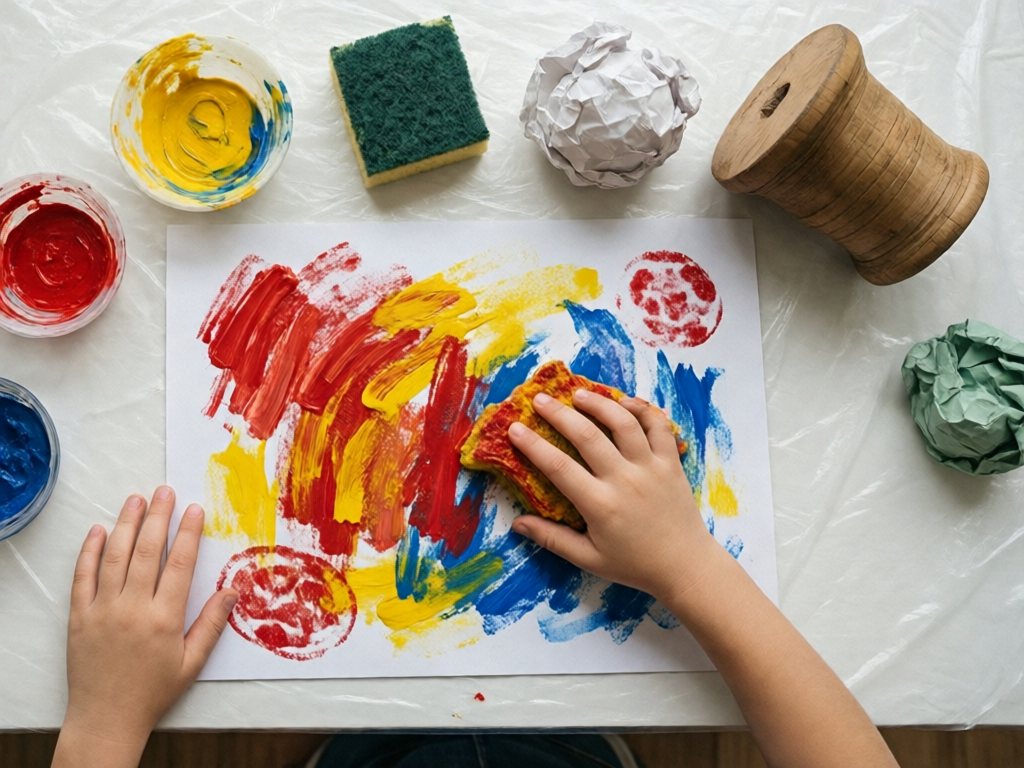
Materials:
- Non-toxic, washable children’s tempera paint in shallow containers
- Paper
- Painting tools bigger than a fist: whole sponges, crumpled paper, spools, large blocks, big leaves (non-toxic, pesticide-free plants only). For under 4, skip cotton balls, corks and feathers.
The process:
Lay out materials and let the child choose what to paint with. They might use one tool or all of them. They might focus on one color or mix everything. There’s no wrong choice.
Why it works: Different tools make different marks, so children see cause and effect while gripping all sorts of shapes.
Age and mess: 2+. Medium mess. Supervise closely, since toddlers mouth tools.
2. Paint on Unusual Surfaces
Materials:
- Tempera paint
- Large cardboard boxes
- Aluminum foil
- Bubble wrap
- Sandpaper
- Wood scraps
The process:
Offer paint and an unusual surface instead of paper. Let them explore how paint behaves differently on each material.
Why it works: Same paint, very different result. Children notice how materials behave.
Age and mess: 2+. Medium mess. Sand wood scraps smooth first and tape down sharp edges.
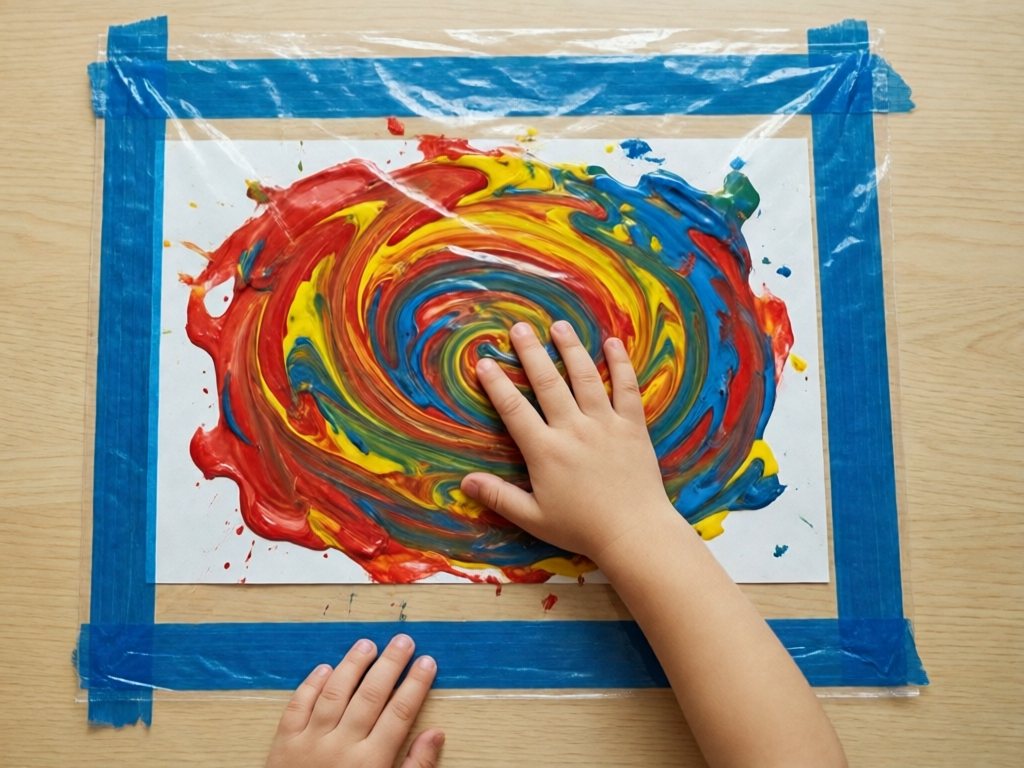
3. Squish Painting
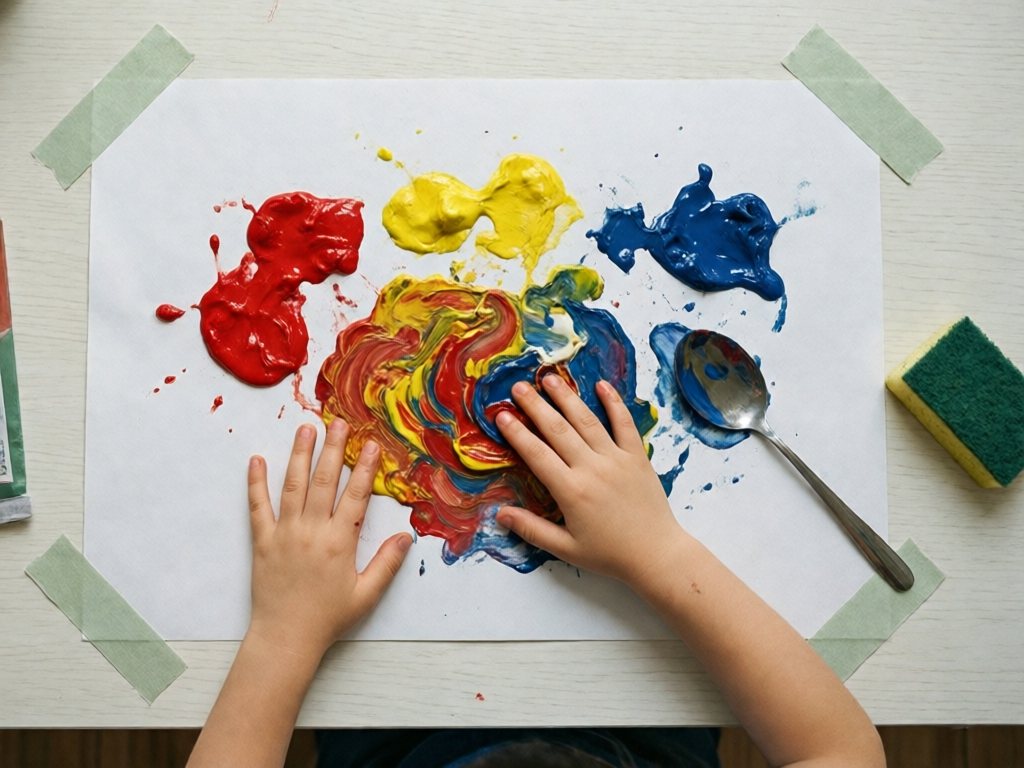
Materials:
- Tempera paint in squeeze bottles or spooned onto paper
- Large paper
- Gallon ziplock bag (optional, adult-sealed version; see the safety note below)
The process:
- Add the paint. Dollop or squirt about 2 tablespoons of paint per color onto the paper.
- Squish. Your child squishes and spreads it with their hands.
- Keep it moving. If paint pools in one spot, hand over a spoon or a sponge to move it around.
Safety firstThe bagged version is for supervised use only. An adult puts the paper and paint in and seals the bag. Tape every edge flat to a table or window so it can’t be lifted or chewed open. Never leave your child alone with it, and bin the bag afterwards.
Why it works: It is hands-on color mixing, and the bagged version suits kids who dislike messy hands.
Age and mess: 2+. Low mess in a bag, medium on paper. A bag can burst, so never leave it unattended.
4. Roll and Paint
Materials:
- Large paper or cardboard
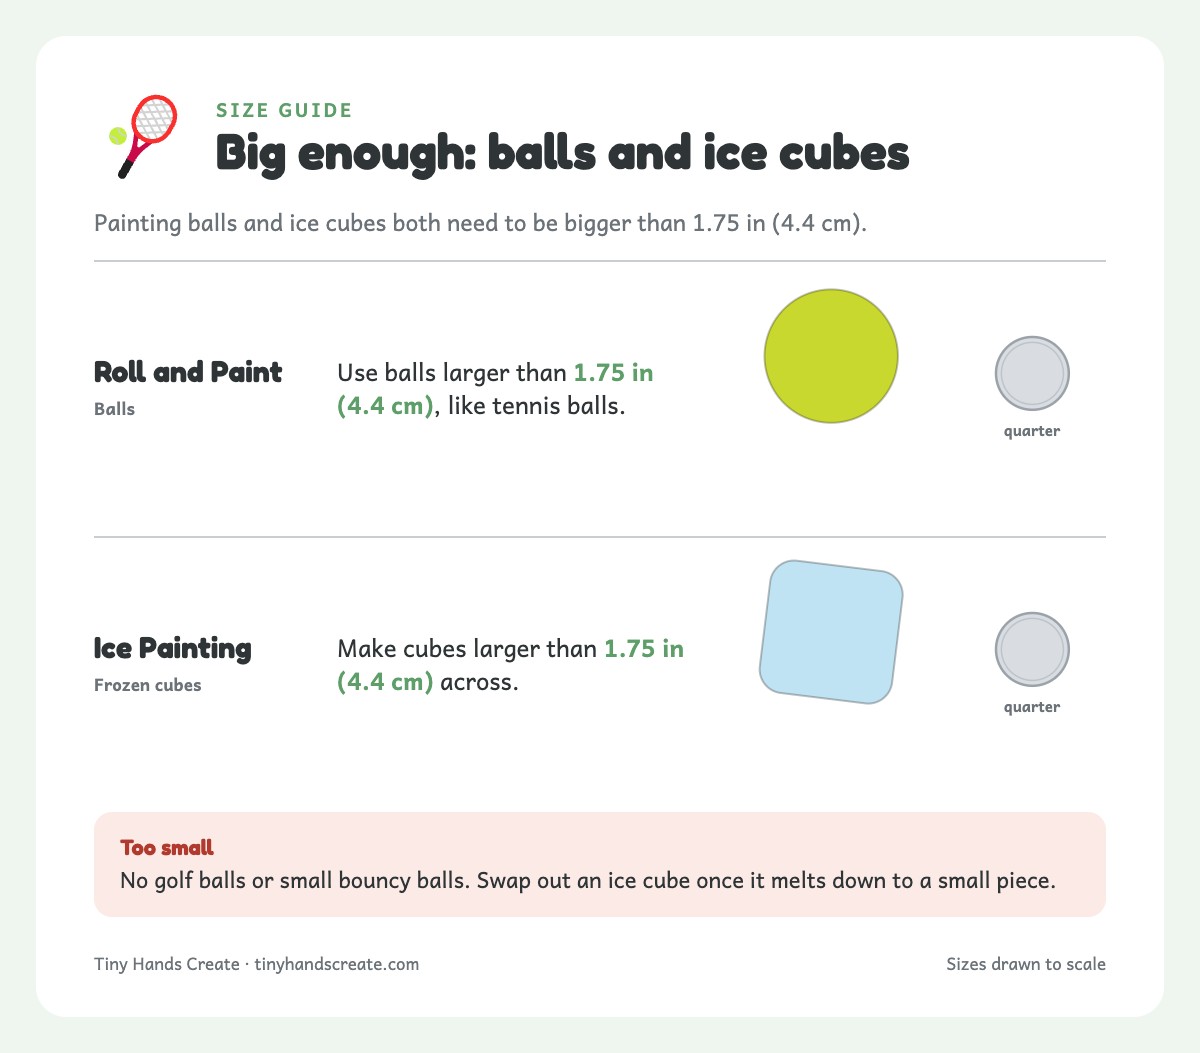
- Balls larger than 1.75 in (4.4 cm), such as tennis balls or larger rubber balls. No golf balls or small bouncy balls.
- Shallow pan with paint
- A box with sides (shoe box for small scale, large box for whole-body play)
The process:
Place paper in the box and add two or three paint-dipped balls. Your child tilts the box to roll the balls across the paper. If the paint gets muddy, swap in a fresh sheet and a clean ball.
Why it works: Tilting the box links body movement to the marks that appear. In my house the favorite part is tilting until every ball turns brown, and that’s fine.
Age and mess: 2+. Medium mess. Keep balls larger than 1.75 in (4.4 cm).
5. Spray Bottle Art
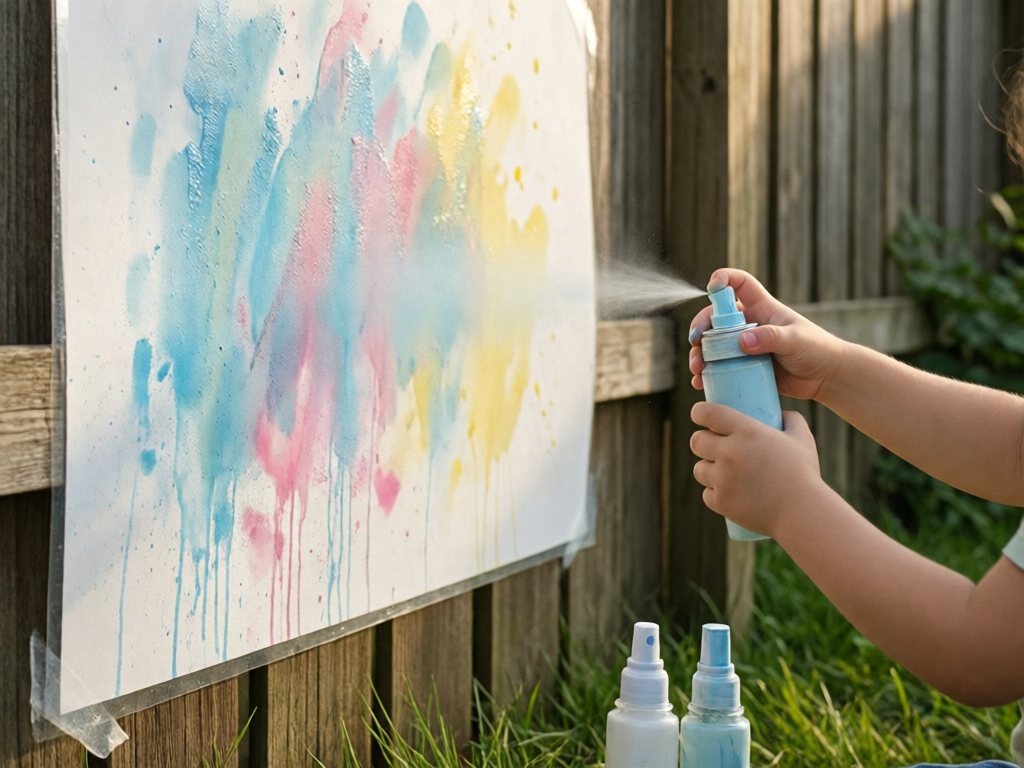
Materials:
- Spray bottles filled with diluted paint (about 1 part paint to 2 parts water).
- Large paper taped to a fence or easel.
- A nozzle your child can switch between mist and stream.
The process:
Let your child spray the paper from different distances and angles. If paint runs and pools, lay the paper flat for a minute to dry.
Why it works: Squeezing the trigger is a hand workout, and the spray makes surprising effects.
Age and mess: 3+. Medium mess. Work outdoors, aim away from faces and supervise.
Sensory Process Art for Toddlers
6. Shaving Cream Exploration
Materials:
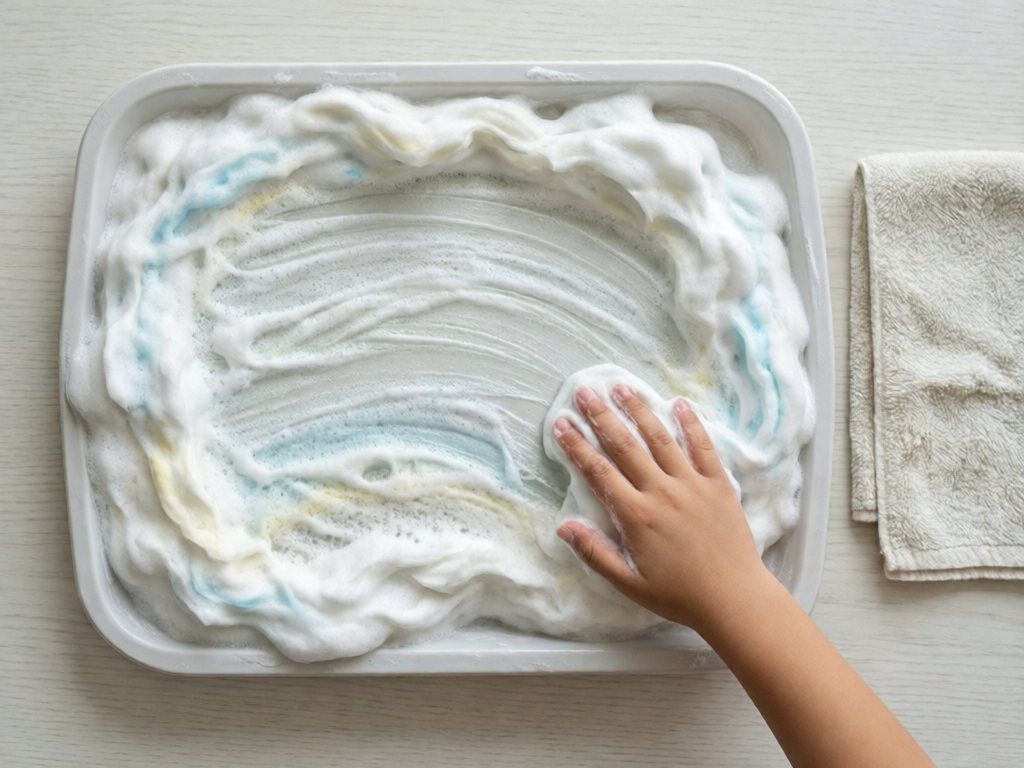
- Fragrance-free shaving foam, a generous pile.
- Tray or wipe-clean table.
- Optional: a few drops of food coloring. It stains hands, clothes and grout.
The process:
Squirt a generous pile of shaving cream onto the tray or table. Your child explores it with their hands by spreading, piling, drawing and mixing in color if you have added any.
Why it works: Foam holds finger trails, so your child sees every mark they make. One swipe smooths it over for a fresh start.
Age and mess: 3+ and only for kids who no longer mouth things. Medium mess, easy to wipe up.
Safety firstShaving cream is harmful if swallowed and irritates eyes, so it isn’t suitable for children who still mouth things. Use fragrance-free foam and keep it away from eyes. Wash hands afterwards. If your child still mouths things, wait until that stage has passed.
For more foam play, see our shaving cream sensory activities.
7. Texture Collage
Materials:
- Paper or cardboard base
- Glue (in squeeze bottle or small dish for dipping)
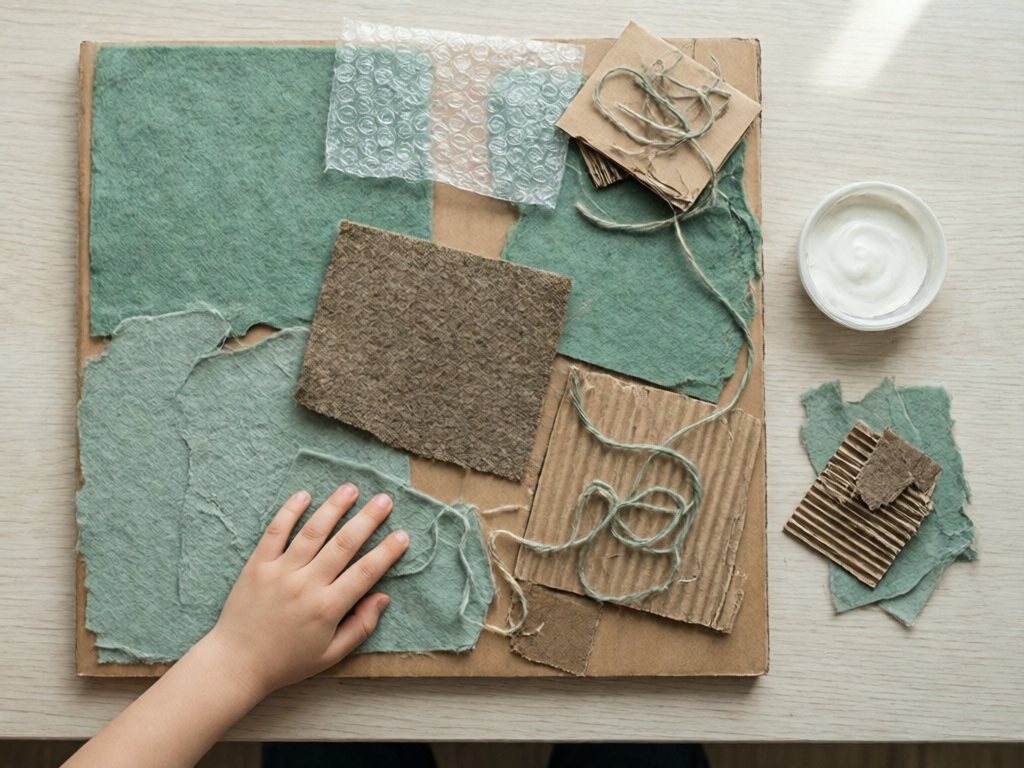
- Larger textured materials: fabric scraps, sandpaper pieces, short lengths of yarn, bubble wrap, corrugated cardboard. Skip cotton balls and feathers for under 4.
The process:
Offer the glue and five or six textured pieces to start. Your child decides what to stick down and where it goes. Plan on 10-15 minutes.
If glue floods the page, swap the squeeze bottle for a small dish and let your child dab with a finger.
Why it works: Rough, soft and bumpy pieces feel different under the fingers. Squeezing the glue bottle gives small hands a workout too.
Age and mess: 3+. Low mess, apart from sticky fingers.
8. Cloud Dough Creations
Materials:
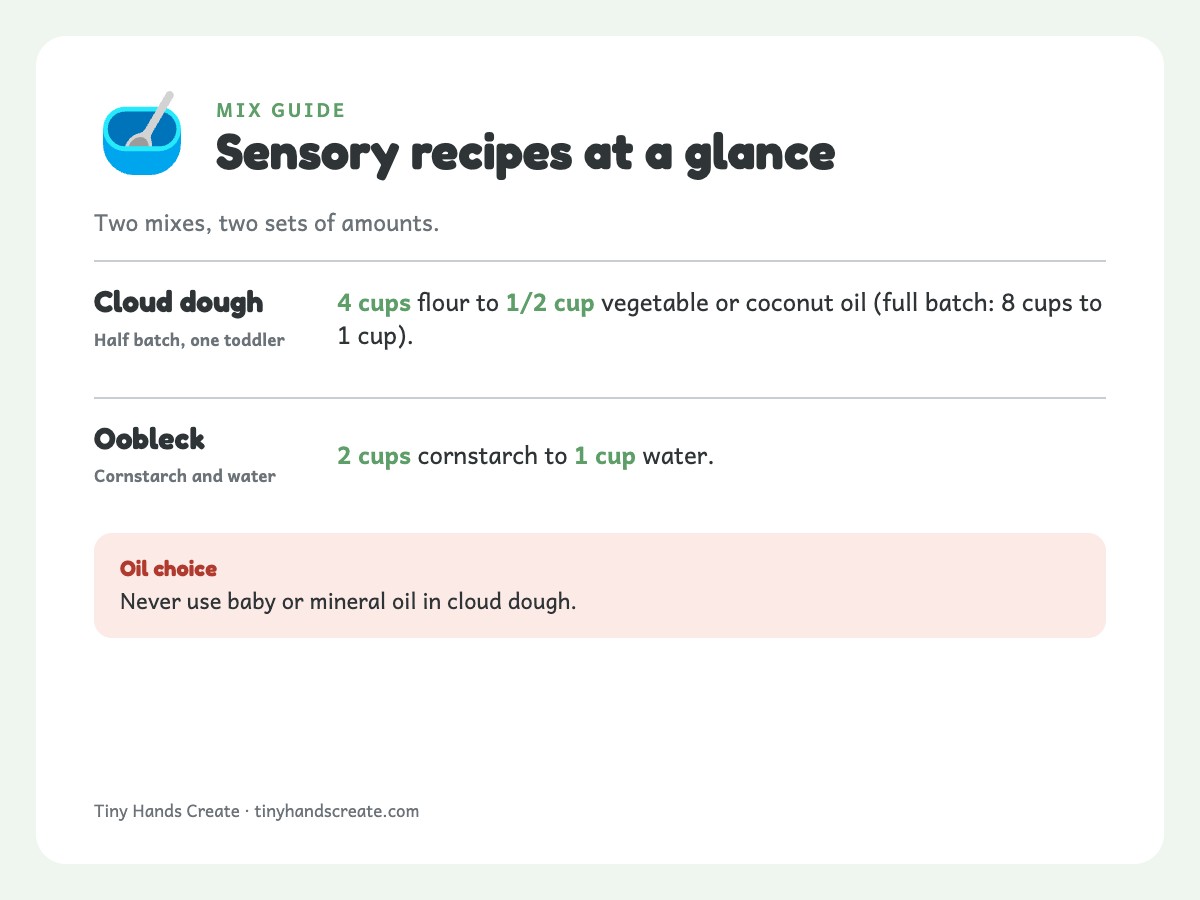
- Cloud dough: 8 cups flour to 1 cup vegetable or coconut oil. For one toddler, make a half batch (4 cups flour to 1/2 cup oil). Never use baby or mineral oil.
- Tray or sensory bin.
- Optional tools: cookie cutters, rolling pins, cups.
The process:
An adult mixes the dough in the tray itself to limit flour dust, then your child explores it. It holds a shape like wet sand but feels soft and silky.
Safety firstRaw flour is not for eating, so supervise anyone who mouths things. Keep the dough away from faces so no one breathes in flour dust. The oil makes it slippery on hard floors, so put a sheet underneath. Throw it away when you finish.
Why it works: It is a calming sensory experience that gives hands a workout. For a full recipe, see our cloud dough recipe.
Age and mess: 3+. Medium to high mess; flour gets everywhere, so put a sheet underneath.
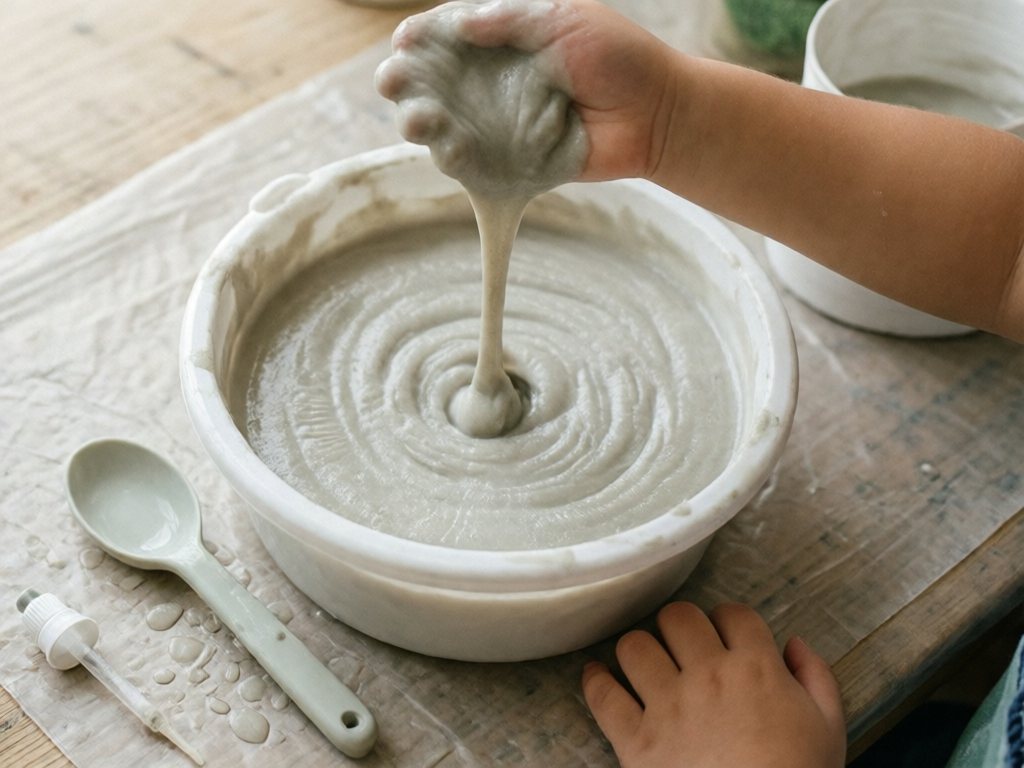
9. Oobleck Play
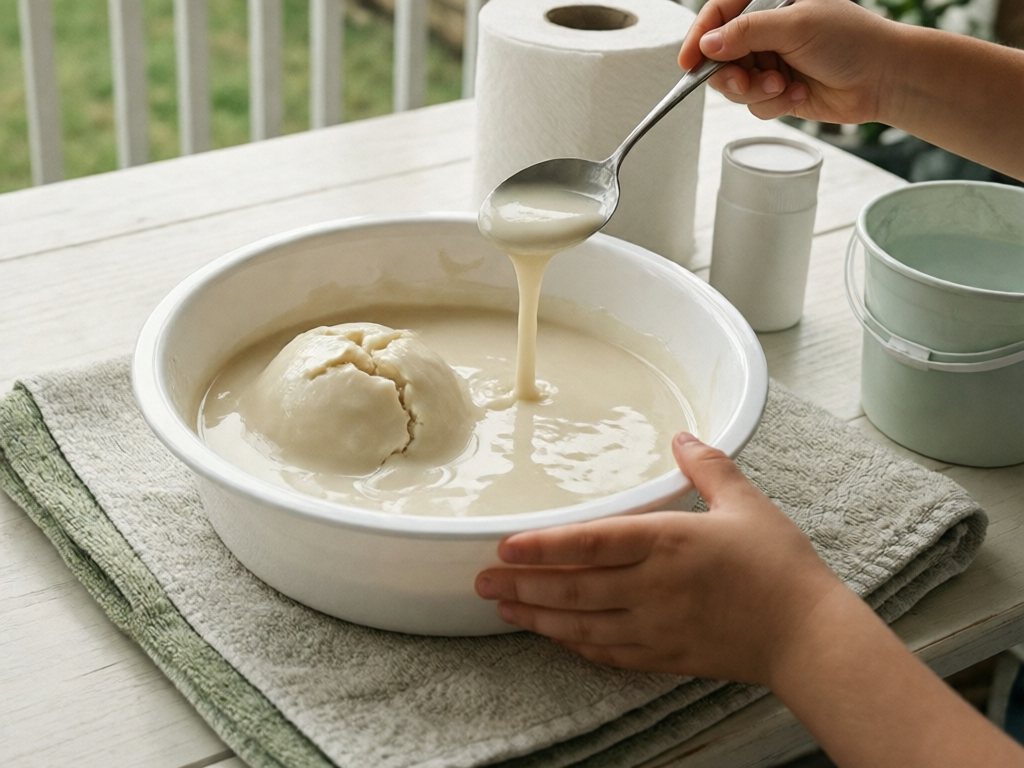
Materials:
- Oobleck (2 cups cornstarch to 1 cup water).
- Shallow bin or tray, set on a towel or old sheet.
- Optional: droppers, spoons and toys too big to fit through a toilet paper tube.
- Paper towels and a bucket of water for cleanup.
The process:
Let your child explore a goo that feels solid when pressed and runs like liquid when released.
Why it works: It turns firm under a quick poke and drips through slow fingers, so kids keep testing it to work out why.
Age and mess: 3+ with close supervision. High mess, so play outdoors if you can. Follow the cleanup steps below before any bath or hose-down.
Safety firstOobleck is non-toxic but not for eating. A thick mouthful is a choking risk, so keep goo-covered hands out of mouths and stay within arm’s reach. Spills are slippery on hard floors. Keep a towel or old sheet under the bin and wipe up drips straight away.
Cleanup:
- Wipe. Wipe hands, tools and the bin with paper towels.
- Bin it. Scrape leftover oobleck into the trash. Never rinse it down the sink, because it clogs pipes.
- Rinse. Rinse hands in a bucket or basin of water, then tip that water onto the ground outdoors.
- Bath last. Once the thick goo is off, a bath or hose-down is fine for the thin film left behind.
10. Playdough with Natural Items
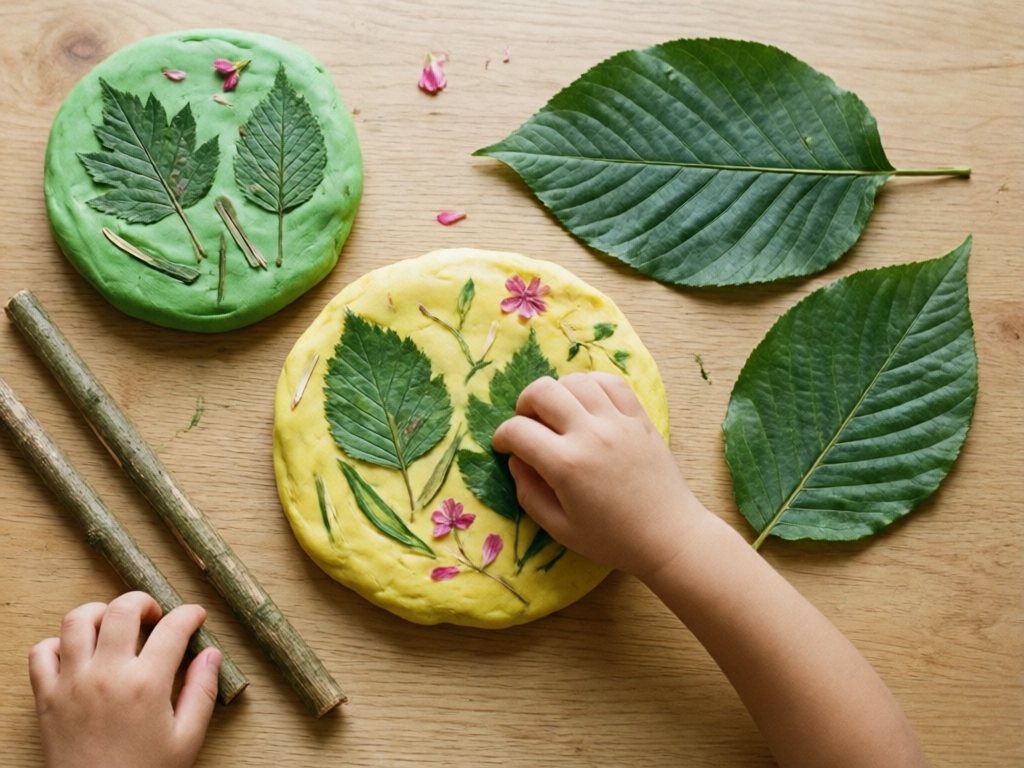
Materials:
- Homemade or store-bought playdough.
- Natural items: larger sticks, leaves and flower petals (non-toxic and pesticide-free).
- Pebbles, small shells, buttons and beads only for kids who no longer mouth objects, with an adult within arm’s reach. Leave them out for under 4.
The process:
Set out the playdough and the natural materials. Your child creates freely, with no model to copy.
Why it works: Natural bits press into dough and leave interesting marks. Our soft playdough recipe works well here.
Age and mess: 3+. Low mess. Homemade dough is non-toxic but not for eating, and sticks stay out of mouths.
Mark-Making Process Art for Toddlers
11. Giant Paper Exploration
Materials:
- Butcher paper, or several sheets taped together, as big as your floor allows.
- Two or three drawing tools: large crayons, washable markers or paint. Save chalk for kids who no longer mouth things.
- Space to spread out on the floor or outdoors.
The process:
Tape the giant paper to the floor and offer two or three mark-making tools. Your child can walk around it, reach across it and draw with their whole body. Plan on 10-20 minutes.
If the paper slides or tears, add tape at the corners and carry on.
Why it works: Big paper invites big arm movements from the shoulder, and there are no edges to worry about.
Age and mess: 2+. Low mess with crayons, medium with paint. Use large, non-toxic tools.
12. Standing/Vertical Drawing
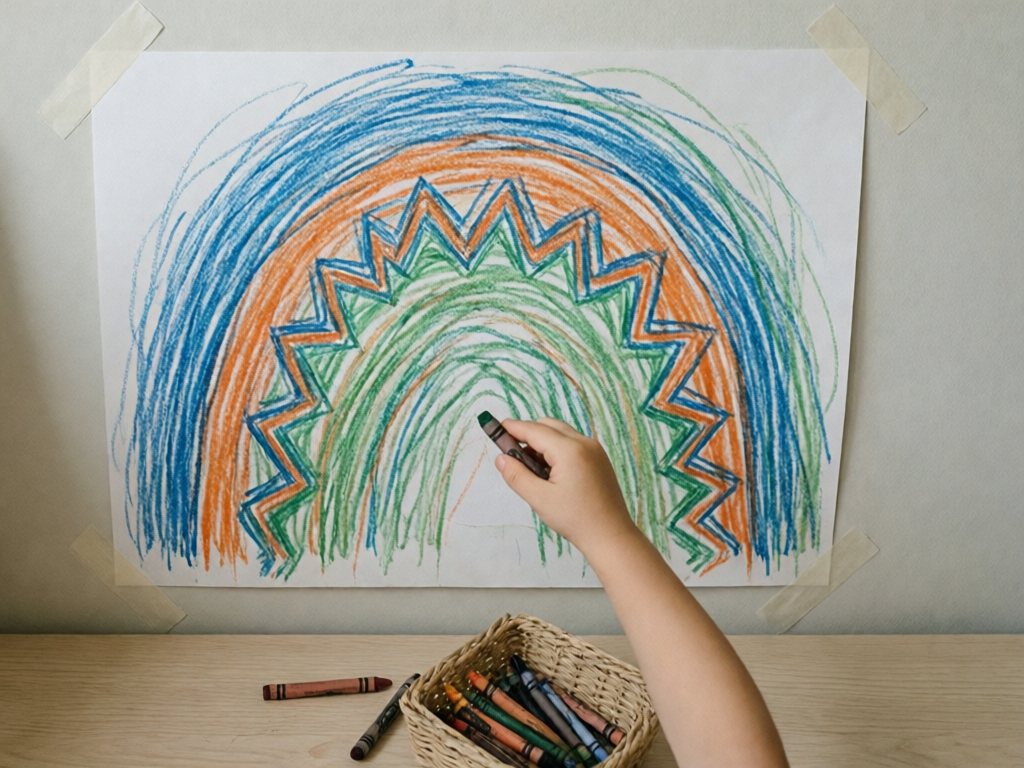
Materials:
- Paper taped to a wall or a stable low easel. Keep it away from window blind cords.
- Large crayons or washable markers.
The process:
Offer drawing materials at your child’s standing height. They draw with big arm movements instead of small wrist ones. Plan on about 10 minutes.
If marks stray onto the wall, tape up a wider sheet and carry on.
Why it works: Drawing upright uses the shoulder and wrist differently from table work. Your child can also step back and see the whole page.
Age and mess: 2+. Low mess. Keep the paper away from window blind cords, and check the easel can’t tip.
13. Chalk on Wet Paper
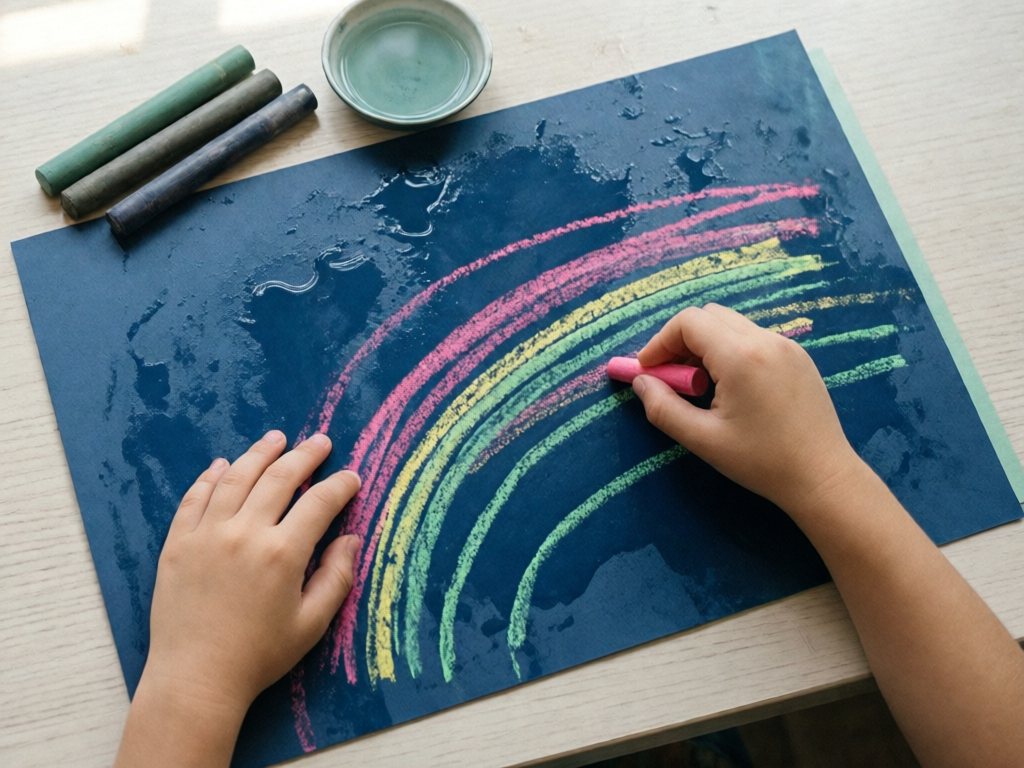
Materials:
- Construction paper (dark colors work best)
- Water in spray bottle or dish
- Chalk
The process:
Wet the paper, then draw with large, dust-free, non-toxic chalk. Colors turn vivid and blend in odd ways. Stay close, and take the chalk away if it heads for a mouth.
Why it works: Dry chalk makes pale, scratchy lines. On wet paper it glides and smears like paint, so your child sees water change a familiar tool.
Age and mess: 3+, and only for kids who no longer mouth objects. Low to medium mess, with chalky hands.
14. Tape Resist Art
Materials:
- Paper
- Painter’s tape
- Paint or markers
The process:
- Stick. Your child presses strips of painter’s tape onto the paper in any pattern.
- Paint. Cover the whole page with thin layers of paint.
- Dry. Let the paint dry fully so the paper doesn’t tear.
- Peel. Pull the tape off slowly to reveal the white lines.
Why it works: Peeling the tape off is a satisfying reveal. My tip is to use two or three colors at most, or the page turns muddy.
Age and mess: 3+. Low to medium mess. Keep tape strips out of mouths.
15. Scribble Art
Materials:
- Paper.
- One or two large, non-toxic crayons or washable markers.
- Optional: music to draw along to.
The process:
Put on some music and let your child scribble freely. The goal is just marks on paper. Plan on 10 minutes, and count five as a win.
If the paper slides or crayons keep snapping, tape the paper down and offer chunky crayons.
Why it works: Scribbling is a normal stage, and nobody has to make “something.” This is the one I reach for on a tired afternoon, because setup takes under a minute.
Age and mess: 2+ with large, non-toxic crayons and close supervision. Low mess.
Nature Process Art for Toddlers
16. Mud Painting
Materials:
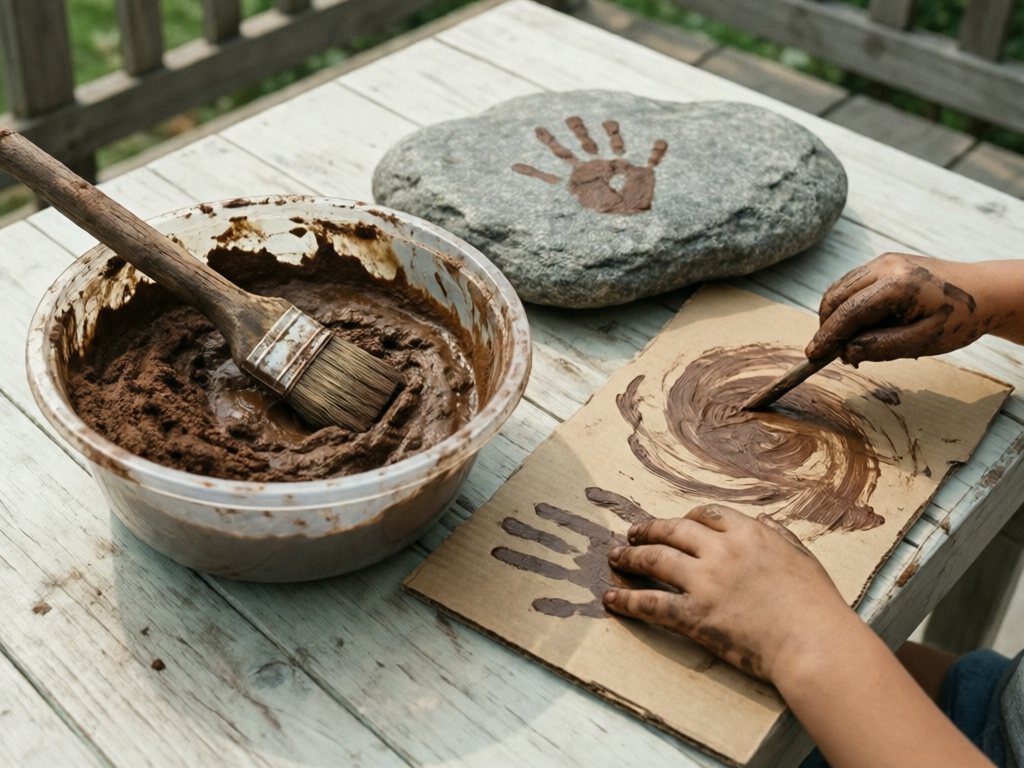
- Plain bagged topsoil or garden soil with no fertilizer or other additives (check the bag), plus water. Never use potting mix. Skip soil from roadsides, pet areas or near old painted buildings.
- Large paper, cardboard or rocks to paint on.
- Hands, brushes or larger sticks for painting.
The process:
Make the mud together. An adult scoops about 1 cup of soil into a bowl and dampens it straight away to keep dust down. Stir in water, 2-3 tablespoons in total, until it is thick and paintable.
Then let your child use it as paint on paper, cardboard or rocks. If they lose interest, add more water for a runnier mix or offer a stick for scratching marks.
Safety firstUse plain bagged topsoil with no fertilizer or additives, and never potting mix. Potting mix can contain fertilizer pellets and perlite, and its dust can carry bacteria that cause lung infections. Dampen the soil before your child touches it so no dust rises.
Keep mud and sticks out of mouths, cover any cuts and wash hands well afterwards. If your child is unwell after mud play, see a doctor.
Why it works: It is cheap, and it’s mud, so it can’t be “wrong.” Fair warning from my own backyard: the painting lasted about five minutes and the mud play lasted much longer.
Age and mess: 3+. High mess; expect a bath.
17. Nature Collage
Materials:
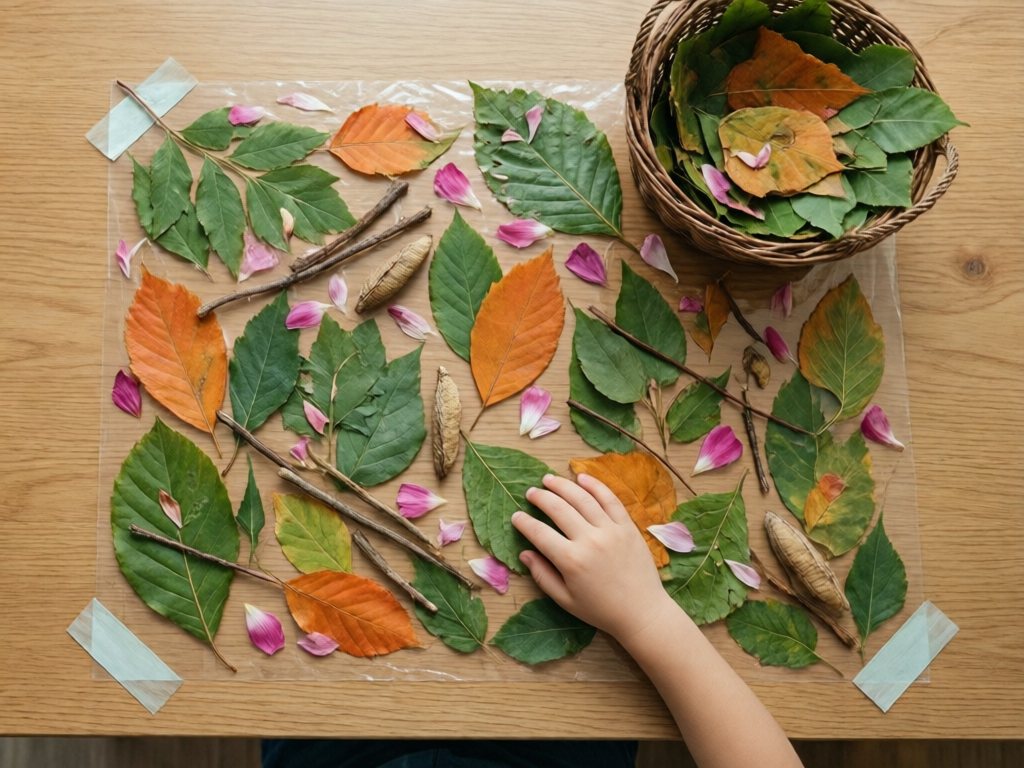
- Nature items an adult has picked or checked: leaves, flowers, sticks and seeds (no tiny seeds for under 4).
- Paper and glue OR clear contact paper (sticky side up)
The process:
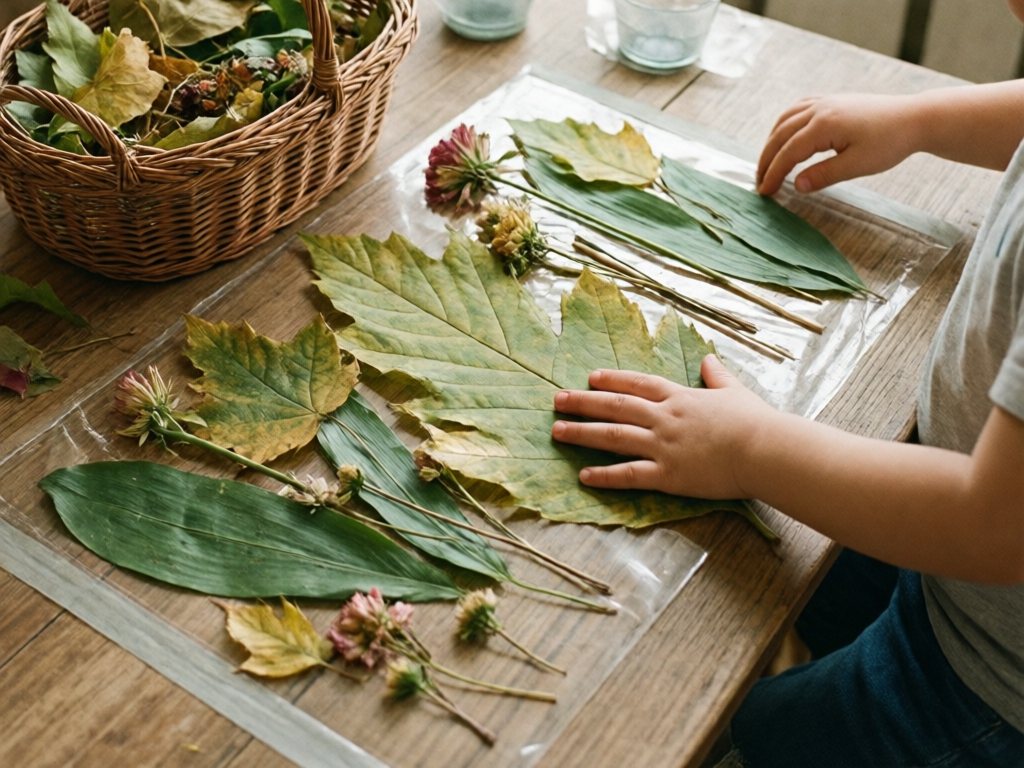
Go on a nature walk together. Your child points and an adult picks, or an adult checks every item before it goes in the bag. Back home, your child arranges the finds in any way. Contact paper makes the process easier for small hands.
Safety firstAn adult picks or checks every item. Skip berries, mushrooms and any plant you can’t name. Leave anything growing near roads or in sprayed areas. Check for itchy or irritating plants such as poison ivy before little hands touch anything.
Keep plants out of mouths and wash hands afterwards.
Why it works: The walk to collect items is half the fun, and your child decides where every piece goes.
Age and mess: 3+. Low mess. Skip tiny seeds for under 4, and wash hands afterwards.
18. Flower Pounding
Materials:
- Fresh non-toxic, pesticide-free flowers and leaves, such as pansies or marigolds.
- White fabric or watercolor paper.
- Light rubber mallet only, no hammers. An adult steadies the paper and mallet.
- Hard surface underneath.
The process:
- Arrange. Place the flowers and leaves on the fabric or paper.
- Cover. Fold the fabric over or lay a second sheet on top.
- Pound. An adult steadies everything while your child taps with the mallet to transfer the color.
- Peek. Lift the cover and brush the plant bits away to see the print.
Why it works: Pounding is satisfying, and the color transfer is a surprise.
Age and mess: 4+. Medium mess. Skip this one for toddlers who mouth things.
19. Ice Painting
Materials:
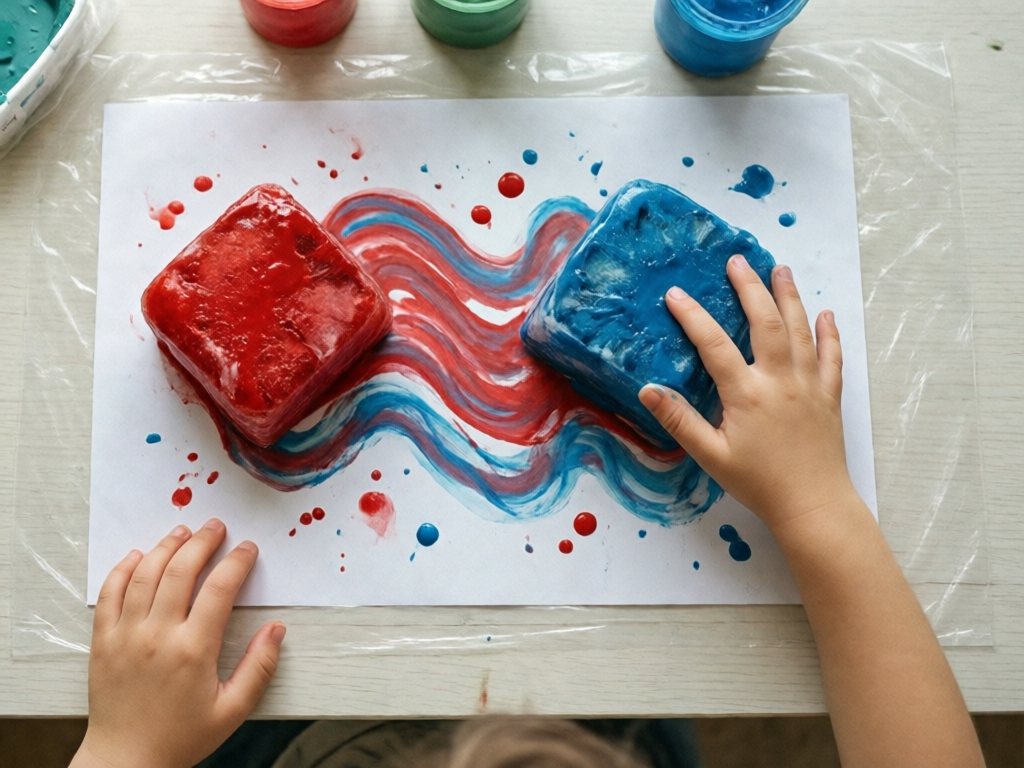
- Frozen paint cubes: about 1 part non-toxic paint to 1 part water. Freeze for 3-4 hours, until solid, in a large silicone mold used only for art.
- Choose a mold that makes cubes larger than 1.75 in (4.4 cm) across. Cubes this size are easy to grip without a stick handle.
- Paper
The process:
Your child holds a frozen cube and “paints” across the paper as the ice melts, leaving color trails.
Safety firstUse cubes larger than 1.75 in (4.4 cm) across, and swap one out once it melts down to a small piece. Supervise closely and keep the ice out of mouths. Frozen items can stick to wet skin.
Why it works: Your child feels the cold and watches a solid cube melt into paint as they work.
Age and mess: 3+. Medium mess, plus puddles.
20. Shadow Tracing
Materials:
- Paper.
- Objects that cast interesting shadows (toys, kitchen utensils, nature items).
- A sunny day, or a flashlight held by an adult. Choose a flashlight with a screw-secured battery compartment.
- Markers or crayons.
The process:
Position the objects so their shadows fall on the paper. Indoors, an adult holds the flashlight while your child traces. They can trace however they like: one object or many, complete or partial. Plan on about 10 minutes.
If the shadow is faint, move the light closer or wait for stronger sun.
Why it works: Shadows shift as the light moves, so your child sees the outline change. No two tracings match.
Age and mess: 3+. Low mess. Remind your child never to look at the sun.
Process Art Setup and Supplies for Toddlers
A few minutes of prep means you can sit and watch instead of hovering with a paper towel.
- Plastic tablecloth, shower curtain or tarp under the work area.
- Smock or old clothes kept just for art.
- Wet cloth and a towel within reach.
- Paint in shallow dishes.
- Paper taped down.
- Materials at your child’s level.
- A spot to dry artwork.
Block out 20-30 unhurried minutes, and expect the session to end sooner. Two to ten minutes of real engagement is common, and it counts.
TipSit nearby and let your child lead. Skip demonstrating, drawing on their work or comparing to siblings. For words to use while they work, see the phrases table further down.
Where to do each idea:
| Where | Ideas | Cleanup |
|---|---|---|
| Indoors at a table, wall or floor. | Texture Collage (#7), Playdough with Natural Items (#10), Giant Paper Exploration (#11), Standing/Vertical Drawing (#12), Chalk on Wet Paper (#13), Tape Resist Art (#14), Scribble Art (#15), Nature Collage (#17), Shadow Tracing (#20). | Wipe hands and the table. |
| Indoors on a covered floor or tray. | No-Brush Painting (#1), Paint on Unusual Surfaces (#2), Squish Painting (#3), Roll and Paint (#4), Shaving Cream Exploration (#6), Cloud Dough Creations (#8), Flower Pounding (#18). | Wash hands, then wipe down or shake out the cover. |
| Outdoors. | Spray Bottle Art (#5), Oobleck Play (#9), Mud Painting (#16), Ice Painting (#19). | Wipe off the worst, then a bath or hose-down. |
Good to knowMud, oobleck and ice painting usually mean a bath afterwards, so I save them for outdoor days. Paper-and-crayon ideas are the easy weekday picks. Fair warning: some setups get abandoned after two minutes, and that still counts.
Common Process Art Problems (Mess, Short Attention, Brown Paint)
| Problem | What’s probably going on | One thing to try |
|---|---|---|
| “It’s so messy!” | Messy hands are how toddlers learn about texture. | Use washable everything and art-only clothes, and move messy ideas outdoors. Never leave a child alone in or near water, and keep thick paint and oobleck out of the drain. |
| They quit after two minutes | Short engagement is normal at this age. | Add a new material or swap the paper partway through, or try again tomorrow. |
| Everything turns brown | Mixing colors is an experiment. | Offer one or two colors at a time, or try our color mixing experiments. |
| “Draw it for me” | They want company or reassurance. | Say “I love watching YOU draw,” and draw alongside them on your own paper. |
| Frustrated and done | Tired, hungry, or the materials are too hard. | Name the feeling (“It’s frustrating when paint drips”), offer markers instead, and stop when they ask. |
Displaying and Documenting Process Art
Process art often looks like nothing in particular, so displaying it takes a different approach.
Ways to Display It
- Hang a rotating art wall with clips and change it weekly.
- Frame an abstract piece and call it modern art.
- Let your child choose their favorites to display.
- Keep a portfolio or folder instead of displaying everything.
Documenting Without Pressure
- Photograph hands at work, not just the finished piece.
- Snap the materials before and the expressions during.
- Take a short video of the process.
- Ask your child to tell you what they’re doing.
Avoid: quizzing your child about what it is while you photograph, saving only the pieces you like, and comparing pieces to each other.
What to Say During Process Art Instead of “What Is It?”
Naming what you see, instead of judging it, keeps the attention on what your toddler is doing.
Phrases to Try
| Instead of | Try saying |
|---|---|
| “What is it supposed to be?” | “Tell me about your work” |
| “That’s beautiful!” (generic praise) | “I notice you used a lot of blue” |
| “Why don’t you add some _____?” | “How did you make those marks?” |
| “Let me show you how” | “I can see you were experimenting” |
| “That’s not how you do it” | “What did you enjoy about this?” |
| “Make me a picture of _____” | “You worked really hard on that” |
Crafty Mama
Crafty Mama is a former elementary art teacher turned stay-at-home parent who believes every child is creative — they just need the right invitation. She develops age-appropriate activities, crafts, and projects that spark imagination while keeping mess (and parent stress) to a minimum.
Frequently Asked Questions
What age is best for starting process art?
Seven of the ideas here work from age 2 with close supervision, and the rest are 3+ or 4+. Scribbling with large, non-toxic crayons is the gentlest place to start. Check for known allergies and don’t introduce new foods during art play.
My toddler puts everything in their mouth. What’s safe?
Choose taste-safe materials and check allergens first. Dairy, wheat and egg are the common ones. For a taste-safe paint, tint plain yogurt with a drop of food coloring and use it in place of tempera for Squish Painting (#3) on a tray. Yogurt contains dairy, and the coloring stains. Most ideas above, including homemade playdough, are non-toxic but not for eating. Save shaving cream, chalk, oobleck, cloud dough and mud until the mouthing stage has passed. Always stay within arm’s reach and skip small items that pose choking risks. Our edible sensory play ideas have more taste-safe options.
How often should we do process art?
There’s no magic number, but making art materials available daily (even just crayons and paper) supports ongoing creative development. Bigger setups with paint or sensory materials might happen a few times a week, depending on your tolerance for cleanup.
What if my child has no interest in art?
Some children prefer other forms of play. Offer process art occasionally without pressure. Some children engage more with sensory elements (playdough, oobleck) than visual art (painting). Follow their lead.
How do I do process art with multiple children of different ages?
Same materials, different levels of engagement. A 2-year-old might squish paint while a 4-year-old makes patterns. Pick materials that are safe for the youngest child at the table. Avoid comparisons and give each child their own space and paper. Expect the younger child to imitate the older one. That’s learning too.
Is it okay if their “art” just looks like smeared colors?
Yes. Smearing is a normal, useful way to explore at this age. They’re exploring color, texture, movement, and cause-and-effect. Many children start drawing recognizable shapes somewhere around 3 to 5, and every child develops on their own timeline. If you have ongoing concerns about your child’s development, mention them to your pediatrician.
What do I do with all the artwork?
Take photos of favorites, let your child choose a few pieces to keep, and recycle the rest without guilt. Crumpled, torn and practice pages can go straight in the bin. Children often care less about keeping artwork than adults assume. The experience was the point, and the paper is just evidence it happened.
How do I get my partner or family members on board?
Share what you’ve noticed in your child. Model the language. Start with lower-mess activities to build confidence. Emphasize that the child’s experience matters more than the product, and point out the developmental skills being built.
Getting Started with Process Art at Home
Process art gives you permission to let the mess happen and the paper get crumpled. Your toddler doesn’t need to make a masterpiece. They need time, safe materials and you nearby.
Next step: pick one low-mess idea from the table, tape down a big sheet of paper, and step back for ten minutes.
If you like having it all on cards, our Process Art Activity Card Pack has one card per idea with the age, mess rating and materials.