Mud Kitchen Play Ideas
Discover how to create a fun, low-cost mud kitchen for kids aged 2-8, with tips on essential supplies, safe setup, and hygiene, plus ideas for engaging activities and easy cleanup.
- You can set up a mud kitchen for under $20 using thrifted and household items.
- Prioritize safety by matching materials to the youngest child and ensuring no tasting.
- Gather old pots, spoons, plastic containers, and a water source for play.
- Choose a shady spot, add a dirt source, and use a tarp for easier cleanup.
- Dress kids in old clothes and closed shoes; don't worry about stains.
This post contains affiliate links. As an Amazon Associate I earn from qualifying purchases.
In this article (7 sections)
What Is a Mud Kitchen (and Is It Worth the Mess)?
A bucket of dirt, a wooden spoon, and a few big leaves can keep a three-year-old busy for an hour. That’s the whole appeal of a mud kitchen.
A mud kitchen is a spot outdoors with old pots, spoons, water, and dirt. Kids pour, stir, and scoop, then invent menus and argue over who gets the big pot.
Fair warning: my first batches always turn into soup, and the kids never mind. Expect muddy elbows and plan for them.
This guide covers a cheap setup, safety and hygiene basics, 7 activities, and cleanup tips for ages 2-8. The free Mud Kitchen Activity Card Pack at the end of the post puts the activities, age tags, and safety reminders on cards you can keep by the back door.
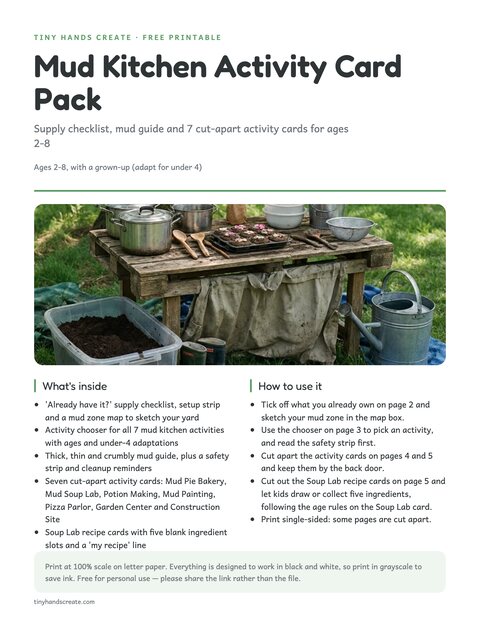
Free printable · 5 pages
Mud Kitchen Activity Card Pack
A supply checklist and mud zone map, an activity chooser with a mud consistency guide, seven cut-apart activity cards with a 'Try asking' question and safety note, and Soup Lab recipe cards.
Free. Your download link appears right here. You'll also join the Daily Printable Drop. Unsubscribe anytime. Privacy
How to Set Up a Mud Kitchen (Cheap Supplies List)
You don’t need a Pinterest-perfect wooden play kitchen to get started. A simple mud kitchen can be assembled from things you probably already own, and thrifted pots keep the cost low.
Essential Supplies
- Old pots, pans, and baking tins — check thrift stores for stainless steel or aluminum. Skip chipped enamel, flaking nonstick, rust, and sharp edges. Once used for mud, they’re not for food again.
- Wooden spoons, ladles, and spatulas — these feel satisfyingly real in small hands.
- Muffin tins and loaf pans — perfect for making mud pies and cakes.
- Plastic bowls, cups, and containers — various sizes for mixing and measuring.
- A water source — a watering can or pitcher is easiest to tip out after play.
- New spray bottles — used only for water, never reused from cleaning products.
- Sieves, funnels, and colanders — fantastic for straining and pouring practice.
- A sturdy, stable counter — a bench, a low table, or a sanded, nail-free HT-stamped pallet. Make sure it can’t tip.
- No old painted furniture — it may contain lead paint.
- A tarp or old shower curtain — for under the workspace.
- A bin of bagged topsoil — if your yard has no clean bare dirt.
Setup Tips
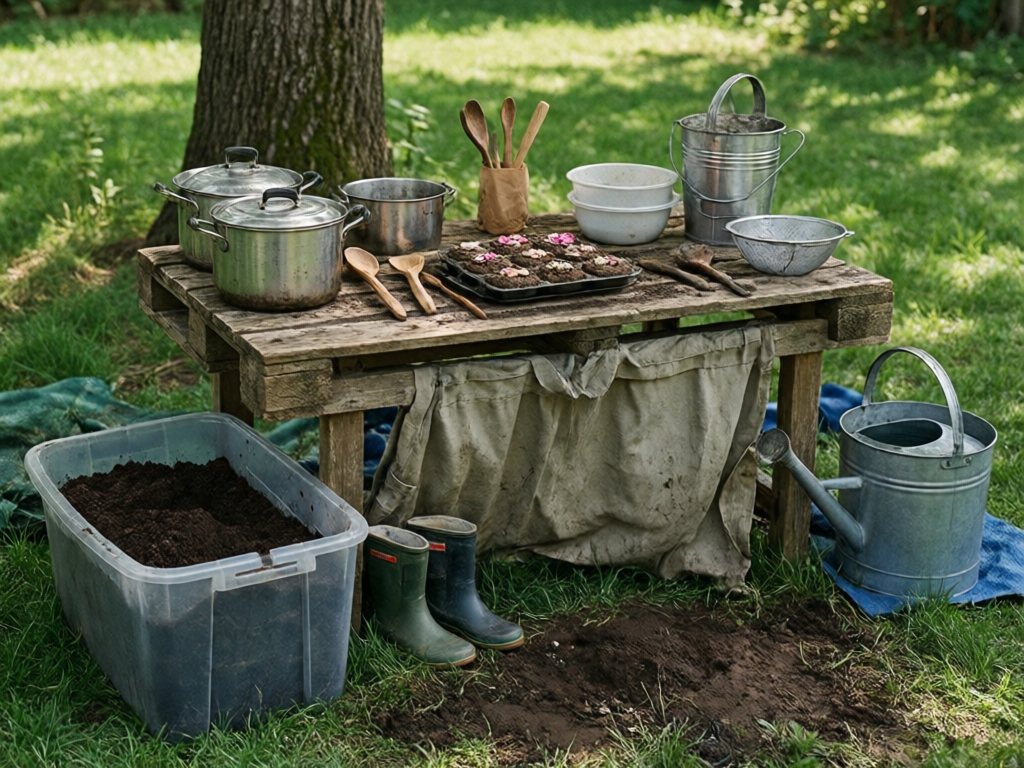
- Pick a shady spot. Direct sun bakes the mud too fast and makes play uncomfortable.
- Add the dirt. Place the kitchen near a patch of bare dirt, or fill a large plastic storage bin with soil and set it beside the table.
- Set up the counter and water. Put the bench or table in place and keep a watering can or bucket of water nearby for mixing.
- Lay a tarp. An old shower curtain or tarp under the workspace makes cleanup a little easier.
- Dress the kids. Old clothes, closed shoes or rain boots, and a smock or oversized t-shirt.
The golden rule of mud play: if you’re worried about stains, they’re wearing the wrong clothes.
Mud Kitchen Safety and Hygiene
Read this before the activities. A few habits keep mud play safe for the whole age range.
Safety first
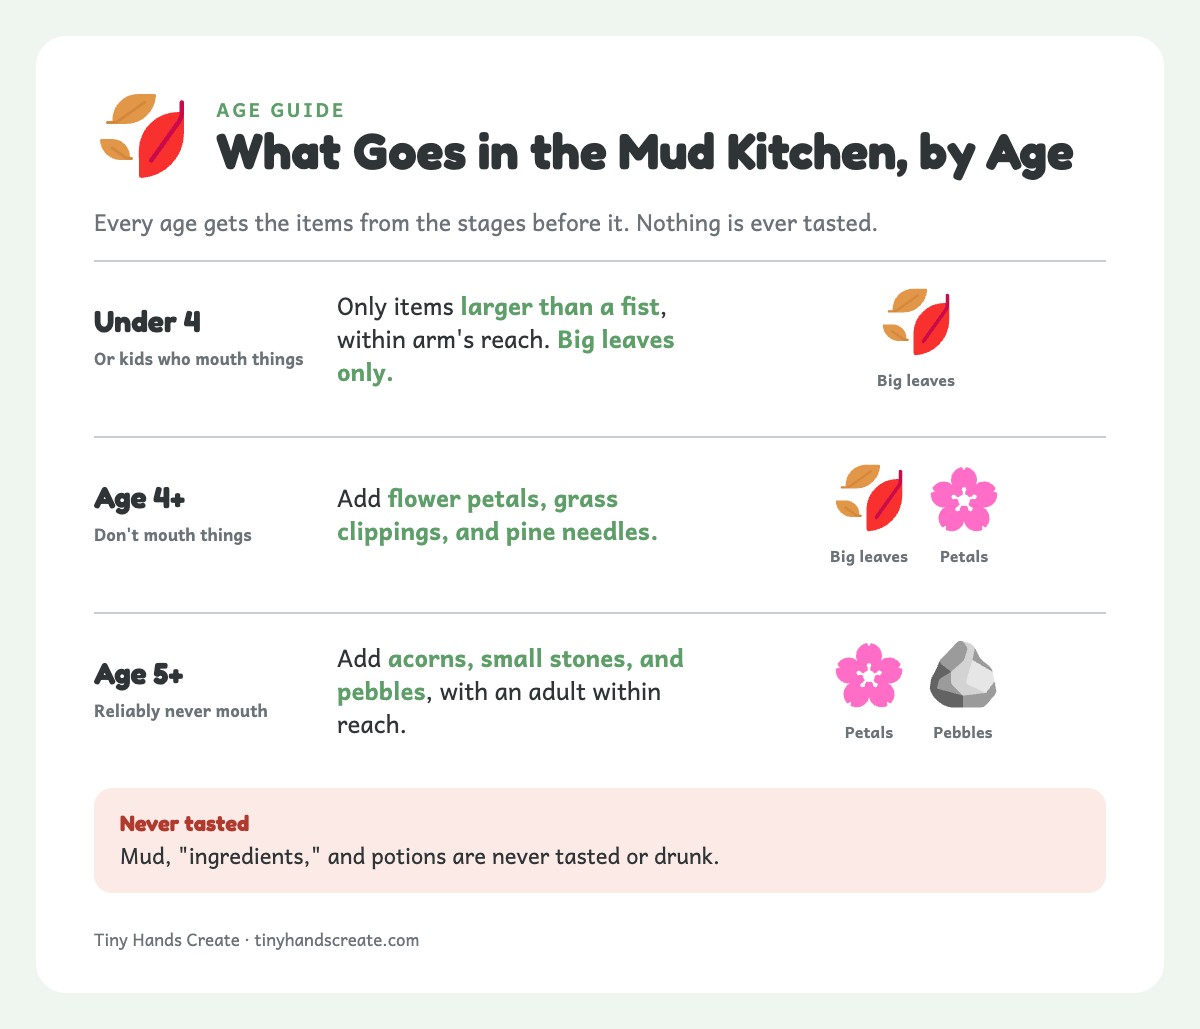
- Size rule: for under-4s and kids who mouth things, use only items larger than a fist and stay within arm’s reach.
- Soft small bits: flower petals, grass clippings, and pine needles are for kids 4 and up who don’t mouth things. Under-4s get big leaves only.
- Small items: acorns, small stones, and pebbles are only for kids 5 and up who reliably never mouth objects, with an adult within reach. Everyone younger skips them.
- Plants: use only known non-toxic flowers such as pansies, nasturtiums, and calendula. Check your yard for poisonous plants.
- Nothing is tasted: mud, “ingredients,” and potions are never tasted or drunk.
Water safetyNever leave young children alone near buckets, tubs, or pools. Toddlers can drown in as little as an inch or two of water. Tip out all water after play and store containers upside down.
Good to knowSoil can carry animal waste, parasites, and bacteria. Near old painted buildings, busy roads, or fences, it can also hold lead. Use bagged topsoil or play sand. Clean yard soil also works if it is away from those spots and from pet toileting areas. Cover the kitchen when not in use. Wash hands with soap and water after play and before eating.
- Sweep the area for glass, metal, and animal waste before play.
- Clean and cover any cut promptly.
- Keep tetanus vaccination up to date (ask your pediatrician if unsure).
- Use sunscreen, hats, and shade. Offer water breaks and avoid midday heat.
- Supervise stick use, since sticks are a poke and eye hazard.
7 Mud Kitchen Play Ideas for Kids
Here are seven favorites. Each one sneaks in real skills while kids think they are just cooking.
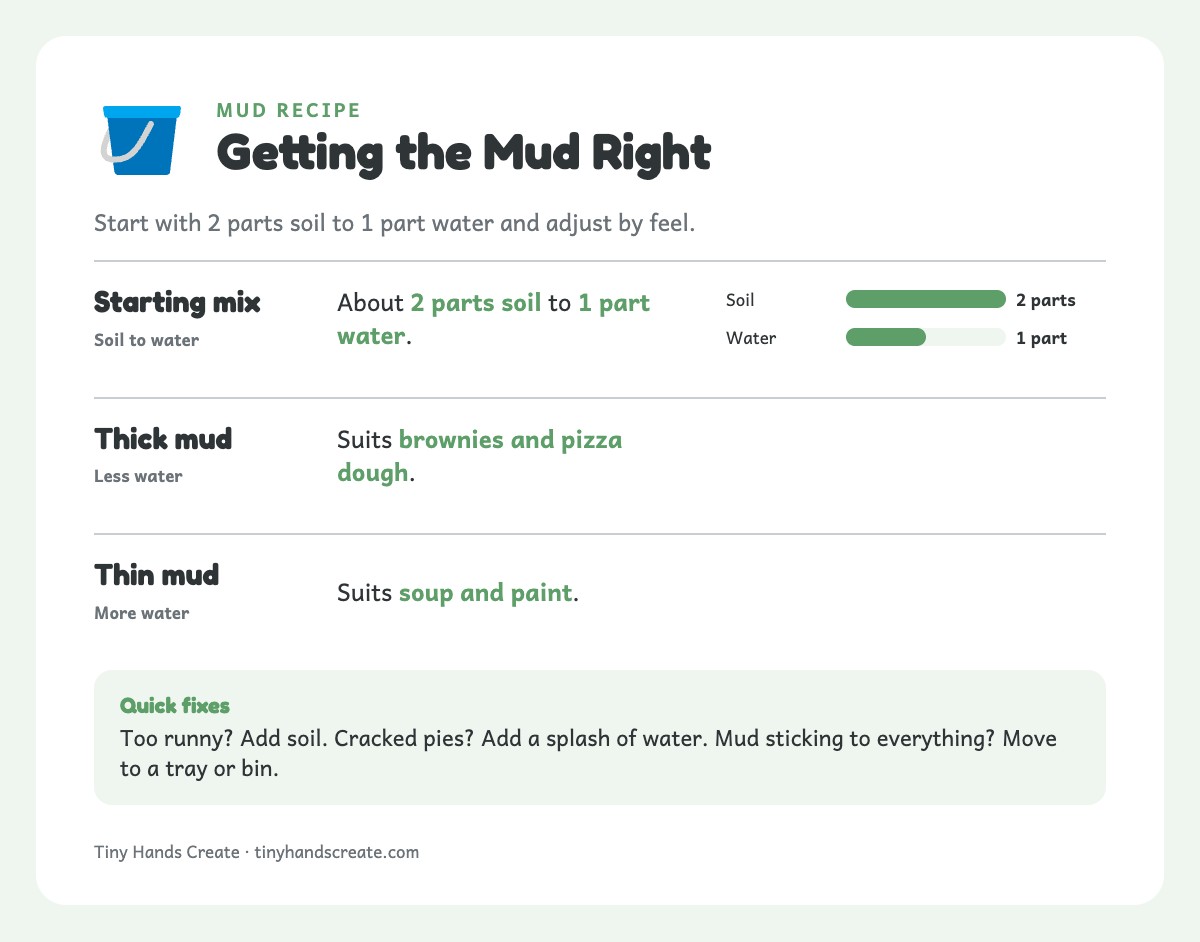
TipGetting the mud right: start with about 2 parts soil to 1 part water and adjust by feel. Thick mud suits brownies and pizza dough, and thin mud suits soup and paint. Kids tend to add water by the cupful, so I pour it in small splashes myself.
If it goes wrongToo runny? Add soil. Cracked pies? Add a splash of water. Mud sticking to everything? Move the activity to a tray or bin.
| Activity | Best ages | What to set out | Toddler adaptation |
|---|---|---|---|
| Mud Pie Bakery | 2-8 | Muffin tins, loaf pans, leaves | Big leaves only, no petals or pebbles |
| Mud Soup Lab | 3-8 | Pots, water, grass, pine needles | Under 4: mud, water, and big leaves only |
| Potion Making | 4-6 | Plastic bottles, water, mud | Use cups and a big spoon |
| Mud Painting | 2-8 | Bowls, brushes, cardboard | Fat brushes, hands welcome, cardboard or big leaves only (no rocks) |
| Pizza Parlor | 3+ | Plates, leaves, a cardboard menu | Mud dough and big leaves |
| Garden Center | 3-8 | Pots, sticks, spray bottle | Plant big leaves and supervised sticks |
| Construction Site | 2-8 | Trucks, buckets, pipes | Chunky trucks and big scoops |
Mud Pie Bakery
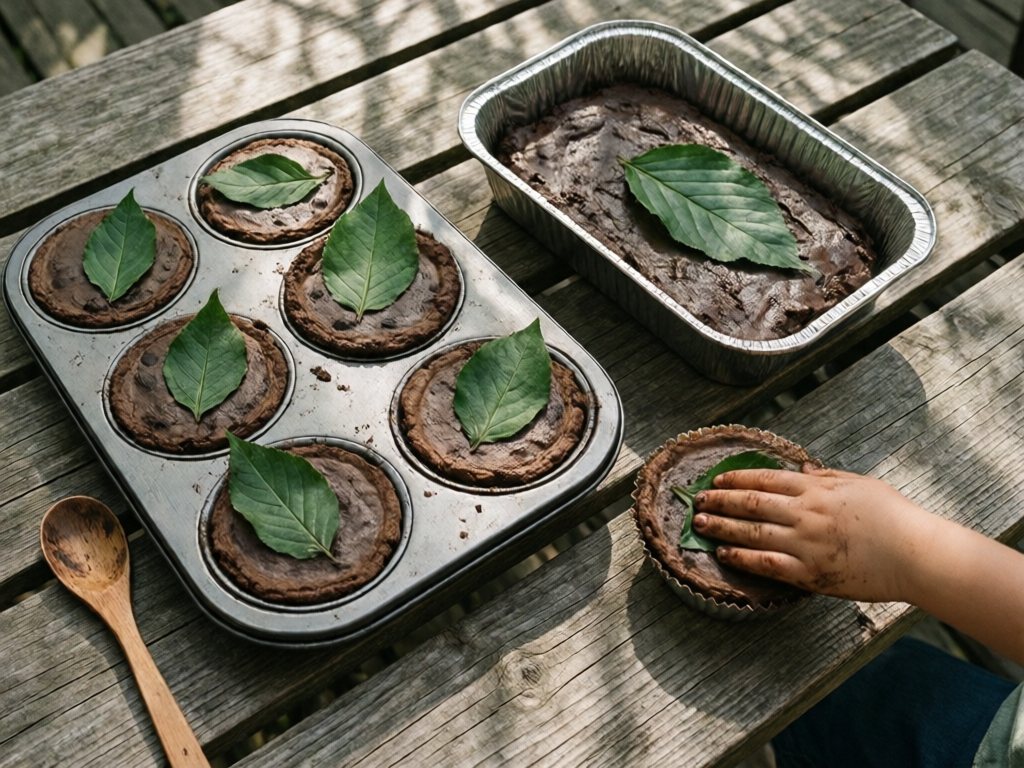
Give kids muffin tins and loaf pans and let them open a bakery. Encourage different consistencies: thick mud for brownies, thin mud for soup, crumbly mud for cookies.
Top the creations with leaves. Kids 4 and up who don’t mouth things can add safe flower petals. For under-4s, keep every decoration bigger than a fist, which means big leaves only, and supervise sticks.
Patting and pressing is good fine motor work, and taking orders keeps the pretend play going.
Mud Soup Laboratory
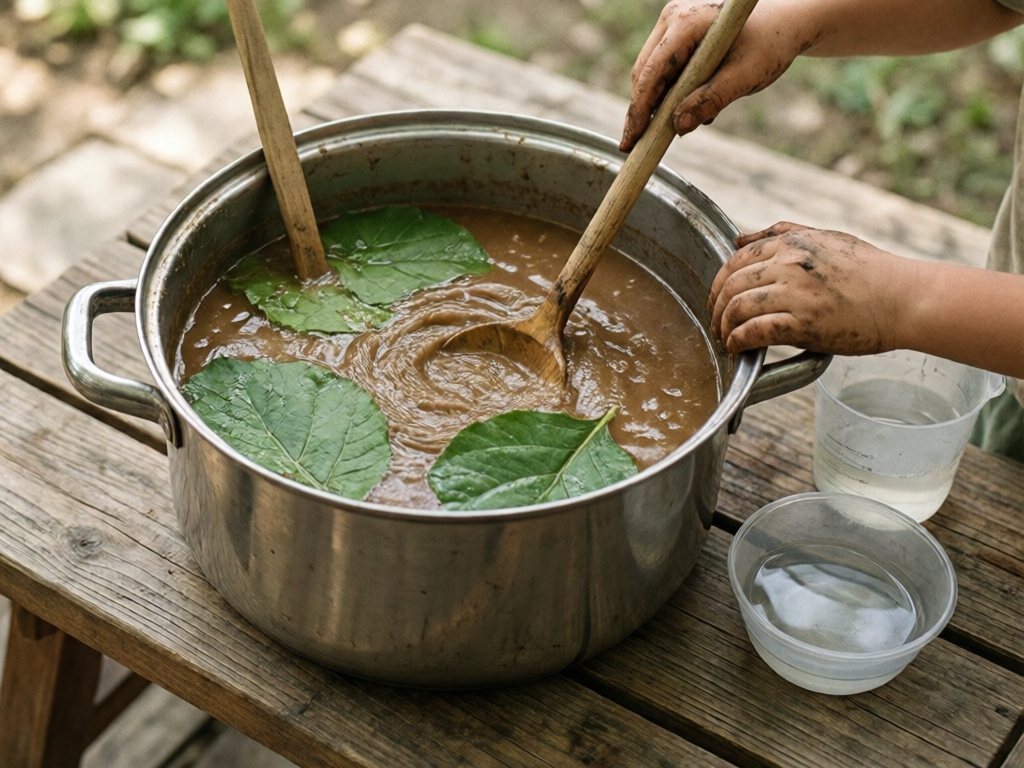
Provide large pots, water, and natural “ingredients”.
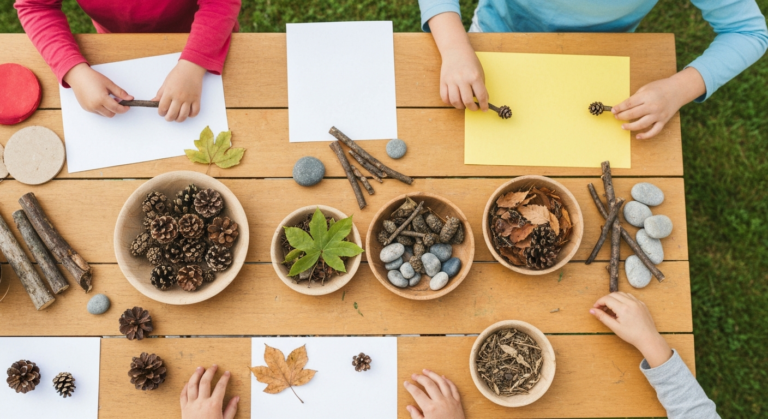
Kids 4 and up who don’t mouth things can use grass clippings, pine needles, and non-toxic flower petals. Under-4s make their soup with mud, water, and big leaves only.
Kids 5 and up who reliably never mouth objects can add small stones and acorns, with an adult within reach. Acorns can upset a stomach if eaten, so they are never for tasting. Younger kids skip both.
Ask for a specific recipe. Try “Can you make a soup with exactly five ingredients?” Or ask, “What would a rainbow soup look like?”
It sneaks in counting, sorting, and plenty of describing.
Potion Making
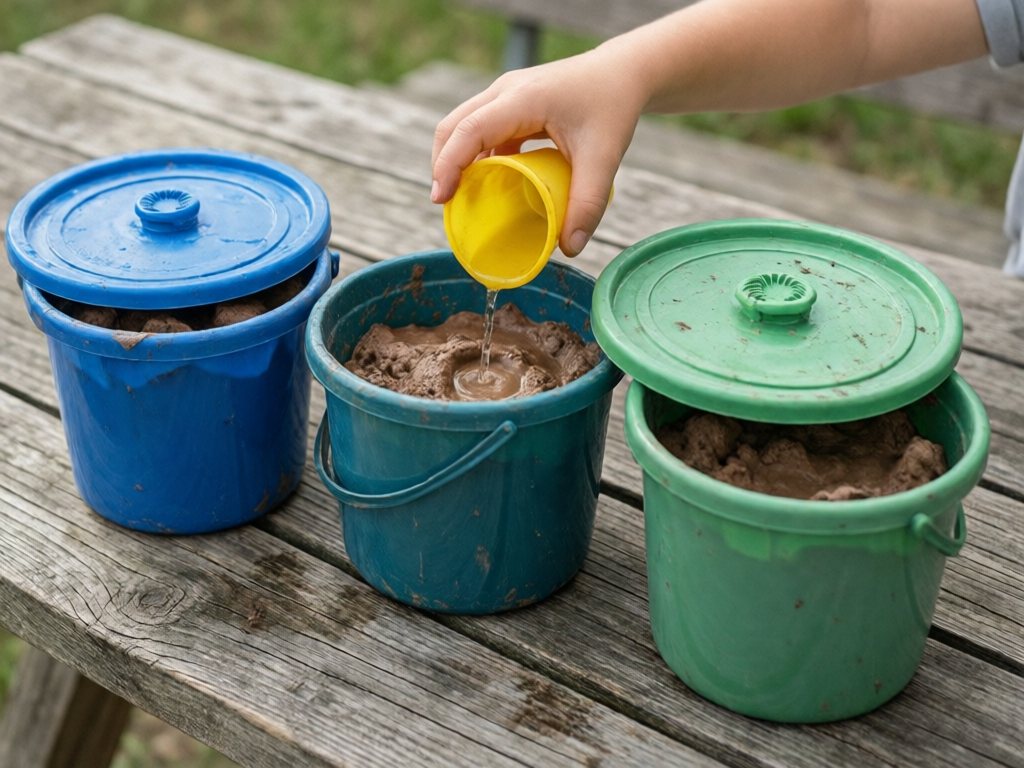
This is a huge hit with the four-to-six crowd. Supply shatterproof plastic jars and bottles with lids too big to swallow, plus plenty of water and mud. Food coloring is optional and stains skin and clothes.
Let children mix “magic potions” and watch what happens with more water versus more dirt. That is genuine early science exploration: states of matter, thickness, and cause and effect. For more experiments, see our kitchen science experiments for kids.
Mud Painting
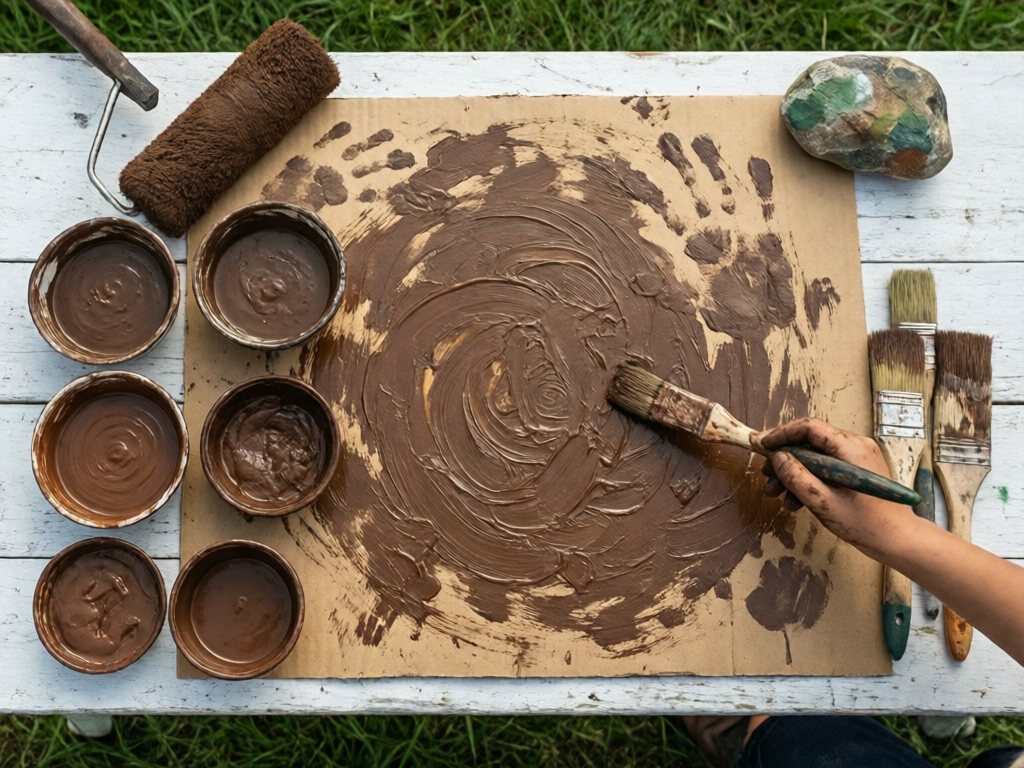
Mix mud to a paint-like consistency in several bowls. Provide large paintbrushes, old rollers, and big sheets of cardboard or butcher paper, then let kids paint with the mud directly.
Kids 5 and up who reliably never mouth objects can also paint large rocks (bigger than a fist), with an adult within reach. Younger kids stick to cardboard, butcher paper, or big leaves. Supervise any sticks, since they are a poke and eye hazard.
Mud can stain wood, fabric, and porous stone, so test a hidden patch first and hose it off right after.
Big brush strokes build hand and wrist strength. For more open-ended painting, try process art for toddlers.
Pizza Parlor
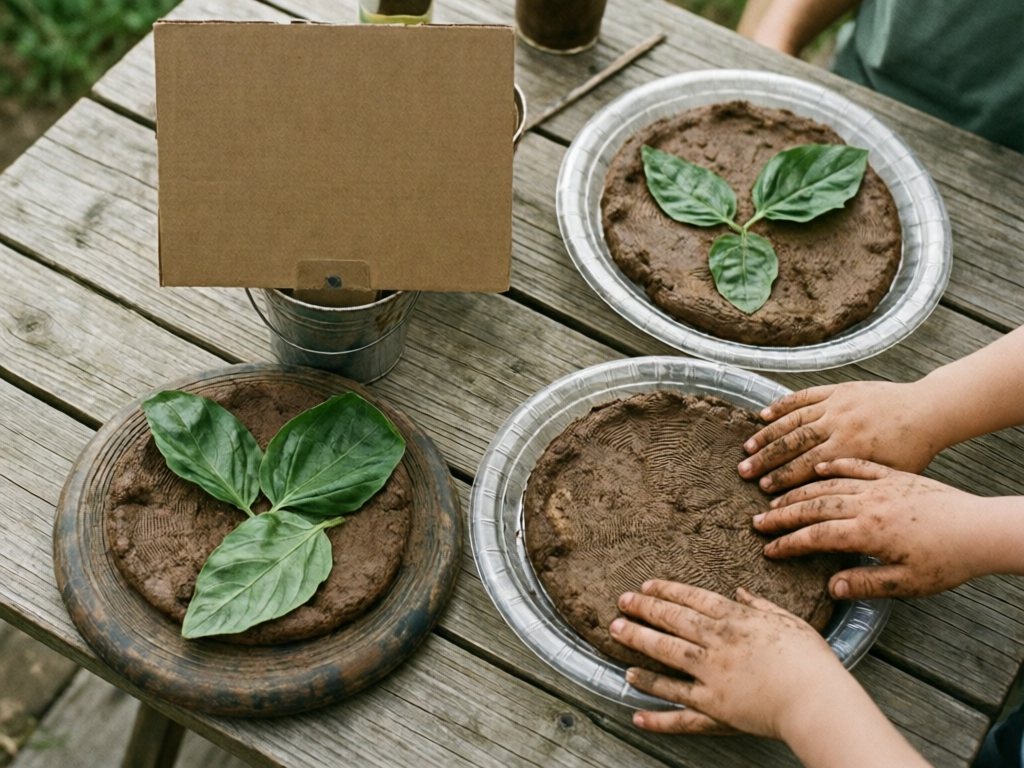
Flatten mud into circles on old frisbees or plastic plates to make “pizza dough.” Use big leaves as basil. Kids 4 and up who don’t mouth things can add grass as cheese and dandelion petals as pineapple. Kids 5 and up who reliably never mouth objects can add pebbles as pepperoni, with an adult within reach.
For under-4s, stick to mud dough and big leaves. Four-year-olds skip the pebbles. If a pizza cracks, add a splash of water and re-pat it.
Make a menu board from cardboard and let kids take turns as chef and customer. Older kids can practice writing orders with chalk.
Garden Center
Fill four or five small pots with mud and let children “plant” sticks, leaves, and flowers.
Provide new spray bottles used only for water, so the plants can be “watered.”
Under-4s plant big leaves and supervised sticks. Flowers wait until 4, since most are smaller than a fist.
Make price tags from paper scraps and set up a pretend garden shop. Pricing and writing signs adds counting and early writing.
Construction Site
Add toy trucks, diggers, and dump trucks to the mud area. Provide small buckets for hauling, plastic pipes for tunnels, and wooden blocks for building.
For under-4s, use chunky trucks and pipes too big to fit in a fist.
Wet the mud to different consistencies: firm areas for roads, wetter ones for “concrete.” If the road keeps collapsing, add a scoop of dry soil.
It’s great for kids who love vehicle play and may not be drawn to kitchen pretend play.
Cleanup Tips for Muddy Play
Mud play is messy, but a few habits keep it manageable. If the mess is too much for the day, try shaving cream sensory play instead.
- Designate a mud zone with clear boundaries so dirt stays in one area of the yard.
- Keep a rinse station nearby—a garden hose or a tub of clean water for hands and feet. Supervise closely and tip the water out afterward.
- Use a shoe rack or boot tray right at the back door for muddy shoes.
- Pre-treat stains with dish soap or a baking soda paste before the wash.
- Scrape or shake off thick mud outdoors before rinsing. Don’t rinse it into household drains.
- Cover and store the kitchen between uses, with tools upside down and water tipped out.
- Rinse tools last—hose off pots and spoons and let them dry upside down.
I keep a dedicated “mud play bin” in the garage with old towels, a spray bottle of stain remover, and a change of clothes.
Everything goes in the wash at the end of the day, and nothing precious ever goes near the mud kitchen.
When a Child Doesn’t Like Mud
Not every kid dives in elbows first, and that’s fine. I’ve had the best luck with slow, low-pressure starts like these.
- Start dry. Offer dry soil or sand first, and add water a splash at a time.
- Hand over a tool. A spoon, ladle, or paintbrush lets them stir and scoop while their hands stay clean.
- Offer a barrier. Try gloves, or put the mud in a tray so it stays in one small spot.
- Let them watch. Watching a sibling or friend play first counts as joining in.
- Keep it short. Aim for 5-10 minutes, with a towel and clean water close by for quick wipe-offs.
Good to knowSome kids with sensory sensitivities enjoy mud play when it is introduced gently and on their terms. Start with tools and never force it. If reactions are strong or interfere with daily life, talk to your pediatrician or an occupational therapist.
New to this? Start with mud pies in a muffin tin, 20 minutes, and a hose nearby. The Mud Kitchen Activity Card Pack keeps the other ideas handy by the back door.
Mud Kitchen FAQ
How do you make mud for a mud kitchen?
Mix about 2 parts soil with 1 part water and adjust by feel. Add soil if it’s runny and water if it’s dry. For more hands-on ideas, try our no-mess sensory play ideas.
What age is a mud kitchen for?
Ages 2-8 all enjoy it. Under-4s need close supervision and only items larger than a fist, such as big leaves. Petals, grass, and pine needles wait until 4. Small stones, pebbles, and acorns wait until 5 and up. See our play-based learning for 2-year-olds for more toddler-friendly ideas.
Is mud play safe?
Mostly yes, with precautions. Use clean yard soil or bagged topsoil, and make sure nothing is tasted. Cover any cuts, supervise near water, and wash hands with soap afterward. Under-4s use only items bigger than a fist.
How do you keep a mud kitchen clean?
Cover it when not in use, tip out water, and rinse tools after play. If the mess is too much for the day, try shaving cream sensory play or process art for toddlers instead.
Crafty Mama
Crafty Mama is a former elementary art teacher turned stay-at-home parent who believes every child is creative — they just need the right invitation. She develops age-appropriate activities, crafts, and projects that spark imagination while keeping mess (and parent stress) to a minimum.