How to Draw a Pear (Easy Step by Step)
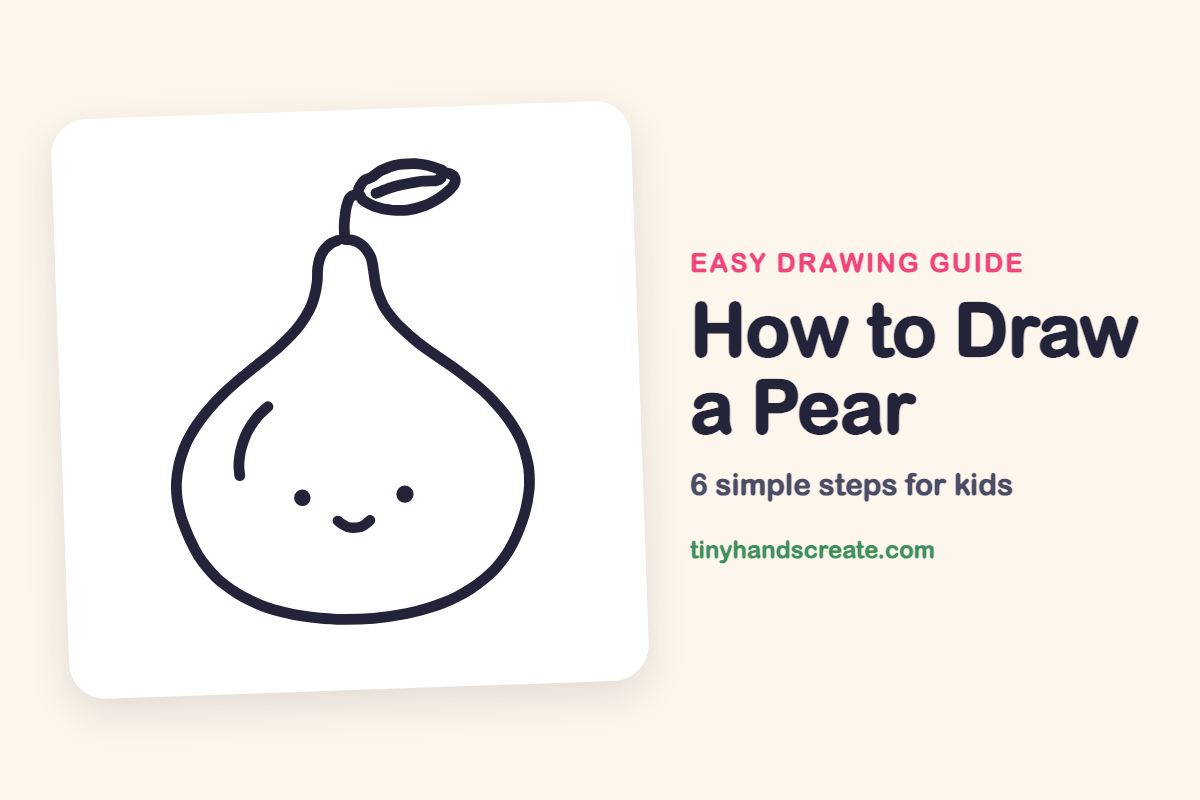
This little pear is built from just a few simple shapes: one big teardrop, a skinny curved stem, and a pointy oval leaf with a vein. The smiling face and shiny spot give it lots of personality. It is a great first drawing because the lines are smooth and there are no tricky details.
- Easy
- 8 minutes
- 6 steps
You need: paper, a pencil, an eraser, and crayons or markers for coloring.
Start drawingIn this article (7 sections)
How to draw a pear step by step
How to Draw a Pear · tinyhandscreate.com
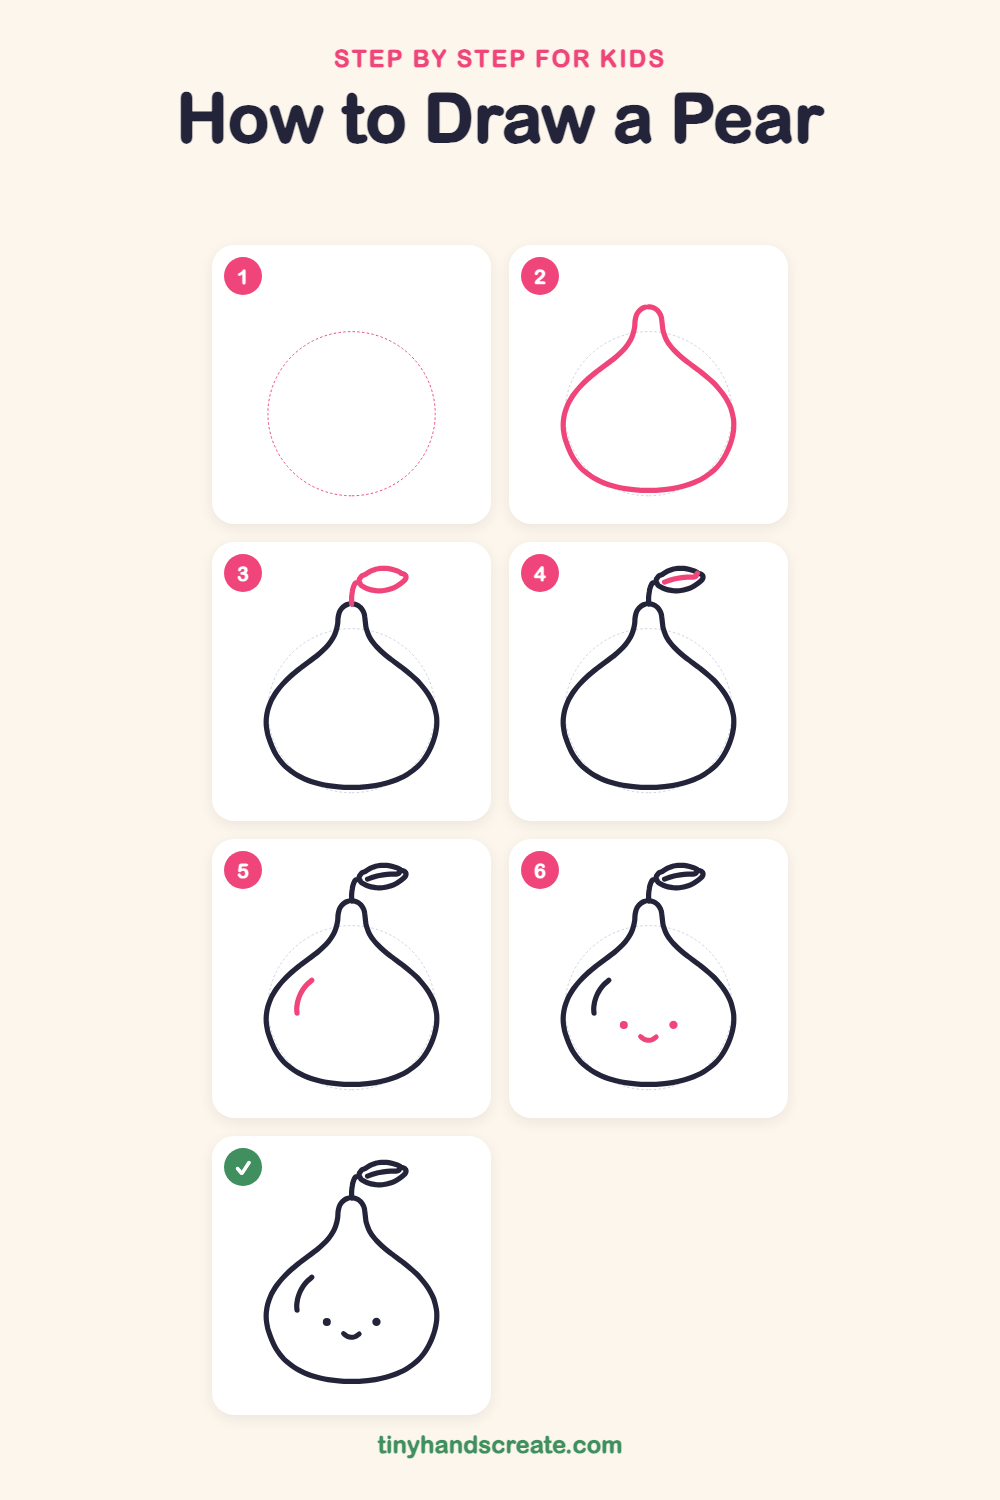
Step 1: Guide shapes
Lightly sketch this oval. It only shows where the big parts go, so press softly. You will erase it at the end.
Step 2: The pear body
Start with a big round bottom, like an upside-down teardrop. Draw the wide belly first, then curve the sides up and in to make a short, narrow neck with a rounded top.
Step 3: Stem and leaf
From the top of the neck, draw a short curvy line going up for the stem. At the top, draw a pointy oval leaf leaning to the right.
Step 4: The leaf vein
Inside the leaf, draw one gentle curved line from the left side toward the pointy tip. It should be a little shorter than the leaf.
Step 5: The shiny spot
On the left side of the belly, draw a short curved line that bends the same way as the pear's outline. It makes the pear look smooth and shiny.
Step 6: The happy face
Low on the belly, draw two small round dots for eyes, side by side. Then add a little smile curve between them, a bit lower down.
All done!
Erase the guide shapes, go over your lines, then color it in.
Finished your pear? Keep the pencils out and learn how to draw a lemon or how to draw grapes next.
Tips for drawing a pear
- Draw the neck narrow and the belly wide. If the top is too wide, the pear will look more like an apple, so keep it slim.
- Make the stem curve a little to one side, then let the leaf grow from the top of it. A curved stem looks more natural than a straight one.
- Copy the curve of the pear's outline when you draw the shiny spot, and keep it short. Place the eyes low on the belly so the face looks sweet.
Free pear coloring page
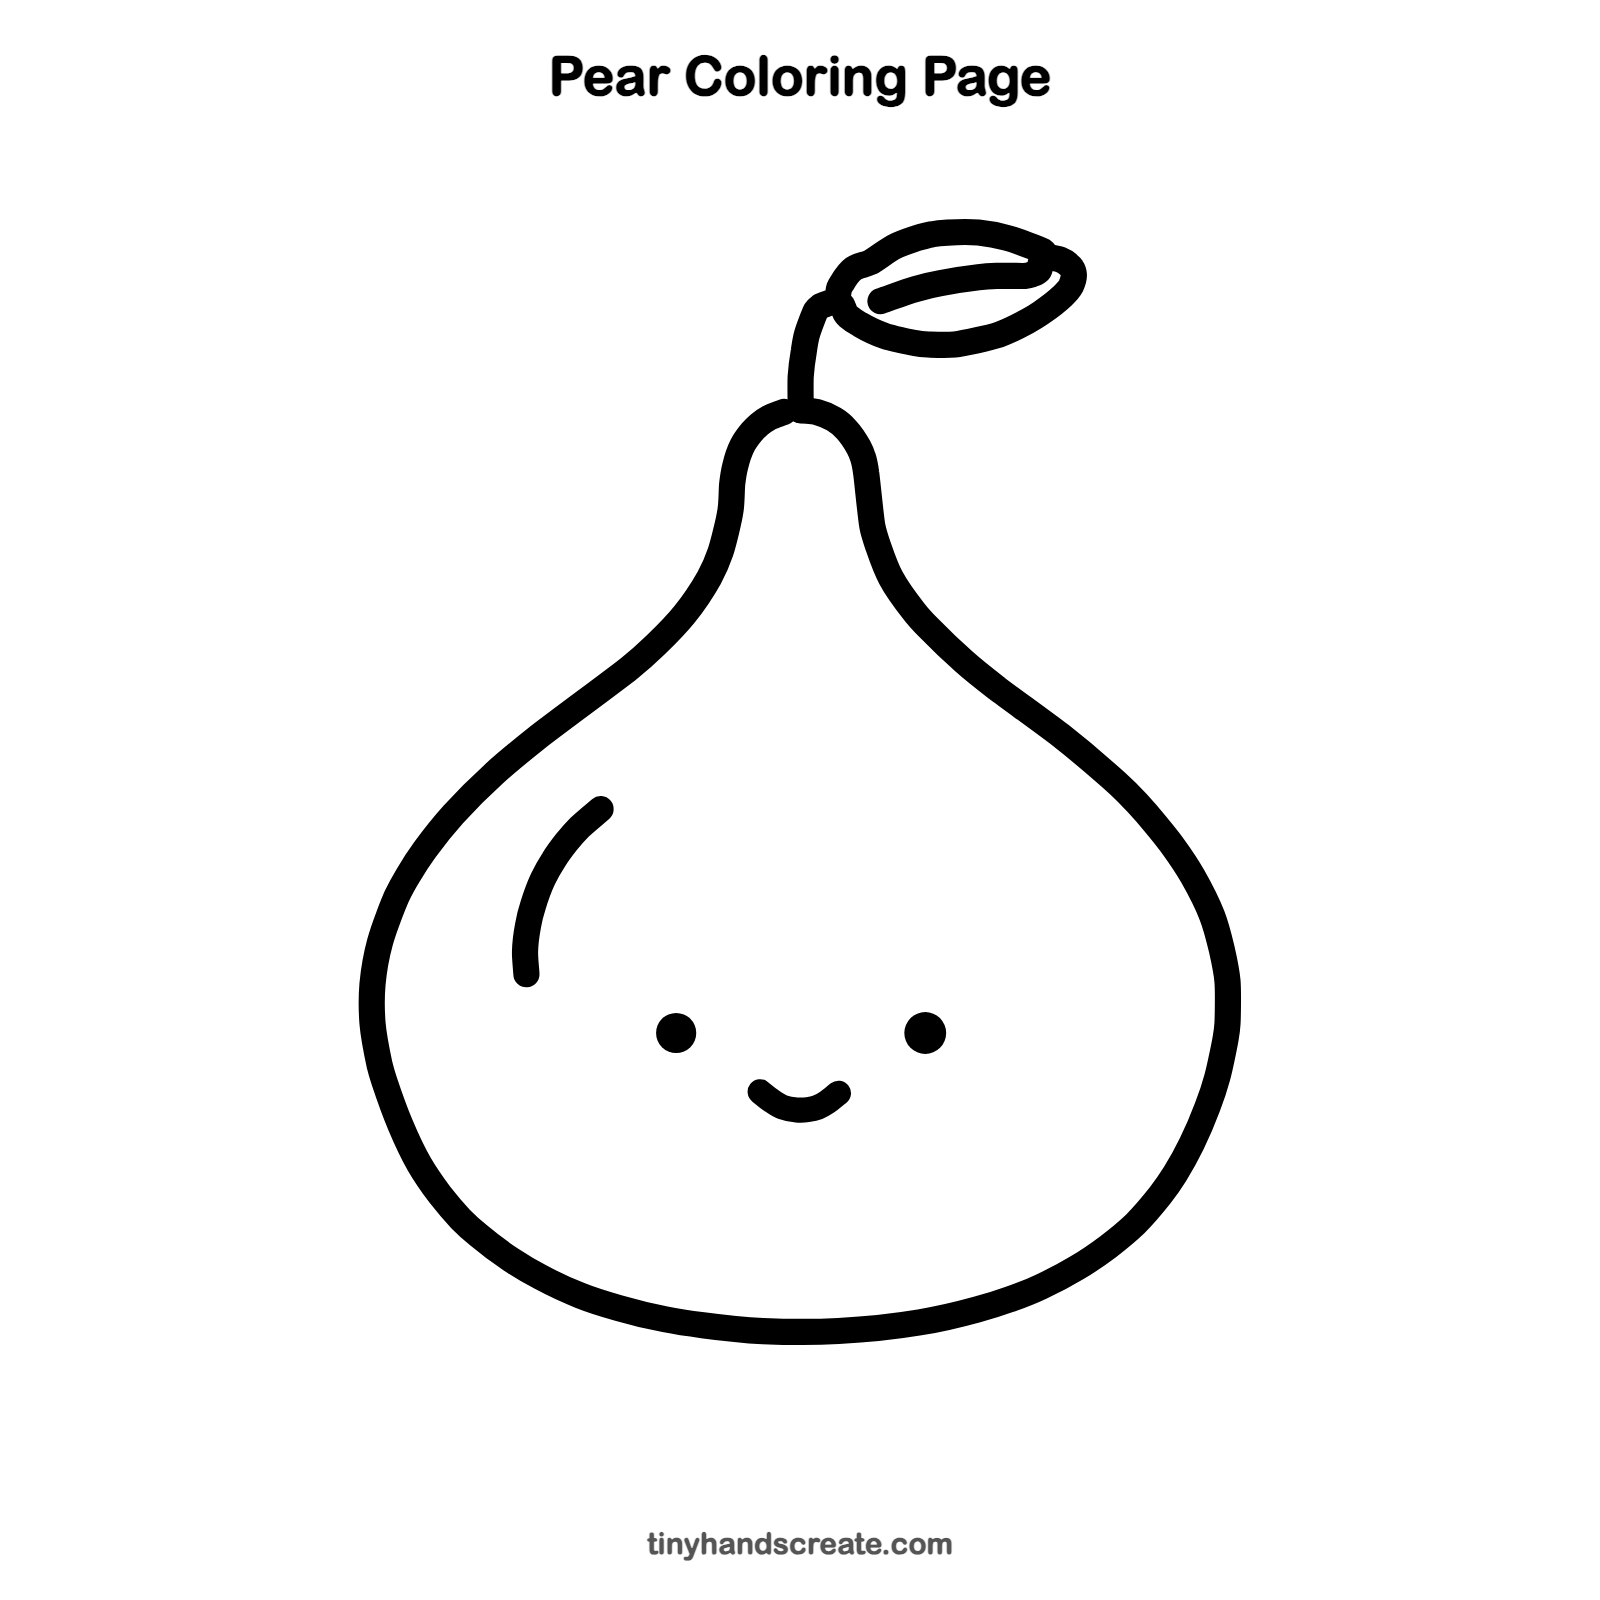
Want to go straight to coloring? Open this pear coloring page at full size and print it. It is the same drawing you just learned, with clean lines ready for crayons or markers.
How to color your pear drawing
Try light yellow-green for the pear, a darker green for the leaf, and brown for the stem. For a creative twist, give your pear a polka-dot pattern or turn it into a rainbow pear.
Pear fun fact for kids
Pears ripen best after they are picked, so growers often pick them while they are still firm.
Questions about drawing a pear
What shapes do I need to draw a pear?
Start with a big rounded teardrop for the body. Then add a curved line for the stem and a pointy oval for the leaf.
How do I make my pear look cuter?
Draw the eyes small and wide apart low on the belly, then add a little smile. A shiny curved spot on one side also adds charm.
How do I get the pear shape right?
Lightly sketch a big circle as a guide for the belly. Then draw a smooth teardrop outline that follows the circle at the bottom and narrows into a short neck at the top.